QlikView Themes – How to Apply QlikView Layout Themes
Expert-led Courses: Transform Your Career – Enroll Now
In our last session, we talked about QlikView Chart Expressions. Today, in this tutorial, we will learn QlikView themes, in which we will see how to apply QlikView layout themes. Moreover, we will learn to discuss types of layout themes in QlikView and QlikView themes maker wizards.
So, let’s start Qlikview Themes Tutorial.
QlikView Layout Themes
As we know, that QlikView is a data discovery and visualization tool. So, the aesthetics of how the data is being represented also comes into play and becomes an important aspect.
QlikView Layout themes are the design of a QlikView document, sheet or even an individual sheet object. In QlikView, the theme settings and properties can stores in dedicate files so that the theme can apply to other objects and maintain consistency in design.
These formatted layout themes can apply on the document as a whole or to some parts of it. The QlikView layout theme files store as external XML files having an extension .qvt. These XML files stores under the data folder of Windows’ Application.
a. QlikView Theme Topology
The QlikView theme layout settings and properties stores in separate sections inside the theme layout file. There are individual sections for each type of layout object i.e. documents, sheets and sheet objects within a layout theme file. These sections are further ramified into three sub-sections containing properties.
These three sub-sections are; object specific properties, caption/border properties, and printer settings properties if the object supports printing.
Do you know how to create QlikView Bookmarks?

QlikView Themes Topology
The image above illustrates the same point made above. From the main layout theme (.qvt) file, branches three types of files for each layout object and which further divides into different properties files. Also, while storing the properties of the layout objects, you can drop out unnecessary details and only include the ones you wish to keep. Like in a text property, you can keep the Font type property and leave out Font Color details.
In QlikView, a theme section creates (by making a sheet/document/sheet object as you please) and store in the layout theme file through QlikView theme maker wizard.
Types of QlikView Layout Themes
There are two types of QlikView layout themes based on the purpose of formation:
a. General Purpose Themes in QlikView
The general-purpose themes are the QlikView themes which apply on all the types of layout objects uniformly. There is a defined set of formatted selections made and applied on the sections of the layout file. You can use some general purpose themes that comes already with the QlikView installation package or can create them manually.
To create such themes manually, you need to format a document, sheet and each of the sheet objects according to your liking and then open and run the QlikView theme maker wizard to create and insert the layout properties from the first layout object that you formatted. Then run the theme maker wizard repeatedly to save the newly created layout properties of rest of the layout objects.
b. Specific Purpose Themes in QlikView
Specific purpose theme focuses on a small section/sub-section of the layout file hierarchy. Such QlikView themes create when you want to save the properties of only a sub-section like caption/border or size and position. For instance, if you wish to set the size and position of one or more chart objects you can do so by creating new theme containing only the information related to the sizing and positioning of the chart object.
Follow this link to know about QlikView Backus Naur Form
How to Apply QlikView Themes in Layout?
The theme’s layout in QlikView can apply at different levels and to different layout objects like individual objects, sheet object groups, individual sheet and whole document.
a. Apply QlikView Themes to Individual Objects
Follow the steps given below:
Click on the sheet object to activate it.
Right click on it to open a drop-down menu.
Select Properties option from there.
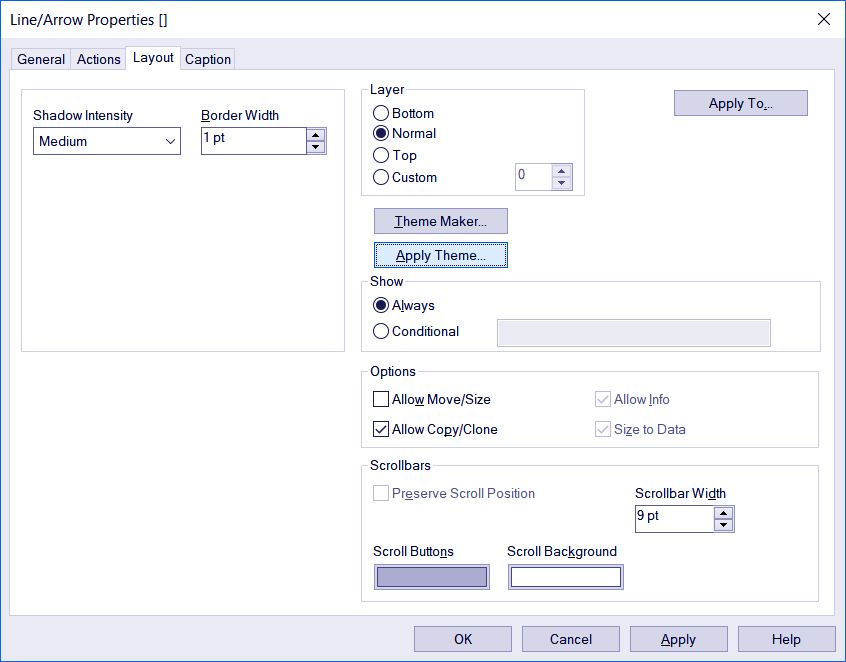
In the Properties dialog box, open the Layout tab.
Click on the Apply Theme. button.
A browser dialog will open, choose a theme from there.
Click ok and you theme will be applied.
Apply QlikView Themes to Individual Objects
To apply this on a group of objects, select multiple sheet objects by pressing Shift+object also called Lasso select and follow the same steps as shown for the individual object. This will apply the theme on a group of objects.
b. Apply QlikView Themes to a Sheet
Follow the steps given below:
Open the sheet tab you want to apply the theme at.
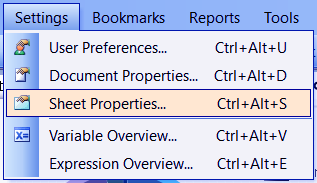
Go to the Settings tab in the menu bar.
Apply QlikView Themes to a Sheet
Have a look at – QlikView Search and its Types
Select Sheet Properties… option.
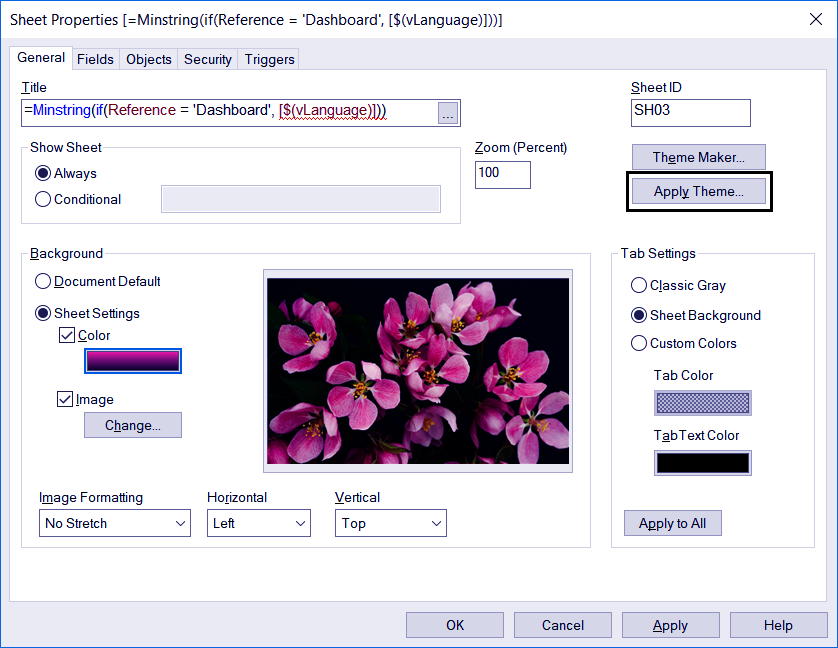
In the General tab, select Apply Theme… button.
Apply QlikView Themes to a Sheet
Choose a theme from the theme browser and click OK.
c. Apply QlikView Themes to a Whole Document
The steps are similar to what we saw in applying to a sheet. However, applying a theme on a document also applies that theme on all the sheets and sheet objects present in that document.
Go to the Settings tab.
Select Document Properties… option.
Select on Apply Theme… from the Layout tab.
Choose a theme from the theme browser.
Click OK to exit.
QlikView Themes Maker Wizard
The Theme Maker Wizard is used to create new QlikView themes or update the existing ones. In this section, we will learn how to create and upgrade QlikView themes using Theme Maker Wizard.
1. Step One
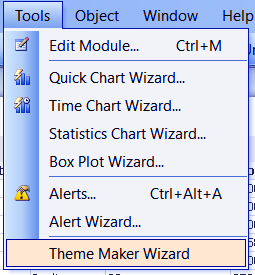
Open a QlikView document and go to the Tools menu in the menu bar.
Select the Theme Maker Wizard option.
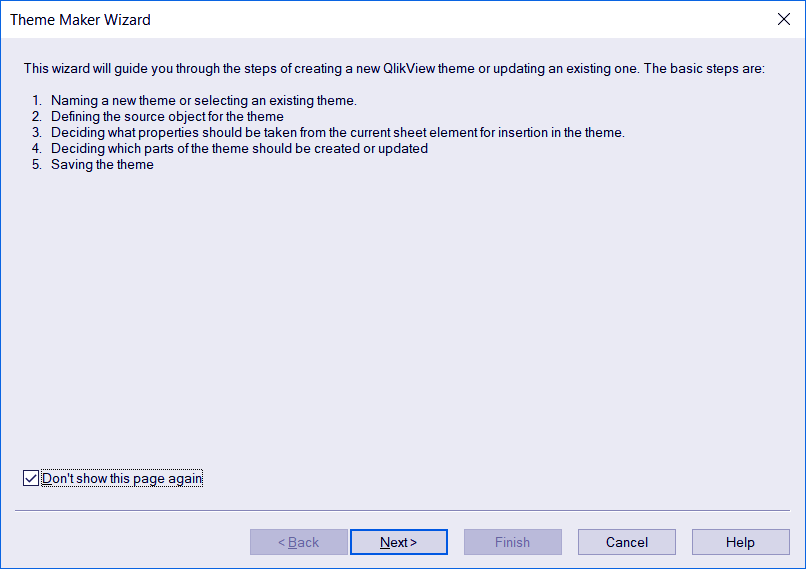
Step.1 QlikView Themes Maker Wizard
2. Step Two
A dialog box will open giving instructions about the theme maker wizard, if you are opening it for the first time. Check the ‘Don’t show this page again’ box.
Let’s Revise QlikView Publisher Repository (QVPR)
Step.2 QlikView Themes Maker Wizard
3. Step Three
Select whether you want to create a new theme or modify an existing theme from the Select Theme File tab. If you are creating a new theme, a Save As dialog will appear where you have to give the new theme file (.qvt) a name. And if you want to modify an existing theme, you have to browse and select that file from the system. Click Next> to continue.
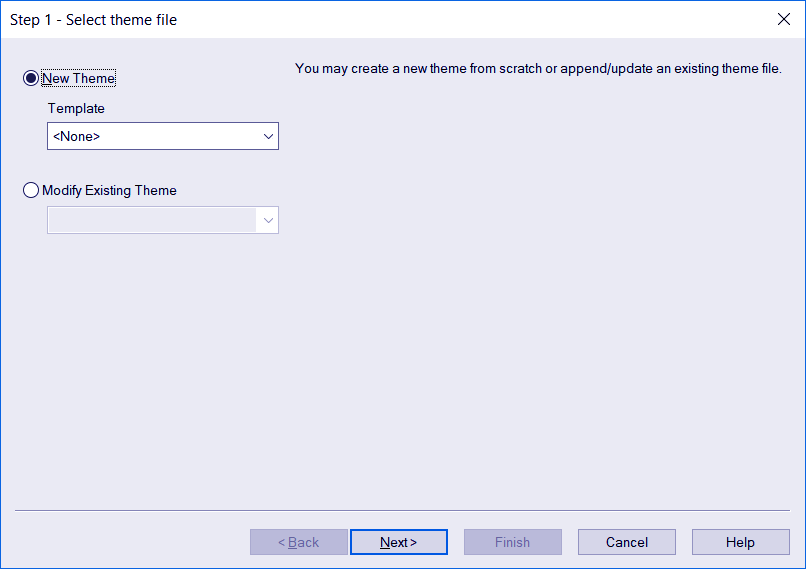
Step.3 QlikView Themes Maker Wizard
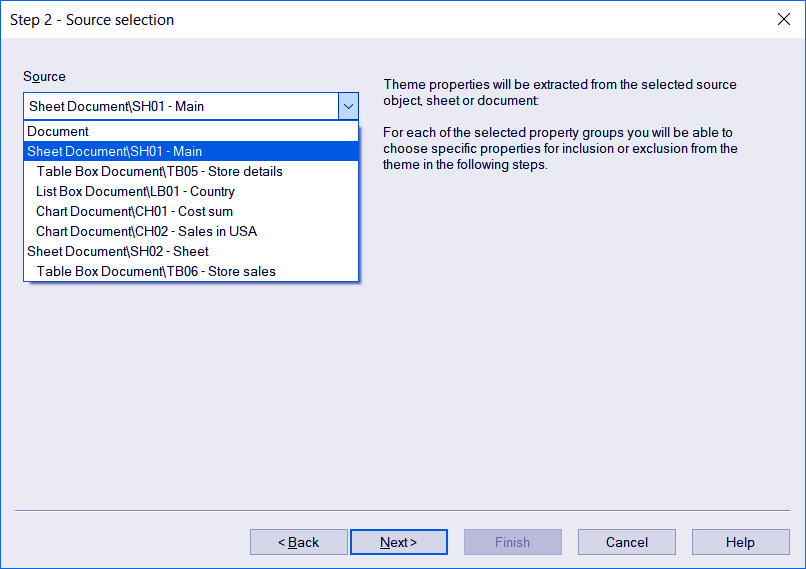
4. Step Four
Next is the Source Selection tab in which you have to select the source of the set of properties you want to extract. For this, you need to select the sheet objects from the drop-down list so that the wizard extracts theme properties from that sheet object and make a theme.
Also, you can check the three boxes; Object Type Specific, Caption & Border, Printer Settings to include section wise properties for each. Click Next> to continue to the next dialog.
Step.7 QlikView Themes Maker Wizard
Follow this link to know about QlikView Directory Service Connector (DSC)
5. Step FIve
Now according to the selections for properties you have made, the next dialog box will ask you to check on the properties you wish to be included in the theme from the selected sheet object. Click Next> to continue.
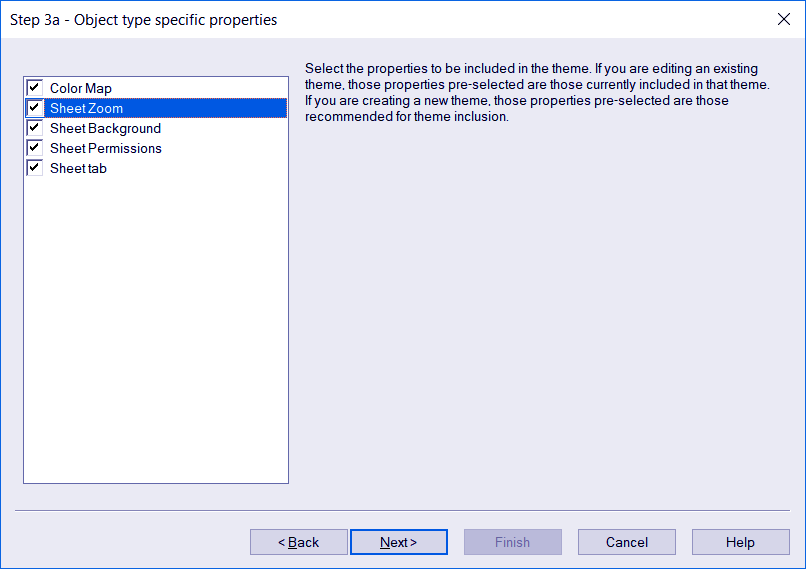
Step.5 QlikView Themes Maker Wizard
6. Step Six
The last dialog box in this process is the Save Theme dialog box where you get to select the saving mode of the theme. That is, whether you want to apply this theme on the current document (and its objects) or on all the new documents that are to be created. Click on FINISH to exit the wizard.
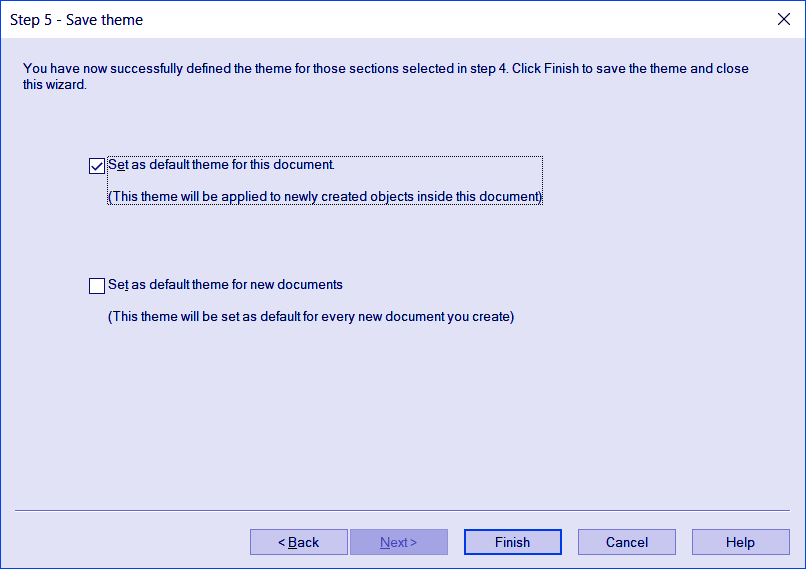
Step.6 QlikView Themes Maker Wizard
So, this was all about QlikView Themes Tutorial. Hope you like our explanation.
Conclusion
Hence, this completes our tutorial on QlikView Layout Themes. We learned what are layout themes in QlikView? Their types and applying themes to different layout objects. At last, we learned about creating QlikView themes using Theme Maker Wizard. Furthermore, if you have any question/query, feel free to ask in the comment box.
Related Topic – Upgrade QlikView Server
Did we exceed your expectations?
If Yes, share your valuable feedback on Google


Thanks for 60GB