QlikView Documents – 17 Major Properties of Documents
We offer you a brighter future with FREE online courses - Start Now!!
In our last segment, we learned QlikView Database Connection. Here, we will discuss what is QlikView Documents, a backbone of Qlikview.
Moreover, we will discuss the properties of documents in QlikView.
Every feature we have till now seen or will see are either executed or are accessed through the QlikView documents window.
Let us explore Qlikview documents and learn about their properties.
What are the Qlikview Documents?
A QlikView document is made up of at least one sheet. It might also have more than one sheet depending upon the user.
QlikView documents contain many components like sheets, loaded data file from external sources, arrangements of connecting to a data source, tools to display in different ways and analyze data, a platform to edit the script and many more
Properties of Qlikview Documents
QlikView Documents have Properties that can access from the settings option present on the toolbar. Go to Document Properties or press CTRL+ALT+D. You will see a QlikView Documents properties dialogue box.
The QlikView documents properties dialogue gives many options to play with like Opening, Sheets, Sever, Variables, Security, Font, Layout, Extension and a few more. We will discuss the general as well as other document properties in detail.
i. General Properties
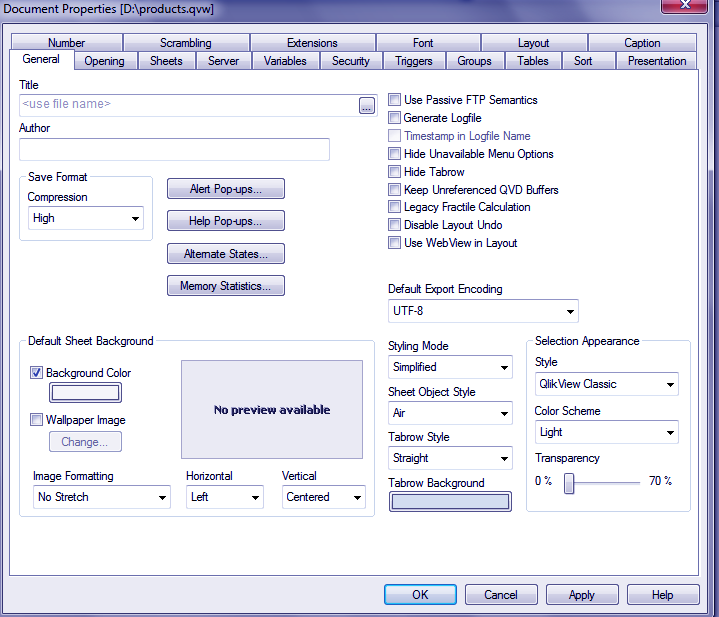
In the general tab, you have options like entering the title of the document, Author name. You can also set the degree of compression from the to save format option.
This compresses the file size to medium or high. You can also activate alert pop-ups, help pop-ups, select the background colour or set a background image. If you insert an image, it can also format hereby. Options like sheet object and tabrow style are also available.
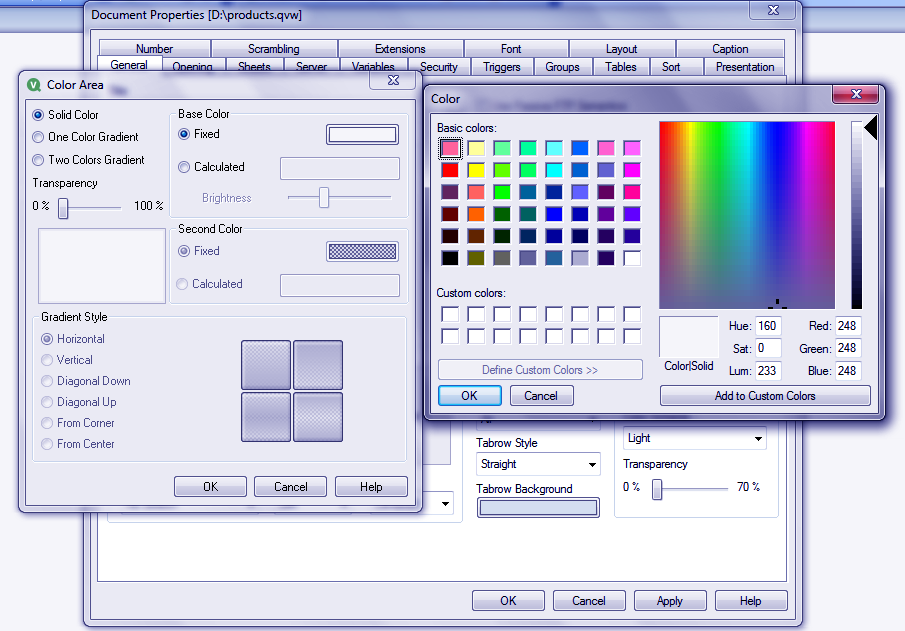
Background color could done with great detail as a separate dialogue box named Color Area opens up where you can select the shade of the color by clicking on the color bar in front of FIXED.
ii. Opening
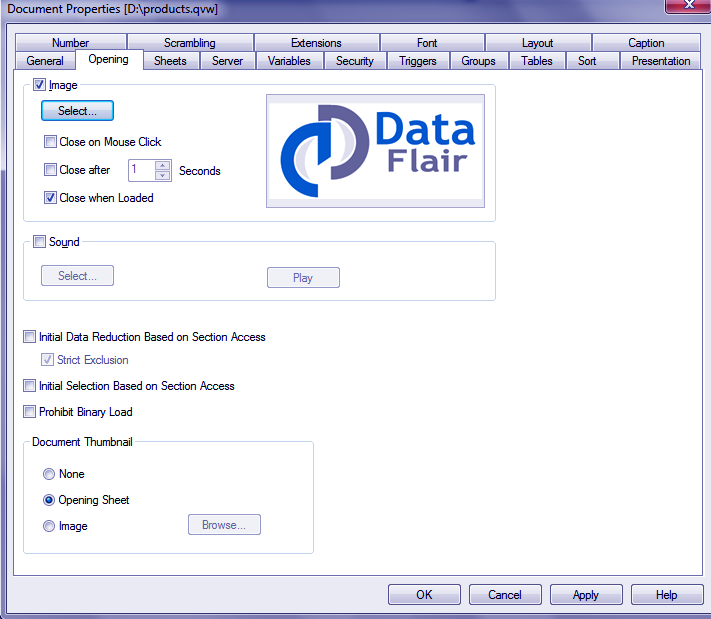
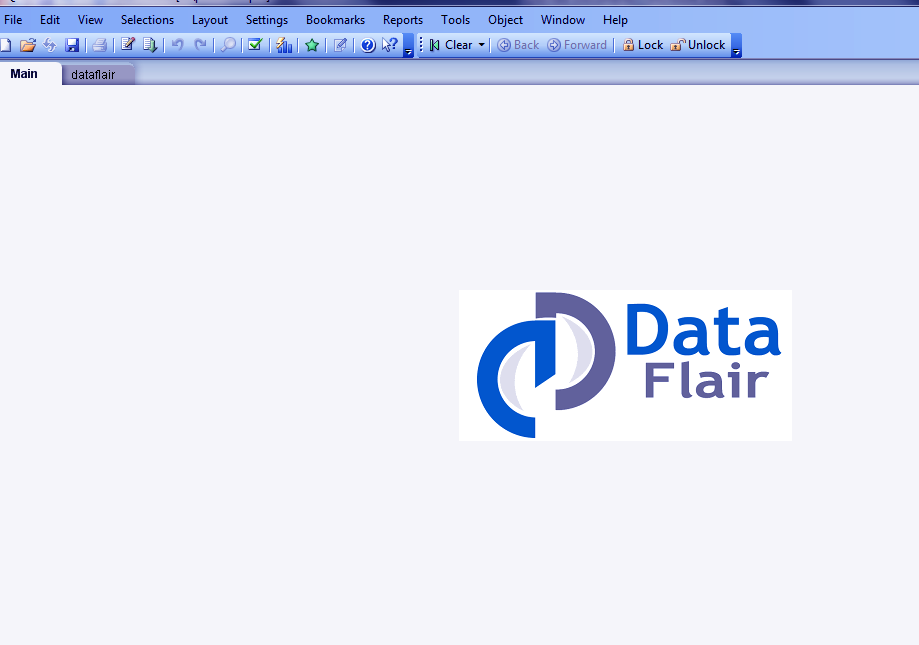
This property allows the user to customize the opening of a document. You can add an image or a sound clip which displays or gets played while the document opens. Not just this, but you can choose when do you want the image to disappear.
The options ‘Close on Mouse Click’ closes the image as soon as you click, or ‘Close after N seconds’ lets you set the time of closing.
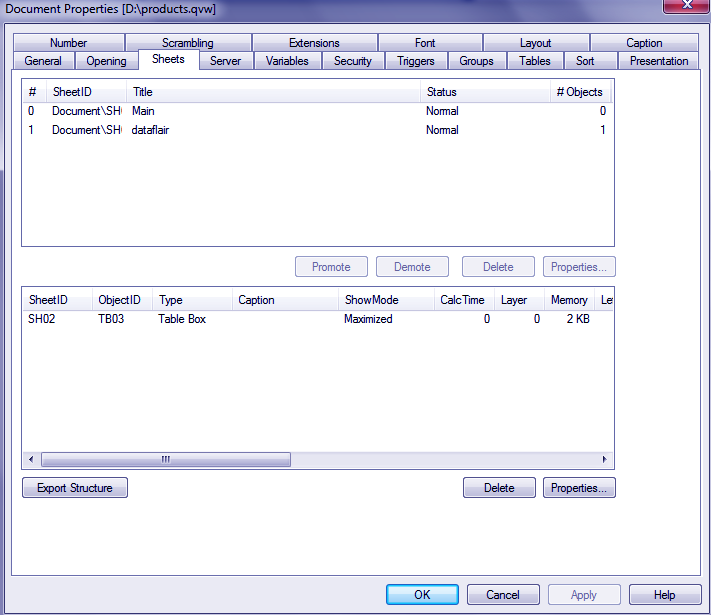
iii. Sheets
The sheets tab lets you keep a track of the sheets and sheet objects the document contains. It displays no. of sheet object each sheet has, how many sheets are open, a title of each sheet, sheet object type etc.
You can also perform different operations on the sheets and sheet objects through the properties option.
iv. Sever
You can manage different properties of Qlikview server and how it functions when a new data file is being loaded or it is being connected to an external source. Several refresh options are also available like refreshing automatically etc.
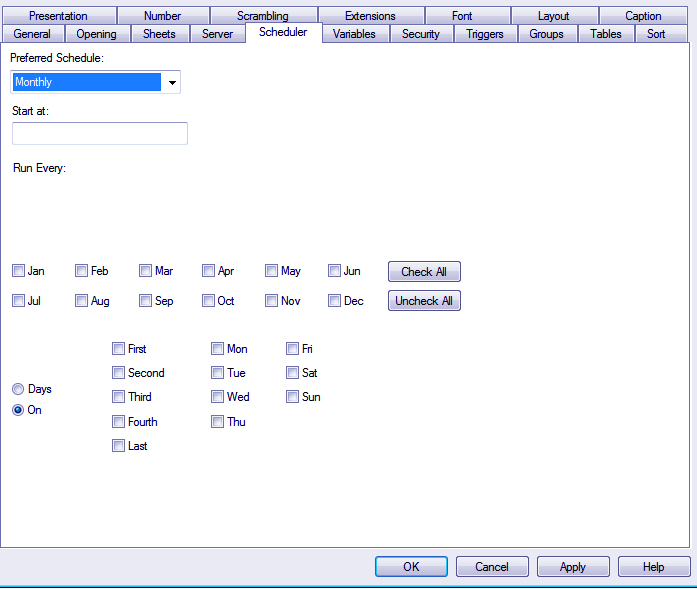
v. Scheduler
Through the scheduler tab, you can set how often do you want your document to be reloaded.
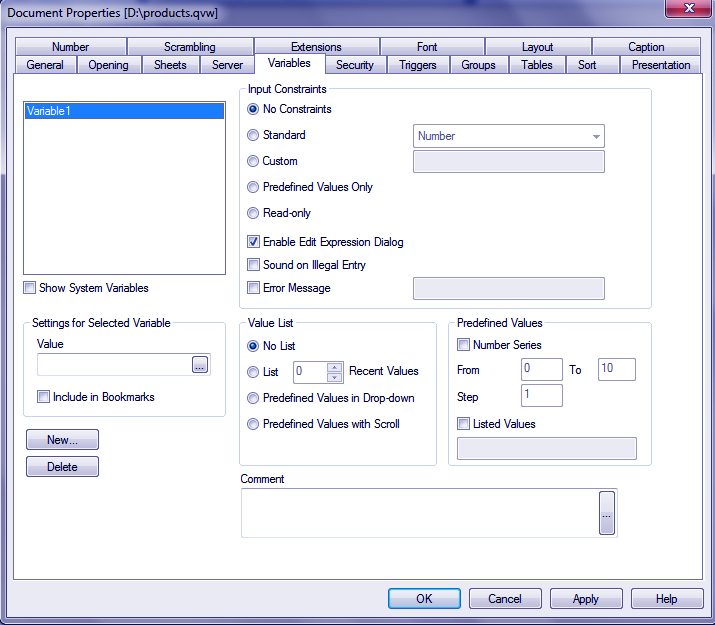
vi. Variable
It lets you set a variable input option and select a constraint against which the variable entered will be checked.
vii. Security
An administrative mode user can access the security options provided from the User Privileges drop-down menu. All of them are checked by default and you can make changes according to your preferences. You have the option like Add sheets, Reduce data, edit script, reload, save a document and many more.
viii. Triggers
You can select actions to be invoked to the document components. The actions can be set upon three layers of events i.e. document events, field events and variable events.
In the system screenshot attached below, you can see the types of actions available to be invoked on different events.
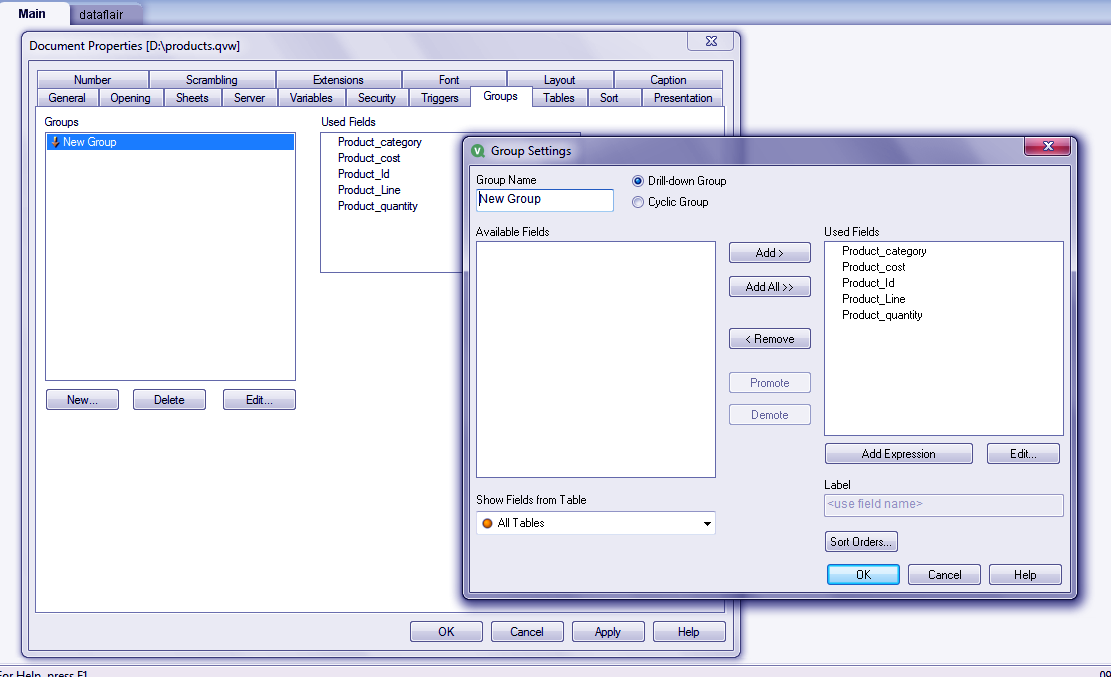
ix. Groups
Through the groups’ tab, you can create field groups from the tables existing in a document. There can two kinds of field groups made, drill-down or cyclic.
You can tell the type of field group by a small sign made on the left of the group name. You can also add fields to group and name the created group as well. We have named our group as products and it is a drill-down group.
x. Tables
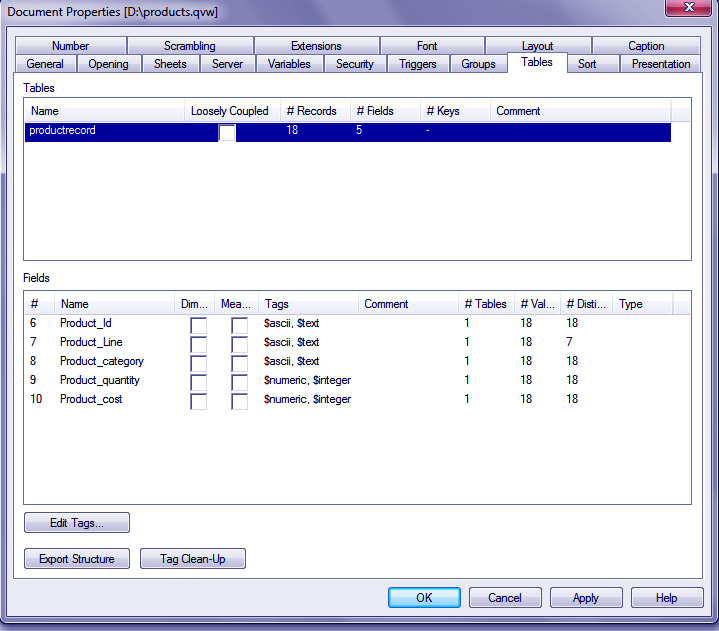
Tables tab have all the table details loaded in the document. If a table is loosely coupled it means that making one selection on a field will not propagate to all the others avoiding confusion. This tab has two list windows, one for Tables and another for Fields.
You can select the table to loosely couple if you wish. Other than this, the tab shows details like the number of fields, number of rows, the data type entered in each field etc.
xi. Sort
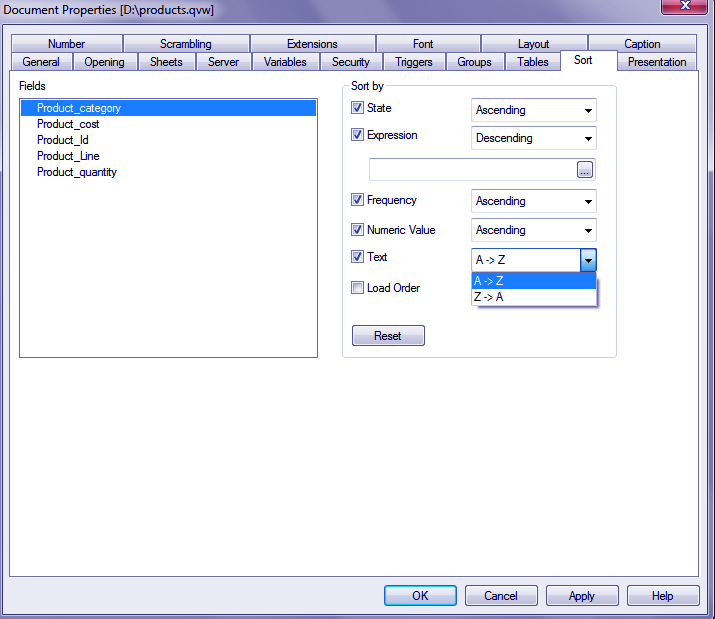
This tab allows you to sort the information or data given in a table through applying different criteria. Sorting criterions are given in the sort by option.
You can sort the data from the selected field by State, Expression, Load order, Frequency, Numeric Value, Text. The sort type can choose as Ascending or Descending.
xii. Presentation
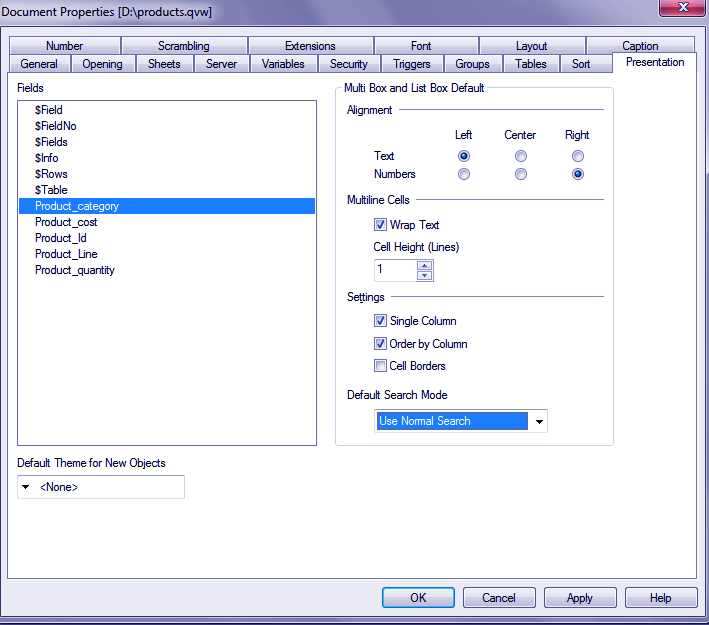
In this tab, you are provided with the layout or presentation options for individual fields. You can align the text in the fields, choose a theme for new objects, select the search mode etc.
xiii. Number
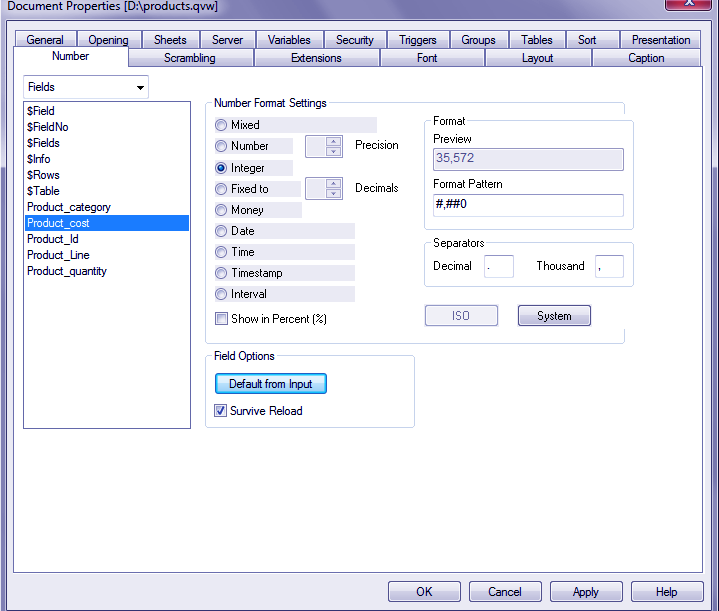
From the number tab, you can format your table fields containing numerical values. You can select the field, select the format type like integer, number, money, date etc., and can also set the precision or decimal points. A format preview can also see to make sure you have selected the right type.
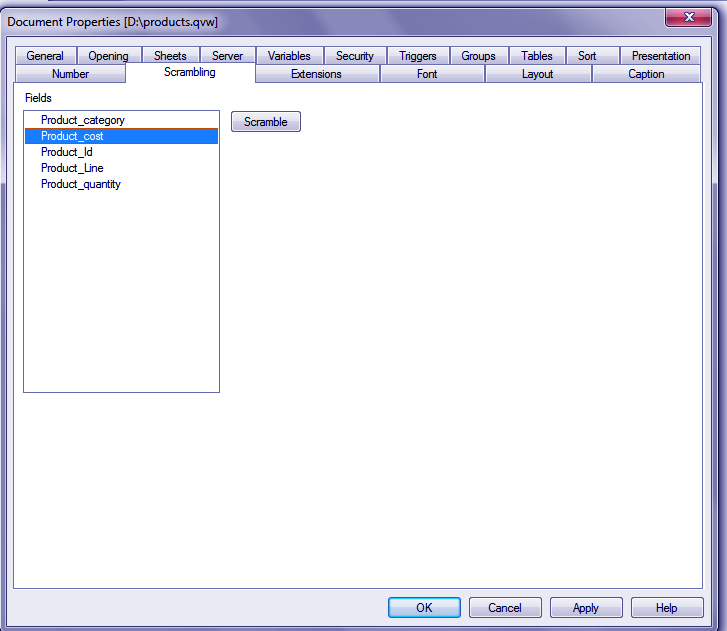
xiv. Scrambling
This tab allows you to apply scramble option on the one or more table fields you select. As soon as you click on the SCRAMBLE button it executes random shuffling or scrambling in your data. However, numbers are scrambled to numbers and texts to texts.
You cannot attain the original form of the data unless you reload the document (because then the scrambling gets deactivated).
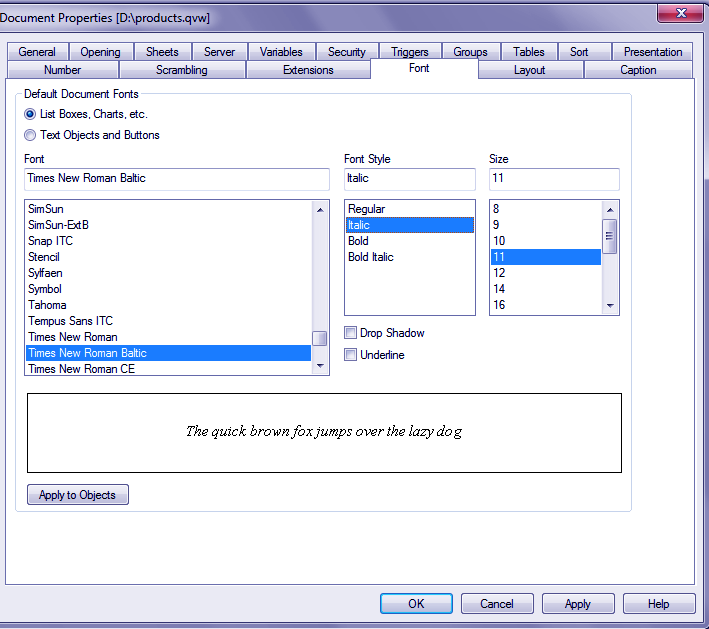
xv. Font
The font tab lets you format the table’s text. You can choose a font from the long list of available fonts. Also, the font style and size can also select by you. You can preview the selected options on a preview window in the bottom half of the tab.
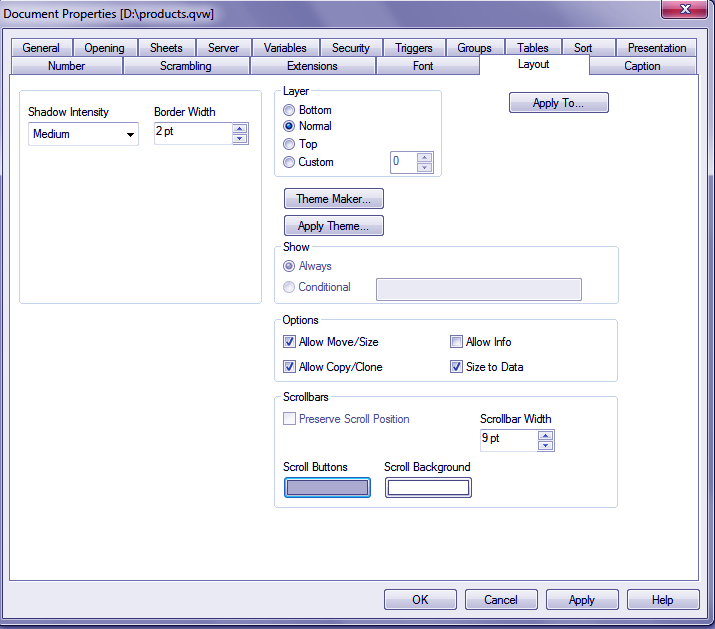
xvi. Layout
You can choose and apply a layout design to the entire document which means each sheet object will have the same layout. You have options like Layer, Border width, Shadow intensity, Theme options, Scrollbar options etc.
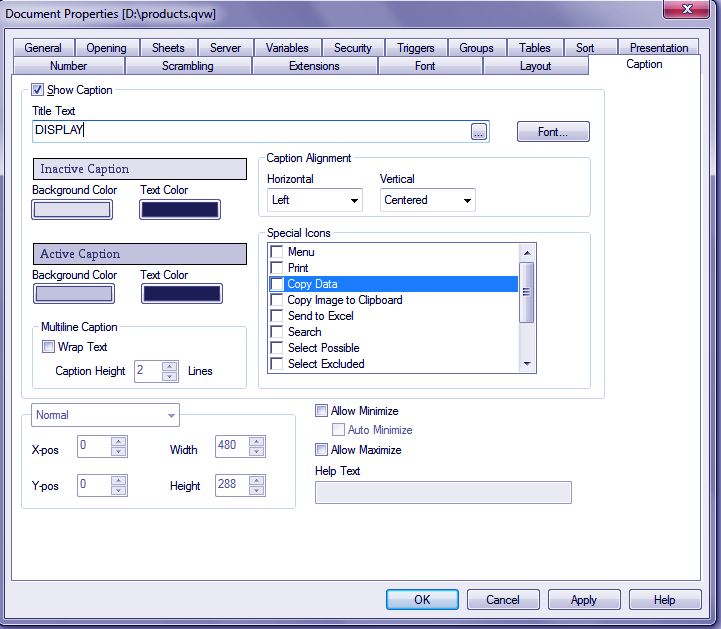
xvii. Caption
Caption tab has options that allow you to add captions on objects residing within a document.
So, this was all about QlikView Documents. Hope you like our explanation.
Conclusion
hence, we have seen all the QlikView document properties window. It increases the efficiency of your work as it allows you to apply the changes upon the various document objects collectively, saving a lot of time and effort.
Did you know we work 24x7 to provide you best tutorials
Please encourage us - write a review on Google
