QlikView Automation – How to Create QlikView Macro?
Placement-ready Courses: Enroll Now, Thank us Later!
In our last session, we discuss Dollar Sign Expansions. Here, we will learn about QlikView Automation and how to create QlikView Macro. Moreover, we will discuss how to use macros in QlikView.
Macros make a crucial part of any software. You must be familiar with Macros from MS Word and MS Excel as they use significantly in such software. In QlikView too, utilizes macros and automate tasks.
So, let’s start QlikView Automation and Macros Tutorial.
QlikView Automation and Macro
Automation is a full-fledged feature in QlikView. QlikView documents and applications can access and control by external programs or internal macros (residing in QlikView).
These are the two main services that let the users experience the QlikView automation interface. It is not an additional installation that you need to make in order to avail the automation services.
QlikView Automation interface is an integral part of QlikView’s design, using it is just a matter of choice of the way out of many that you would want to go with.
Primarily, there are two modes of automation in QlikView,
i. External Control Automation
External software or stand-alone programmes can access QlikView objects or documents via automation and macros in QlikView.
Although, one this is to note here is that all such external programmes willing to take control of QlikView via automation must create with a Visual Basic (VB) script or C++ script because only the codes written in these, supports QlikView macro and automation.
ii. Internal Control Automation
Another way is by invoking automation services within QlikView applications or documents. Thus, internal control. It is done with the help of an Internal Macro Interpreter as it is often addressed so.
QlikView objects can be called through running macros written in VBscripts or JScripts internally during script execution. Such QlikView automation (running a macro) can apply at various layers and items in QlikView.
a. Document Level
QlikView Macro can execute at a document level with various document events mention below.
- After opening a QlikView document.
- After script re-execution.
- Then, the data reduction.
- After a selection in any field in the table has been made in a QlikView document.
b. Sheet Level
QlikView Macro can execute at sheet level with several sheet events taking place as mention below.
- After sheet activation.
- During sheet deactivation.
c. Sheet Object
Macro in QlikView can run with sheet objects (table, charts, lists, bookmarks, buttons etc.) events taking place as mention below.
- After activation of a sheet object.
- Deactivation of a sheet object.
d. Field Events
Field events also respond to the launching of macros.
- After making a selection in a specific field.
- When making a selection in any field logically associated with another specified field.
- During selections locking in a specified field.
- During selections unlocking in a specified field.
e. Variable Events
- After entering a value in a specified variable.
- During a change in variable’s value which came due to a re-evaluation of the variable expression or formula.
How to Create and Use Macros in QlikView?
QlikView Macro for various actions like printing the dashboard, saving a file, hiding/showing the TabRow etc. can create from scratch from the Macro Editor.
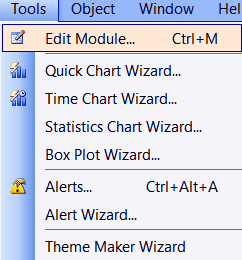
To invoke the Macro editor, go to Tools menu in the menu bar and then select Edit Module option. This will open the QlikView macro editor.
QlikView Automation & Macro – Create
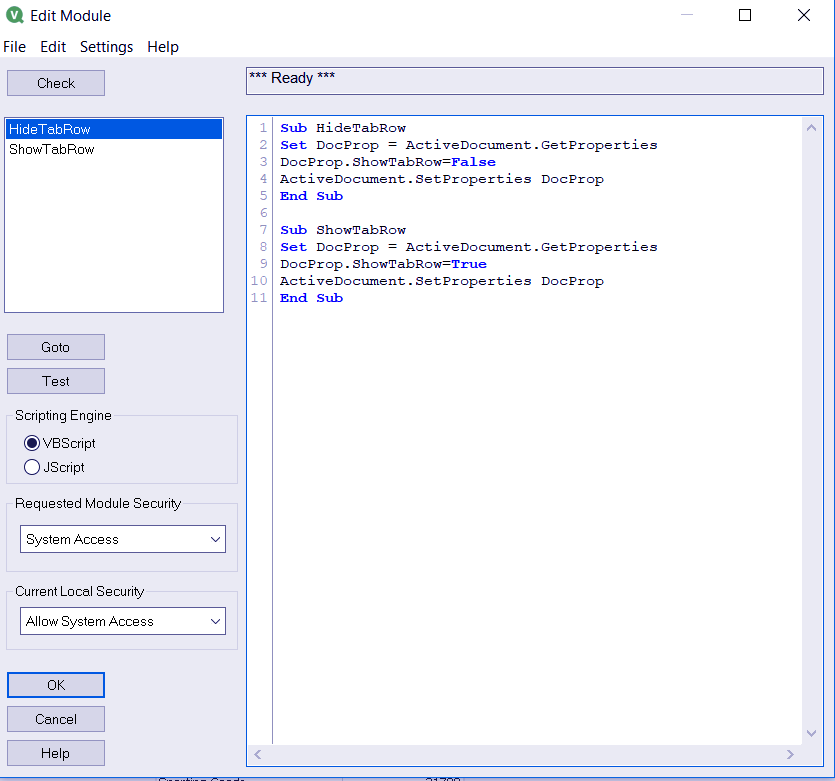
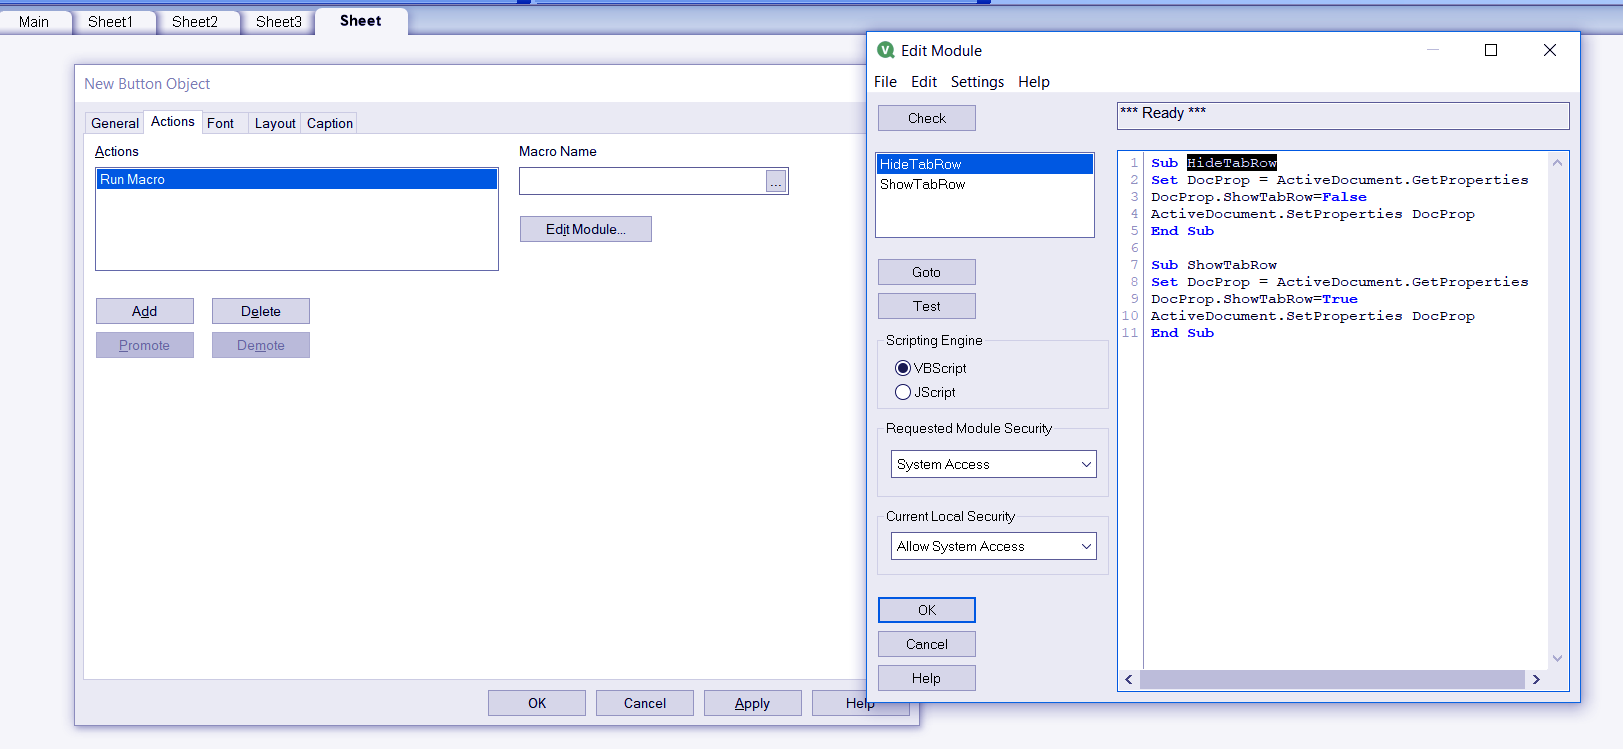
In the editor, there is a pane where you can write the script for macros. You can select the script language (VBScript or JScript) from the Scripting Engine section present at the left.
For explanatory purposes, we have created the script for two macros Hide TabRow and Show TabRow, which will use to show or hide the TabRows present at the dashboard.
QlikView Automation & Macro – Create & Use
After completing your script for a QlikView macro, you can click on Check so that the system checks and validates your script.
You can see the names of the macros in the checklist. You can also test a macro by clicking on Test and execute debugging on your script by using Debugging option. Click OK when done.
Now, the QlikView macro creates and can use with any sheet, sheet object, field, variable or document’s event. We have created a button sheet object for both shows and hide TabRow macros.
We will add one macro to each button and upon clicking the button, the TabRow will show and hide.
How to Create Hide TabRow and ShowTabRaw in QlikView?
i. Step One
To start with, go to the New Sheet Object option and select a Button object. Upon doing so, its properties window will open. Add a text to display on the button and go to the next tab i.e. ‘Actions’ tab.
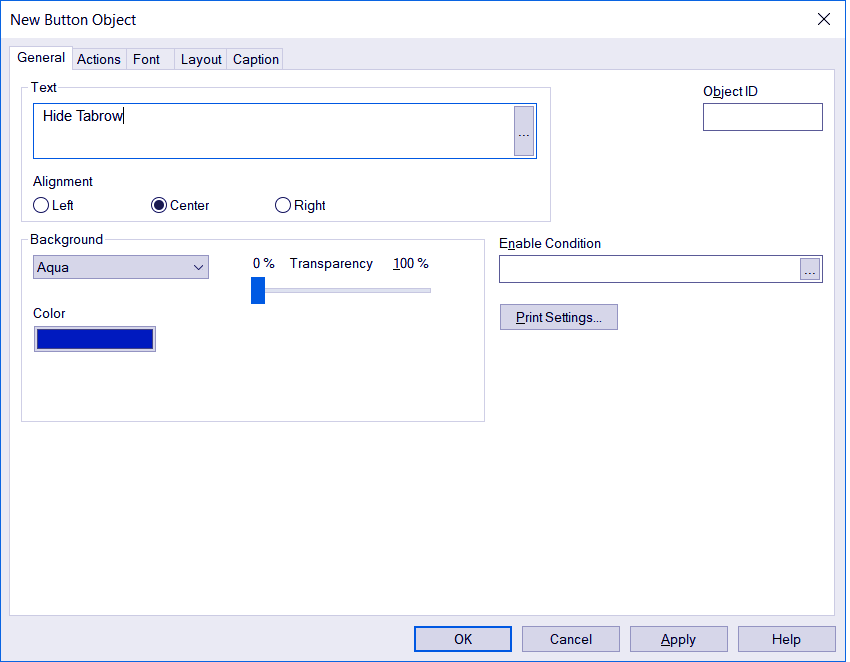
QlikView Automation & Macro – Create Hide TabRow and ShowTabRaw
ii. Step Two
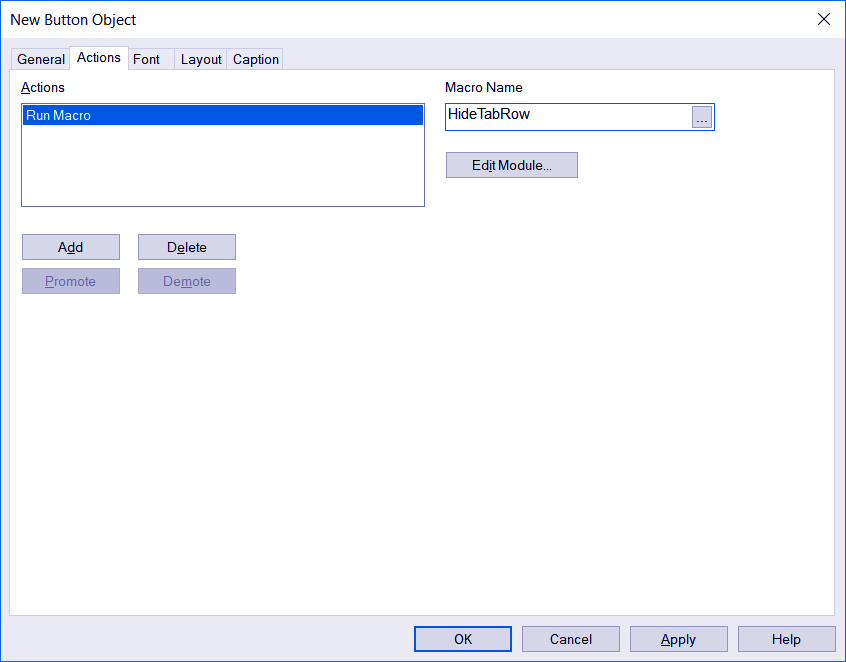
In the Actions tab, click on Add to add a new action for macros. Then from the action type list select External and then select Run Macro from the Actions list. Click on OK.
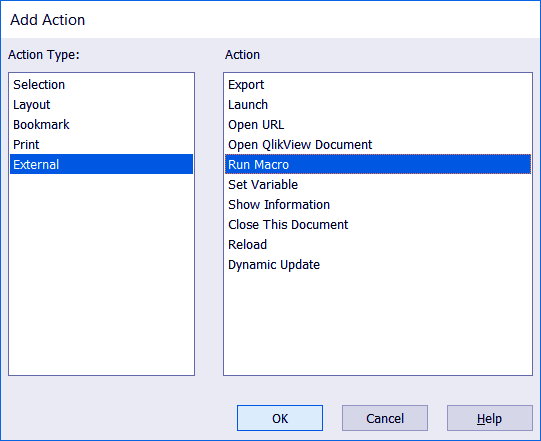
QlikView Automation & Macro – Create Hide TabRow and ShowTabRaw
iii. Step Three
Now, to enter a macro name, select Edit Module… option.
The QlikView macro editor will open, from where copy the macro name and paste in the black space beneath Macro Name. Click OK to exit the properties dialog box.
QlikView Automation & Macro – Create Hide TabRow and ShowTabRaw
QlikView Automation & Macro – Create Hide TabRow and ShowTabRaw
iv. Step Four
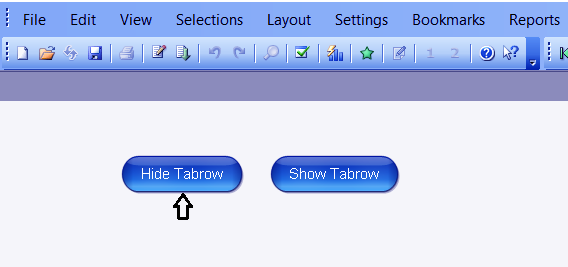
We have repeated the same steps to make one more button object for Show Tabrow macro.
Now, we have two button objects; Hide Tabrow and ShowTabRow.

QlikView Hide TabRow and ShowTabRaw
Upon clicking on the Hide TabRow button, the TabRow displaying all the active tabs hides.
QlikView Automation & Macro – Create Hide TabRow
And upon clicking on the Show Tabrow button, the TabRow again shows.

QlikView Automation & Macro – Create ShowTabRaw
This achieves by creating macros for show and hide actions and running them in button sheet object.
v. Step Five
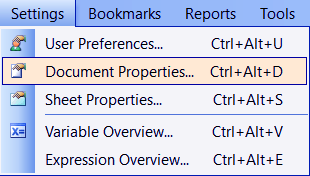
Also, QlikView macro can be run in variable, sheet and document events. To add a macro to an event, you can either go to Settings>Document Properties… or Settings>Sheet Properties…..
QlikView Automation & Macro – Setting
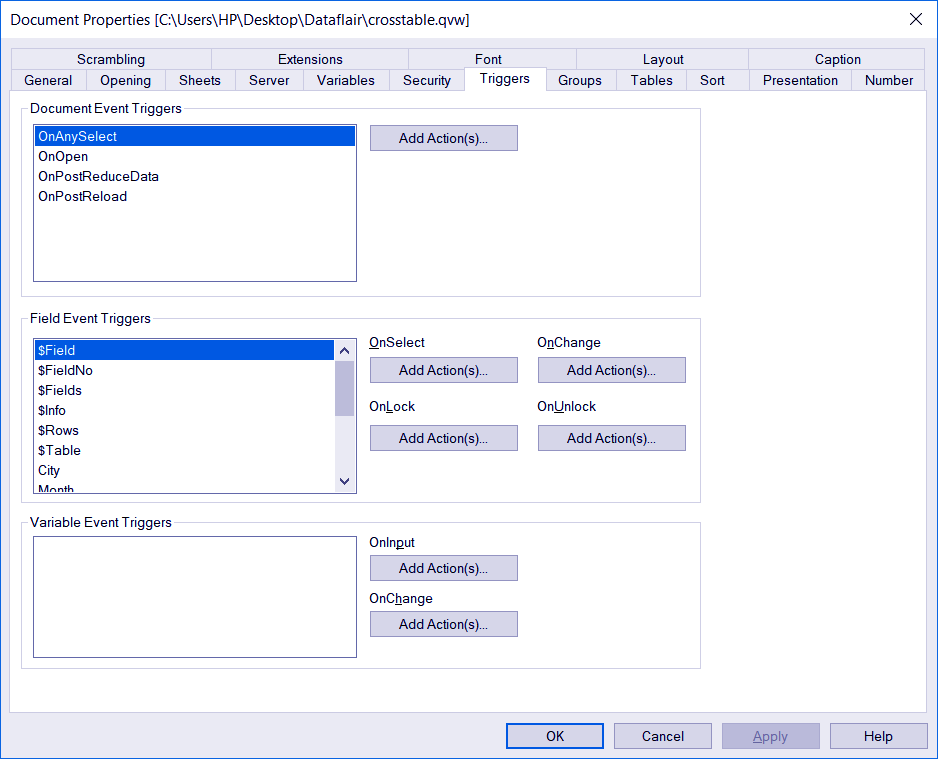
For adding a macro to a document event, go to the Triggers tab in the document properties window.
There, as you can see in the image below, are three separate sections for document event triggers, field event triggers, and variable event trigger.
You can add macros by Add Actions option in the same way we did in the button object example. The field trigger events give four actions (OnSelect, OnChange, OnLock, and OnUnlock) on which you can run a macro by Add Actions option.
Similarly, you can execute macros on variable events like OnInput and OnChange of variable values.
QlikView Automation & Macro – Document Property
vi. Step Six
In the case of sheet events from the Triggers tab in the sheet properties dialog box, you can run macros on two events i.e. OnActiveSheet and OnLeaveSheet.
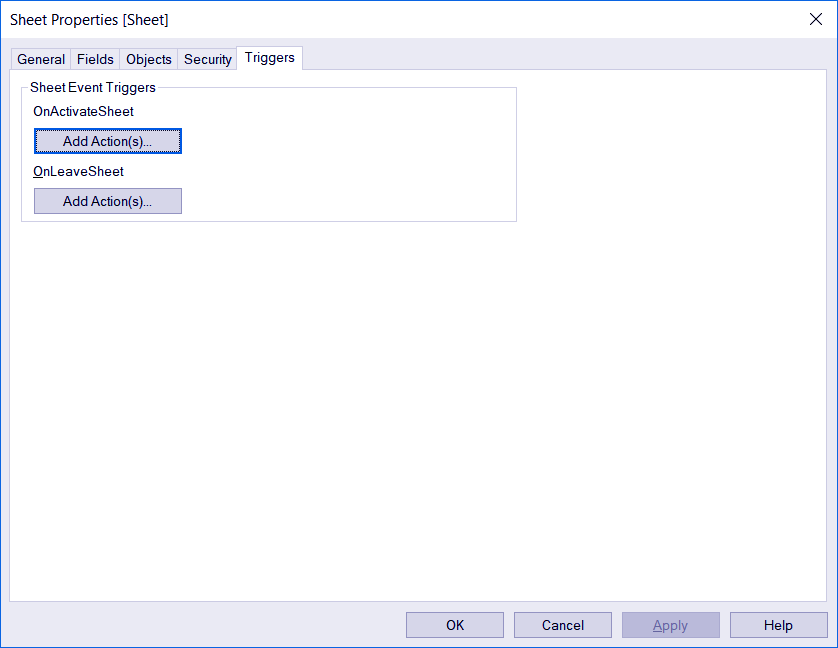
QlikView Automation & Macro – Sheet Property
So, this was all about QlikView Automation and Macro. Hope you like our explanation.
Conclusion
Here we conclude our lesson on QlikView automation and macro. We learned the basics of macros and automation in QlikView, on what layers or QlikView component’s event it can be run with.
Then we saw how to create a macro with an example where we created two macros, Hide TabRow and show TabRow. You can create and add any kind of automated action as a macro in sheet objects, documents, sheets, fields and variable accordingly.
Furthermore, if you have any query, feel free to ask in the comment box.
Your opinion matters
Please write your valuable feedback about DataFlair on Google


Hello! Love your training information. Thank you very much for sharing.
I’ve created the macro below in my QVW. The macro exports data from a set of chart objects into QVD’s. Do you know if there is a way for me to call or execute the macros as part of my ETL script? Or alternatively, is there a way to schedule a task in QMC that will just execute the Macro in my QVW?
Regards, Ryland
ub ExportCoverageMetricQVD
ActiveDocument.Fields(“CG_CUSTOMER_GROUP_ID”).SelectAll
set obj = ActiveDocument.GetSheetObject(“CH536”)
obj.ExportEX “E:\Ryland\ETL_DIM\METRIC_QVD\CGTOT.qvd”,4
set obj = ActiveDocument.GetSheetObject(“CH537”)
obj.ExportEX “E:\Ryland\ETL_DIM\METRIC_QVD\CGMAXGU.qvd”,4
ActiveDocument.Fields(“CREG_GLOBAL_ULTIMATE_ID”).SelectPossible
ActiveDocument.Fields(“CG_CUSTOMER_GROUP_ID”).Clear
set obj = ActiveDocument.GetSheetObject(“CH561”)
obj.ExportEX “E:\Ryland\ETL_DIM\METRIC_QVD\GUTOT.qvd”,4
set obj = ActiveDocument.GetSheetObject(“CH559”)
obj.ExportEX “E:\Ryland\ETL_DIM\METRIC_QVD\GUMAXTHEATER.qvd”,4
set obj = ActiveDocument.GetSheetObject(“CH558”)
obj.ExportEX “E:\Ryland\ETL_DIM\METRIC_QVD\GUMAXTHEATER_NAMED.qvd”,4
ActiveDocument.Fields(“SAV_ID_SAVM_GROUP_TYPE_CODE”).SELECT (“NAMED_ACCOUNT”)
set obj = ActiveDocument.GetSheetObject(“CH560”)
obj.ExportEX “E:\Ryland\ETL_DIM\METRIC_QVD\GUMAXCG.qvd”,4