QlikView Navigation Pane – Explore the QlikView Window
FREE Online Courses: Click, Learn, Succeed, Start Now!
Today, we will include a new chapter in our QlikView Journey, and that is QlikView Navigation. In this QlikView Navigation Tutorial, we will explore the QlikView Tool Bar with their features and functions.
So, let’s start the QlikView Navigation Tutorial.
QlikView Navigation
We have installed the QlikView software onto our computers. Let us now navigate in the tool and see what features and functions do the different QlikView Navigation tools offers.
a. Start Screen
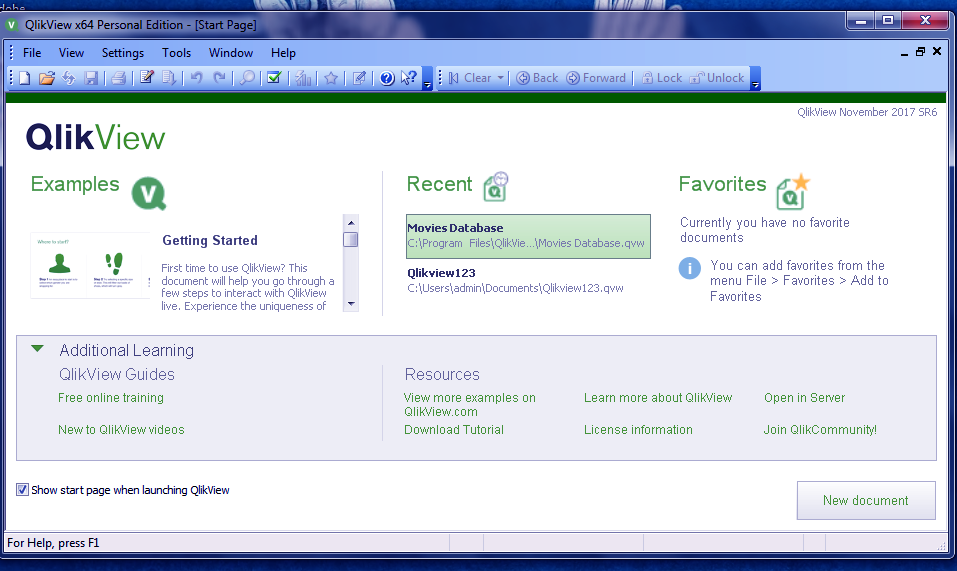
When we talk about QlikView Navigation, we will see a START SCREEN. On the left of this screen, there is an examples section which has preloaded databases which you can use as a trial document to work on QlikView.
One such sample document is a movies database. You can also create a new document or use an already existing one. On the right of the screen is a RECENT and FAVORITES link from where you can get a quick access to the recent and most visited files.
b. QlikView Menu
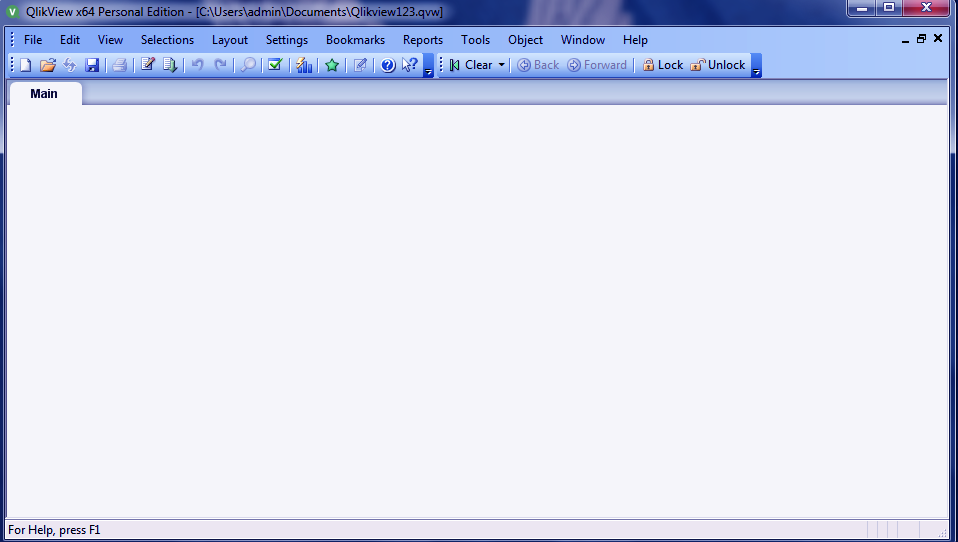
QlikView offers many options and different kinds of tabs. Let see what Menu command options do we have on the QlikView’s Menu Bar.
All the basic functions like File, Edit, View, Bookmark, Layout, Selections, Reports etc. are provided for working efficiently with data and doing its analysis.
c. File Menu
From the File Menu, you can create a new QlikView file or fetch an existing one from the device or QlikView’s server. A few important features are-
- MAIL AS ATTACHMENT, through which you can email the current file as an attachment.
- Another option is to REDUCE DATA where you can only see the report layout and database structure without seeing the whole data.
- TABLE VIEWER option lets you see the table’s structure. Table fields and their graphical association can also be seen.
d. Edit Menu
In this QlikView Navigation Tool, Edit Menu you can perform all the basic editing operations like Cut, Copy, Paste and use Format Painter. Some important features are-
- You can undo the changes made in the layout by UNDO LAYOUT CHANGE
- Using REMOVE you can remove a sheet from an active window.
- You can do different searches like FUZZY and ADVANCED search.
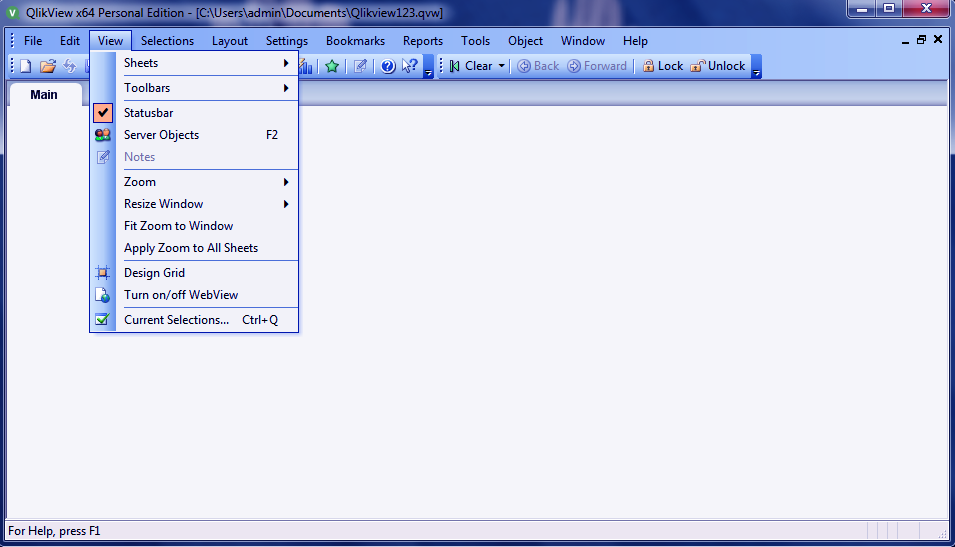
e. View Menu
This menu is used to access the Standard tool bar. Features like Zoom in and zoom out, active sheet display as cascades are its highlight.
- With the CURRENT SELECTIONS option, you can select sheet objects and the file name and value will be displayed.
- The TURN ON/OFF WEBVIEW option lets you choose between webview mode or local view mode.
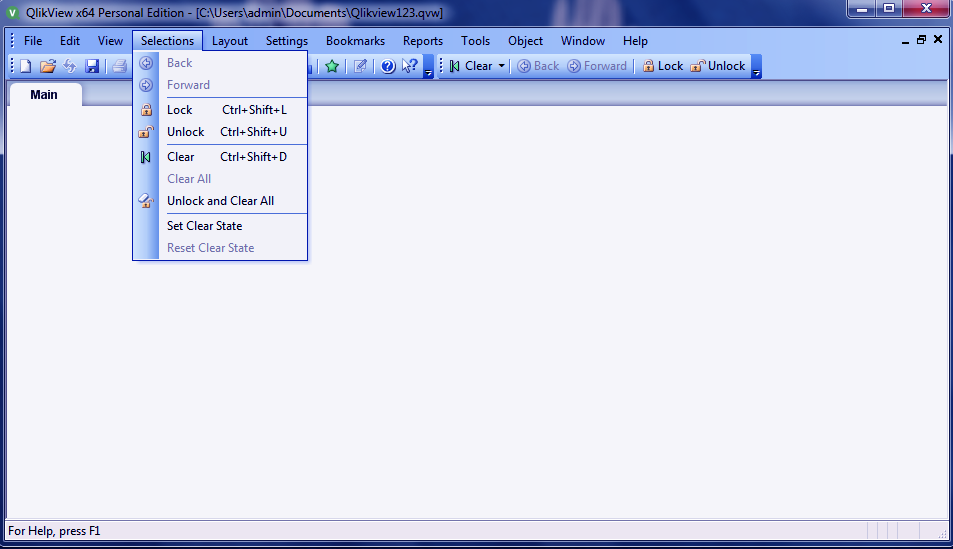
f. Selections Menu
This QlikView Navigation Tool is used to select and clear the value selections in the sheet objects. It provides the option of free movement within the active sheet. Some unique features are-
- The LOCK feature locks all the current selection values.
- With the UNLOCK feature, you can unlock the values of the current selection.
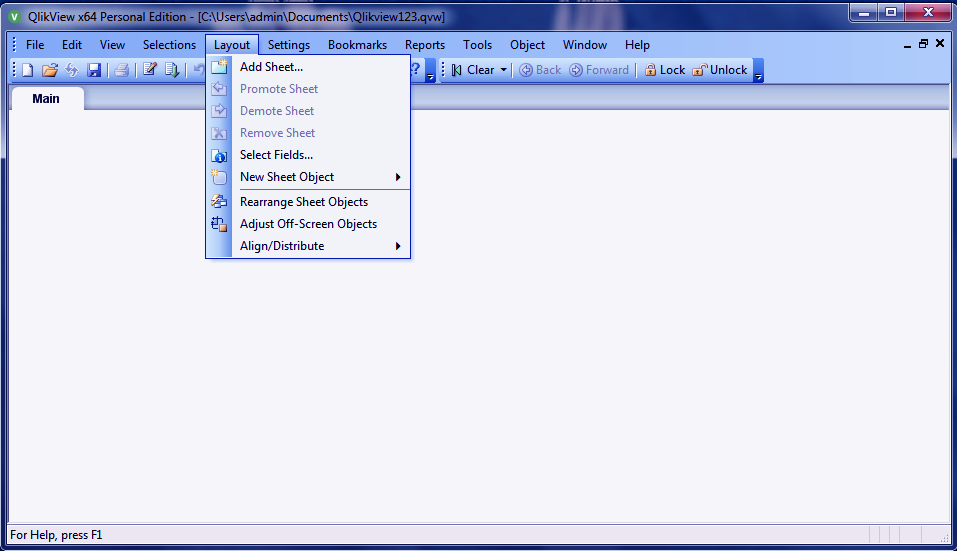
g. Layout Menu
This menu is basically for doing operations on the sheets. You can add sheets, select different sheets or even rearrange objects in a sheet.
- Using the PROMOTE SHEET option you can move the current sheet one level up.
- The DEMOTE SHEET allows you to level down the selected sheet or tab.
- The REMOVE SHEET option will delete the current sheet entirely.
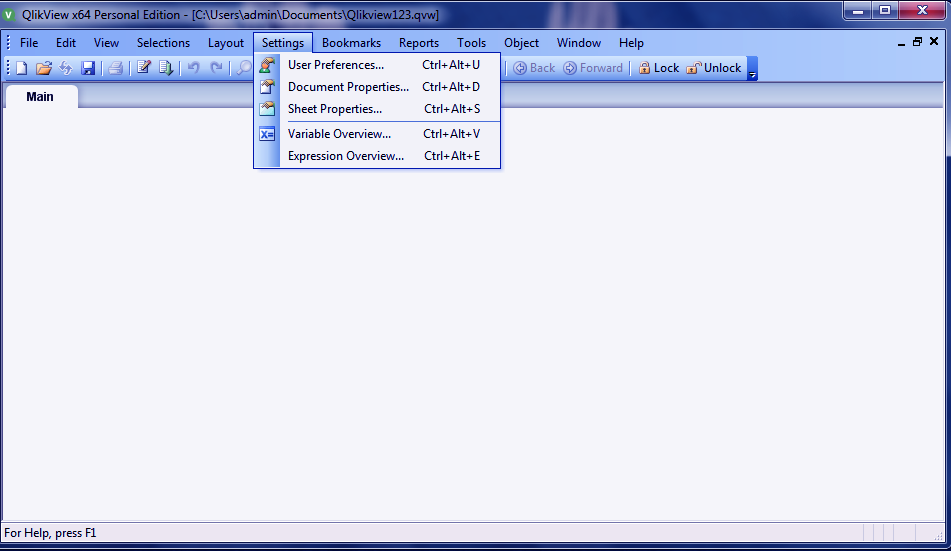
h. Settings Menu
With the help of the settings menu, you can set user preferences, document properties and sheet properties. The option of Variable Overview lets you see the variables that are not hidden and their values in one list.
Through the Expression Overview option, you can see in a single list all the sheet, sheet objects and document expressions.
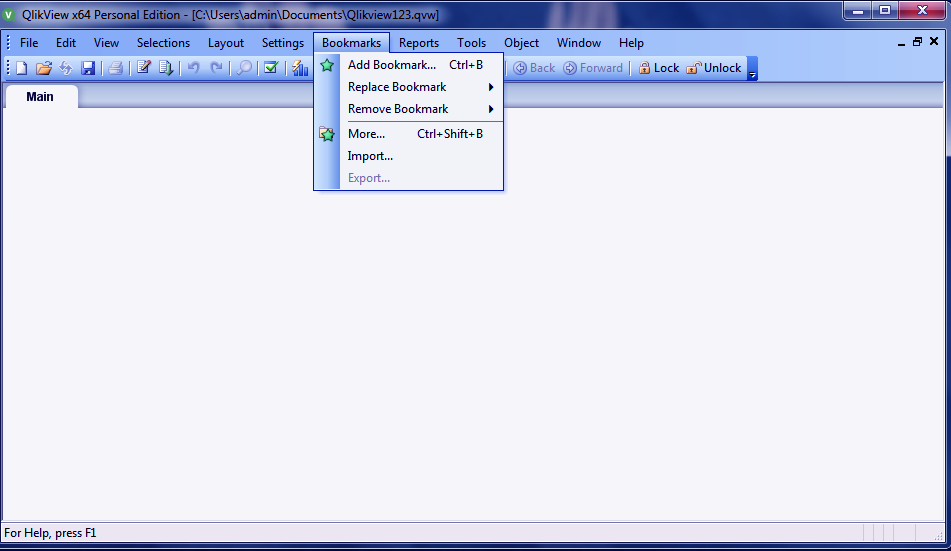
i. Bookmark Menu
The bookmark menu lets you bookmark important documents for quick access. You are given many options like ADD, REPLACE and REMOVE the bookmark with a few other options worth exploring.
The IMPORT options lets you import documents and bookmark them for future use.
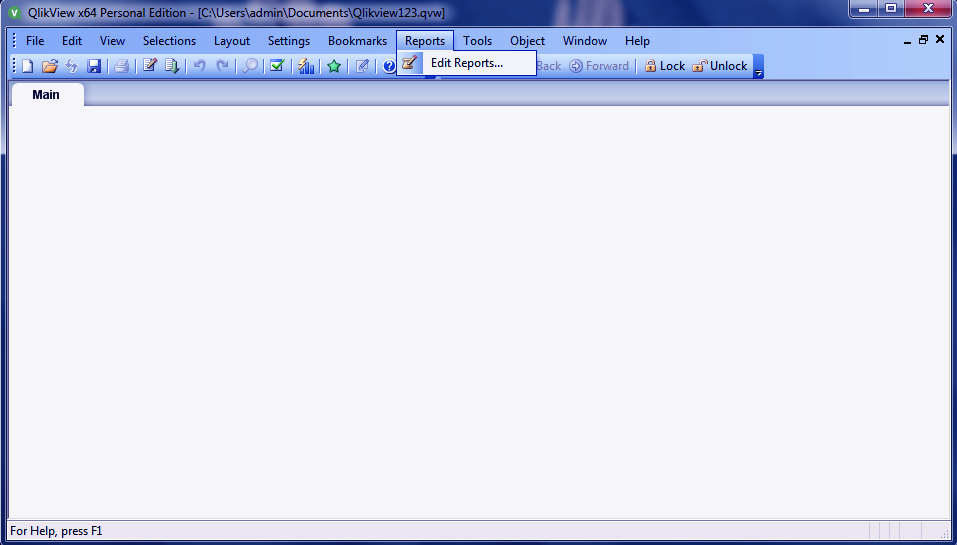
j. Reports Menu
The reports menu lets you edit the reports. New reports can also be created and modification, like adding new pages, layout editing and report deletion, can be done using this feature.
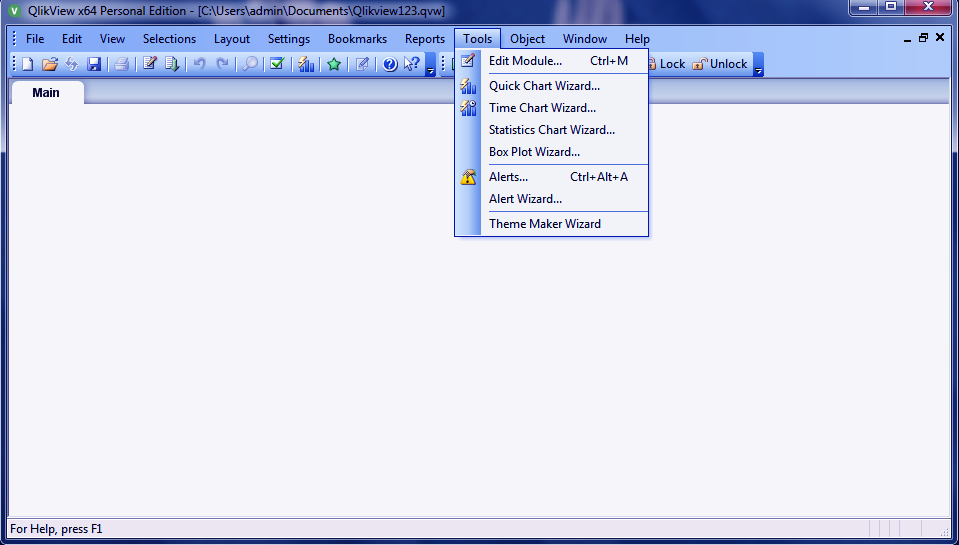
k. Tools Menu
This QlikView Navigation menu serves many features. You can edit the entire module through this. It provides three main wizards,
- The QUICK CHART WIZARD lets you instantly create a chart.
- TIME CHART WIZARD offers the creation of a time series chart.
- SATISTICS CHART WIZARD helps in doing different statistical operations or tests on the data.
- You can also access the Management Console from this menu.
- The THEME MAKER WIZRAD lets you set themes for the documents or reports.
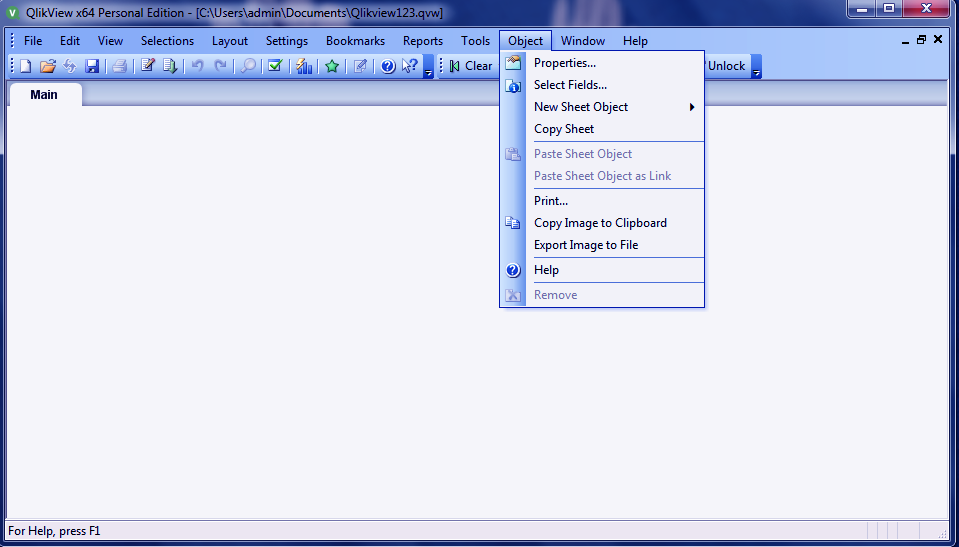
l. Object Menu
You can perform many operations on the sheets and sheet objects using this menu.
- With COPY SHEET option you can copy the sheet and its objects.
- The COPY IMAGE TO CLIPBOARD option copies a bitmap picture of the sheet to the clipboard.
- REMOVE option removes the sheet and all the associated sheet objects.
You can set the properties and parameters of the sheet and it’s fielding also.
m. Windows Menu
This menu offers a quick access to all the recently opened tabs in QlikView like the Start Page, Cascade sheets, Movie Database or any file that you access recently or frequently
. With the ARRANGE ICON option, you can arrange the icons according to you.
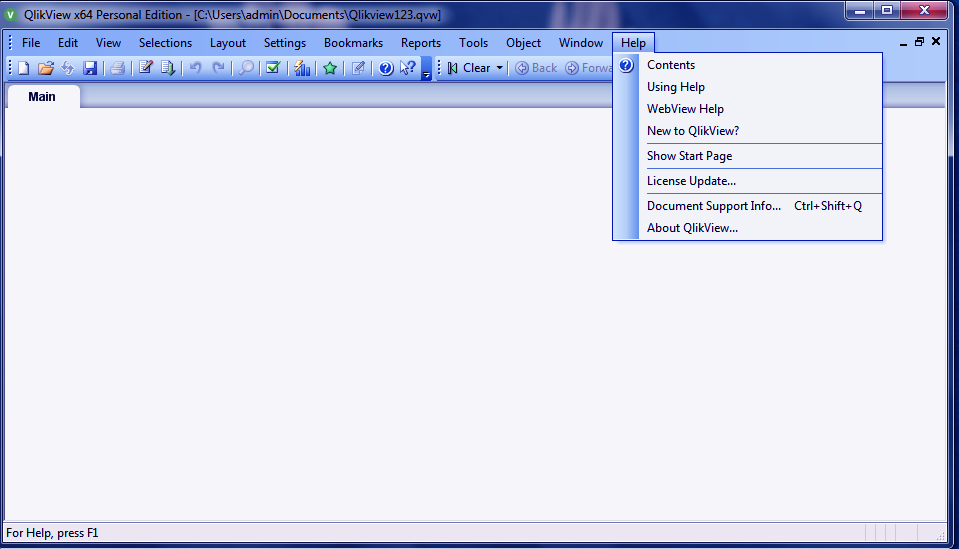
n. Help Menu
The Help Menu is there to provide any sort of help to the user.
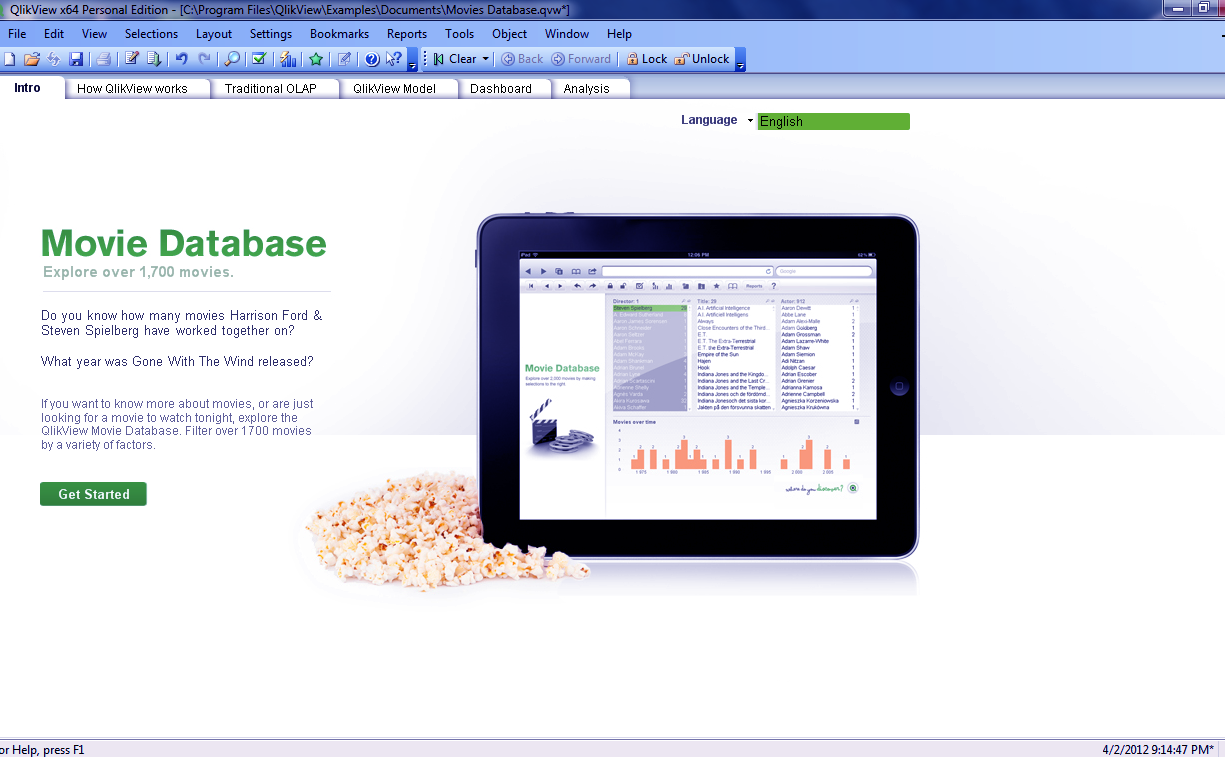
o. Sample Movie Database
As we have already seen, QlikView provides some sample databases for gaining a preliminary understanding of how QlikView works. Let us explore this option by choosing for the sample MOVIE DATABASE.
- This is the introductory tab of the Movie Database. Read the information and click on GET STARTED to continue.
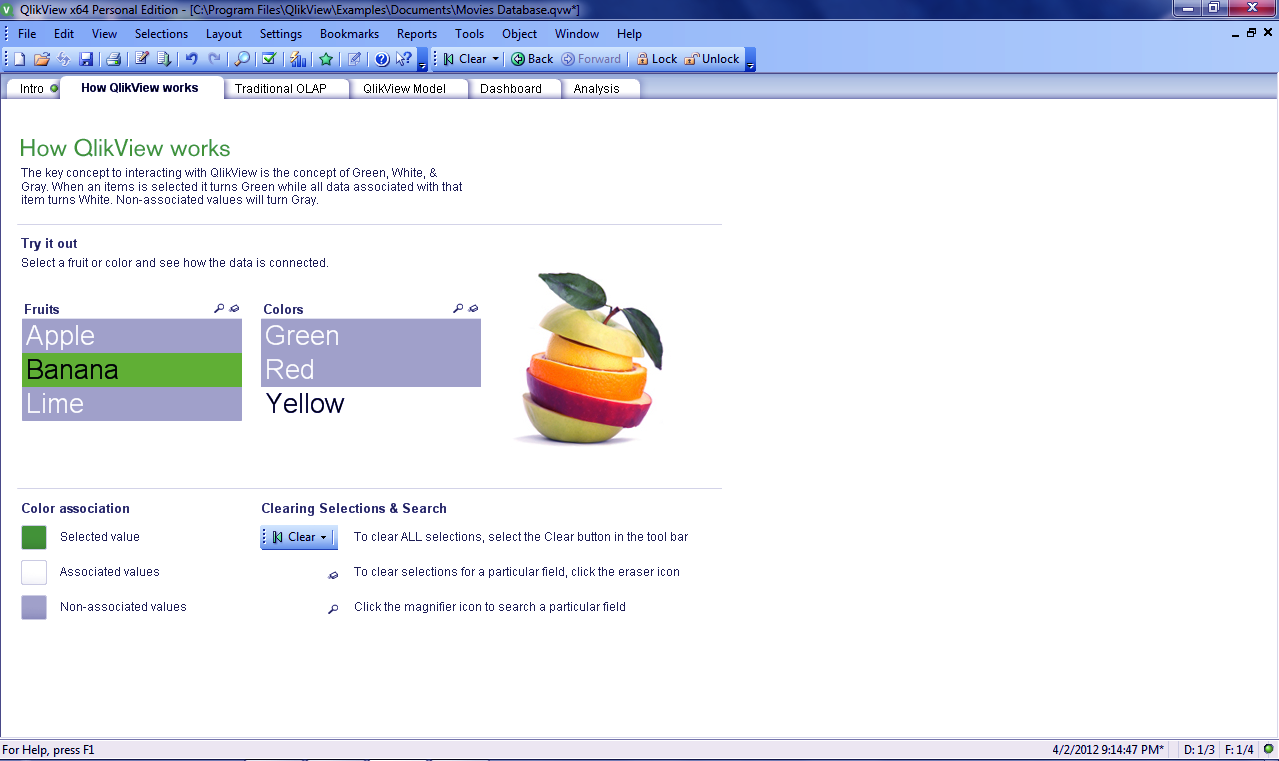
- The next tab shows you with an example how QlikView works. It tries to explain the associative model by the example of three fruits. In the three fruit choices given are Apple, Banana and Lime. Upon selecting each fruit the highlighted sections on the colours section changes. If you select Banana from the Fruits, the two irrelevant colours Green and Red will automatically deactivate leaving only Yellow active. Thus, it perfectly shows how in QlikView only associated values are displayed and non-associated unwanted values are made inactive.
- Next is the traditional OLAP model in which data fields are not independent and must be searched through a drill-down process. You can yourself see how this hierarchical data search works by selecting different Directors from the list.
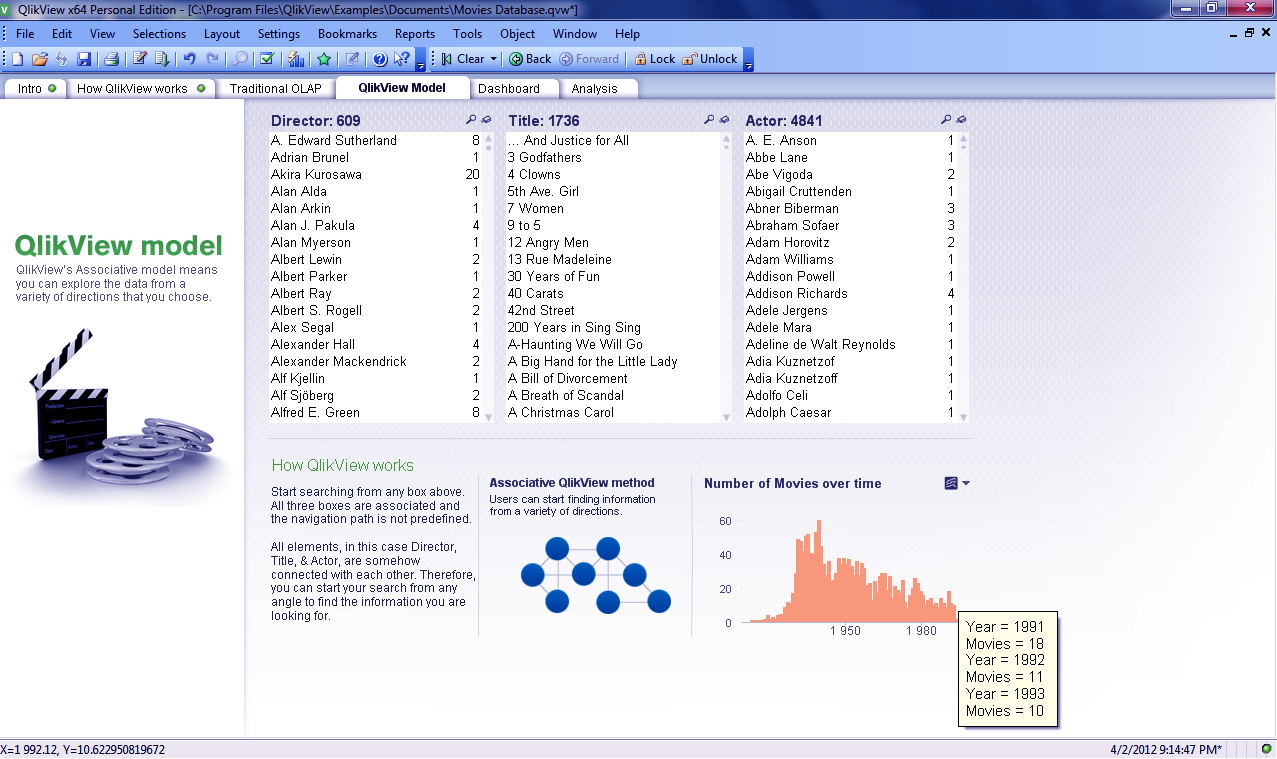
- This tab explains with a data-heavy example the Associative QlikView Model.
- Next is the QlikView Dashboard where all the work is done.
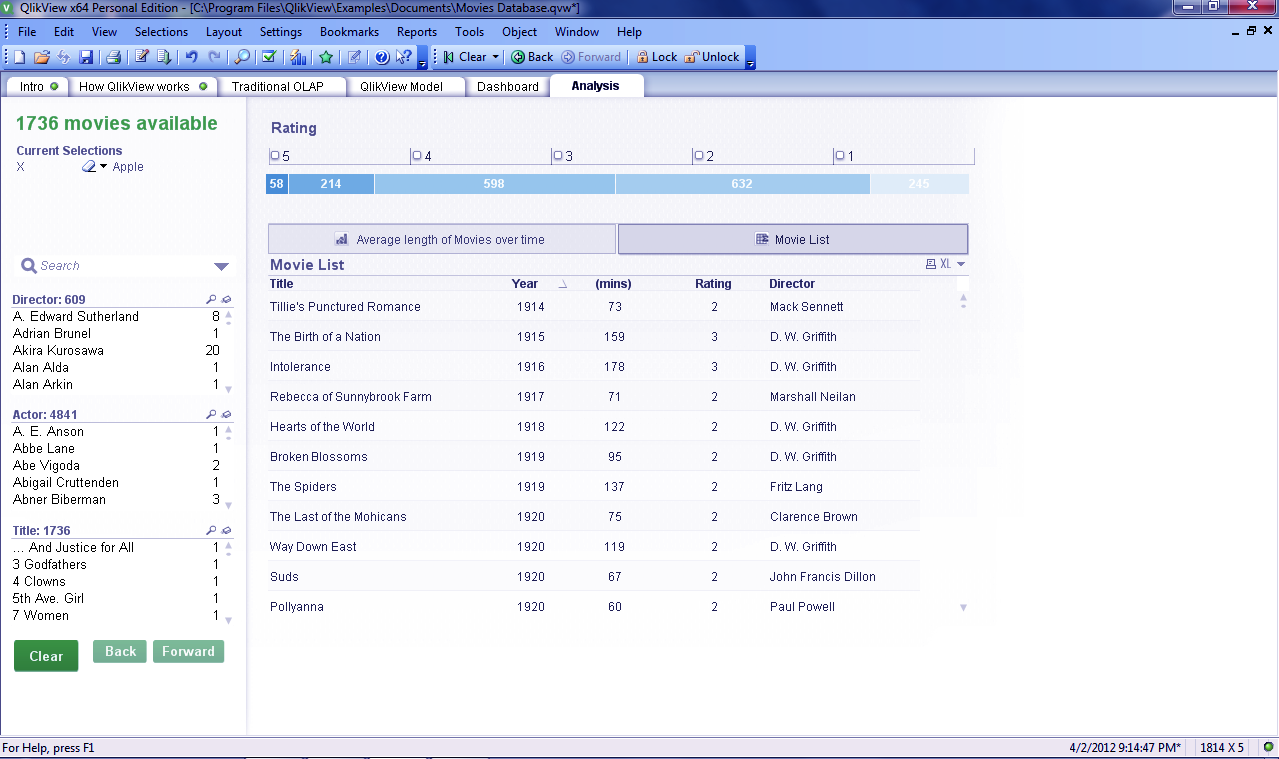
- Last but not the least is the Analysis tab giving important insights into data.
So, this was all about QlikView Navigation. Hope you like our explanation.
Conclusion
Hence, we have understood all the elements of QlikView properly and also how to navigate within the tool. Understanding this QlikView Navigation Tools is a step by step process as it is a new and unique tool than the usual software we are used to using.
Do leave your queries and reviews in the comment box below.
We work very hard to provide you quality material
Could you take 15 seconds and share your happy experience on Google
