Interacting with Qlik Sense User Interface
FREE Online Courses: Enroll Now, Thank us Later!
Earlier, we have discussed the Qlik Sense Data Model. Today we will see Qlik Sense User Interface Interaction. This tutorial will show you all the proper ways of interacting with the user-interface in Qlik Sense on all sorts of devices like laptops, desktops, tablets, or small screen mobile devices.
So, let’s start Qlik Sense User Interface Interaction.
1. How to Interact with Qlik Sense User Interface
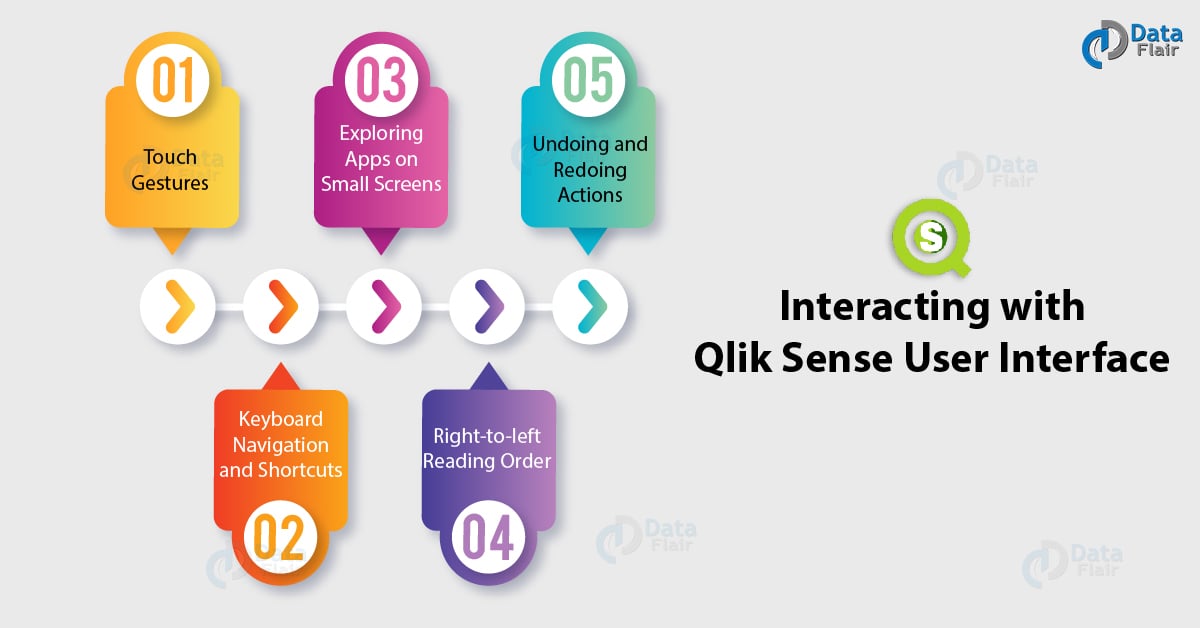
i. Touch Gestures
Remember and use the touch gestures given in this section if you are using a touch device to have a hassle-free navigating experience in Qlik Sense apps.
- Action name: Tap
Gesture
Description: Selects what you are tapping on. Works similar to the left-click of a mouse.
- Action name: Double-tap
Gesture
Description: Similar to the double-click of the mouse.
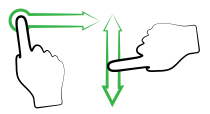
- Action name: Swipe
Gesture
Description: Scrolls the lists and make selections in visualizations.
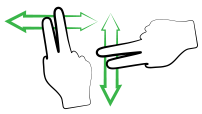
- Action name: Two-finger swipe
Gesture
Description: Scrolling and panning.
- Action name: Two-finger tap
Gesture
Description: Selects a range of values from a list.
- Action name: Pinch
Gesture
Description: For zooming in and out.
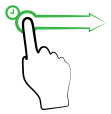
- Action name: Long-touch
Gesture
Description: a. Selects and moves an object.
b. Opens the shortcut menu.
- Action name: Three-finger tap
Gesture
Description: Resetting the zooming level of a scatter plot.
- Action name: Long-touch and drag
Gesture
Description: a. Moves a slide to a new location in the storytelling view.
b. Moves an item into a slide into the storytelling view.
- Action name: Two-finger selection
Gesture
Description: Makes a square selection in a visualization.
Recommended Reading – Qlik Sense Distribution Plot
ii. Keyboard Navigation and Shortcuts
In this section, we are going to give all the keyboard keys or combination of keys which are used to navigate in different sections of the Qlik Sense app.
a. Keyboard navigation in the hub
- Tab: Moves focus forward and an active menu, this key will cycle between the menu options.
- Shift + Tab: Moves the focus back.
- Ctrl + G: For switching to a grid layout.
- Ctrl + Shift + L: To switch to list layout.
- Left + right arrows: Moves through a horizontal list in focus, like in a grid view.
- Up + down arrows: Moves through a vertical list in focus, like in a list view.
- Enter or Space: Selects the item in focus.
- Ctrl + up arrow: Navigates to the first item in the list.
- Ctrl + down arrow: Navigates to the last item in the list.
- Alt + N: To open ‘Create new app’ dialog.
- Ctrl + Delete: Opens delete confirmation dialog for selected apps.
- Shift + F10: Opens context menu for the selected app.
- Esc: Closes a dialog or context menu.
- Up + down arrows: Shifts focus between app thumbnail in grid view.
b. Keyboard navigation in the app overview and toolbar
- Tab: Moves focus forward.
- Shift + Tab: Moves focus backward.
- Enter or Space: Opens the current focus.
- Esc: Closes an open menu.
- Right arrow: Moves the focus to the next sheet or story on the app overview page.
- Left arrow: Moves the focus to the previous sheet or story on the app overview page.
- Up arrow: Moves to the next bookmark on the app overview page.
- Down arrow: Moves to the previous bookmark on the app overview page.
- Ctrl + G: For switching to a grid layout.
- Ctrl + Shift + L: For switching to list layout.
- Ctrl + up: Moves to the first item in the list.
- Ctrl + down: Moves to the last item in the list.
You must read – Qlik Sense Histogram Visualizations
c. Keyboard navigation in a sheet view
- Tab: Navigates forward between items in the toolbar and the visualizations in a sheet.
- Shift + Tab: Navigates backward between items in the toolbar and the visualizations in a sheet.
- Ctrl + Right arrow: Moves to the next sheet.
- Ctrl + Left arrow: Moves to the previous sheet.
- Ctrl + Home, Ctrl + Fn + Left (Mac OS): Moves to the first sheet of the app.
- Ctrl + End, Ctrl + Fn + Right (Mac OS): Moves to the last sheet of the app.
- Right arrow: Moves to the next visualization in the row.
- Left arrow: Moves to the previous visualization object in the row.
- Up arrow: Moves to the visualization in the row above.
- Down arrow: Moves to the visualization in the row below.
- Ctrl + up arrow: Moves to the first visualization in the sheet.
- Ctrl + down arrow: Moves to the last visualization in the sheet.
- Enter: Switches between the current visualization and its table representation.
- Shift + Enter or Space: To open the current visualization in full screen.
- Shift + F10, Alt + Shift + F10 (Internet Explorer 11) or Fn + Shift + F10 (Mac OS): Opens the context menu of the current visualization.
- Ctrl + E: Toggles sheet edit on/off.
d. Keyboard shortcuts
- Ctrl + P: To print the current view or active sheet/story.
- Ctrl + C: To copy the selected item. The item gets copied to the clipboard.
- Ctrl + X: To cut a selected item and copy it to the clipboard.
- Ctrl + V: To paste the most-recently copied item from the clipboard.
- Ctrl + Z: To undo an action.
- Ctrl + Y, Cmd + Shift + Z (Mac OS): To redo actions.
- Ctrl + H: To open online help in the context of the current function.
- Ctrl + F: To open smart search.
- Ctrl + E: To open and close the editing of the selected sheet.
- Ctrl + S: To save changes to the app.
- Ctrl + O: To open an app file copied to the clipboard using Ctrl + C.
- Ctrl + A: To select all code. It only works in data load editor and expression editor.
- Ctrl + D: To delete the content of the current line.
- Ctrl + K: To Comment or uncomment the selected lines in the data load editor.
- Ctrl + 00: To insert a test script in the data load editor.
- Tab: To indent code in the data load editor.
- Shift + Tab: To outdent a code in the data load editor.
- Left arrow: Moves to the previous slide in storytelling view.
- Right arrow: Moves to the next slide in storytelling view.
- Up arrow: To scroll up in a table.
- Down arrow: To scroll down in a table.
- Ctrl + left arrow: Moves to the previous sheet in the sheet view.
- Ctrl + right arrow: Moves to the next sheet in the sheet view.
- Ctrl + Home, Cmd + Fn + Left (Mac OS): Moves to the first sheet of the app in the sheet view.
- Ctrl + End, Ctrl + Fn + Right (Mac OS): Moves to the last sheet of the app in the sheet view.
- Esc: To exit play mode in storytelling view.
- Delete: To delete the selected item.
- Backspace: To delete the selected item.
- Enter: To perform the action for the active option or button.
- Ctrl + +: Zoom in.
- Ctrl + -: Zoom out.
- Ctrl + 0: Reset zooming.
- Shift: To add the field as a filter pane, when held while dragging and dropping a field into a sheet.
iii. Exploring Apps on Small Screens
If you are using Qlik Sense on a device with a small screen, then you can only make selections and navigate between different elements of the app. You cannot create or edit apps and sheets on small screens.
- In the small screen version, you get a navigation panel both at the top and the bottom of the app view. From the panel at the top, you can access the hub, overview, and help. And, from the bottom panel, you can access and browse sheets, stories, and visualizations. Also, you can select between portrait and landscape mode.
- On the hub, you can access the apps and streams depending upon the level of allowed access into the stream.
- The sheets and visualizations can be viewed in detail on full screen. You can also make selections in the visualizations and open the exploration menu for the corresponding visualizations.
- You can use existing and create new bookmarks.
- Also, you can also just view the stories but cannot edit them.
iv. Right-to-left Reading Order
By default, the characters in a string are read from left-to-right in a Qlik Sense app. This is known as the reading order in a Qlik Sense app. You can change the reading order and make it from left-to-right in cases when you are using Qlik Sense in languages like Arabic or Hebrew (which are read from left-to-right).
In such cases, the change in reading order changes along with it things like the orientation of the visualizations, all the texts displayed on the sheet etc. Although, the toolbar and edit panels do not change. The order of reading can only be changed in unpublished apps.
v. Undoing and Redoing Actions
The actions performed while editing in sheet view or storytelling view can be undone or redone using the icons, and respectively. Keyboard shortcuts Ctrl + Z and Ctrl + Y. In a sheet view, all the actions are undone, if not saved, if you leave a sheet you were working on or make any changes in the assets panel. And, in storytelling view, actions are undone when you leave the storytelling view without saving them, enter storytelling play mode, enter the sheet view via the shortcut menu.
So, this was all in Qlik Sense User Interface. Hope you liked our explanation.
2. Summary
Hence, in this Qlik Sense User Interface tutorial, we learned about how to interact with Qlik Sense user interface. The techniques and shortcut keys discussed in this lesson eases up navigating and working with Qlik Sense User Interface for the user and lets them focus entirely on the analysis that they are conducting.
Still, if you have any doubt regarding Qlik Sense User Interface, ask in the comment tab.
Must Read – Qlik Sense Interview Questions
Did we exceed your expectations?
If Yes, share your valuable feedback on Google


Good I’m intersted learning languages