QMC – Qlik Management Console For Qlik Sense
FREE Online Courses: Transform Your Career – Enroll for Free!
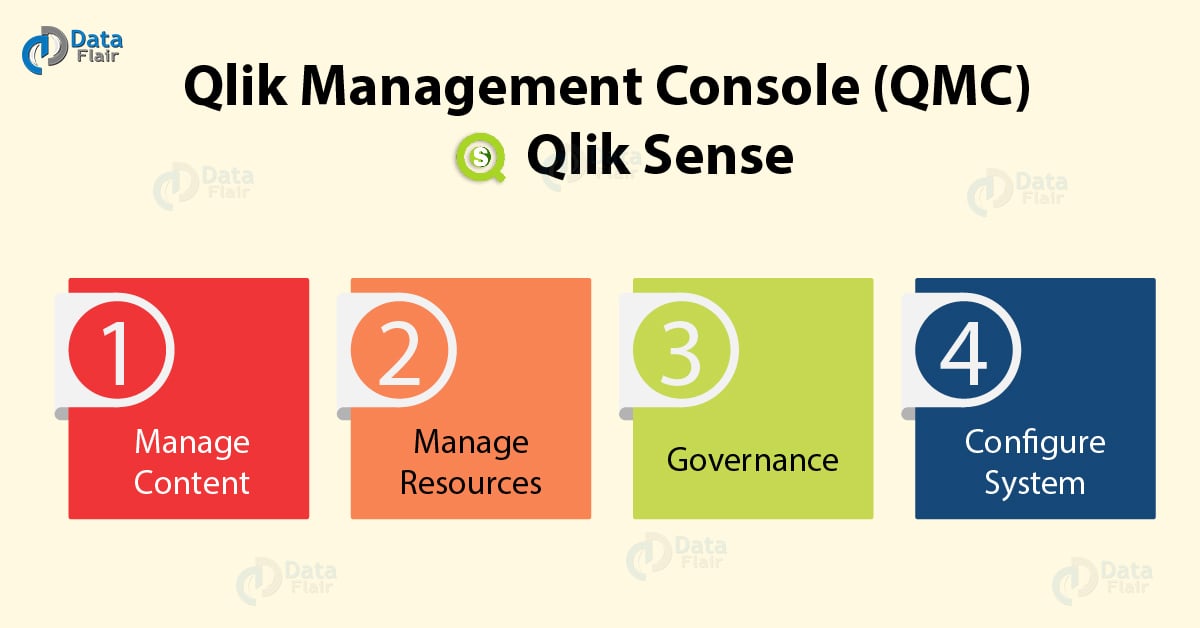
In our last lesson, we saw Qlik Sense System Requirement. Today, we will learn about QMC, the central management platform used to manage all the Qlik Sense’s elements and services. It is called Qlik Management Console or QMC. The QMC has four main sections, namely – manage content, manage resources, governance and configure the system. We will discuss the options available in each of the categories.
So, let’s start Qlik Managemnet Console (QMC) Tutorial.
1. What is QMC?
All the services powering and enabling the functioning of Qlik Sense centrally manages by the Qlik Management Console (QMC). We can open the QMC from the link https://<computer_name>/qmc where computer_name is the name of your system which is registered and on which you are using Qlik Sense services.
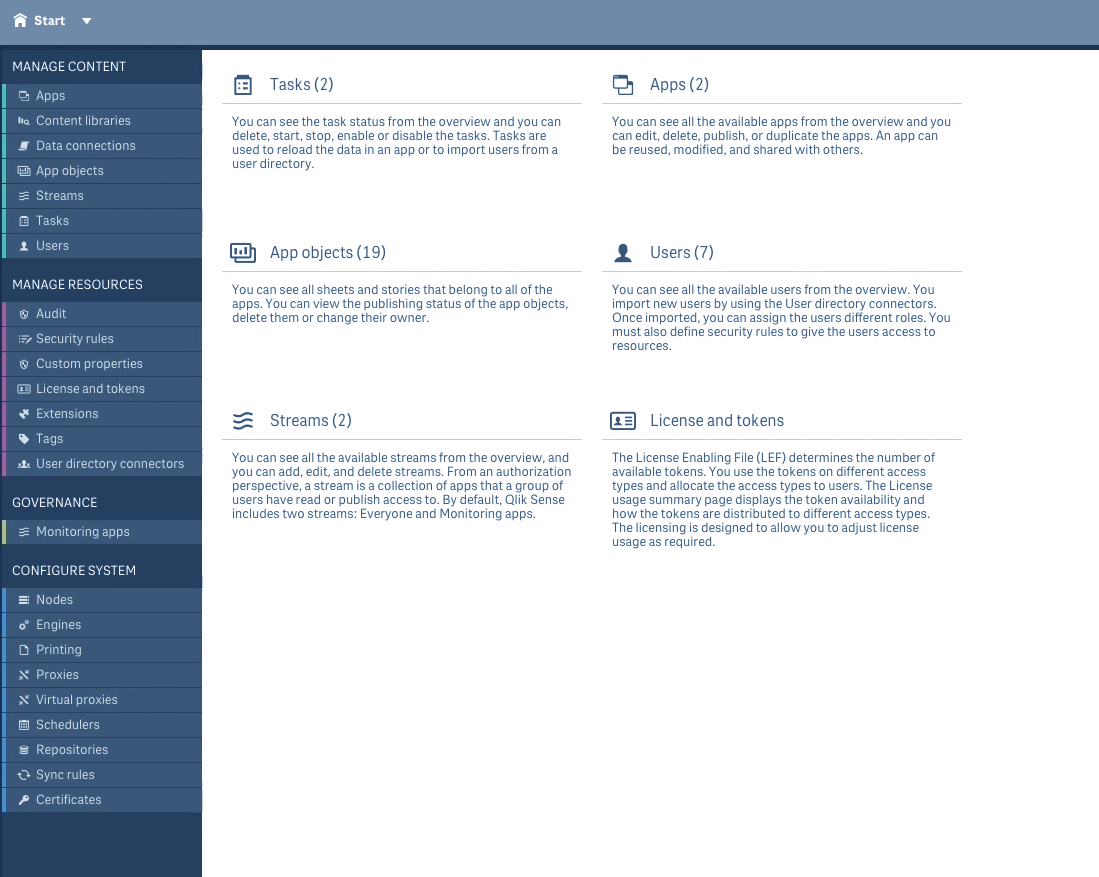
The QMC has many sections and have options to manage functionalities and QS services distinctively. You can easily navigate in the QMC home page following the options given in each compartment dedicated to managing different services and properties.
The QMC home page has four main sections.
- Manage content section
- Manage resources section
- Governance section
- Configure the system section
In the sections to follow, we will learn in detail about the options available in each of the four sections and what purpose do they serve.
2. How to Manage Content in Qlik Management Console?
i. Apps in Qlik Sense
A Qlik Sense app is a task and purpose-specific document whose author or owner’s name is stored in this section of the QMC. We can reuse, delete, modify and share/publish an app with other users.
ii. Qlik Sense Content Libraries
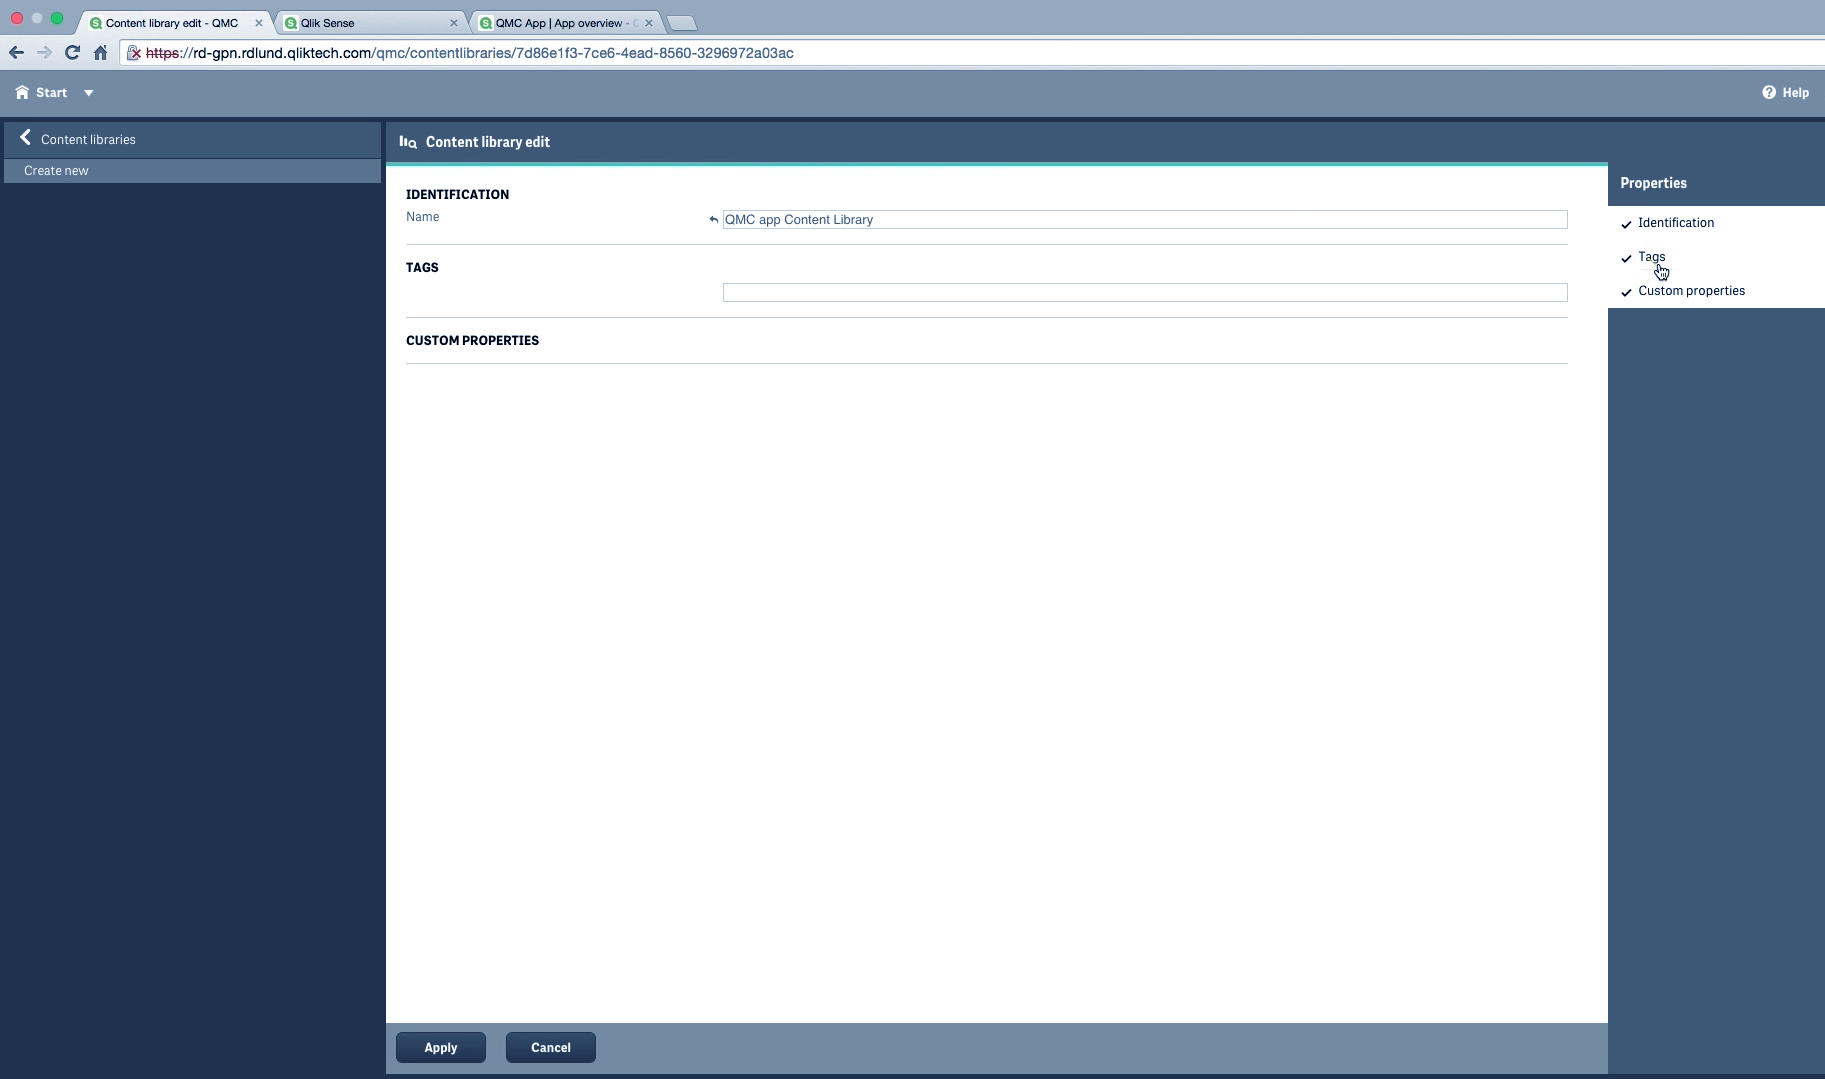
The content libraries are the platform where users share the content of their apps. They can create a library and secure it with user names and passwords.
iii. Qlik Sense Data Connections
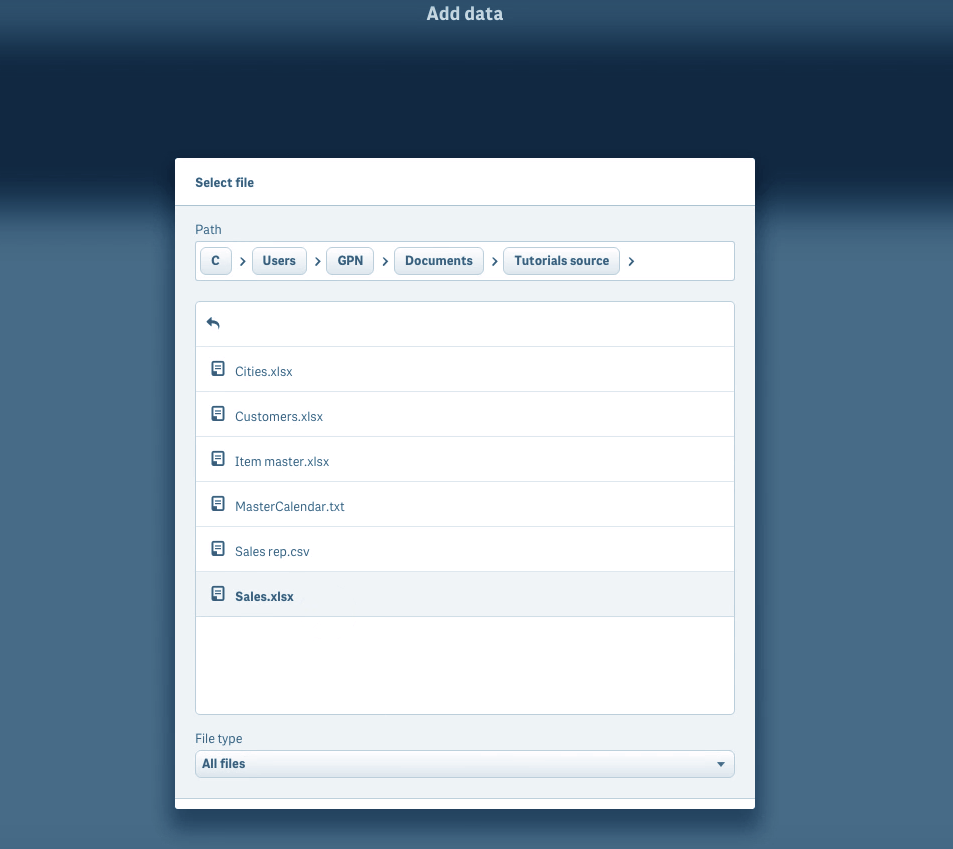
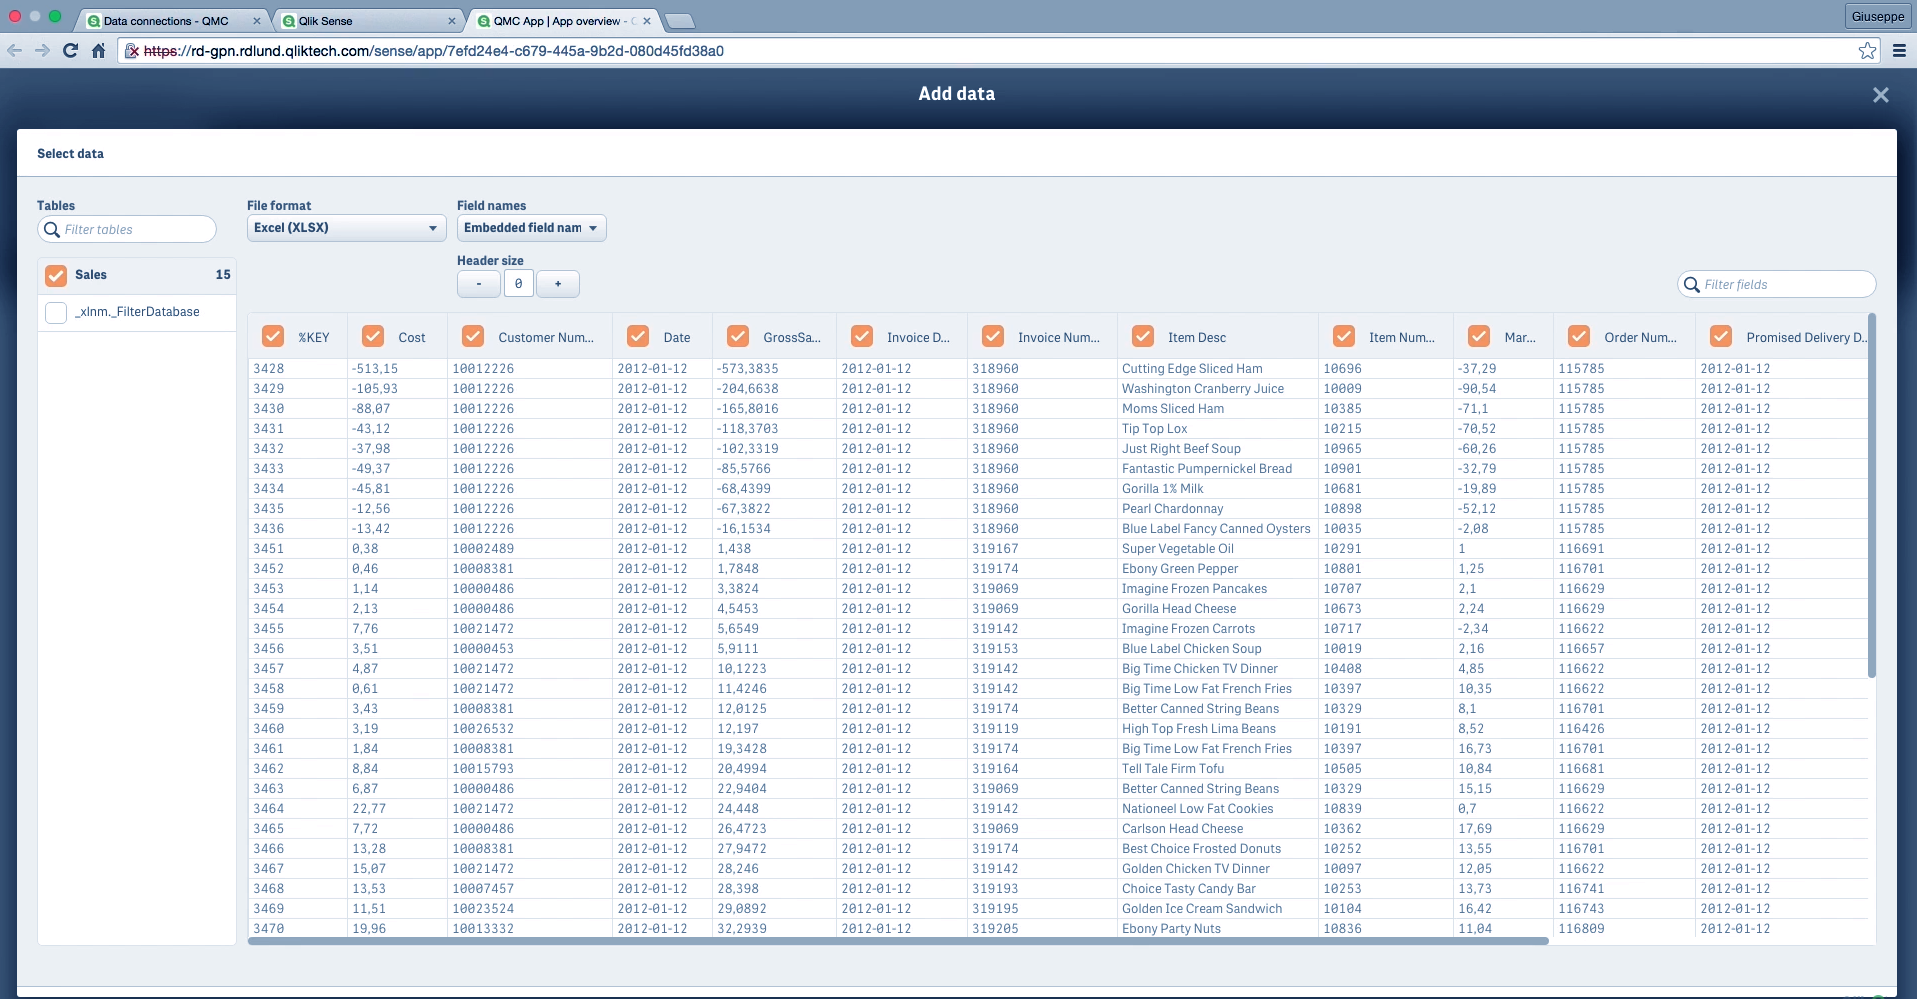
Data connections are the connections established with external data sources through data load editor or the add data option. You can define a path of the data connection, select a data source and load data from it.
Recommended Reading – Qlik Sense Data Model
The user who creates such a connection is called the owner of that connection and the newly created connection starts showing in the list of existing data connections.
Only the owner or creator of the connection has access rights to it. However, the connection can manage and also share with other users through the QMC abiding by its security rules.
iv. App Objects in Qlik Sense
The app objects section contains the entire list of app objects present in Qlik Sense apps which can be managed. These app objects are published with the app they are present in and are managed individually here. You can manage sheets and stories from here.
v. Qlik Sense Streams
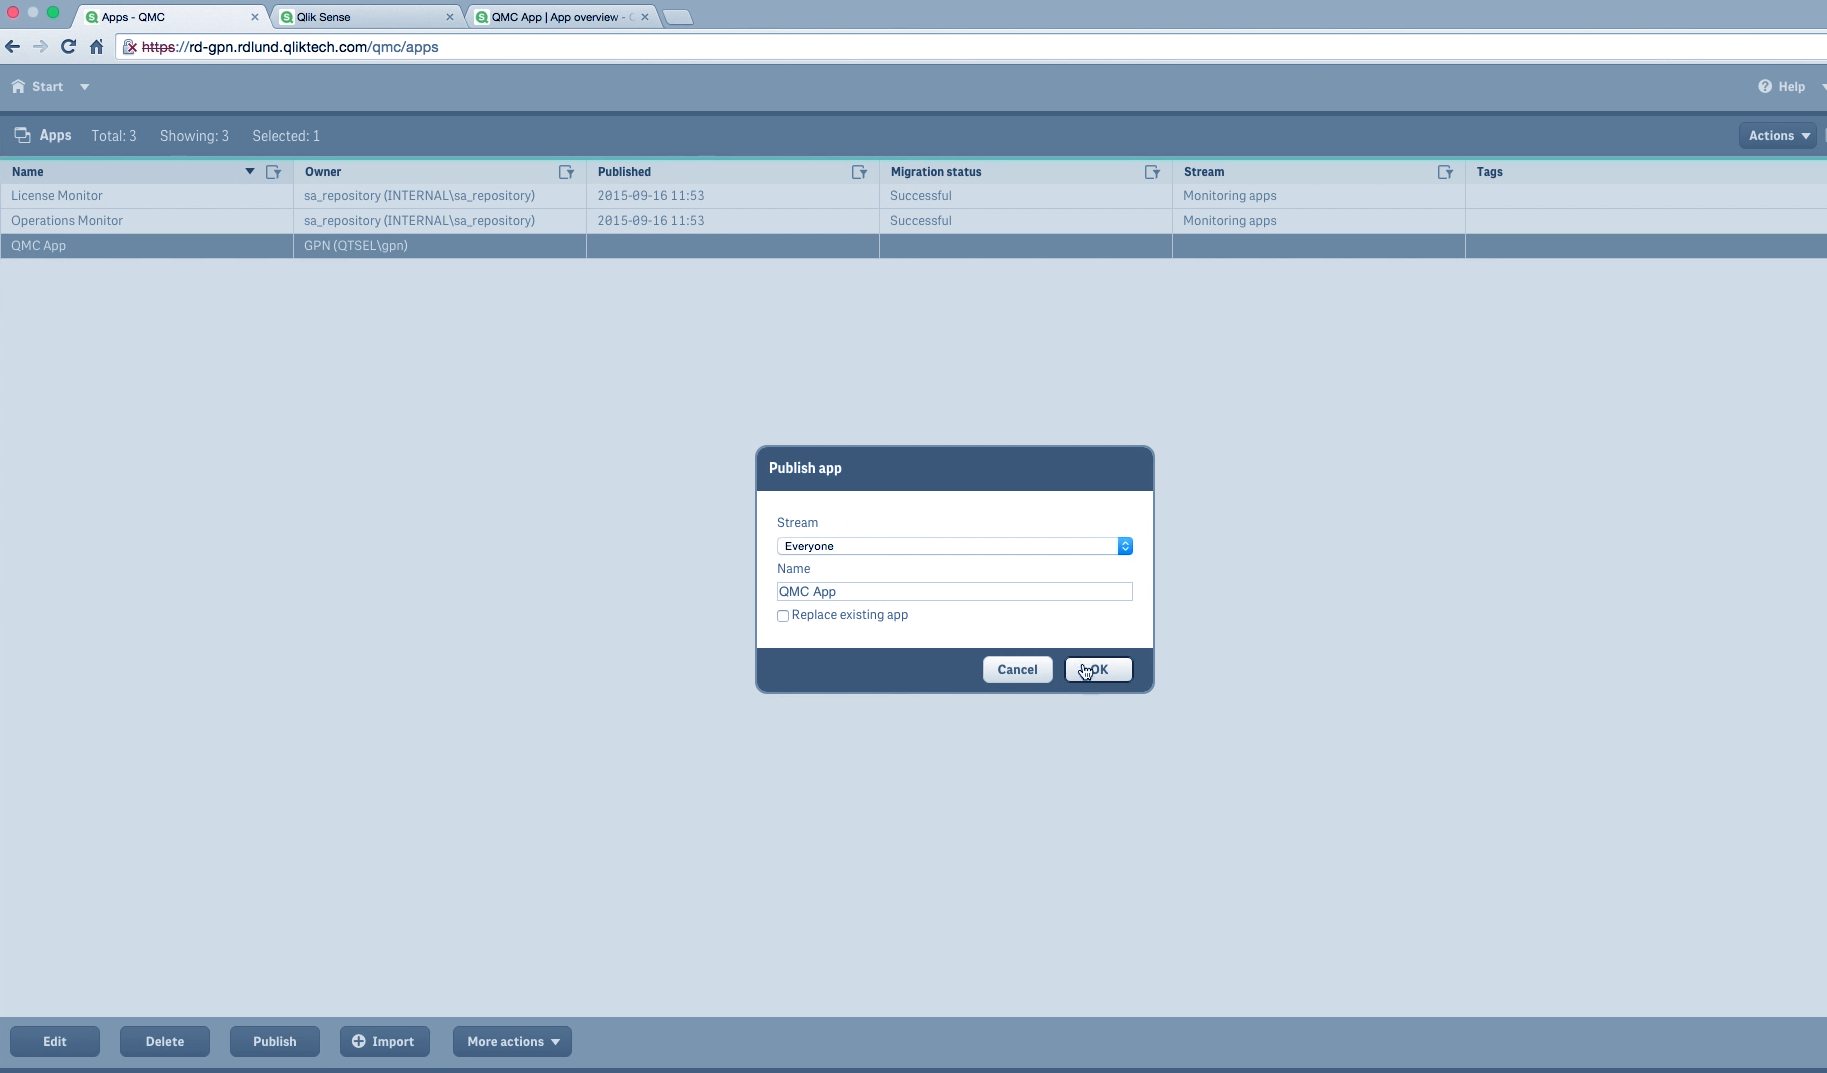
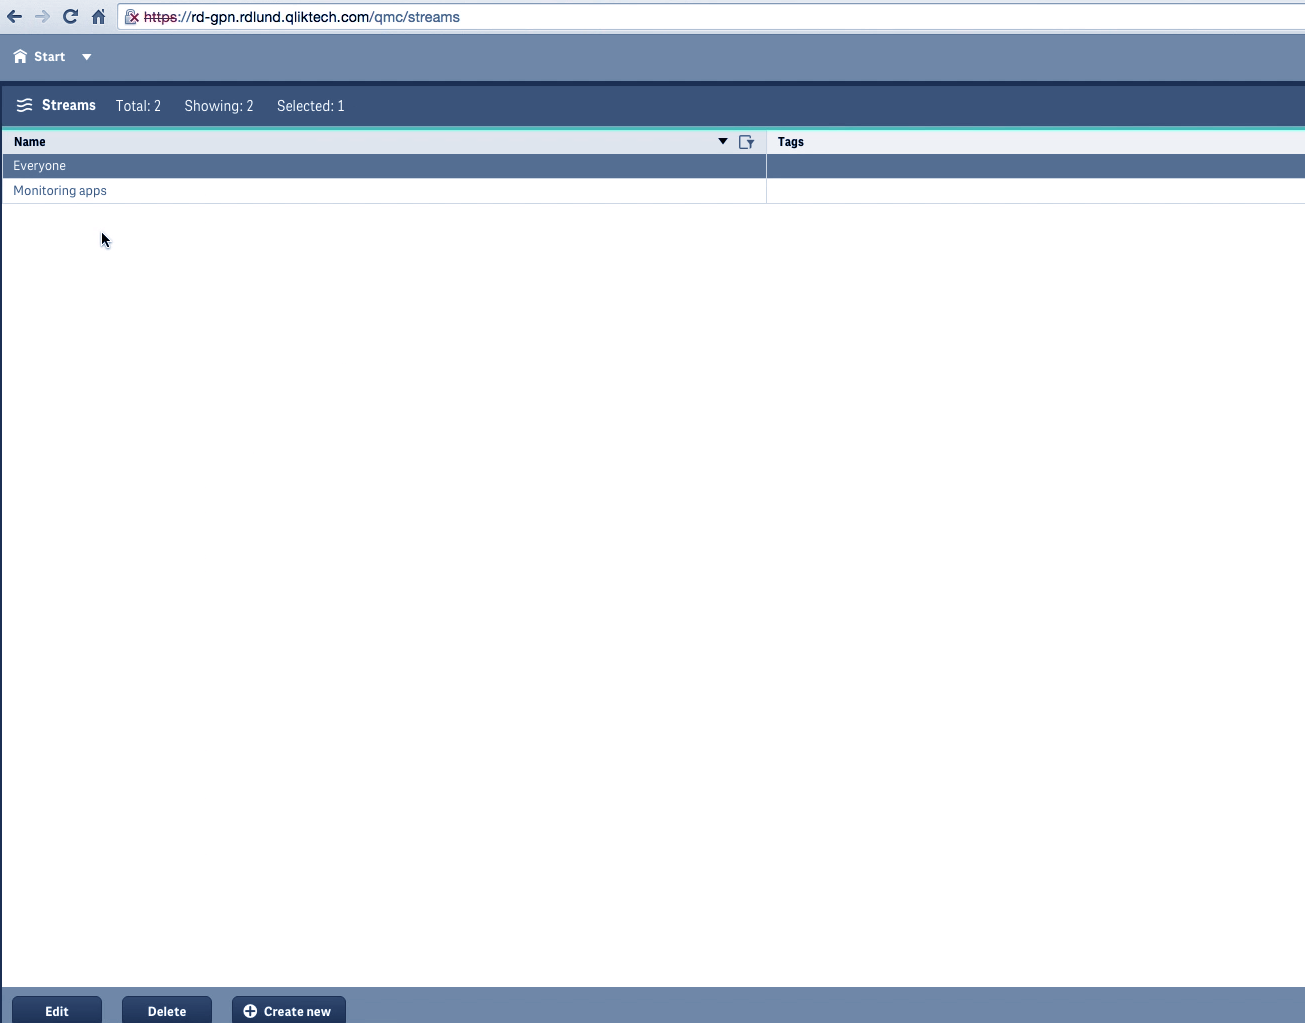
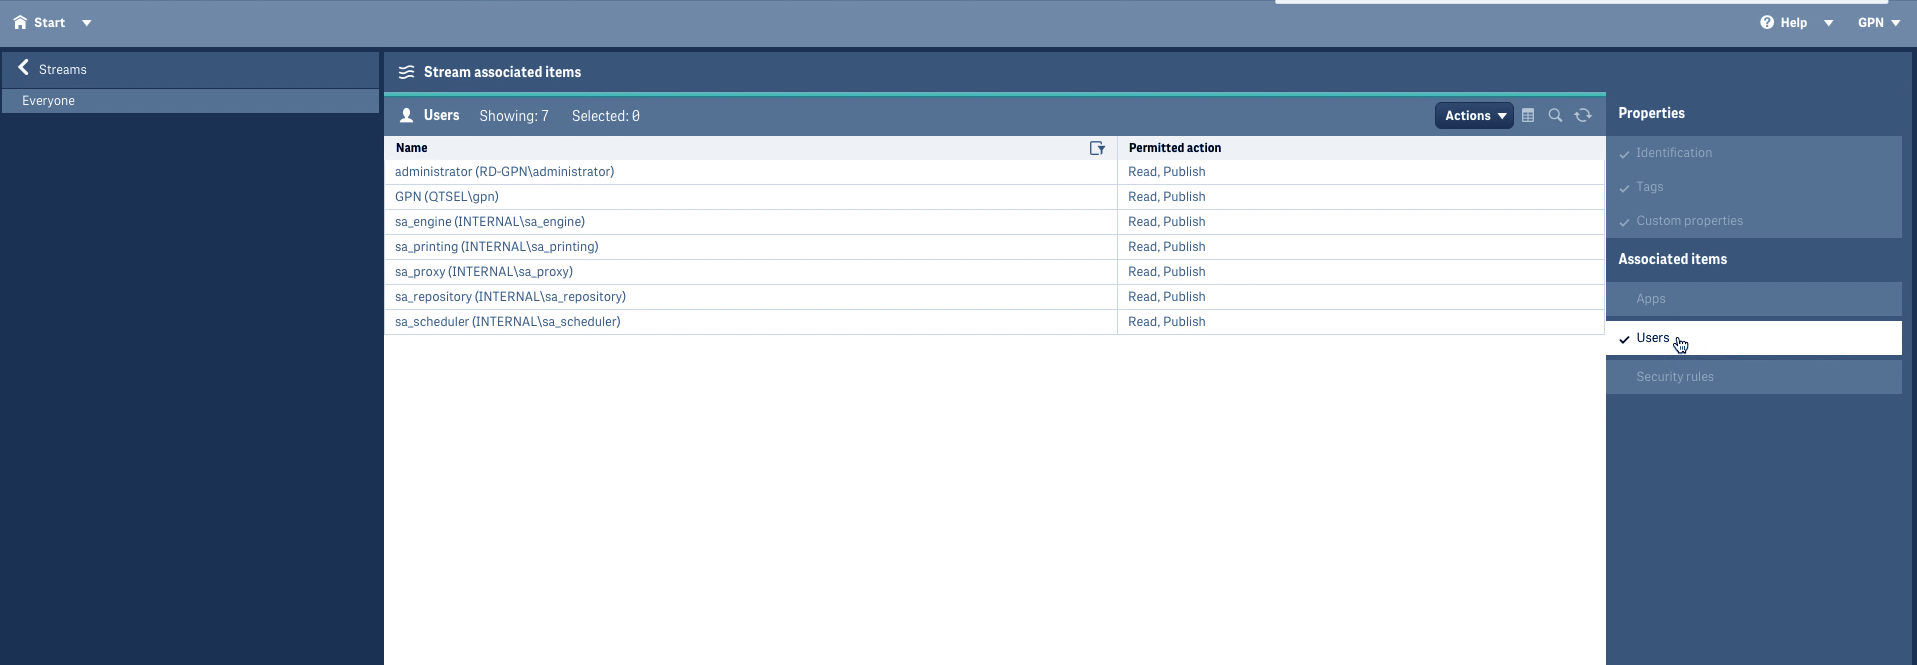
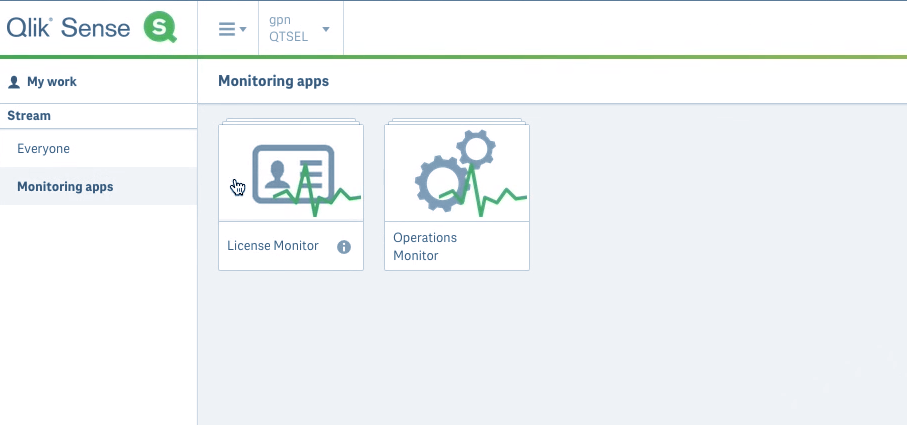
In the streams, you can read as well as publish the apps, sheets or stories. There are two types of streams in which you can publish apps, i.e. Everyone and Monitoring app.
Depending upon which type of stream you have access to, you can publish content on that stream. The publishing of content is done by complying to the pre-defined security rules.
vi. Qlik Sense Tasks
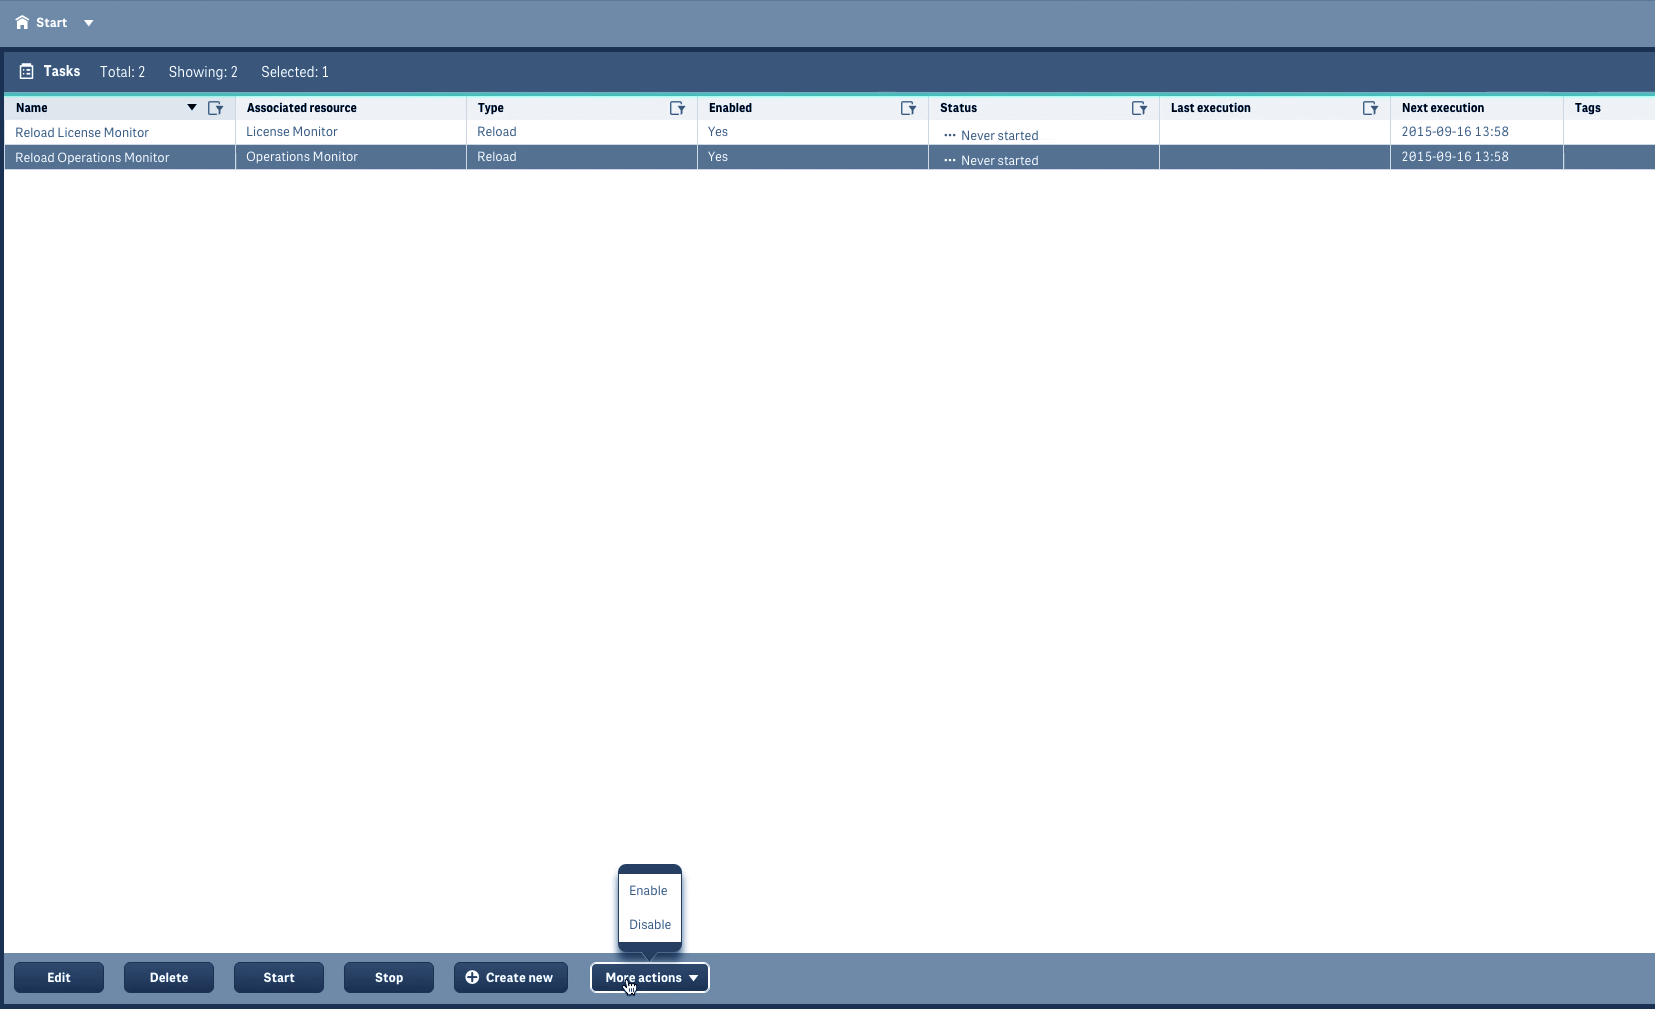
The Tasks section manages a wide variety of tasks and provides a range of operations which can perform on the tasks in order to manage them. Primarily, there are two types of tasks in Qlik Sense, Reload tasks, and User synchronization tasks.
You must read about Qlik Sense Managing Data
vii. Qlik Sene Users
You can access all the user details from this section which are imported from the user directories and manage it.
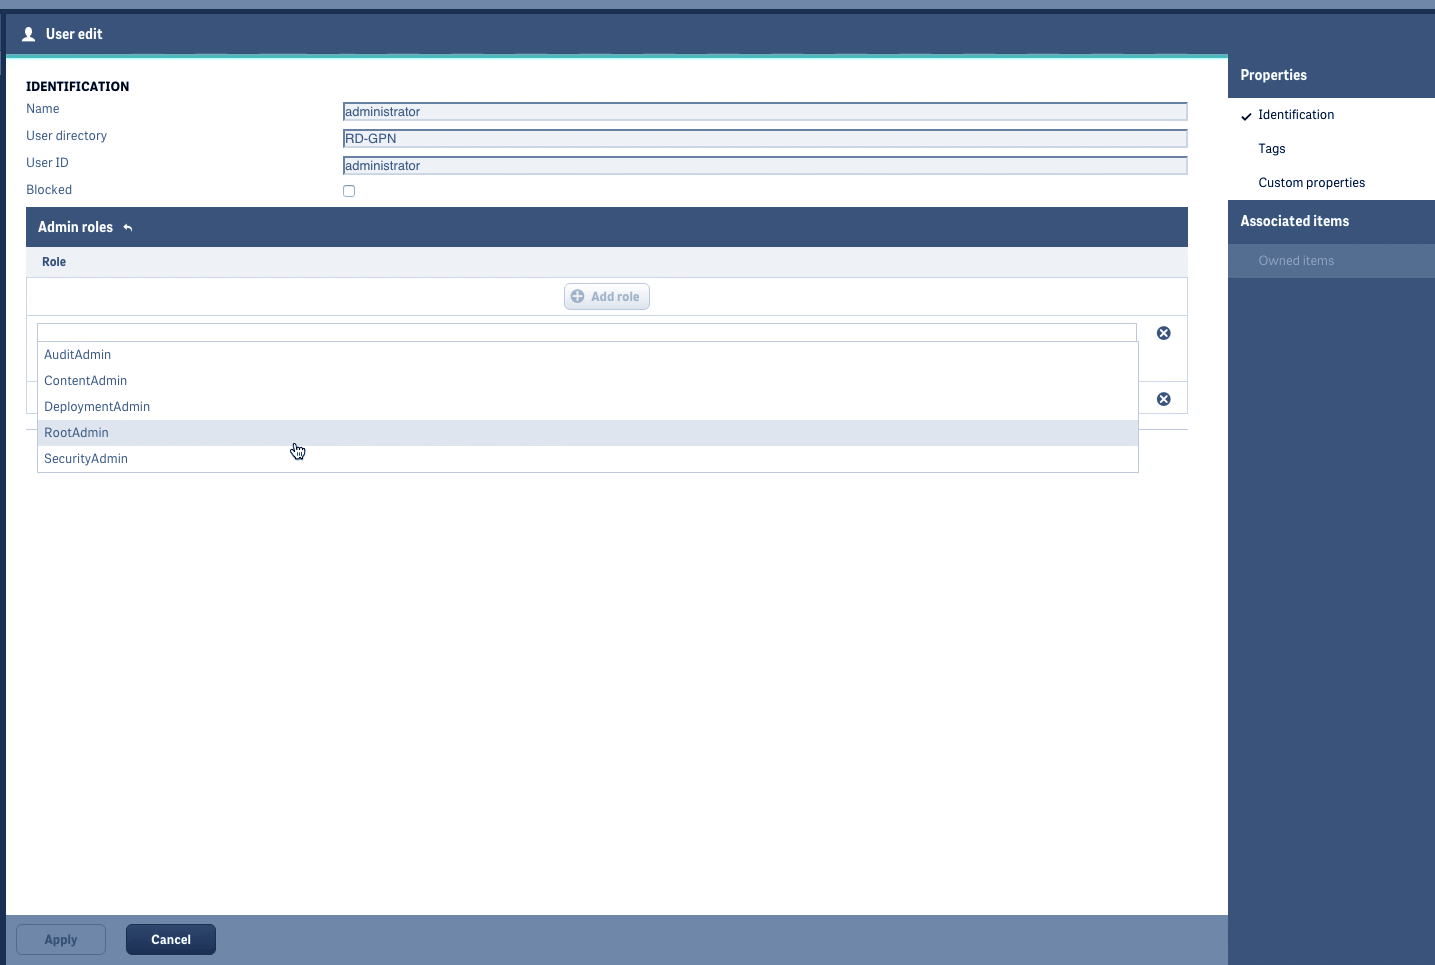
You can also set the security rules and access type you want to grant to a particular user. This is done by assigning a role to the user from the given list. The status of the user and its role is shown in the table given in this section.
3. How to Manage Resources in Qlik Sense?
i. Qlik Sense Audit
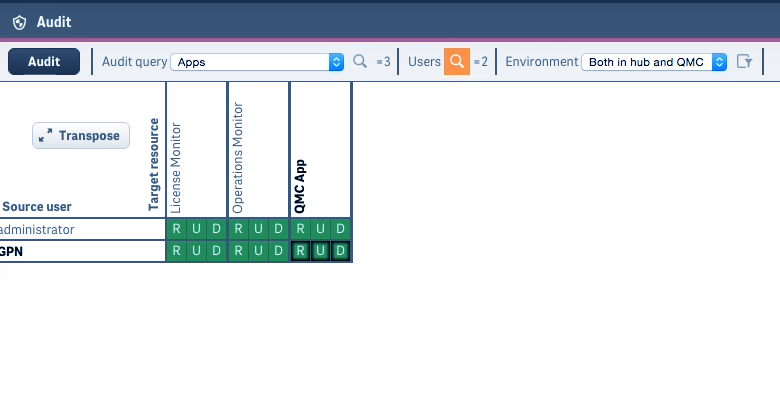
In this section, you can query or audit Qlik Sense resources and users. You can use the audit queries to audit the security or sync rules in the system. Also, you can set the audit environment (hub or QMC) and privileges from this section. The audit will return all the privileges that are available for a service.
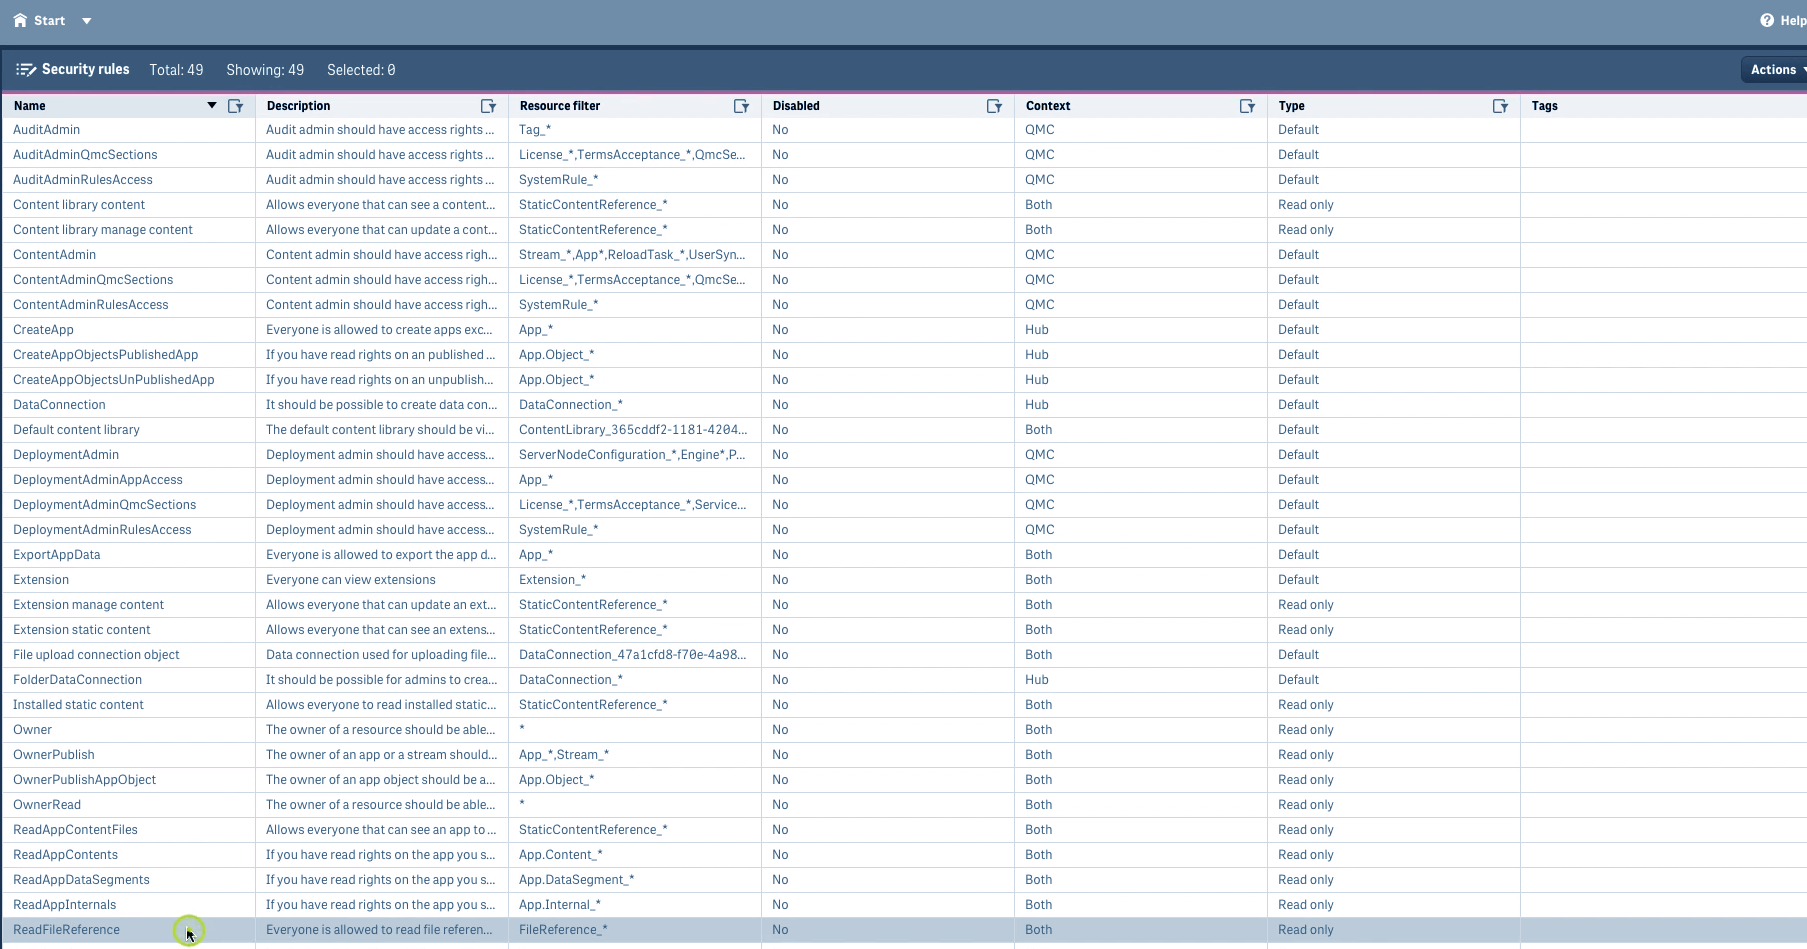
ii. Qlik Sense Security Rules
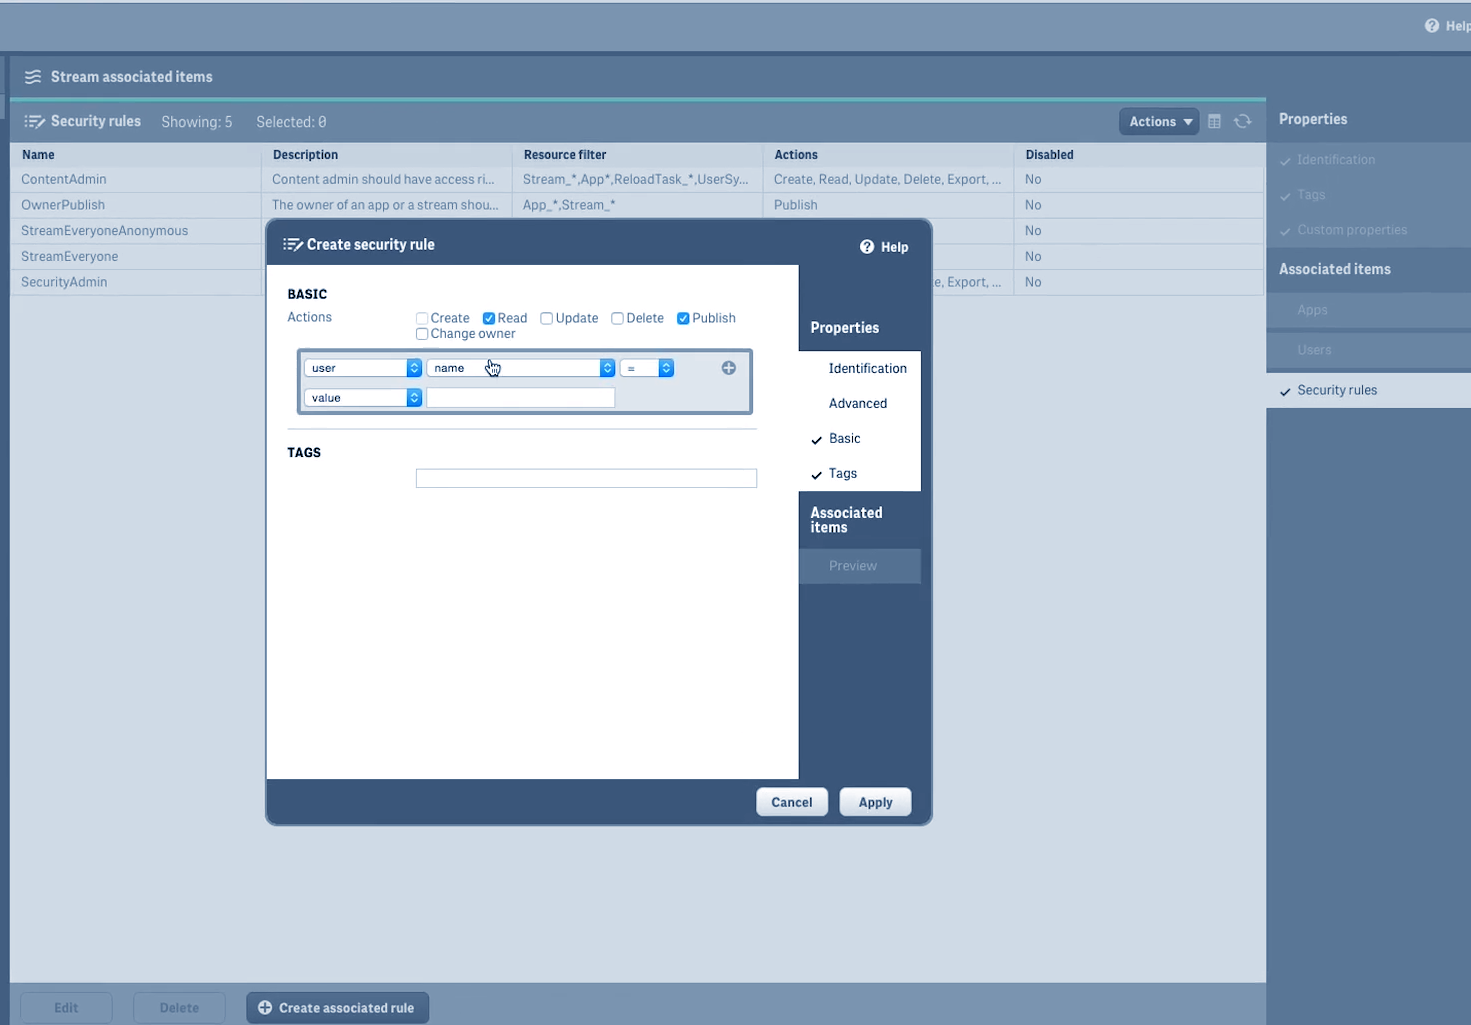
This section provides the entire list of security rules set for each Qlik Sense resource. The security rules define the type or extent of access should be granted to the users using Qlik Sense resources.
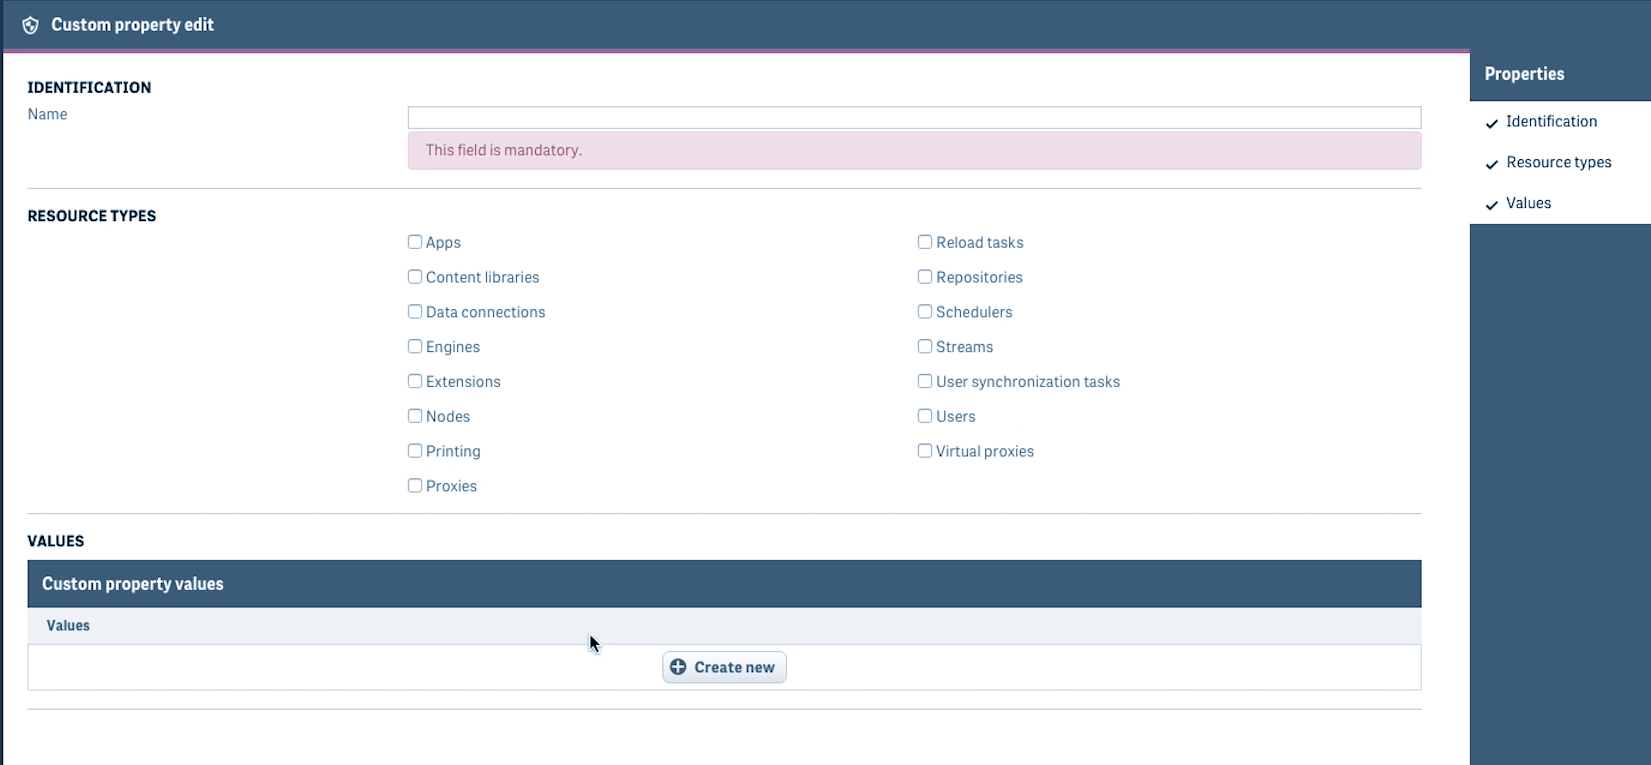
iii. Qlik Sense Custom Properties
You can create security rules using the custom properties section. You can define properties and values for a security rule which will be applied to a resource.
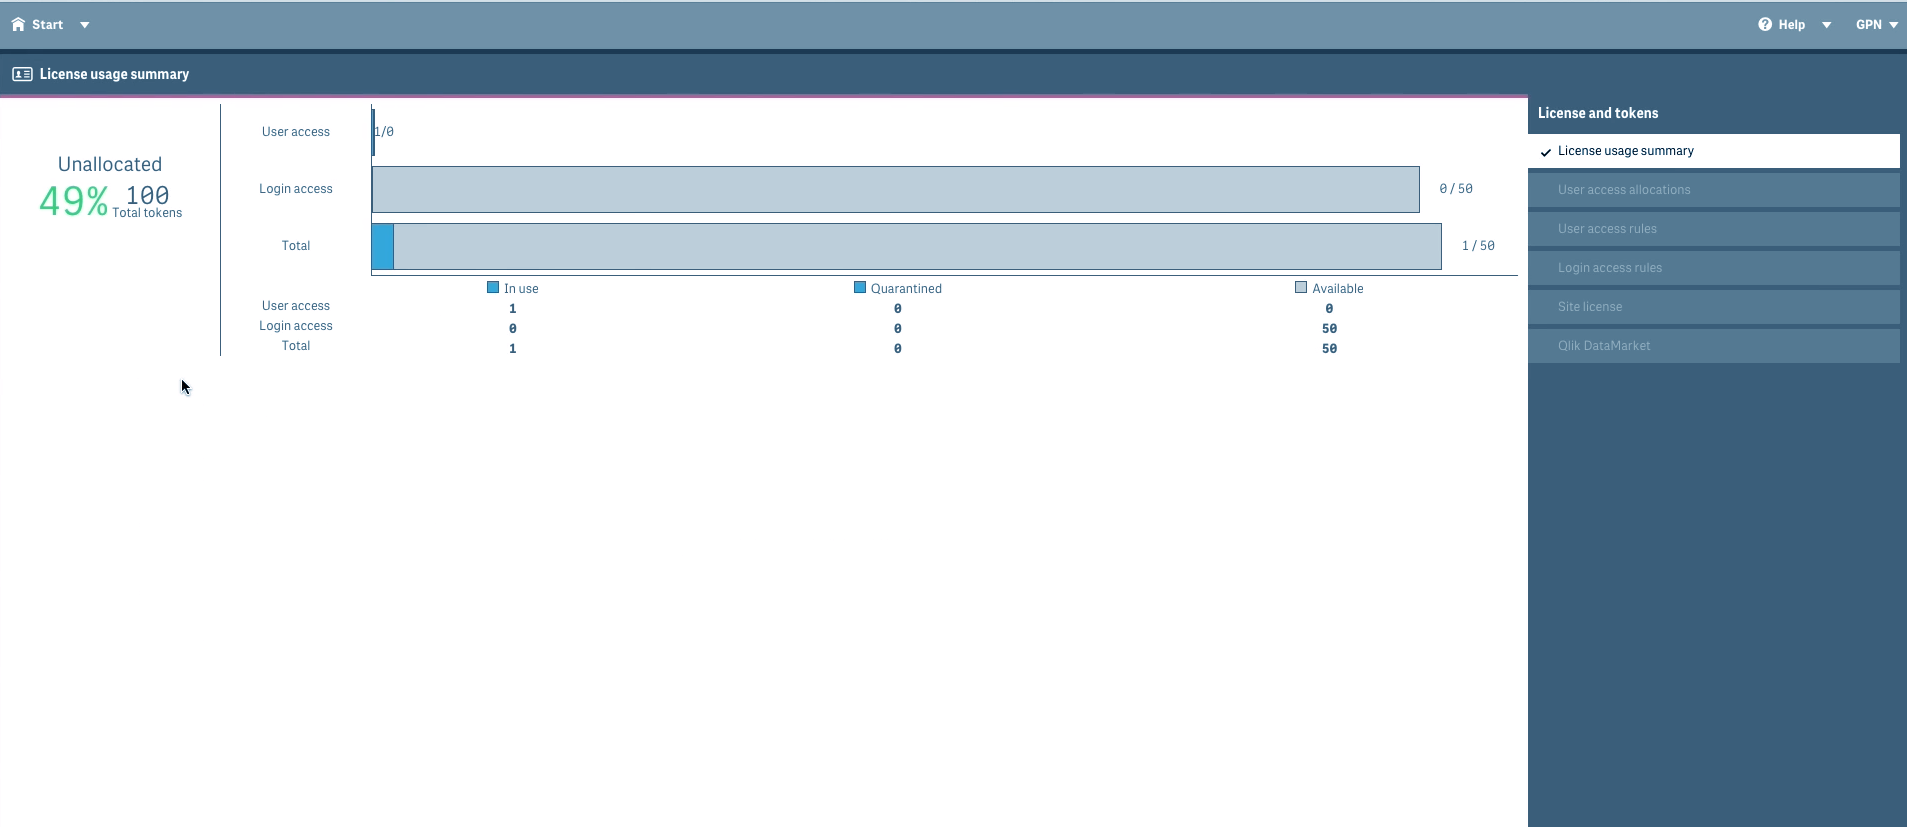
iv. Qlik Sense License and Tokens
From this section, you can manage the number of licensing tokens you can allocate to different access types. You can see the license usage summary here.
Recommended Reading – Qlik Sense Versions
You can also manage the user access allocation properties, as you can allocate, deallocate and reallocate the access types to users from here.
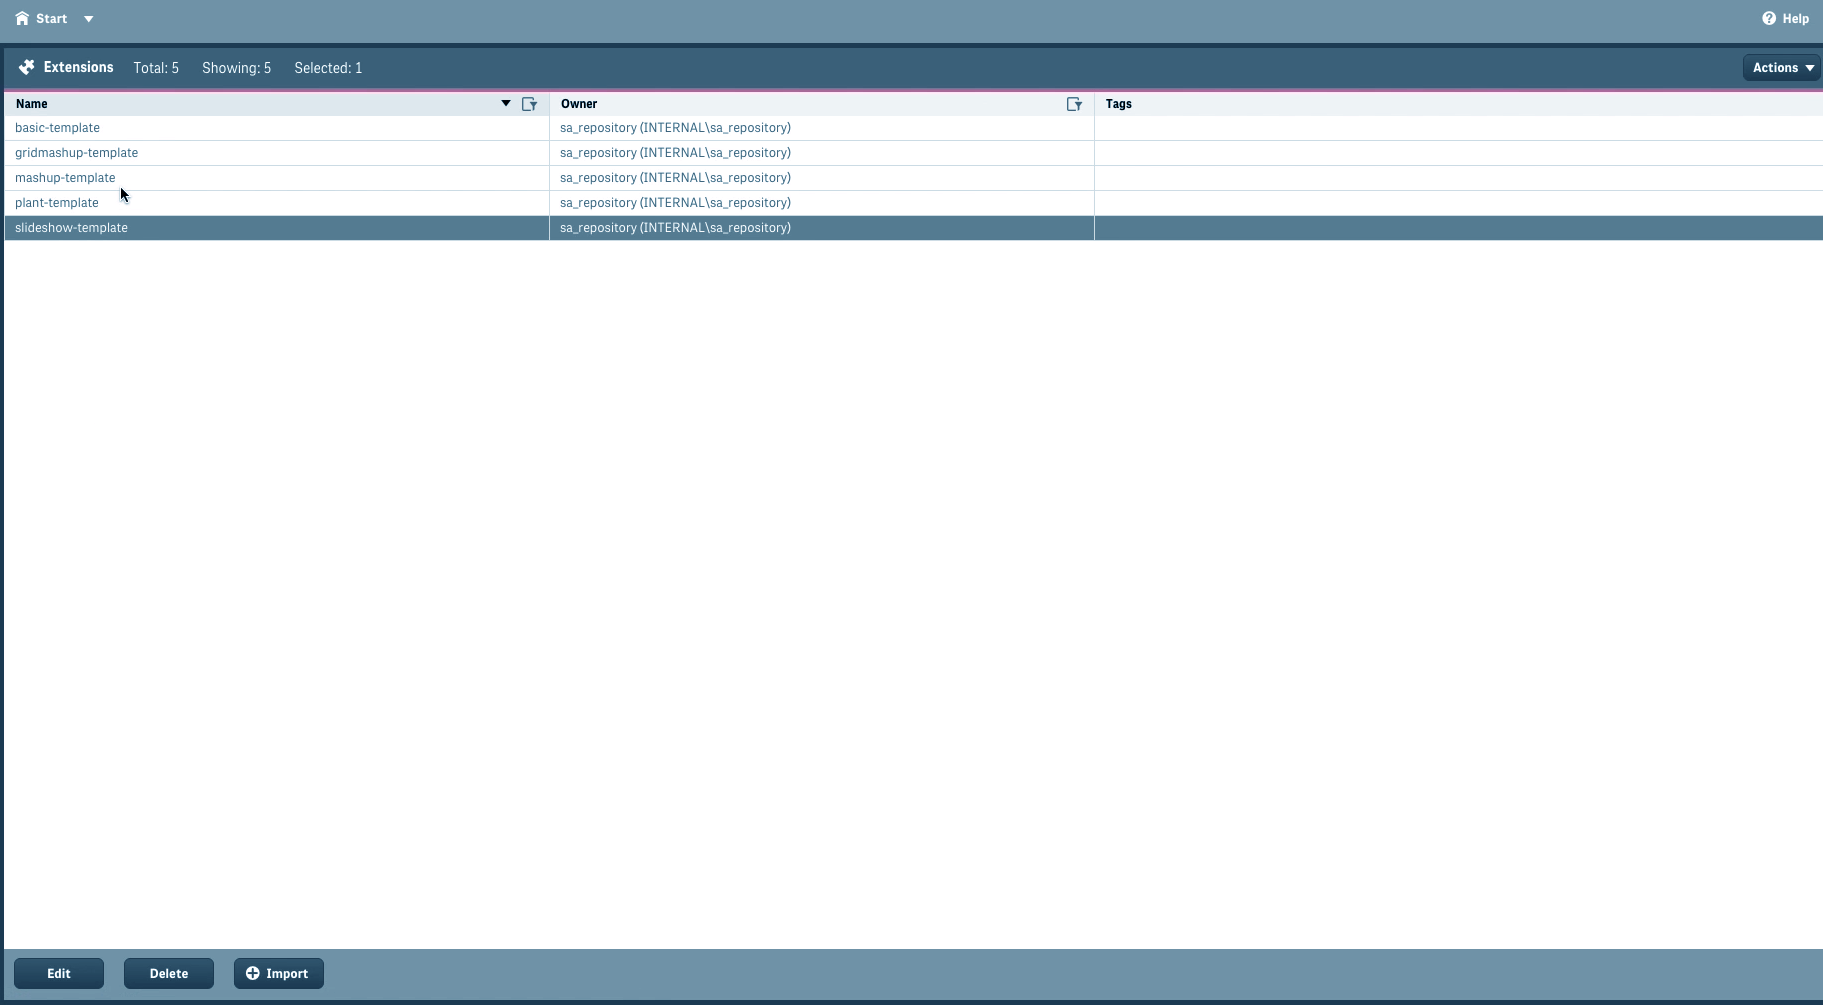
v. Qlik Sense Extensions
Extensions, which are used to visualize data are managed from this tab. Only the root administrator has got the rights to import extensions into the QMC.
vi. Qlik Sense Tags
The QMC tags are created and managed from this tab. Tags are generated and attached to QS resources so that they can be identified through searching and be manageable.
vii. User Directory Connectors in Qlik Sense
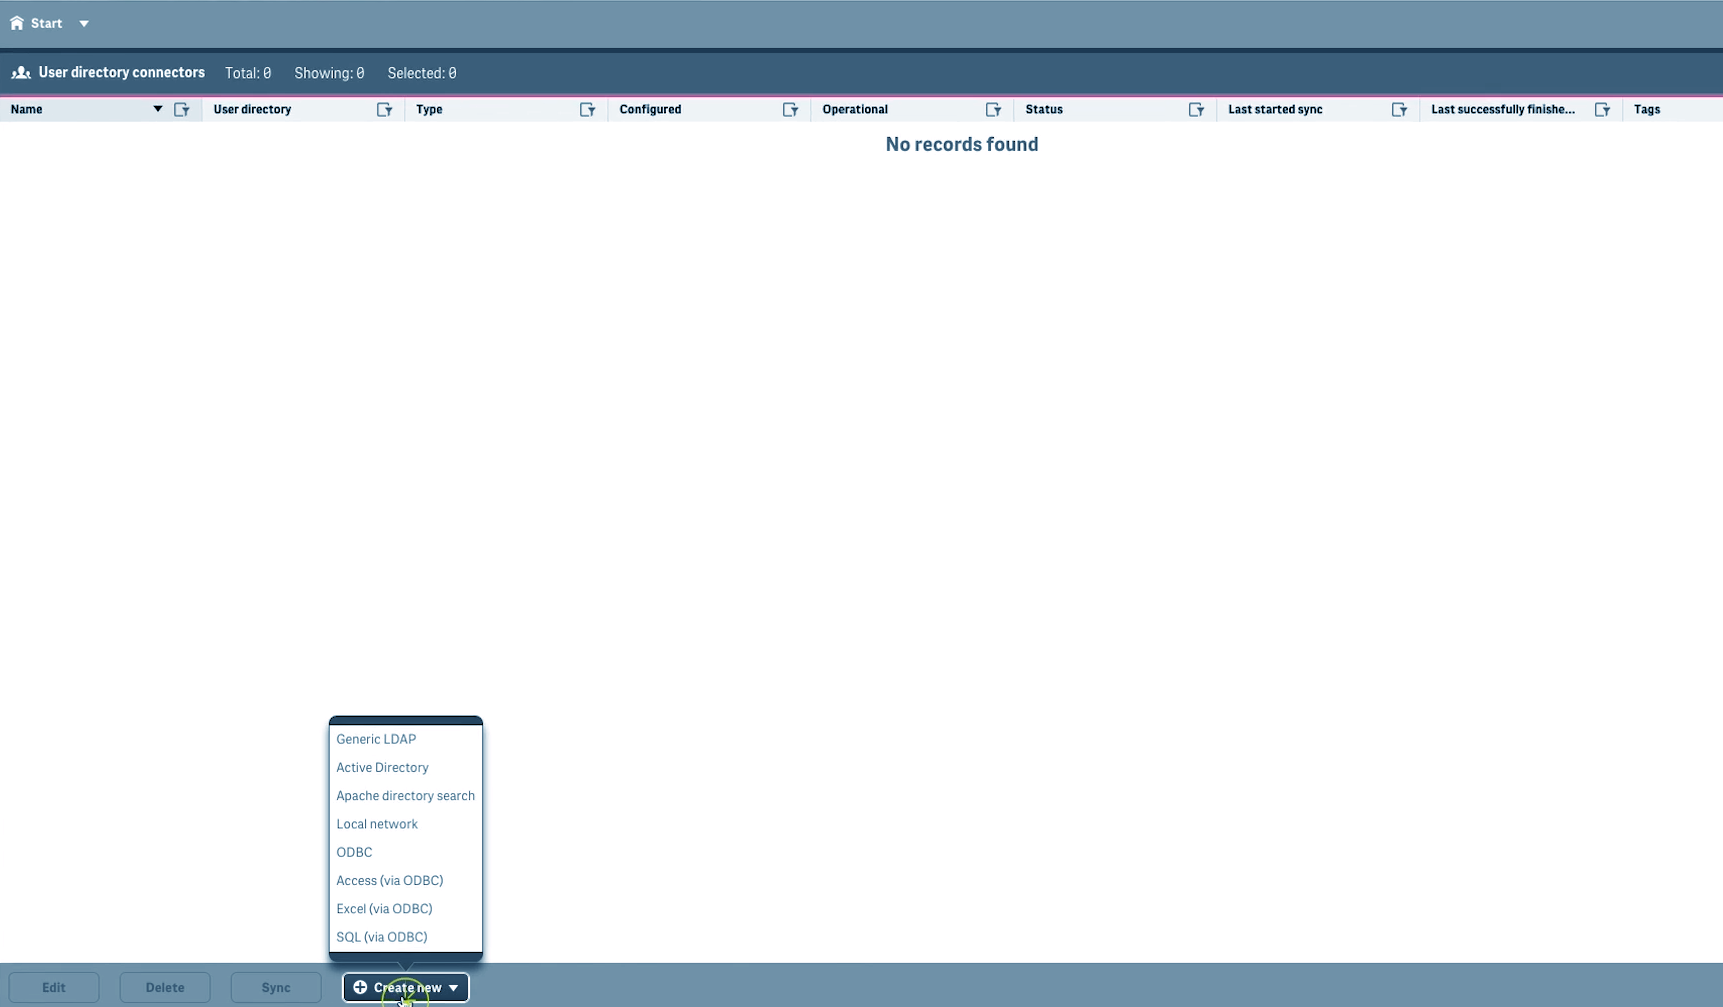
This tab manages the user directory connectors. The UDC connects to the configured directory connections in order to fetch user information. The UDCs found by default in Qlik Sense are Generic LDAP, Active Directory, ODBC, Access, Excel, SQL etc.
4. Qlik Sense Governance
i. Monitoring Apps in Qlik Sense
The governance section maintains the log file data. From the monitoring apps tab, you can monitor and manage the performance aspects like a 24-hour summary, performance, task overview, task summary, session overview, log details etc.
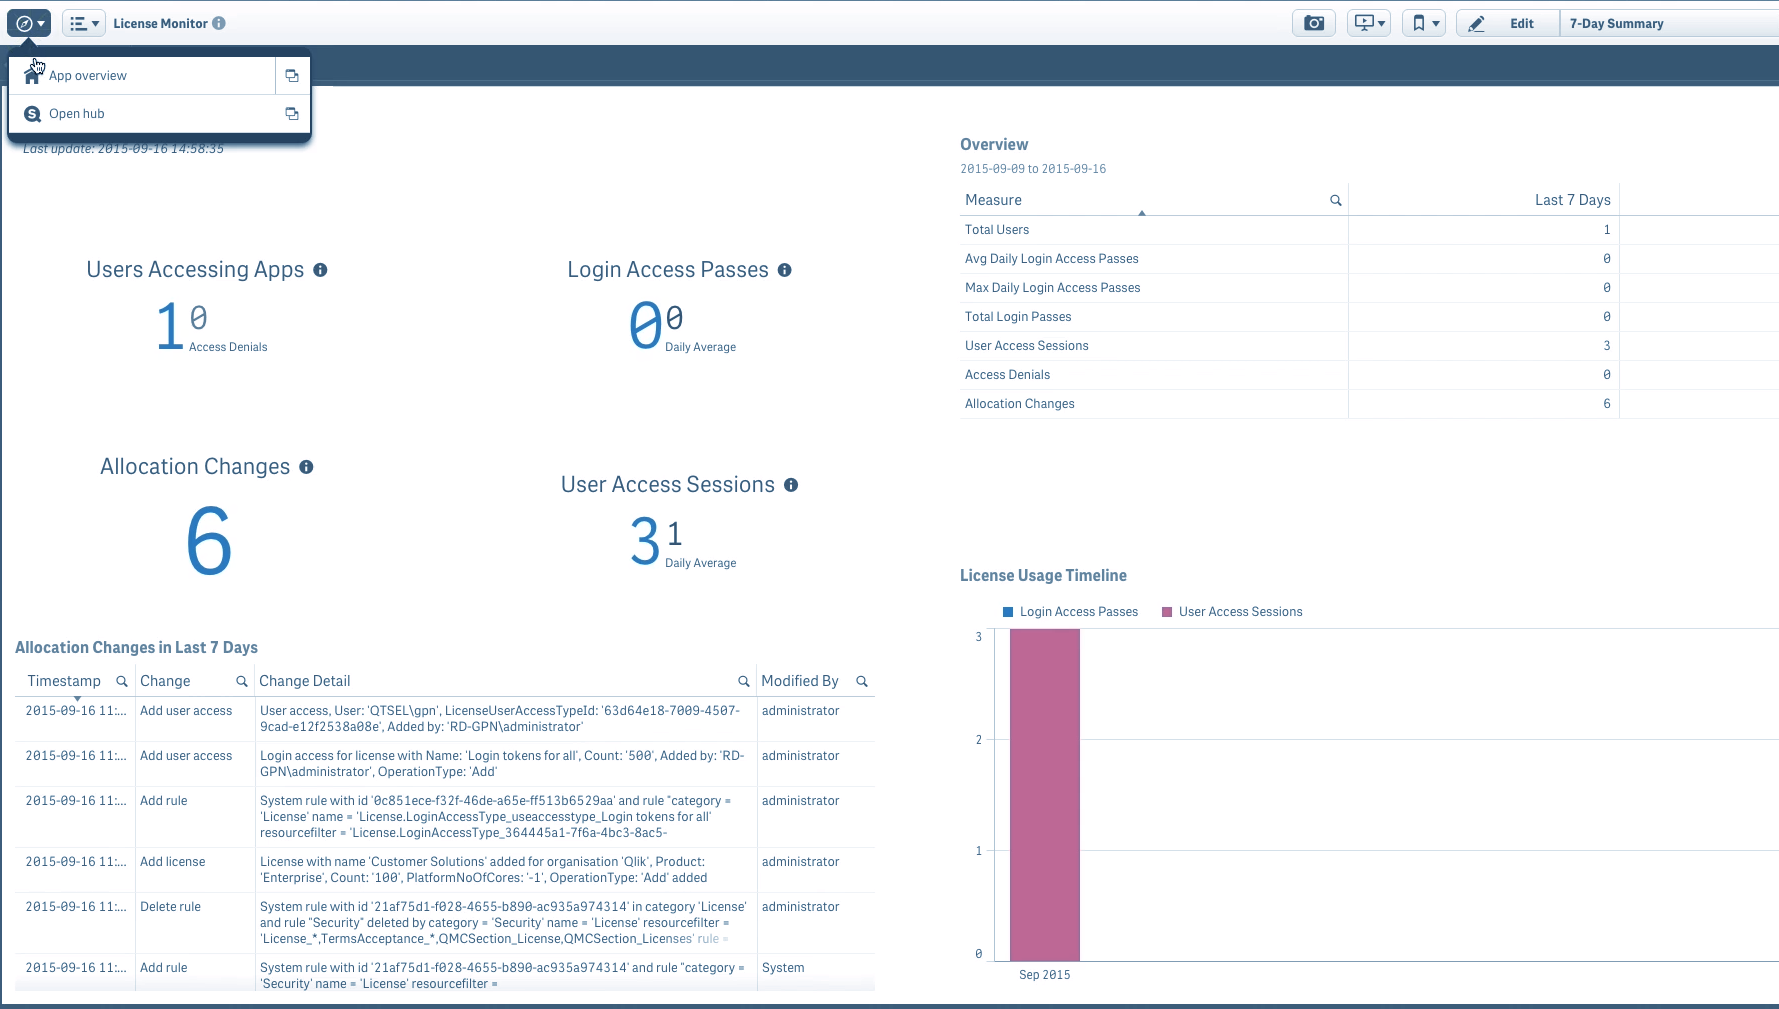
You can monitor two elements from this tab, i.e. a license monitor.
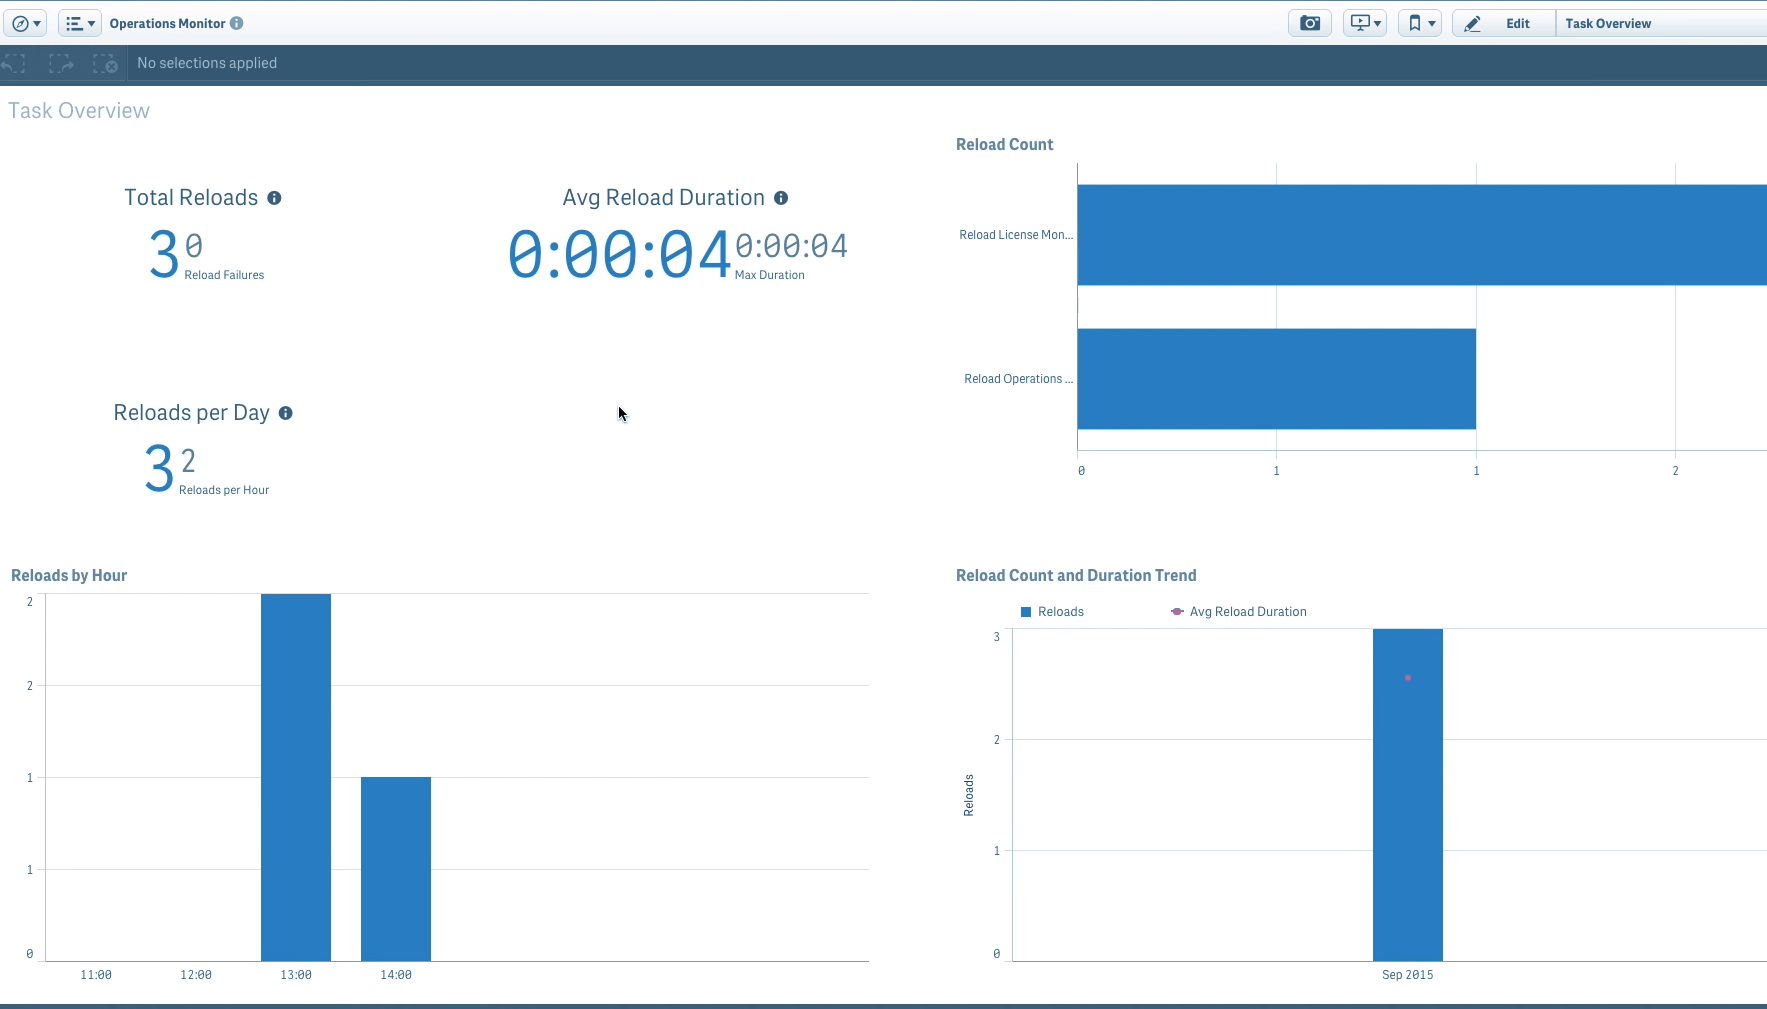
And an operation monitor.
5. Qlik Sense Configure System
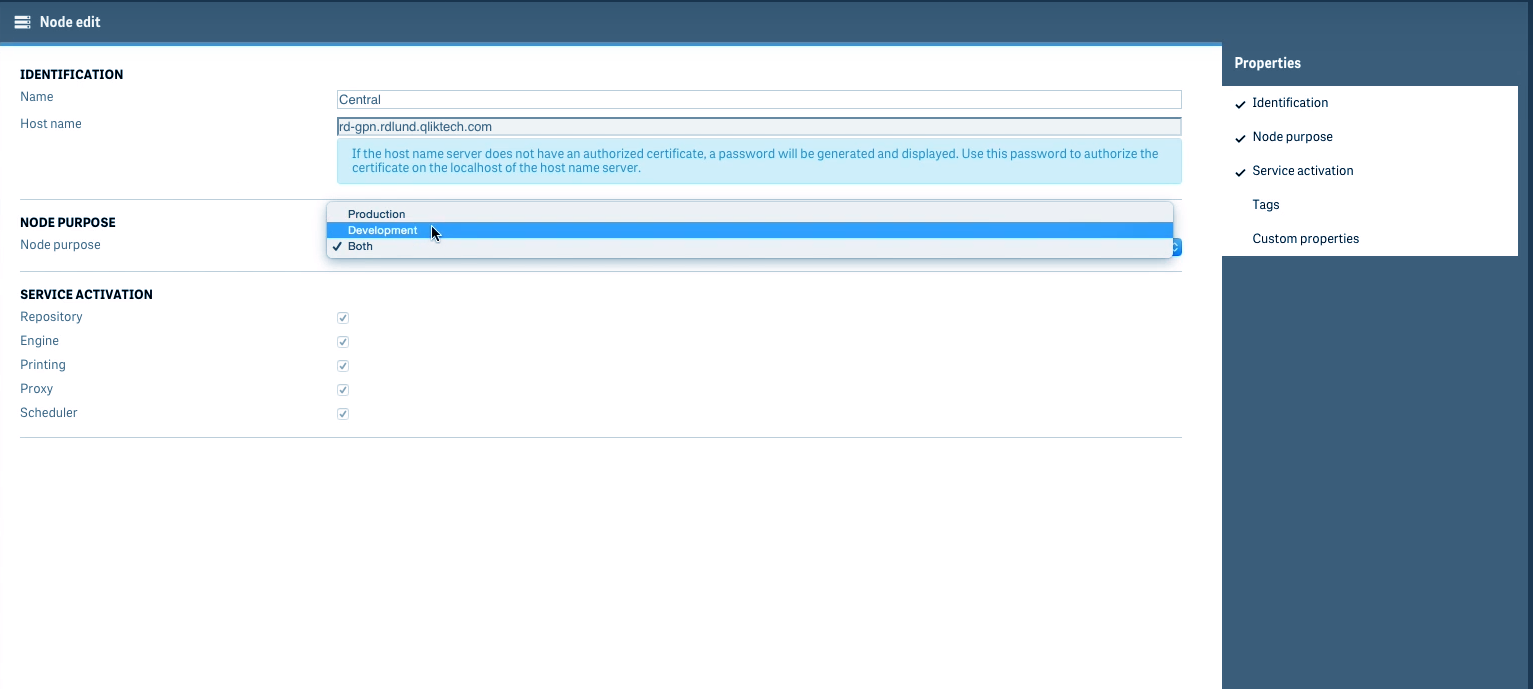
i. Nodes in Qlik Sense
Qlik Sense functions with the help of a cluster of servers or nodes connected to each other and to a central node. You can manage the central and sub-nodes from here.
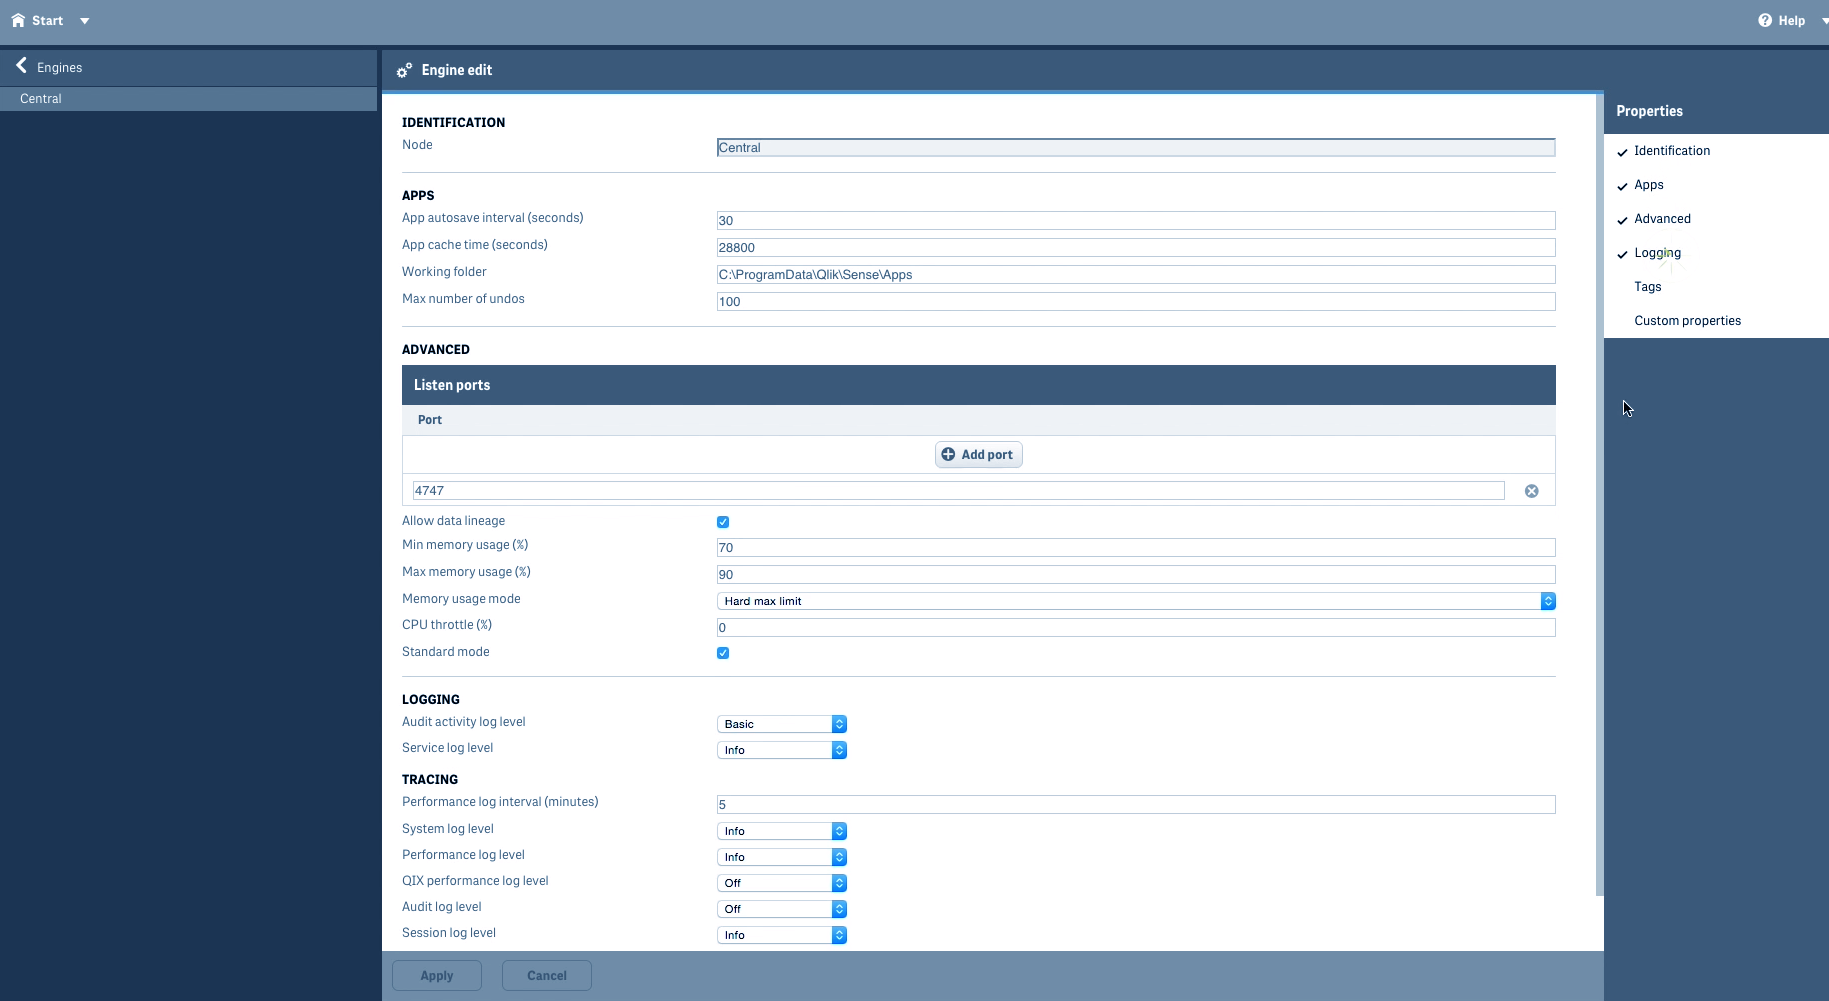
ii. Engines in Qlik Sense
The Qlik Sense Engine Service (QES) is managed from this tab. You can manage different aspects and properties of the engine from here.
iii. Qlik Sense Printing
This tab manages the Qlik Sense Printing service (QPR) which takes care of the data exporting and printing from Qlik Sense.
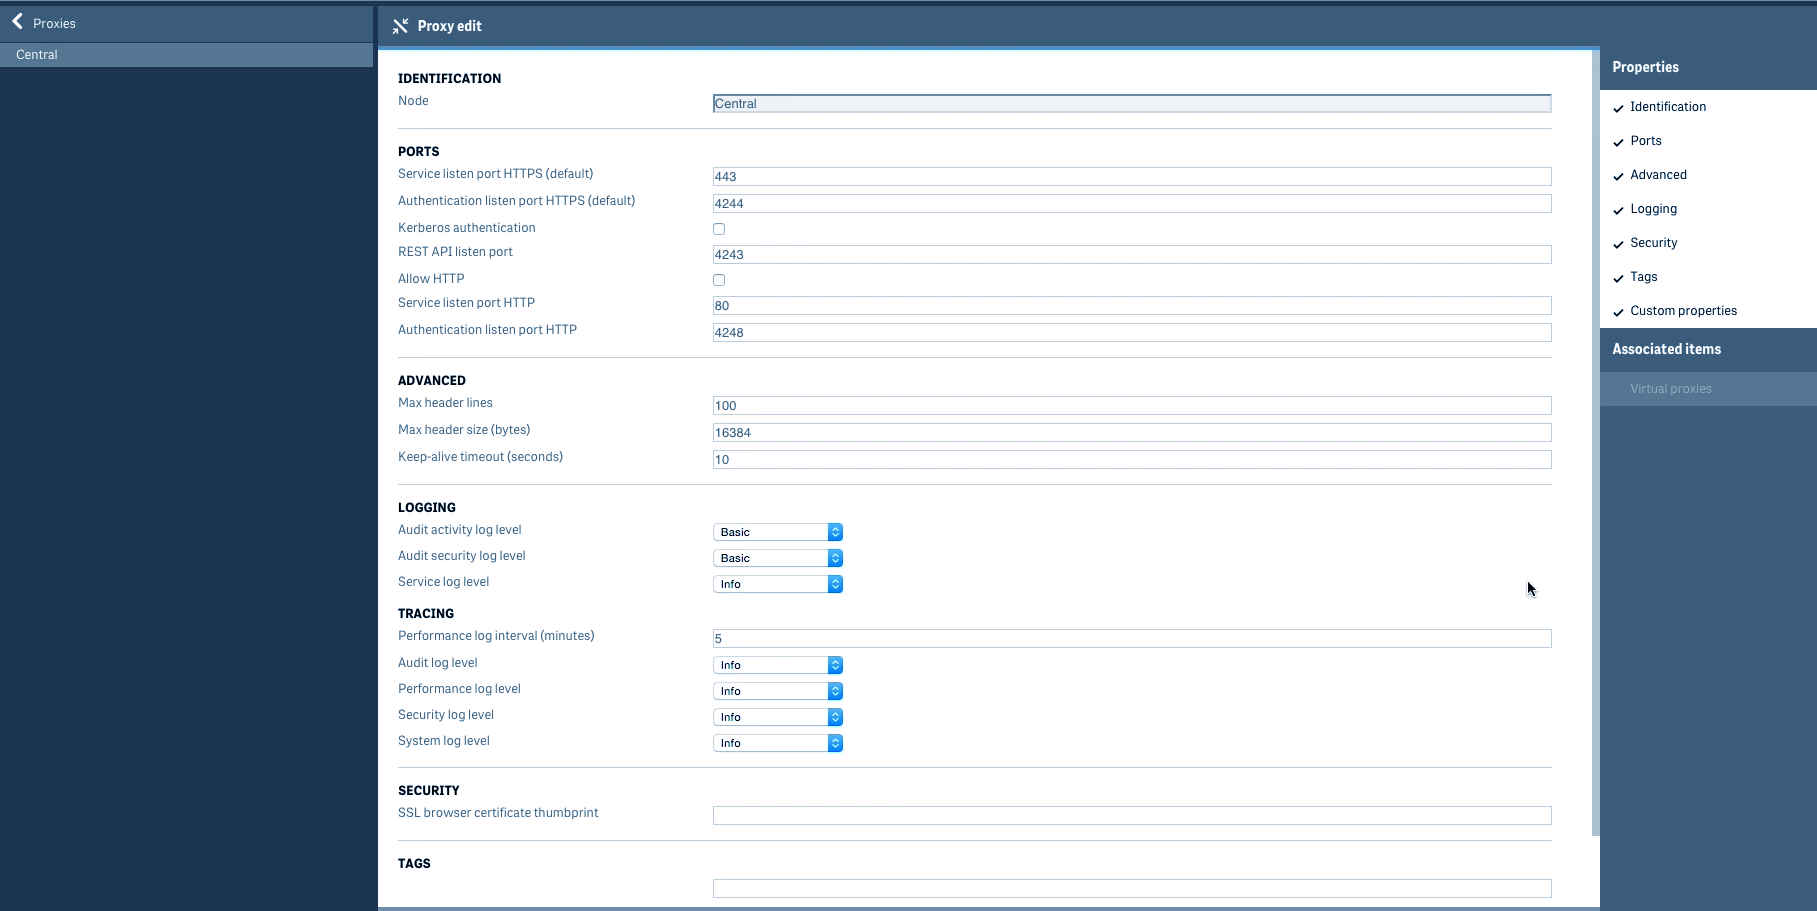
iv. Proxies in Qlik Sense
This tab manages the Qlik Sense Proxy Service (QPS) which handles load balancing, authentication, and session handling.
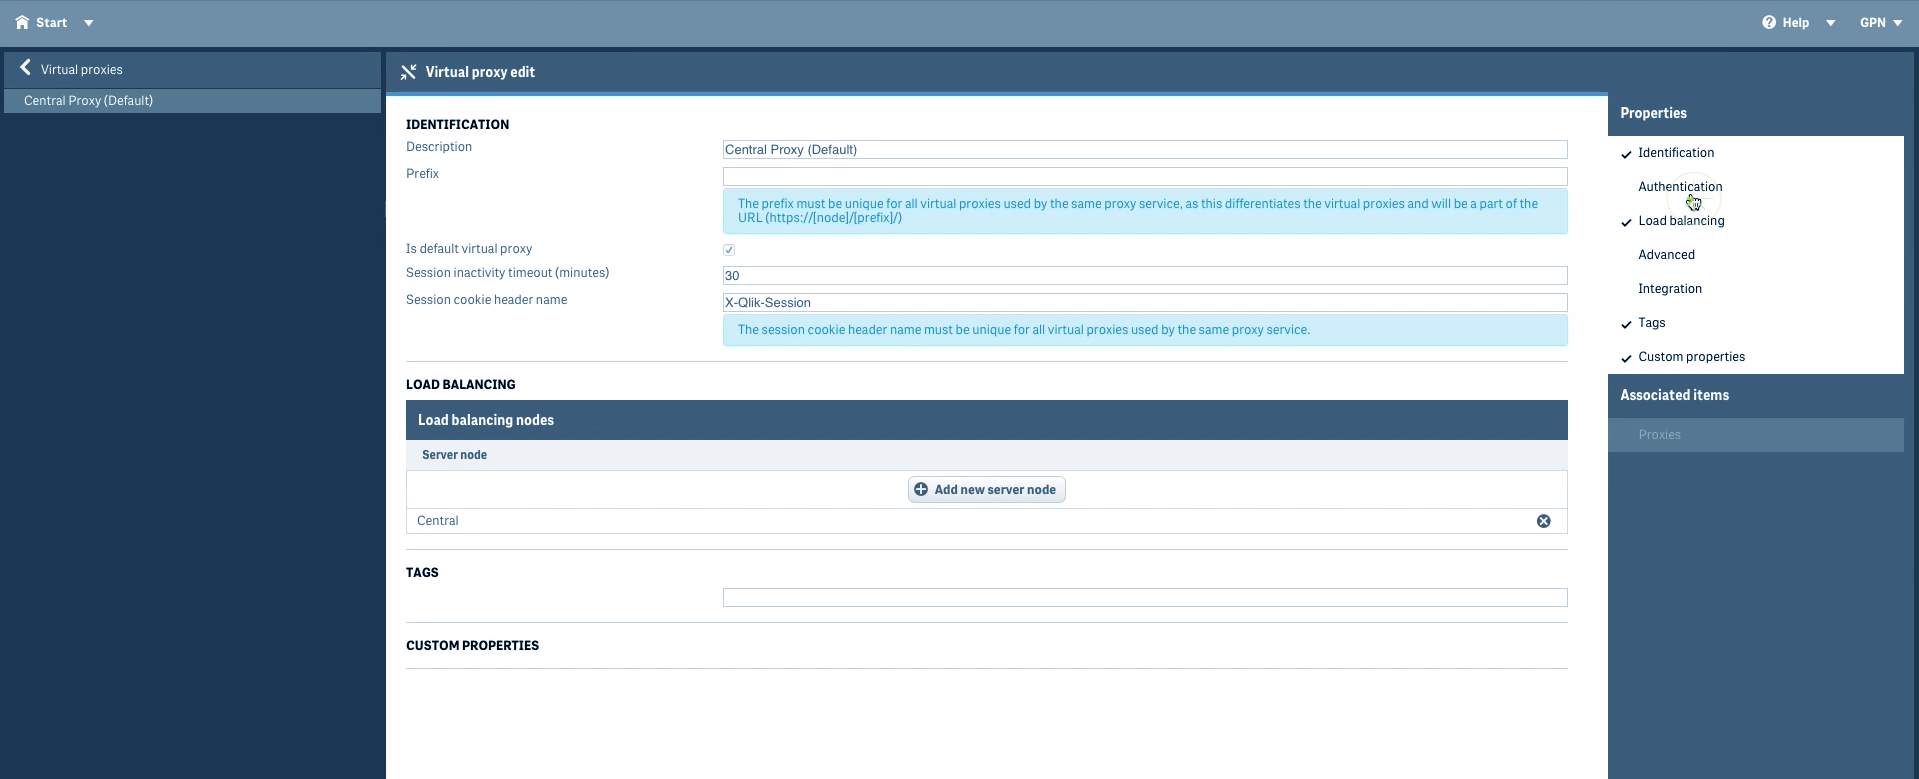
v. Qlik Sense Virtual Proxies
Several virtual proxies also run on a single QPS which enables multiple sets of authentications, load balancing and session handling properties manages on one proxy node.
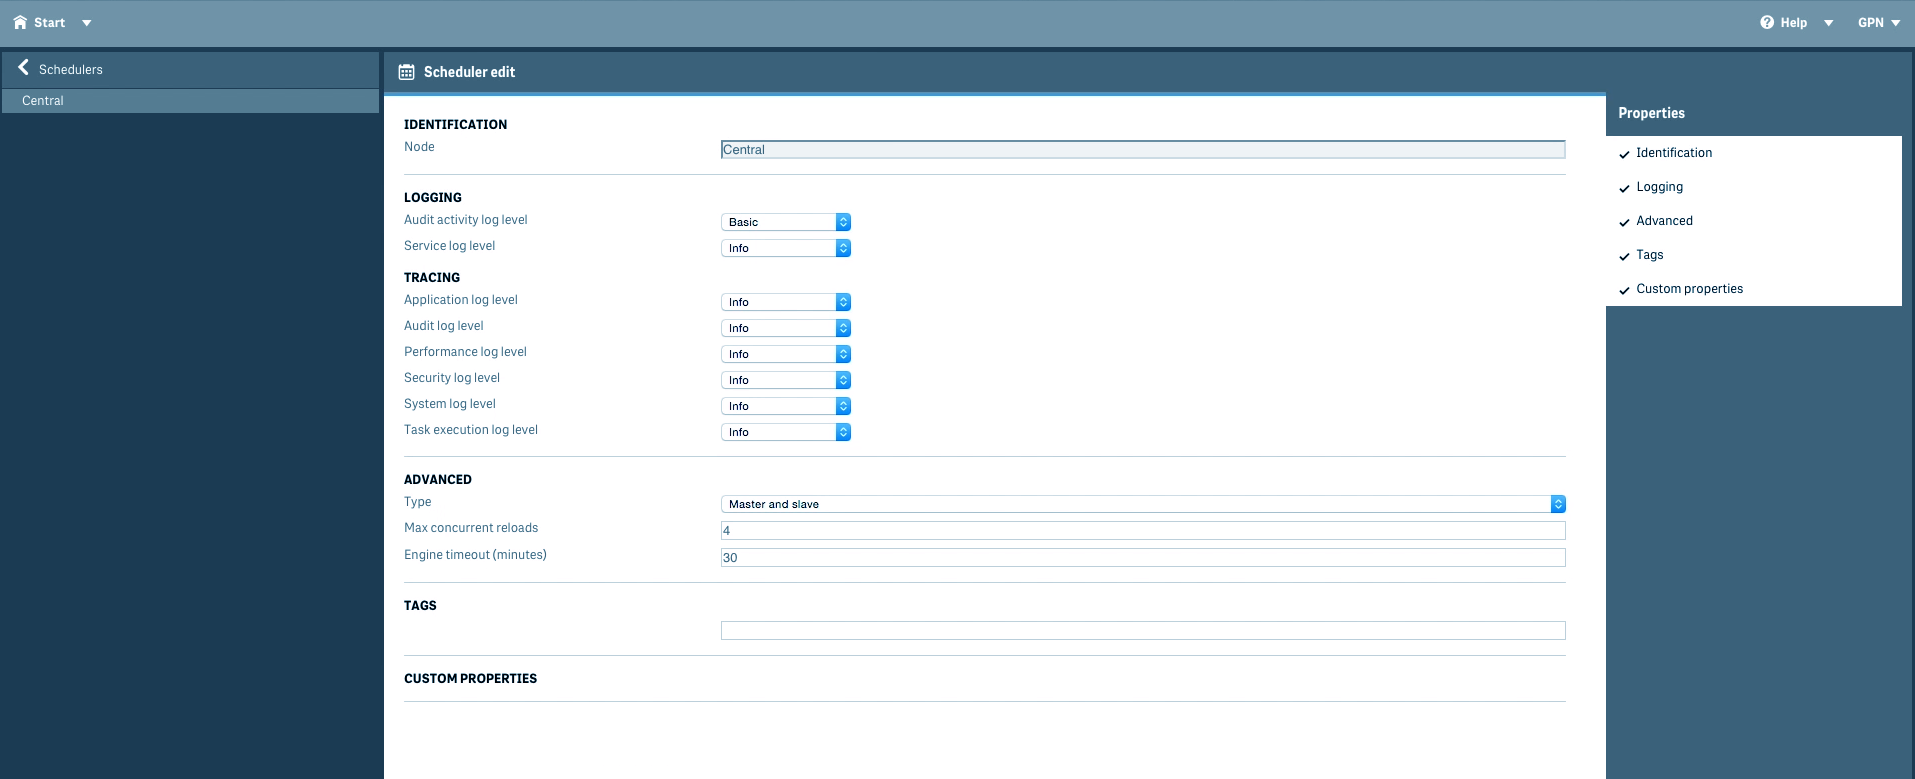
vi. Schedulers in Qlik Sense
This tab manages the Qlik Sense Schedulers Service (QSS) which handles the scheduling tasks such as reloading and synchronizing.
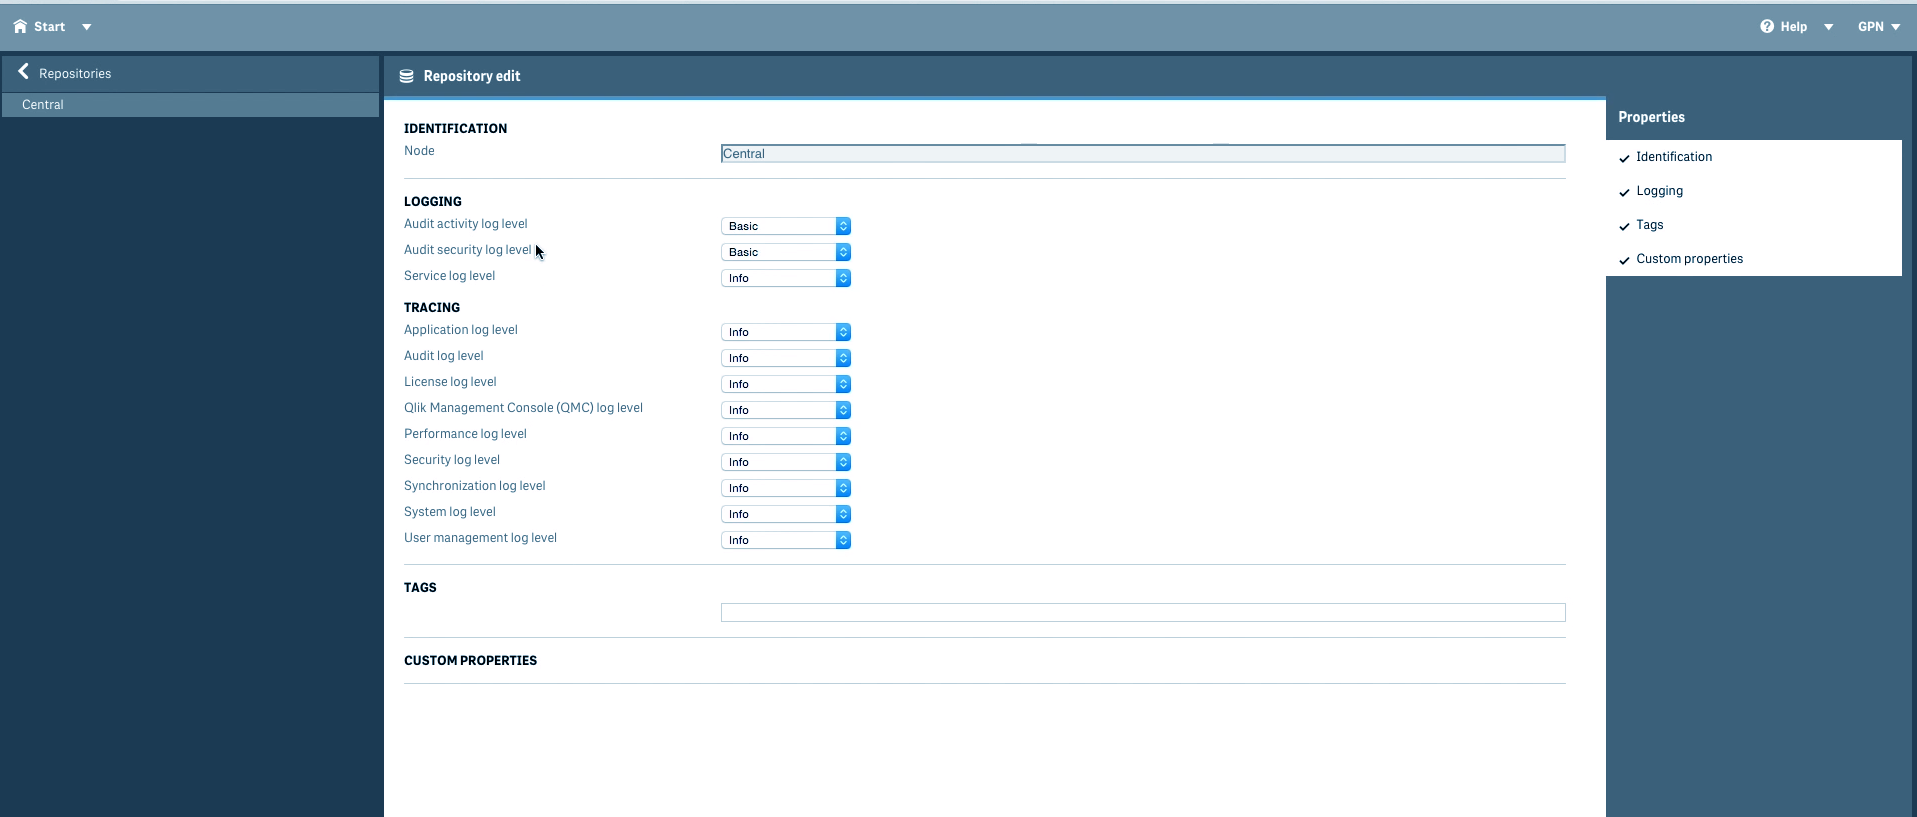
vii. Qlik Sense Repositories
This tab managed the Qlik Sense Repository service (QRS) which handles the performance and synchronization of QS apps, license, security and service configuration. The QRS manages multi-nodes QS sites and also creates a connection between the repository directory.
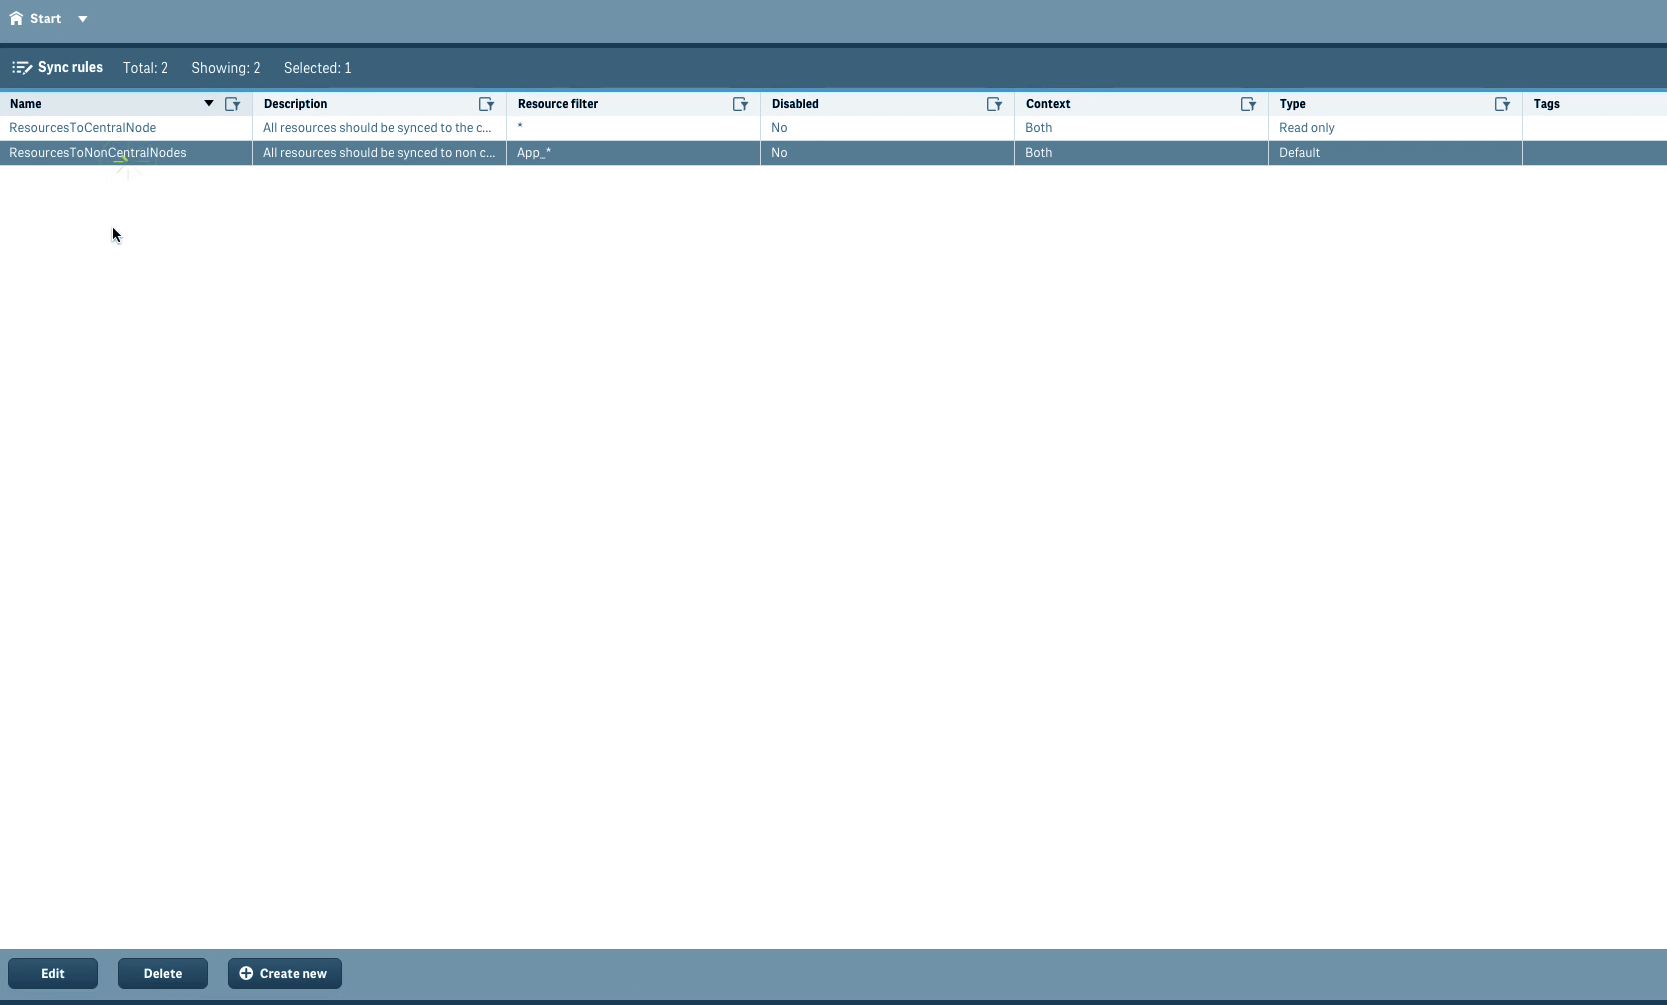
viii. Sync Rules in Qlik Sense
This tab lists all the existing and available sync rules. You can manage them by the Edit, Delete and Create new options available in the tab.
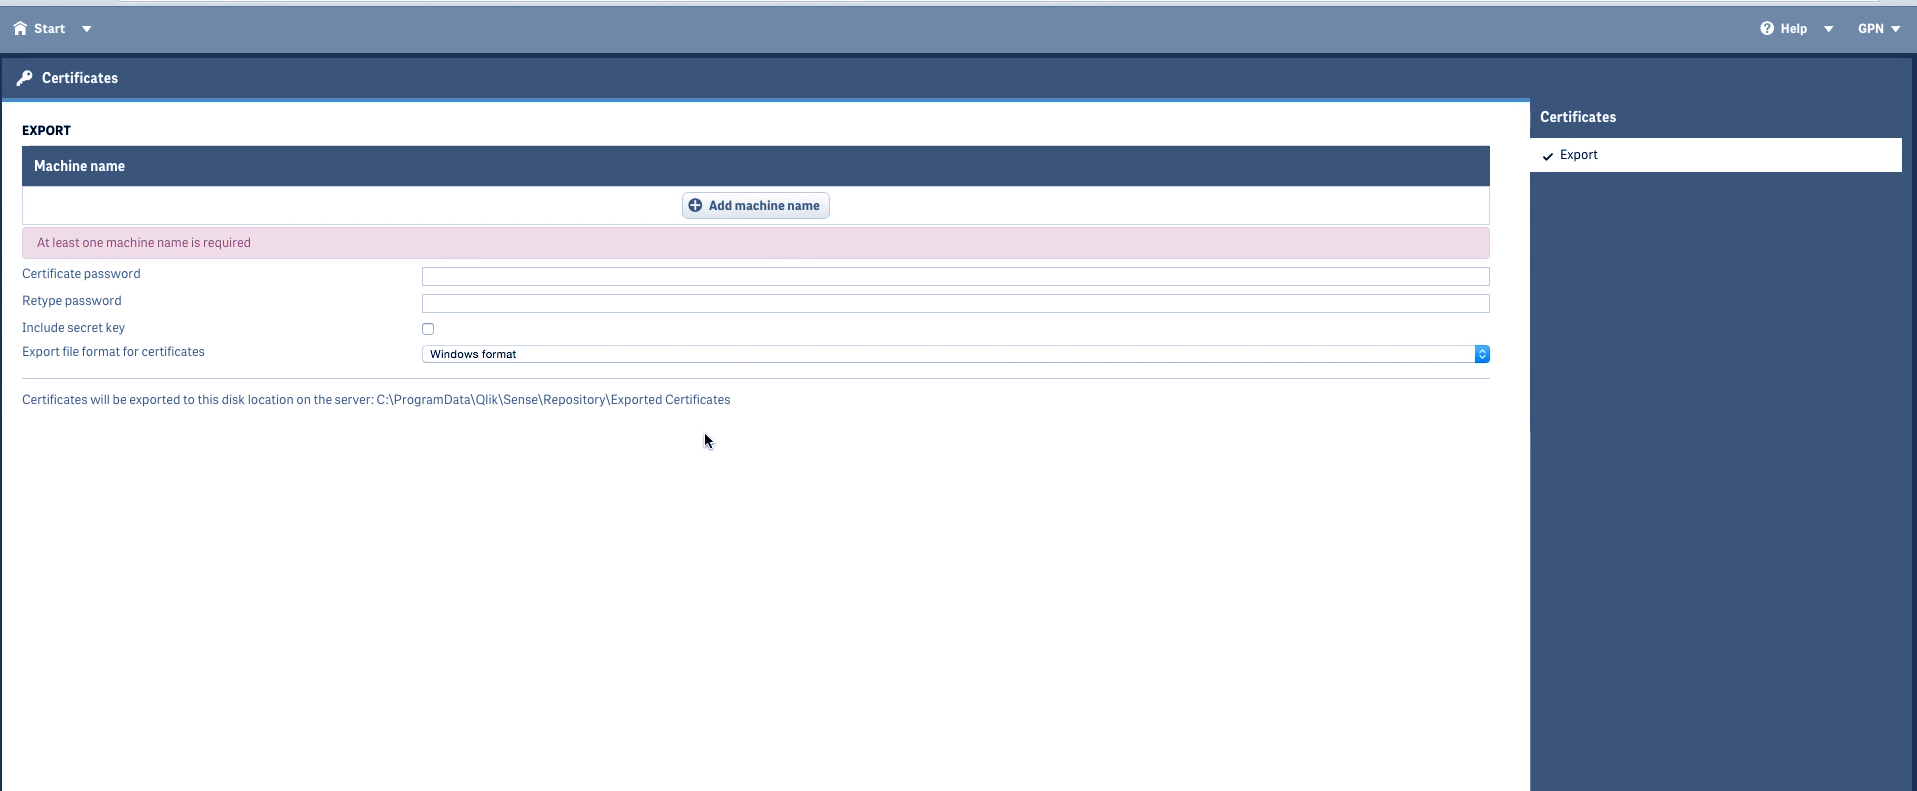
ix. Qlik Sense Certificates
This tab manages all the user certificates issued for authenticating services in Qlik Sense.
So, this was all in Qlik QMC Tutorial. Hope you liked our explanation.
6. Summary – Qlik QMC
Hence, in this QMC tutorial, we discussed the Qlik Management Console for Qlik Sense used to centrally manage all the different aspects of Qlik Sense’s functioning.
If you have any reviews or queries, please drop your comments in the comment section below.
You must read about Qlik Sense Career Opportunities
Your opinion matters
Please write your valuable feedback about DataFlair on Google
