Python Data Science Environment Setup
Free Machine Learning courses with 130+ real-time projects Start Now!!
Python course with 57 real-time projects - Learn Python
1. Data Science Environment Setup With Python
Today, in this Python Data Science tutorial, we will see Data Science Environment Setup for Python. Moreover, we will tell you about all that you need to install for Data Science Environment Setup, such as Python, Anaconda, Miniconda.
Along with this, we will see how to set a virtual environment for Data Science Environment Setup and also importing Data Science Packages. Today, we will guide you to set up your machine so you can begin your journey with data science.
Before you begin, we suggest you read up on Python Data Science Introduction to make things flow easier when you come back.
So, let’s start the Python data Science Environment Setup.
2. Install Python
Before anything else, you should get Python on your machine. You can refer to the Step-by-Step Guide to Install Python on Windows for this.
While 2.7 is widely adopted, 3.x will take over the future and has already started to leave its mark. Apart from that, some software and features aren’t backward-compatible. So take your pick.
3. Getting Anaconda for Data Science Environment Setup
Anaconda is a Python distribution for data science and machine learning. It is free and open-source and makes managing and deploying packages simple.
It has more than 1000 data science packages and the Conda package. Other tools it comes with are core Python, IPython, among others.
a. Anaconda Navigator
Anaconda ships with a virtual environment manager- the Anaconda Navigator. This is a desktop GUI that lets you launch applications and manage packages, environments, and channels for conda. This lets you bypass the command-line commands.
The Navigator searches for a package on the Anaconda Cloud, or in a local repository for Anaconda, and installs, runs, and updates them. It has the following applications-
- Glueviz
- Jupyter Notebook
- JupyterLab
- Orange 3 App
- VSCode
- RStudio
- Rodeo
- Spyder
- QTConsole
Anaconda will give you two package managers- pip and conda. When some packages aren’t available with conda, you can use pip to install them. Note that using pip to install packages also available to conda may cause an installation error.
b. Installing Anaconda
To download an Anaconda distribution, you can use the official download page:
https://www.anaconda.com/download/
Here, you can select your platform and then choose the installer. For this, you can choose which version you want and whether 32-bit or 64-bit.
To install a package with conda, you can use the following command–
conda install scipy
4. Install Miniconda
Miniconda is a minimal installer for conda; a small, bootstrap version of Anaconda. It is free and ships with conda, Python, and packages like pip and zlib. This lets you install more than 720 packages from conda. Since Miniconda is a lighter version of Anaconda, it lets you download faster.
To install Miniconda, you can get to the following page-
https://conda.io/miniconda.html
Here, choose your platform and then pick a 32-bit or a 64-bit installer according to the needs of your machine.
5. Setting up a Virtual Environment
Since, here, we talk about setting up a data science environment with Python, let’s find out what a virtual environment is. Well, a virtual environment lets us create different Python versions with the packages we want, or as the project needs.
Such an environment helps us ensure that there are no clashes between the versions of packages and that of Python and its package managers. You should check out this blog on How to Create a Python Virtual Environment and Install Packages.
For now, let’s see how we can create one with Anaconda. Use the following command in your Anaconda prompt-
This should give you an idea of what the Anaconda prompt looks like. Now, to activate this environment, you can type-
conda activate demo
This lets you start using it. Now to deactivate it, try-
conda deactivate
The following command tells you all the environments that exist; the asterisk (*) marks the current-
conda info -e
6. Important Python Data Science Packages
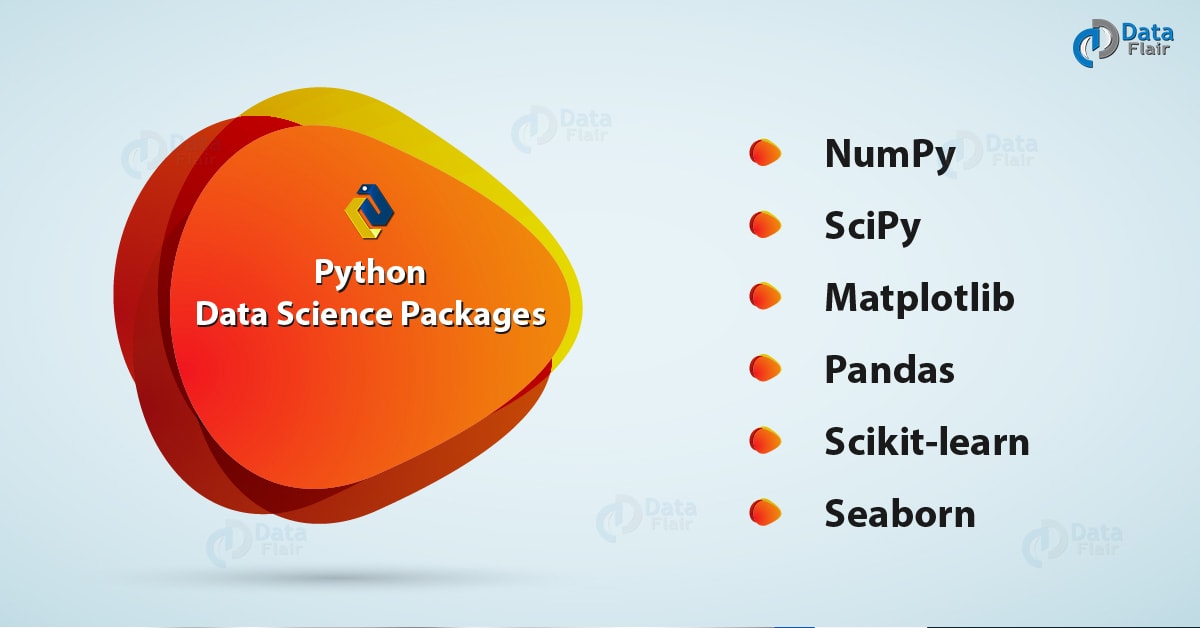
Working with data science, out of more than 1000 packages available, you will need a few that will let you implement the basic functionalities. Let’s take a quick look at some of those packages.
a. NumPy
As discussed ample times earlier, NumPy lets you deal with large, multi-dimensional arrays and matrices. To act on these, it also gives us various high-level mathematical functions.
b. SciPy
Scipy is a Python library for scientific and technical computin, and is free and open-source. Modules from SciPy include those for-
- Optimization
- Linear algebra
- Integration
- Interpolation
- Special functions
- FFT
- Signal and Image processing
- ODE solvers
c. Matplotlib
We’ve used Matplotlib so far to plot many of the figures we needed to get started with visualization. Some of these were bubble charts and scatter plots. This is a plotting library with Python and extends NumPy.
With an object-oriented API, it lets you embed plots into applications. For this, it uses GUI toolkits like Tkinter, Qt, GTK+, and wxPython.
d. Pandas
We have taken an extensive Pandas Tutorial. Now, it’s time for a quick recap. pandas is a software library for Python that is supposed to serve for data manipulation and analysis. It is free and lets you manipulate numerical tables and time series using data structures and operations.
e. scikit-learn
scikit-learn is a software machine learning library for Python. It is free and offers different algorithms for classification, regression, and clustering-
- Support Vector Machines
- Random forests
- Gradient boosting
- K-means
- DBSCAN
We usually use it alongside NumPy and SciPy.
f. seaborn
Finally, seaborn is a visualization library for Python and is based on matplotlib. It lets us perform data visualization in a statistical manner with a high-level interface that results in attractive graphics.
Let’s revise Python regular expression
7. How to Get Jupyter Notebook?
As we saw earlier, the Jupyter Notebook ships with Anaconda. To run it, you can get in your virtual environment and type the following-
jupyter notebook
You can also install it with pip-
python3 -m pip install --upgrade pip
python3 -m pip install jupyter
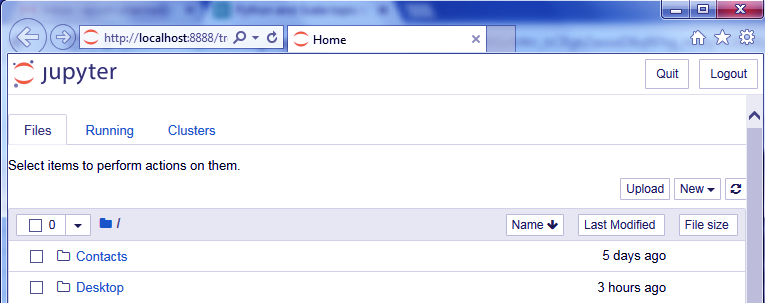
The notebook looks something like this-
You can find this at http://localhost:8888/
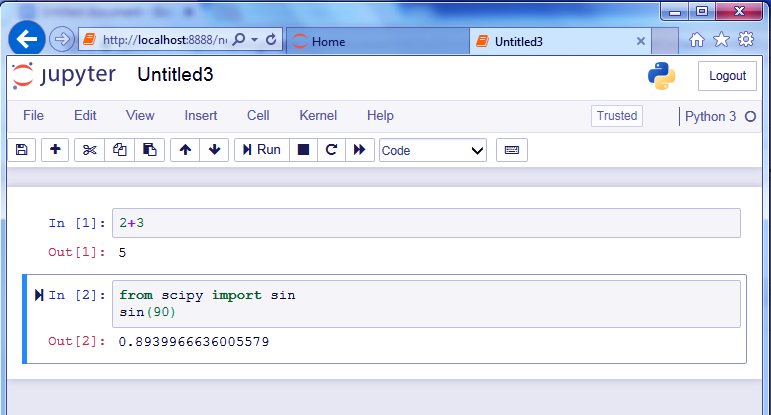
Now to run Python here, you can create a new file. It looks like this-
You can quit using the logout button at the top-right corner.
Let’s revise the Python Array Module
So, this was all in the Data Science Environment Setup with Python. Hope you like our explanation.
8. Conclusion: Data Science Environment Setup
Hence, in this Python Data Science Environment Setup tutorial, we discussed all that to need to install for data Science Environment Setup. Moreover, we look at Python packages as Numpy, Scipy, matplotlib.
With this, we conclude our data Science environment setup tutorial, on how to set your machine up for data science. Still, if any query regarding Python Data Science Environment setup, feel free to drop your questions in comments below.
See also –
Python Charts
Did you like our efforts? If Yes, please give DataFlair 5 Stars on Google
