Connect to Data in Power BI Desktop in 10 Min.
Expert-led Online Courses: Elevate Your Skills, Get ready for Future - Enroll Now!
1. Objective
In this Power BI tutorial, we will learn about Interface with information in Power BI work area. Moreover, we will learn how to connect to data in Power BI Desktop.
So, let’s start How to Connect to Data in Power BI.
Connect to data in Power BI Desktop in 10 Min.
2. Power BI Work Area
With Power BI Work area, you can without much of a stretch associated with the consistently extending universe of information. In the event that you don’t have Power BI Work area, you can download and introduce it.
Do you know the Integration of Power Bi and Excel – With Existing Dashboard
3. Connect to Data in Power BI Desktop
There is a wide range of information sources accessible in Power BI Work area. The accompanying picture demonstrates to associate with information, by choosing the Record strip, at that point Get Information > More.
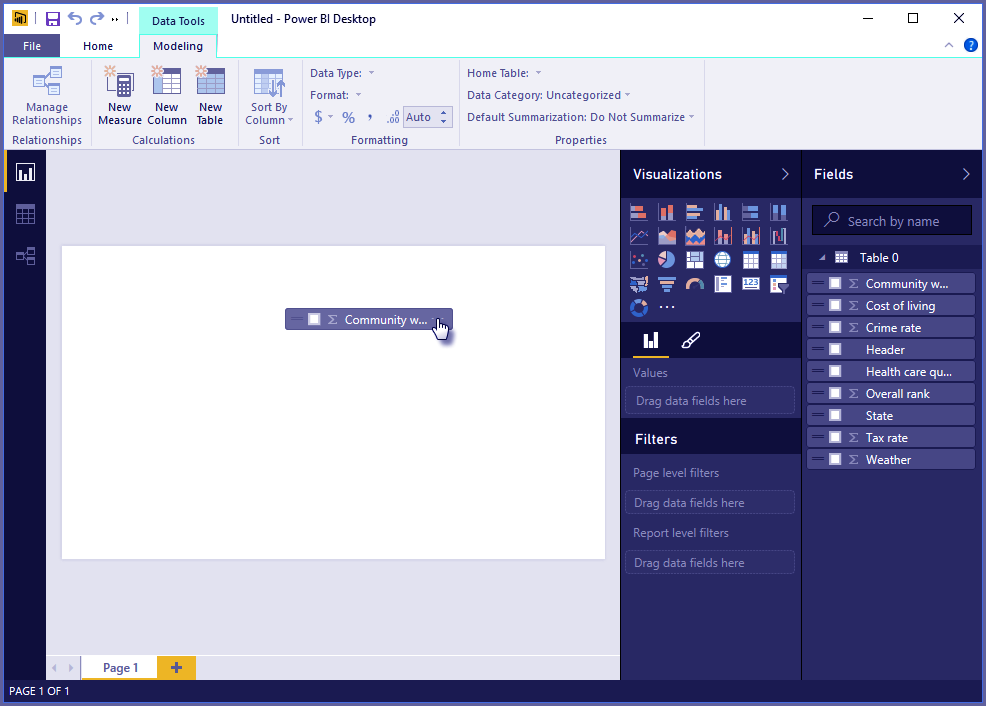
Step -1 Connect to Data in Power BI Desktop
For this illustration, we’ll interface with an Internet information source.
Envision you’re resigning – you need to live where there’s heaps of daylight, ideal expenses, and great human services. Or then again… maybe you’re an information expert, and you need that data to help your clients – as in, help your waterproof shell producing customer target deals where it rains a considerable measure.
In any case, you discover an Internet asset that has fascinating information about those subjects, and that’s only the tip of the iceberg:
http://www.bankrate.com/fund/retirement/best-places-resign how-state-ranks.aspx
You select Get Information > Web and sort the address.
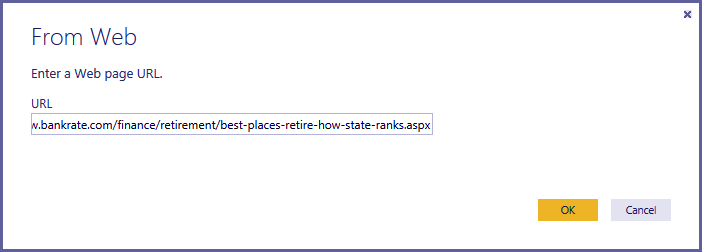
Step – 2 Connect to Data in Power BI Desktop
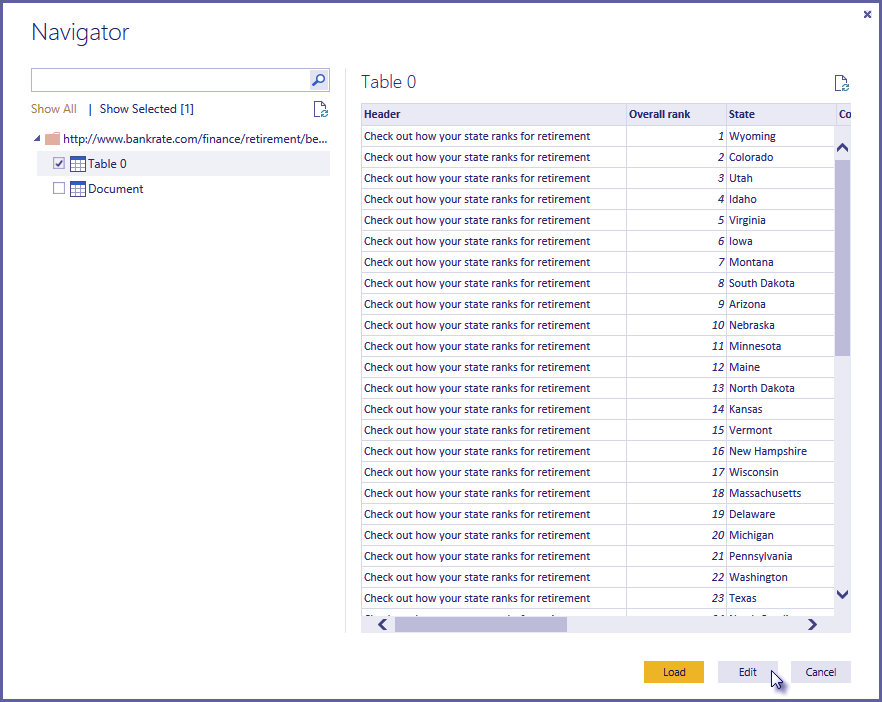
When you select alright, the Inquiry usefulness of Intensity BI Work area goes to work. Power BI Work area contacts the Internet asset, and the Guide window restores the aftereffects of what it found on that site page. For this situation, it found a (Table 0) and the General Report. We’re occupied with the table, so we select it from the rundown. The Guide window shows a review.
Do you know How to Download & Install Power Bi in 7 Simple Steps
Step – 3 Connect to Data in Power BI Desktop
Now we can alter the inquiry before stacking the table, by choosing Alter from the base of the window, or we can stack the table.
On the off chance that we select Alter, the table stack and Question Editorial manager. The Inquiry Settings sheet is shown (if it’s not, you can choose View from the lace, at that point Show > Question Settings to show the Inquiry Settings sheet). This is what that resembles.

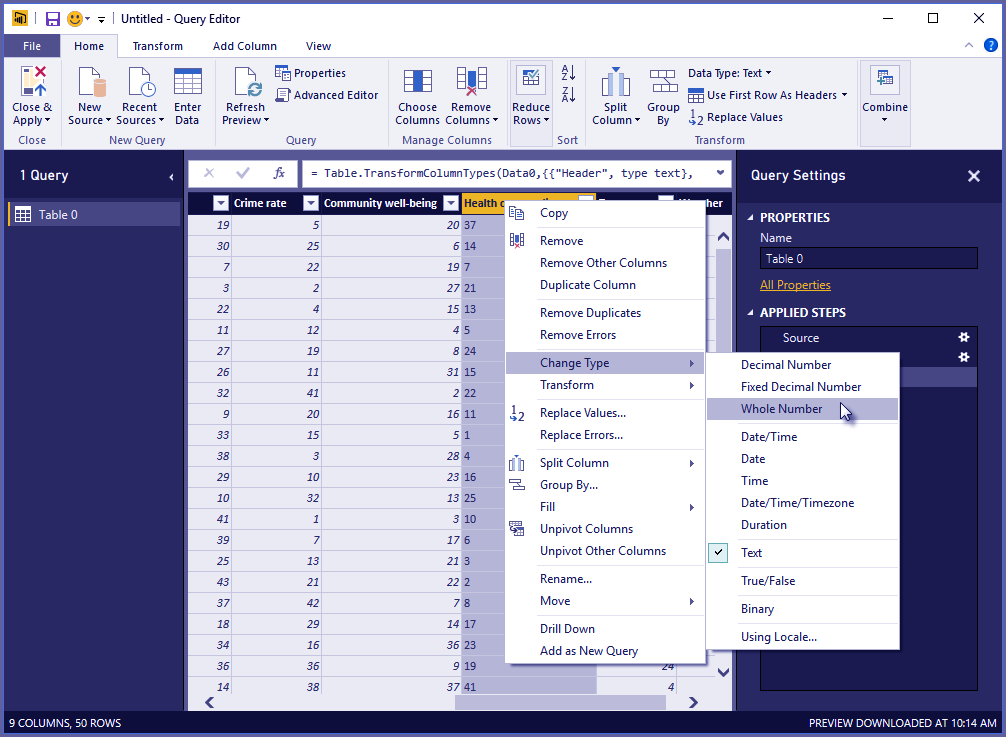
Step – 4 Connect to Data in Power BI Desktop
Each one of those scores is content instead of numbers, and we require them to number. Forget about it – without flaw tap the section header, and select Change Write > Entire Number to transform them.
Let’s Read How to Create ArcGIS Maps For Power BI with ESRI
To pick in excess of one section, first select a segment at that point hold down Move, select extra contiguous segments, and after that right-click a segment header to change every chosen segment. Utilize CTRL to pick sections that are not contiguous.
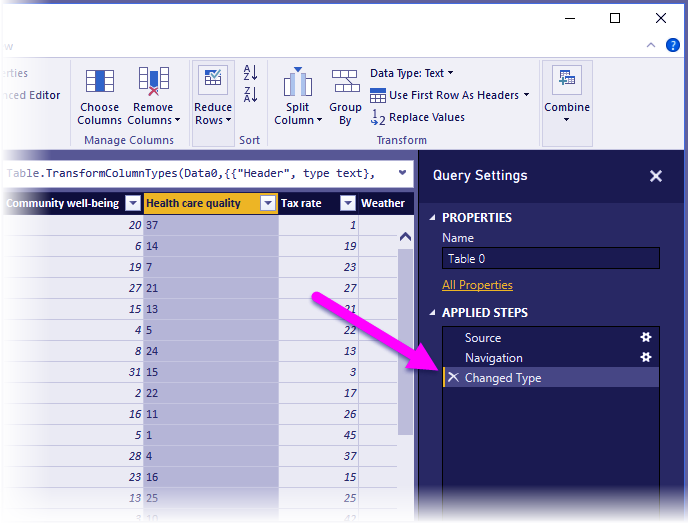
Step – 5 Connect to Data in Power BI Desktop
In Inquiry Settings, the Connected Advances will mirror any progressions that were made. As you roll out extra improvements to the information, the Question Editorial manager will record those adjustments in the Connected Advances segment, which you can modify, return to, rework, or erase as essential.
Step – 6 Connect to Data in Power BI Desktop
Extra changes to the table can, in any case, made after it’s stacked. However, for the present, this will do. When we’re set we select Close and Apply from the Home lace, and Power BI Work area applies our progressions and closes Inquiry Supervisor.
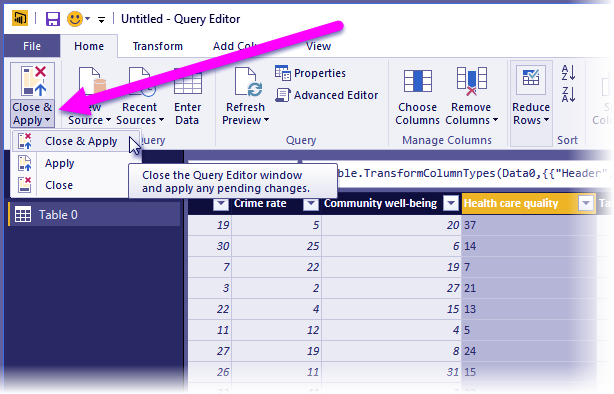
Step – 7 Connect to Data in Power BI Desktop
Let’s explore How to Create Power BI Funnel Charts (Custom Visuals)
With the information shown stacked, in Report see in Power BI Work area, we can start making representations by hauling fields onto the canvas.

Step – 8 Connect to Data in Power BI Desktop
Obviously, this is a basic model with a solitary information association; most Influence BI Work area reports will have associations with various information sources, formed to address your issues, with connections that create a rich information display.
So, this was all about How to Connect to data in Power BI Desktop.
4. Conclusion
Hence, in this Power BI tutorial, we learned How to Connect to data in Power BI Desktop. If you feel any query, ask in the comment section.
Related Topic- Area Chart in Power BI
For reference
You give me 15 seconds I promise you best tutorials
Please share your happy experience on Google


where is the data set used in this lesson
where is the data set used in this lesson