How to Set Eclipse for Android Developers
Job-ready Online Courses: Click for Success - Start Now!
In this Android tutorial, we’ll learn how to set up Eclipse for Android right from its installation. This tutorial for Eclipse setup would be based on Linux. Before starting with that, we’ll learn what Eclipse is and then proceed with its download.

Eclipse Integrated Development Environment (Eclipse IDE) helps to support the development of applications with the help of Java Programming. Eclipse is mostly written in Java, thus we use it primarily for Java. That is one of the reasons that Eclipse is well-known for Java IDE. Eclipse has its own workspace and an extensible plug-in system to customize the environment. It can be integrated with Android as well.

Now firstly we’ll begin with the steps of installation of Eclipse:
1. First of all, check your Linux version by, opening terminal ( ctrl+ alt+ T ).
Now, write this command:
uname -m
This will ensure if it is Linux 32-bit or 64-bit.

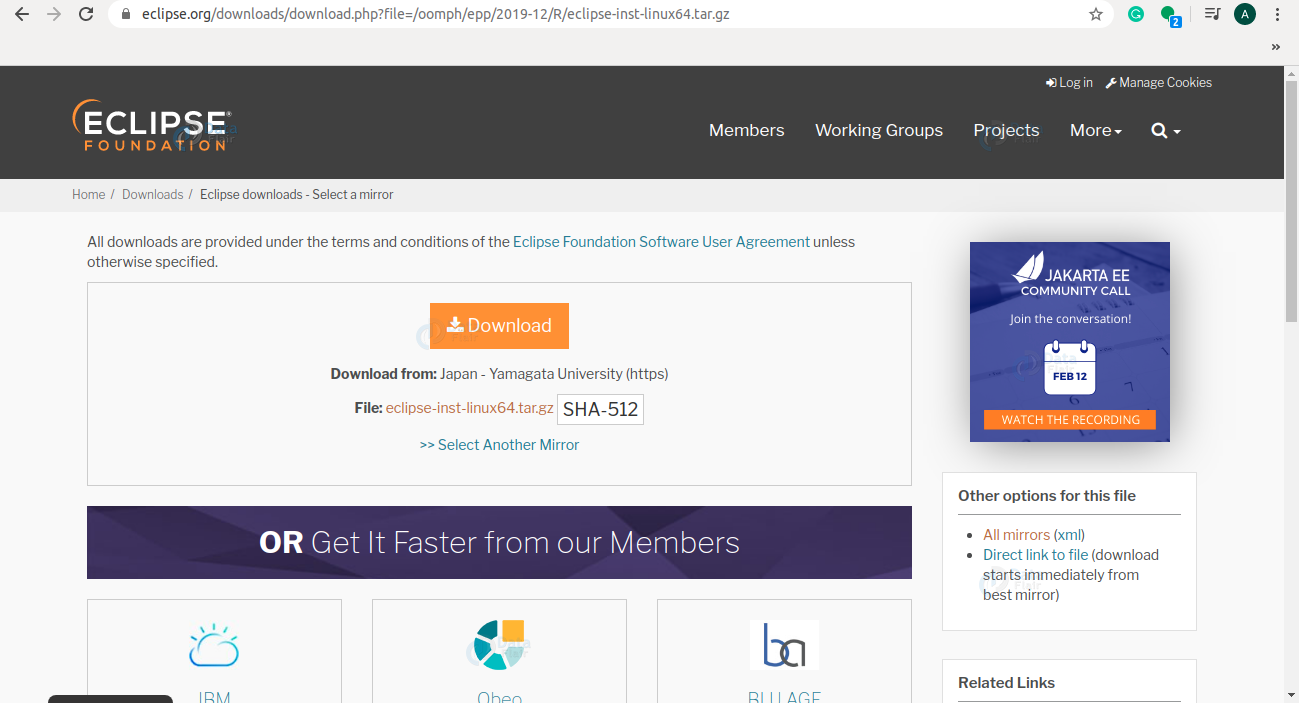
2. Now you download Eclipse for your respective version.
Click Download at the above link.
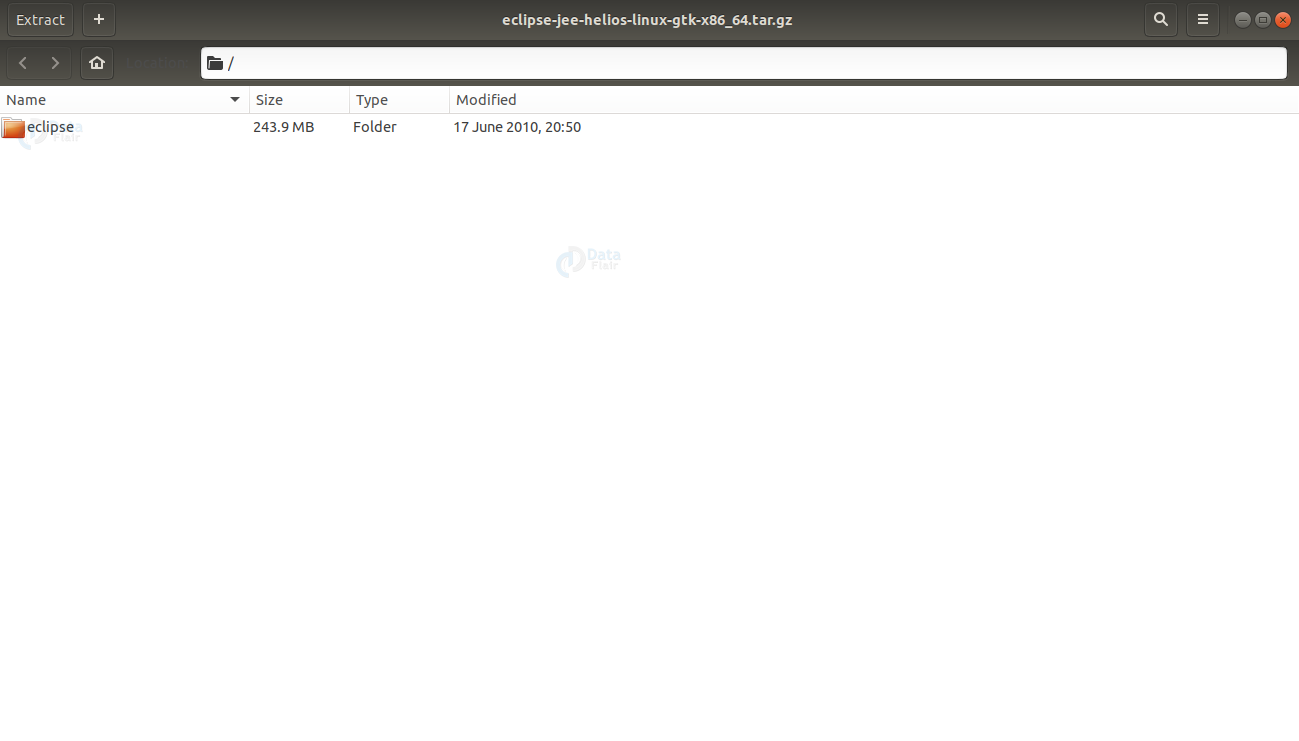
3. After it gets downloaded, You need to extract the folder and open it.
a. Select the folder and click on Extract:
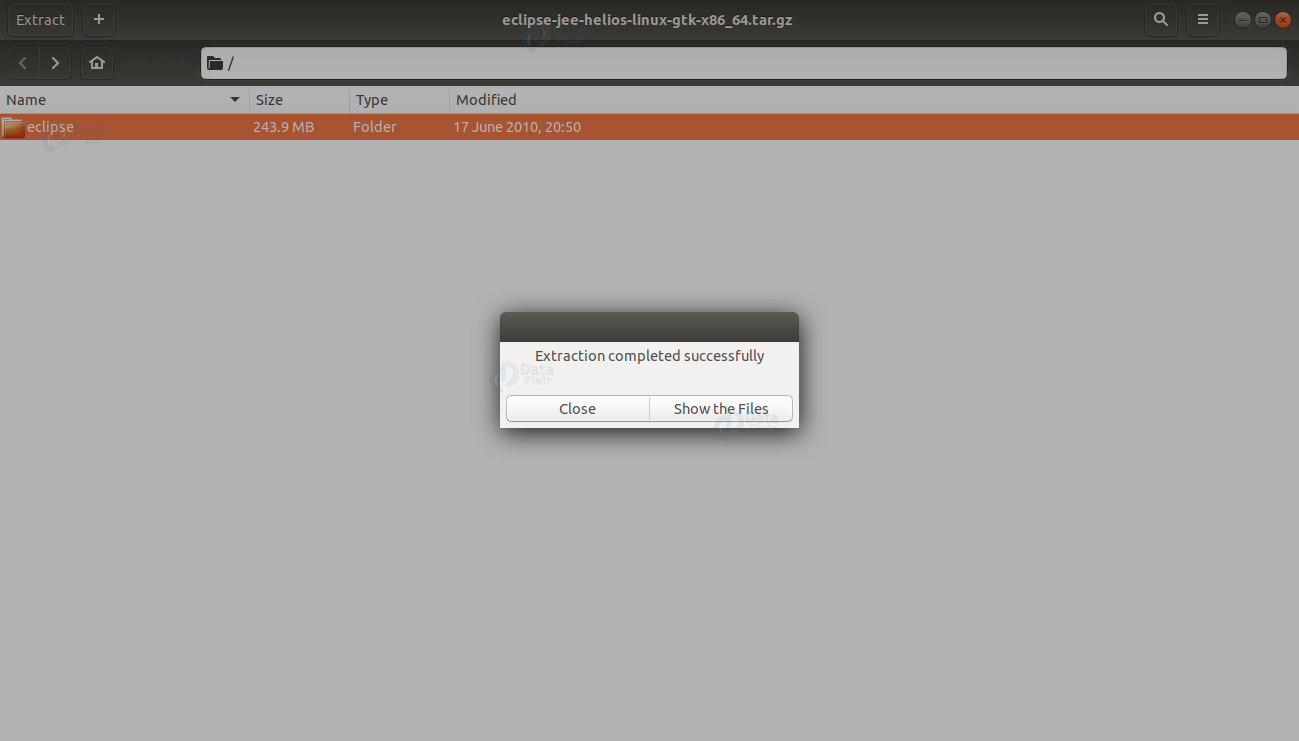
b. Click on the “Show the Files”
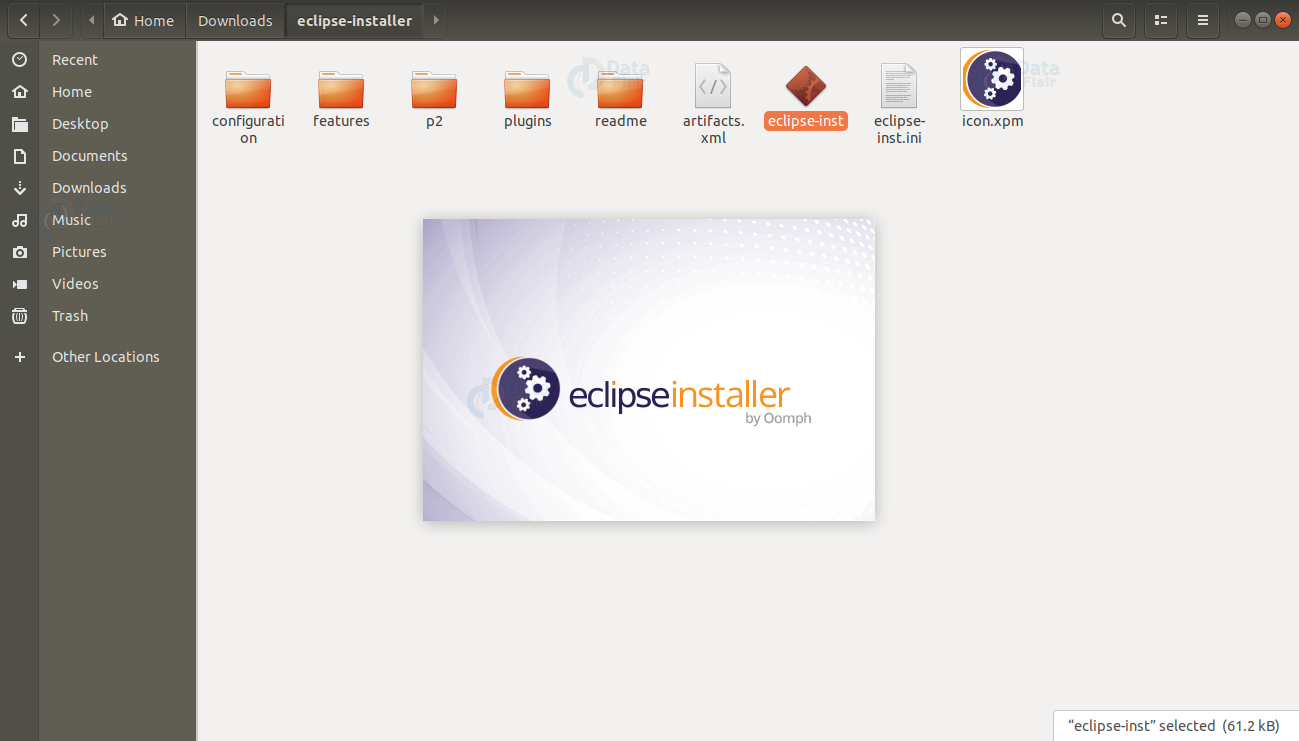
4. After that open the Eclipse-installer as follows:
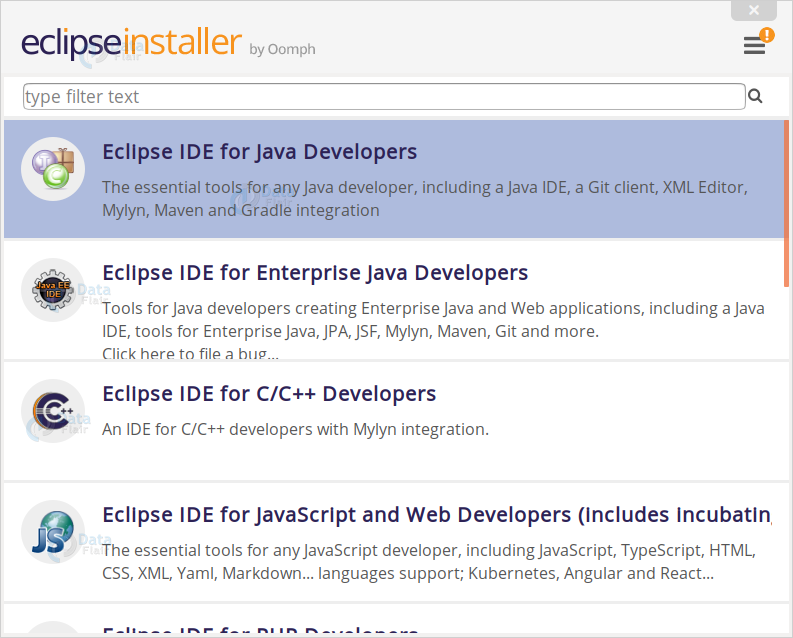
5. Now, choose Eclipse IDE for Java Developers as follows:
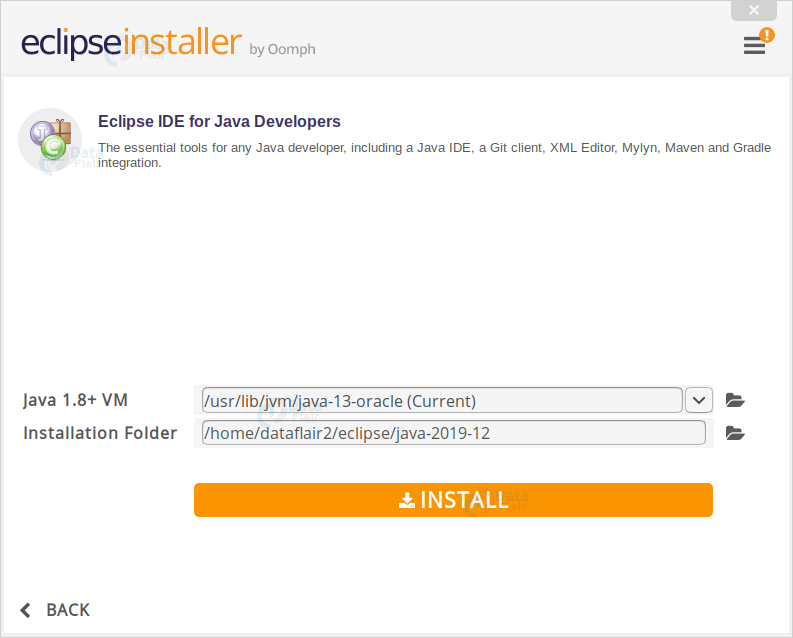
6. The following will appear on the screen, press Install.
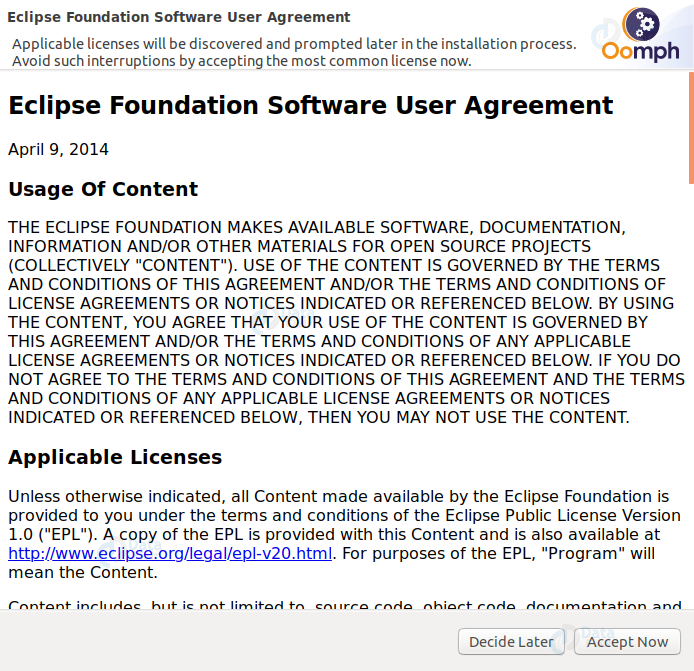
7. Then, User agreement would appear on the screen, Accept it.
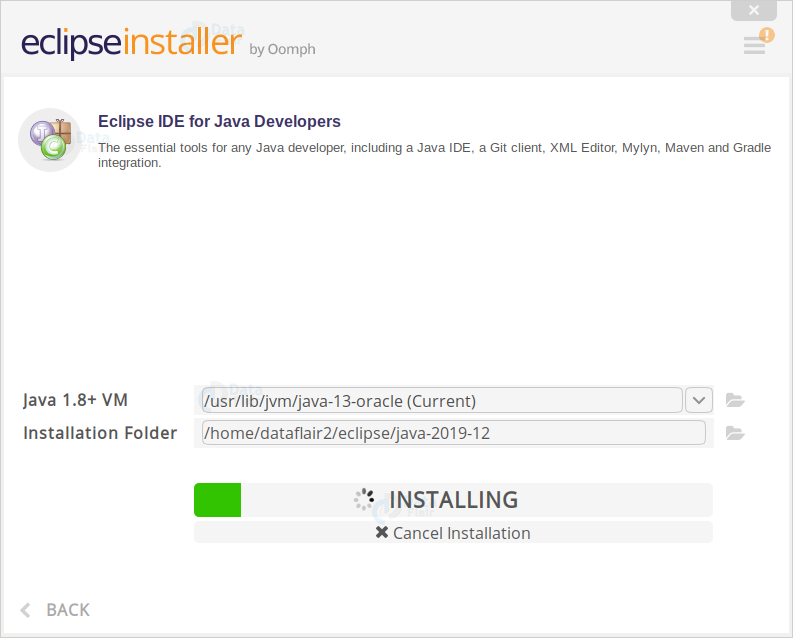
8. After the above step, the installation will finally begin as follows:
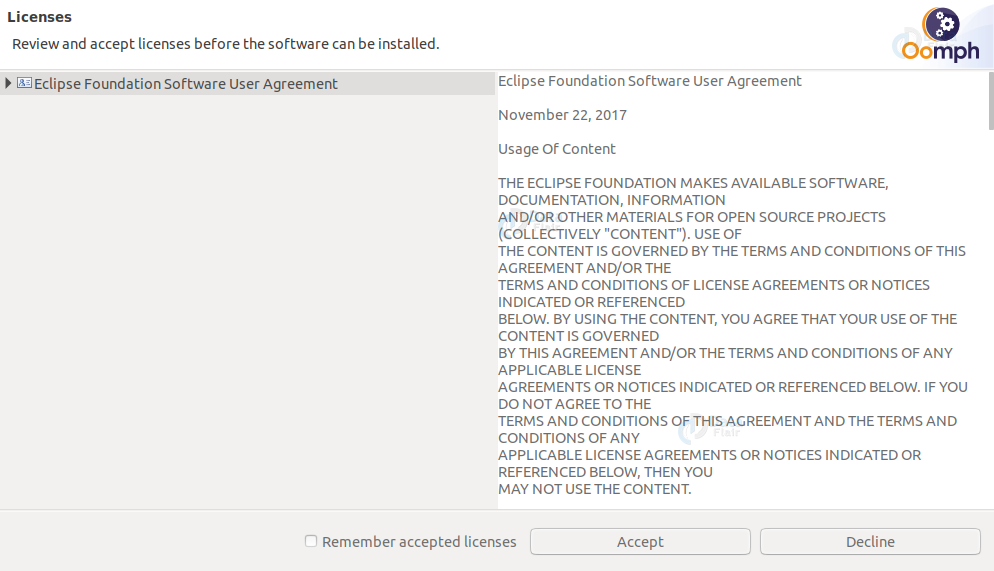
9. Now, Some licenses would appear on the screen, go through them, and accept it.
10. Then again it’ll continue the installation

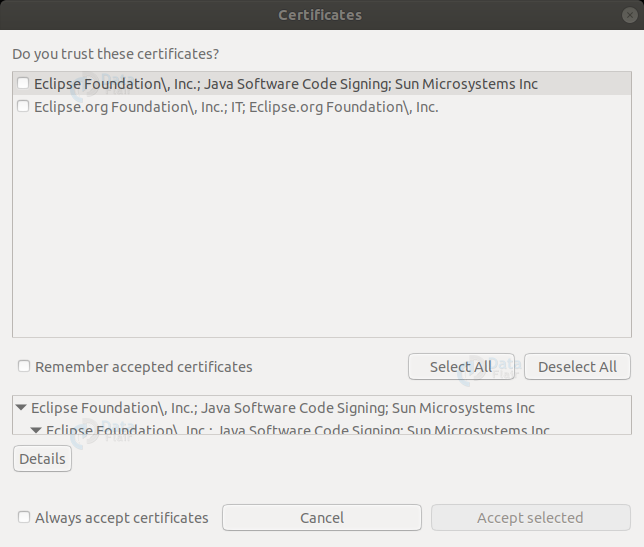
11. After this, confirm the following trusted certifications and press Accept Selected.
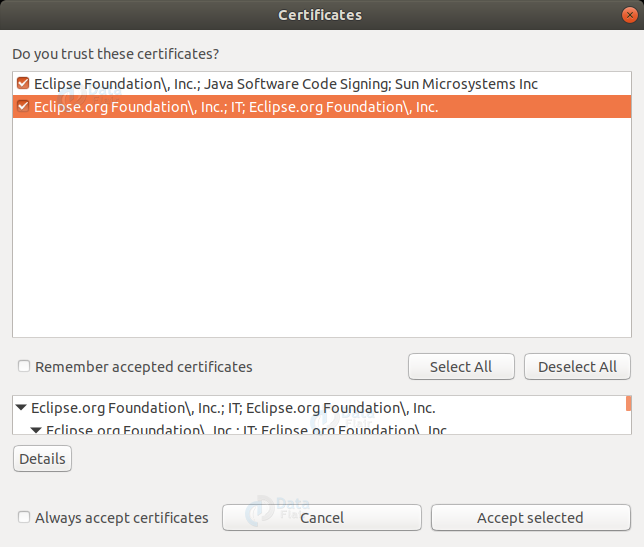
12. Here both the certificates have been selected as follows:
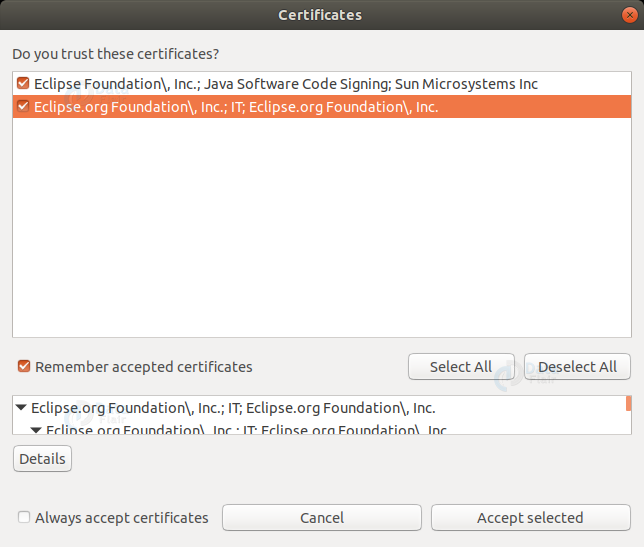
13. Now, Check the remember accepted certificates.
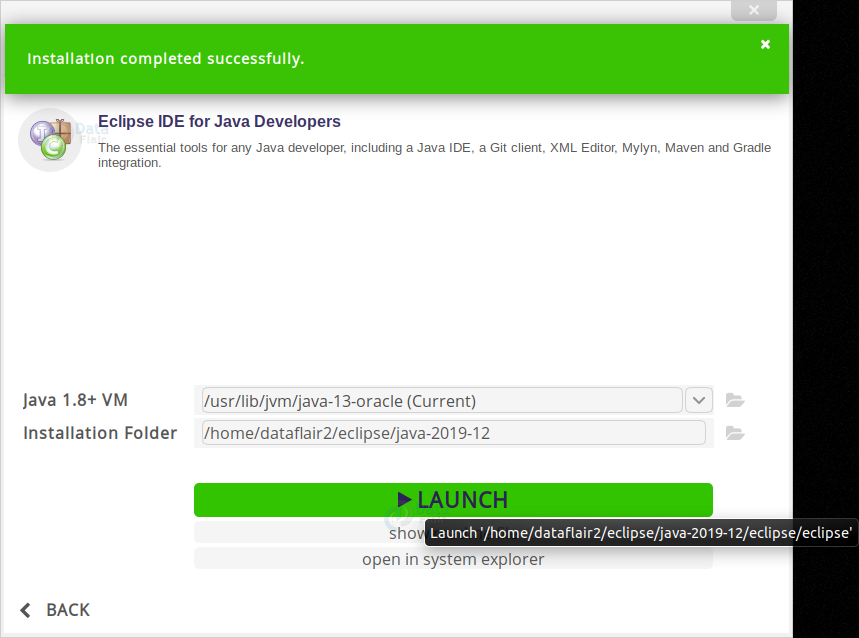
14. Now finally, you’ll get the following and the message would show up as Installation successfully completed. And now you can press the LAUNCH button.
15. Now launch the Eclipse for development:
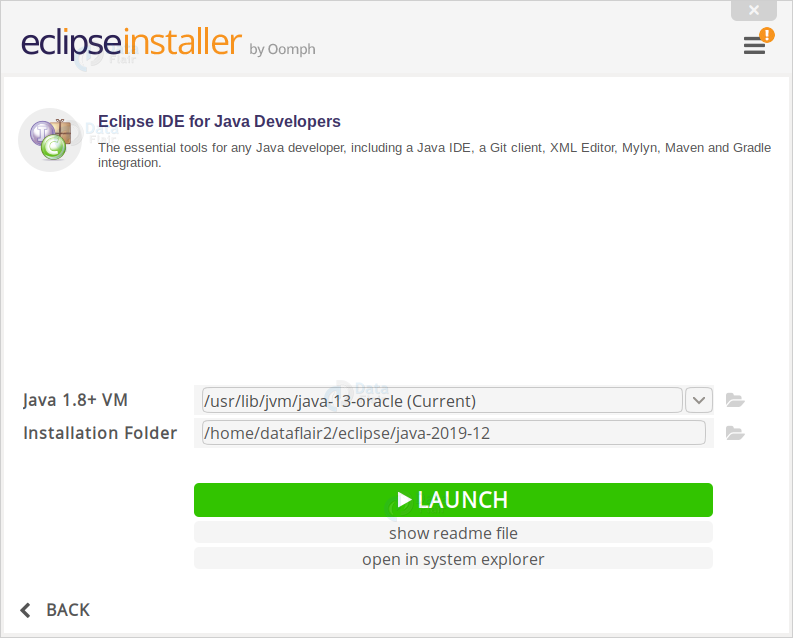
16. After that, you’ll find the following thing on your screen, check the given message and press Launch.
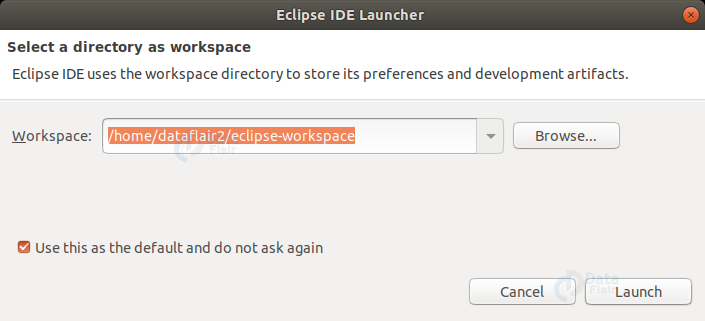
17. Now, Eclipse IDE will be opened, as you can see it loading as follows:

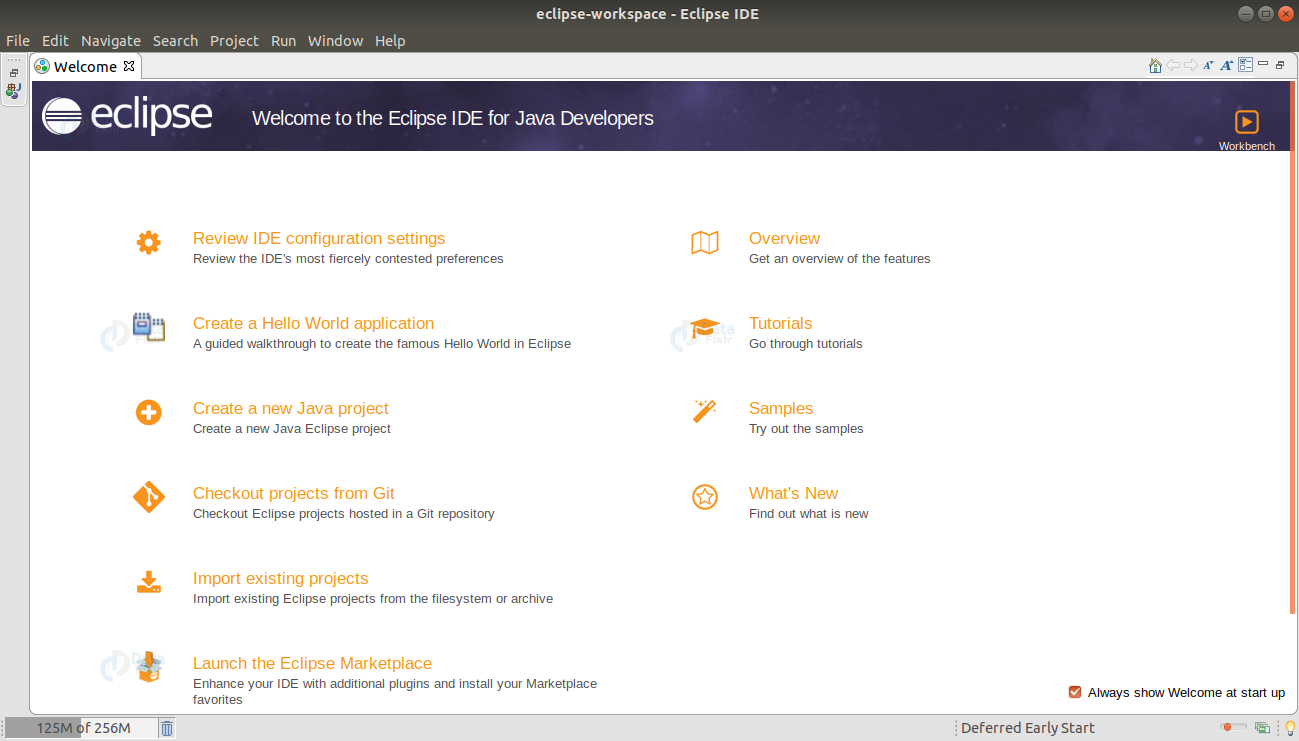
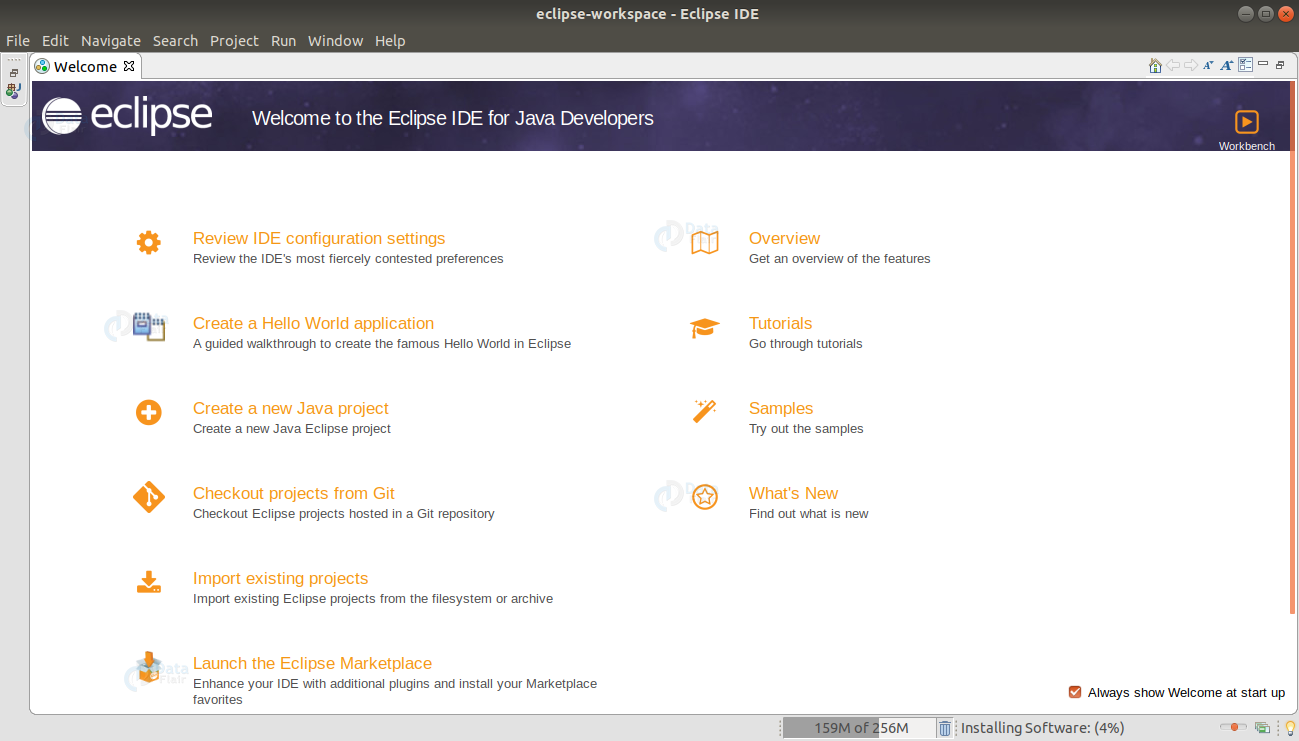
18. Now, Eclipse has been loaded and it is ready to use.

Till here, all we’ve done is the installation of Eclipse. As of now, you can use Eclipse for Java Development and create Java programs and run them. But this is not what we want yet. Android is yet to be integrated along with it. So, Now we’ll integrate Android SDK along with the Eclipse.
To integrate Android SDK with Eclipse follow the following steps:
1. First of all, click on Help.
2. Now select “Install new Software”:
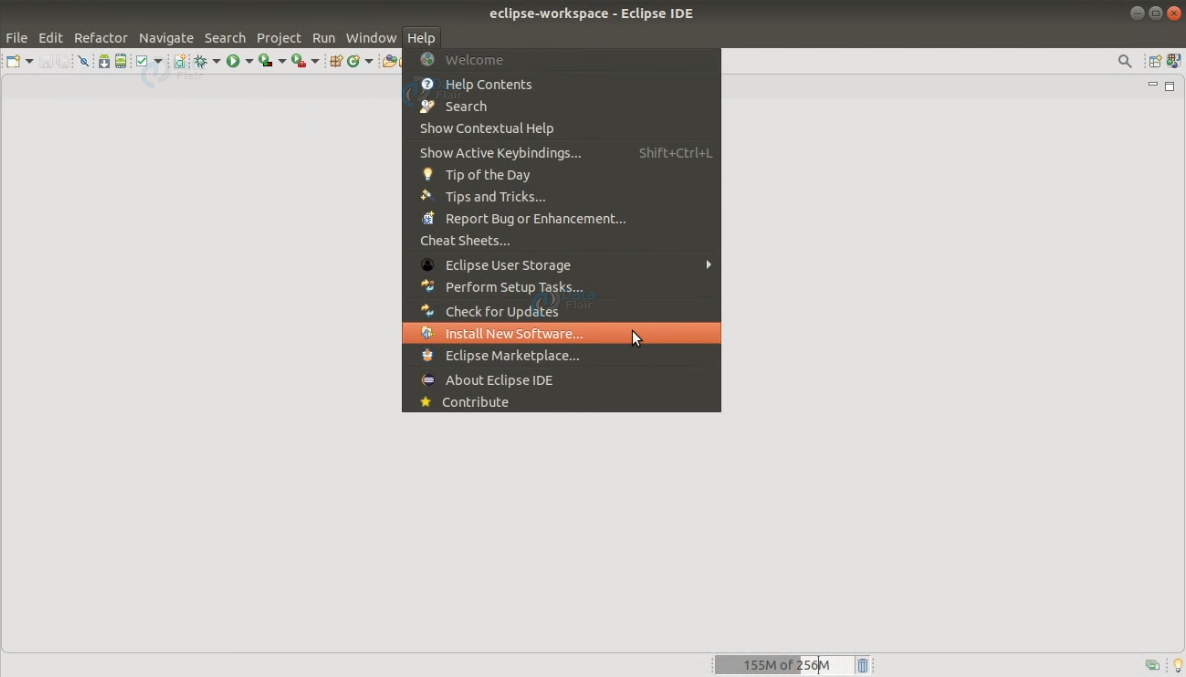
3.
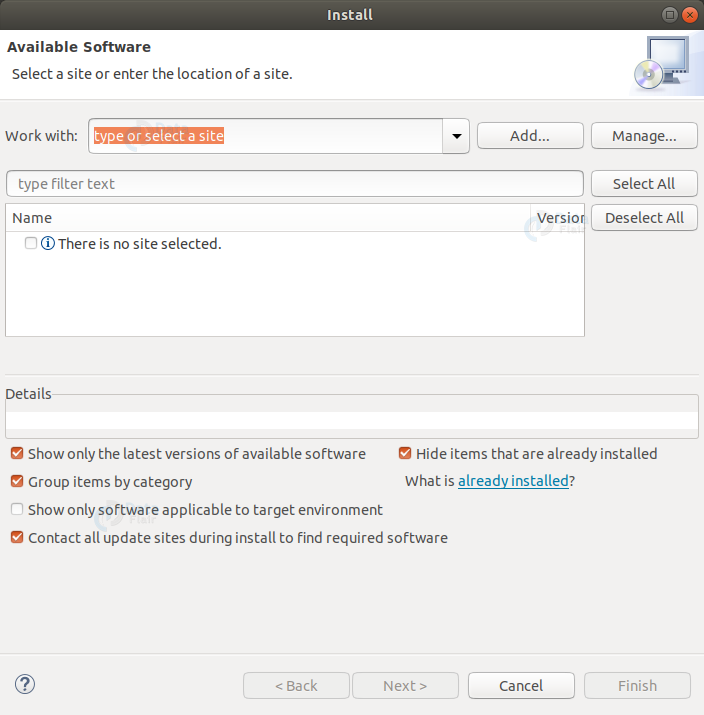
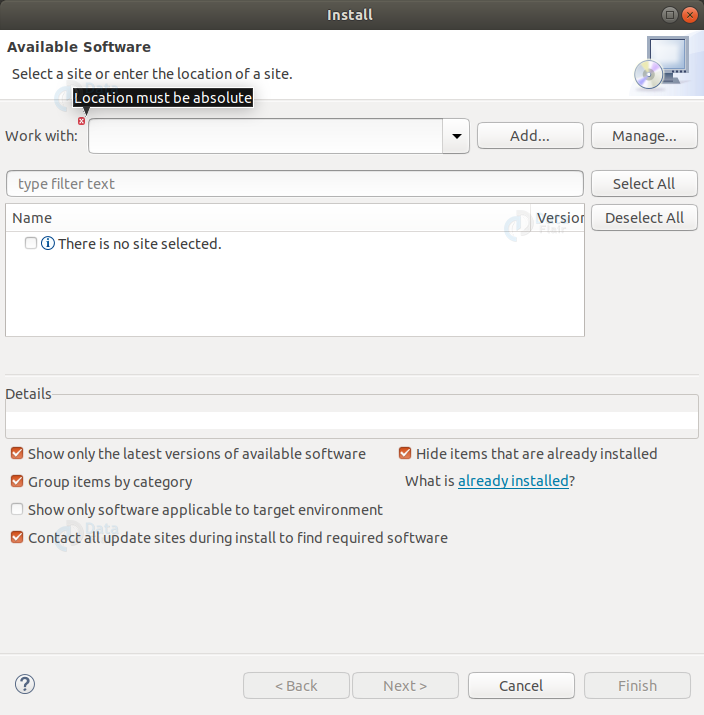
4. Now, erase whatever was written on Work with: and write “https://dl-ssl.google.com/android/eclipse/” in the blank below
5. Now, after writing the URL click on the Add… and after that Select the developer tools and press Next.
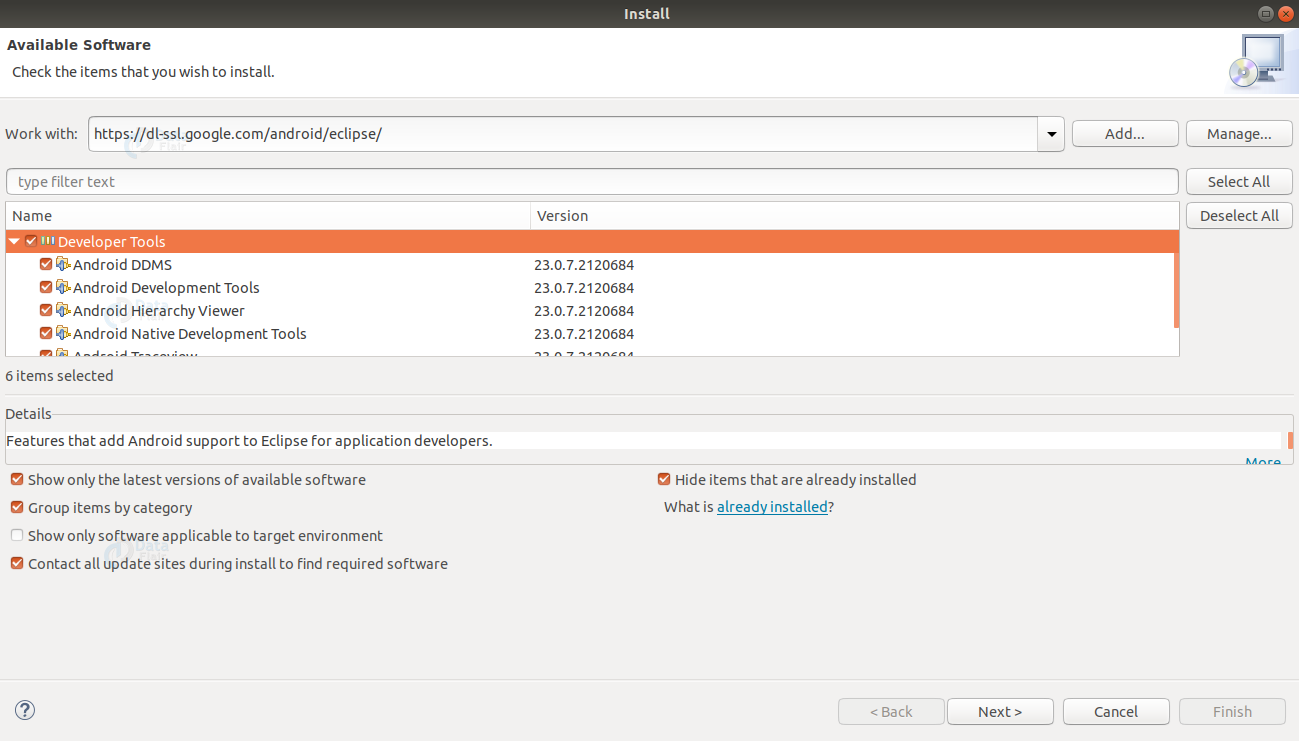
6. After pressing Next, you’ll see the Software being installed:

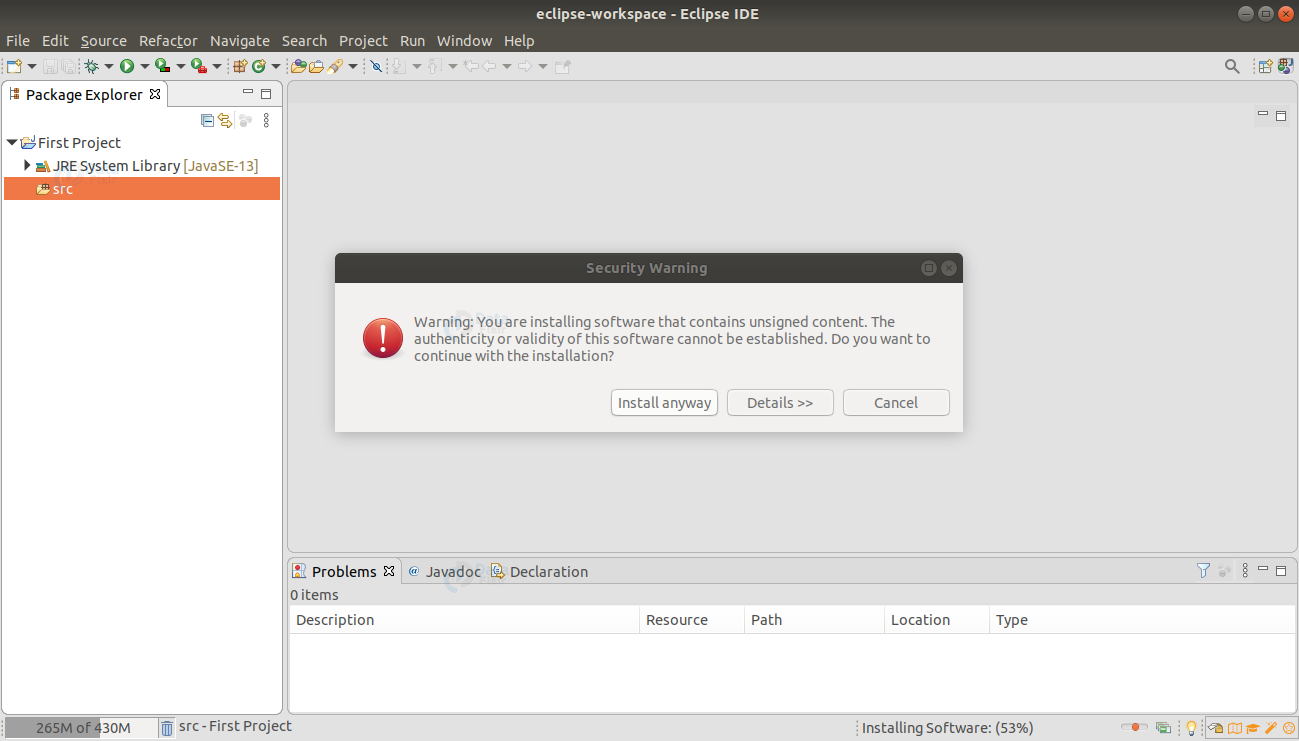
7. Now, it’ll ask for permission. So, grant permission and click on Install anyway.
8. After the software installation, it will ask for your permission to restart the Eclipse IDE to apply the software update. Now, Press Restart Now.
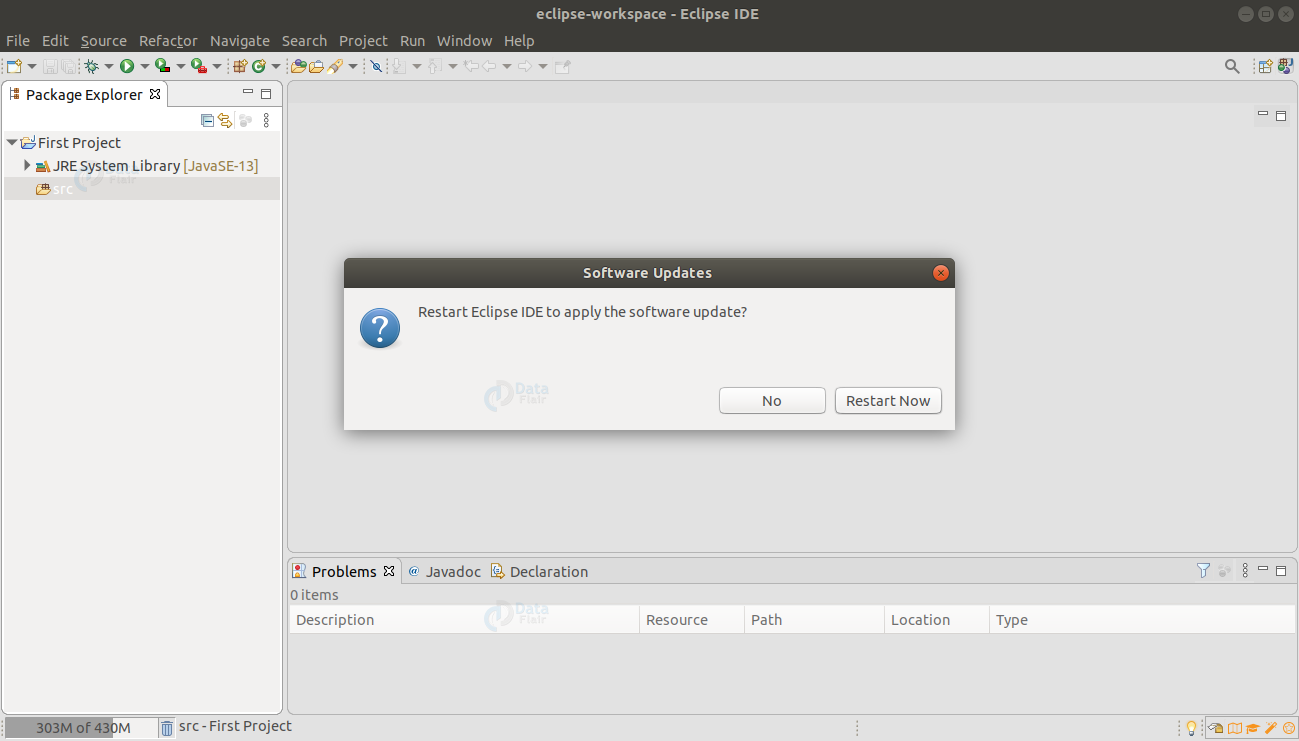
9. The Eclipse IDE will restart now.
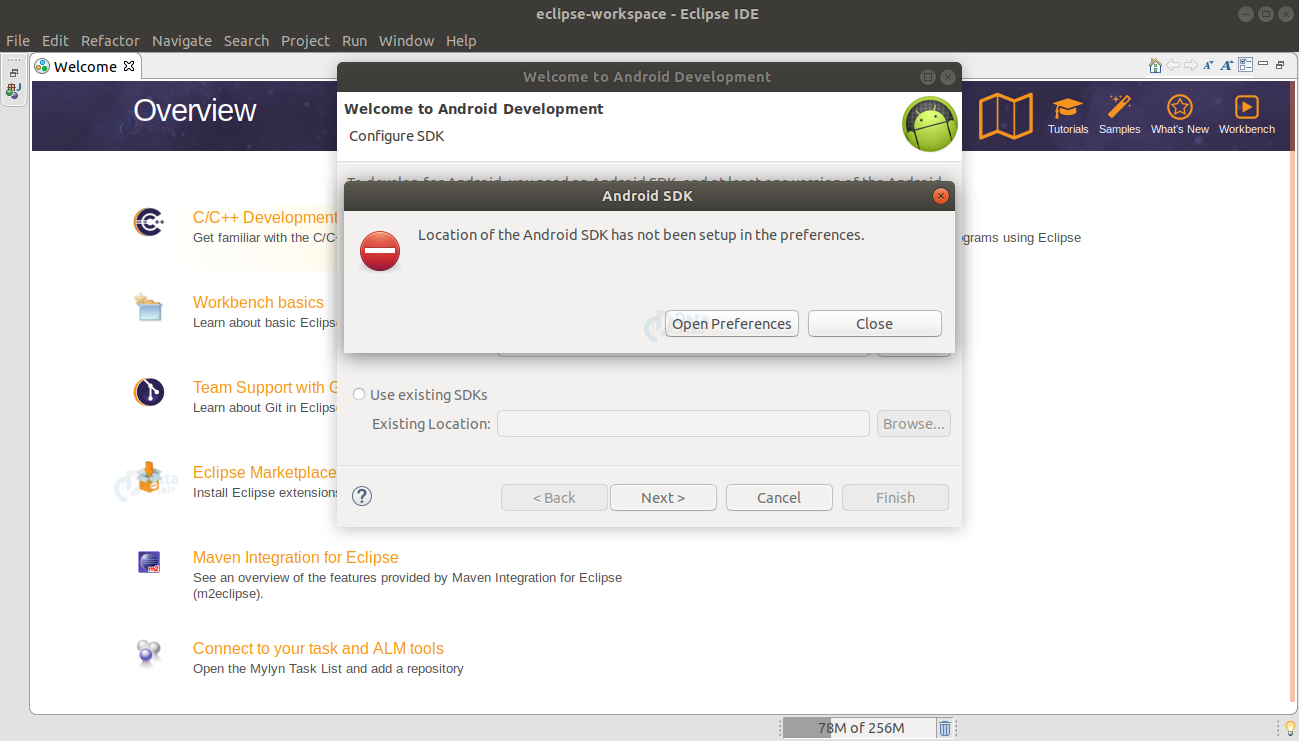
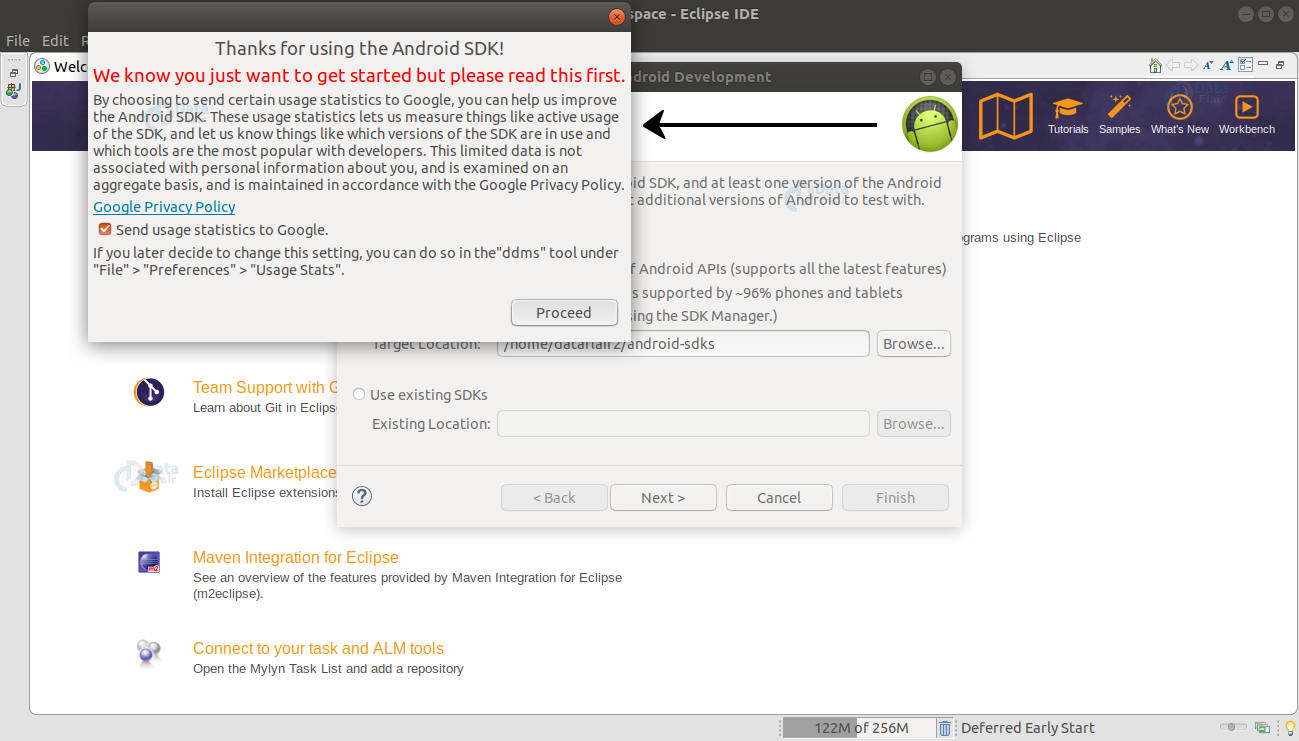
10. Now, If the location of Android SDK preferences has not been set up, Open preferences to correct location.
11. Press Proceed, to continue as follows:
12. Now choose, the correct
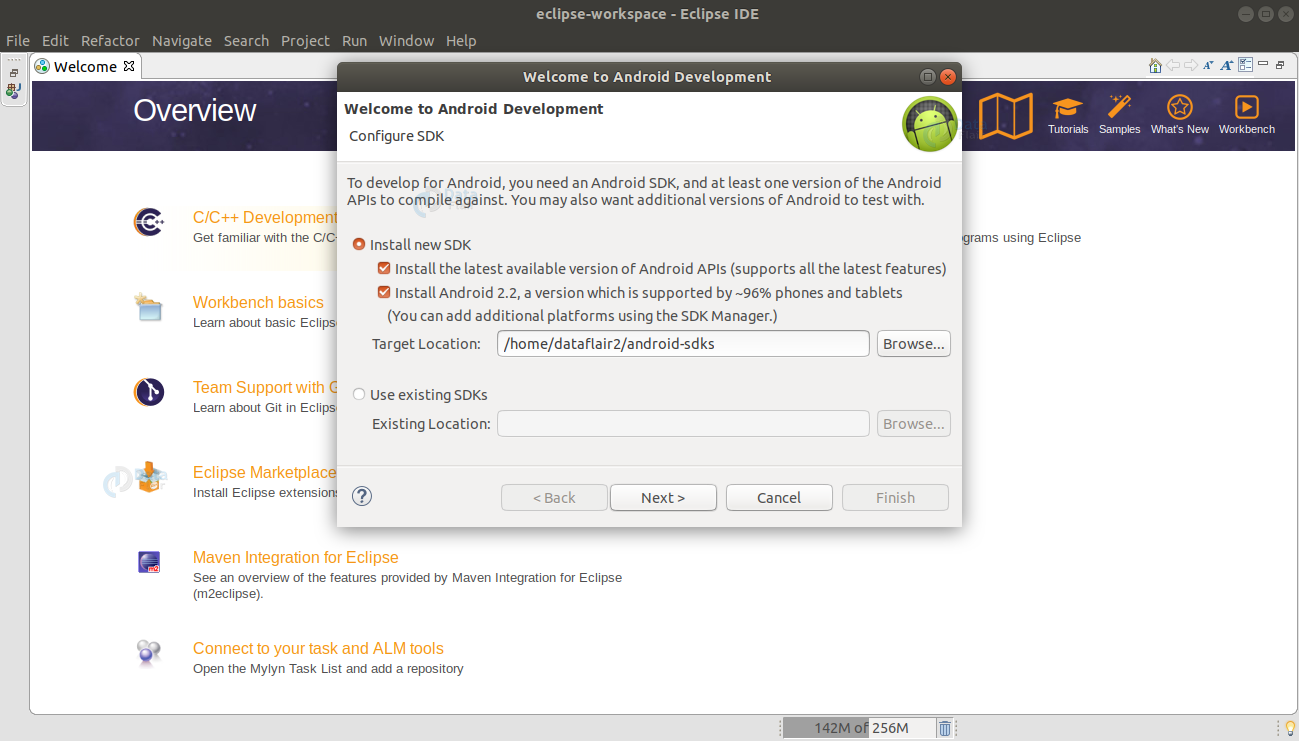
13. Then, Press Finish, to complete the process.

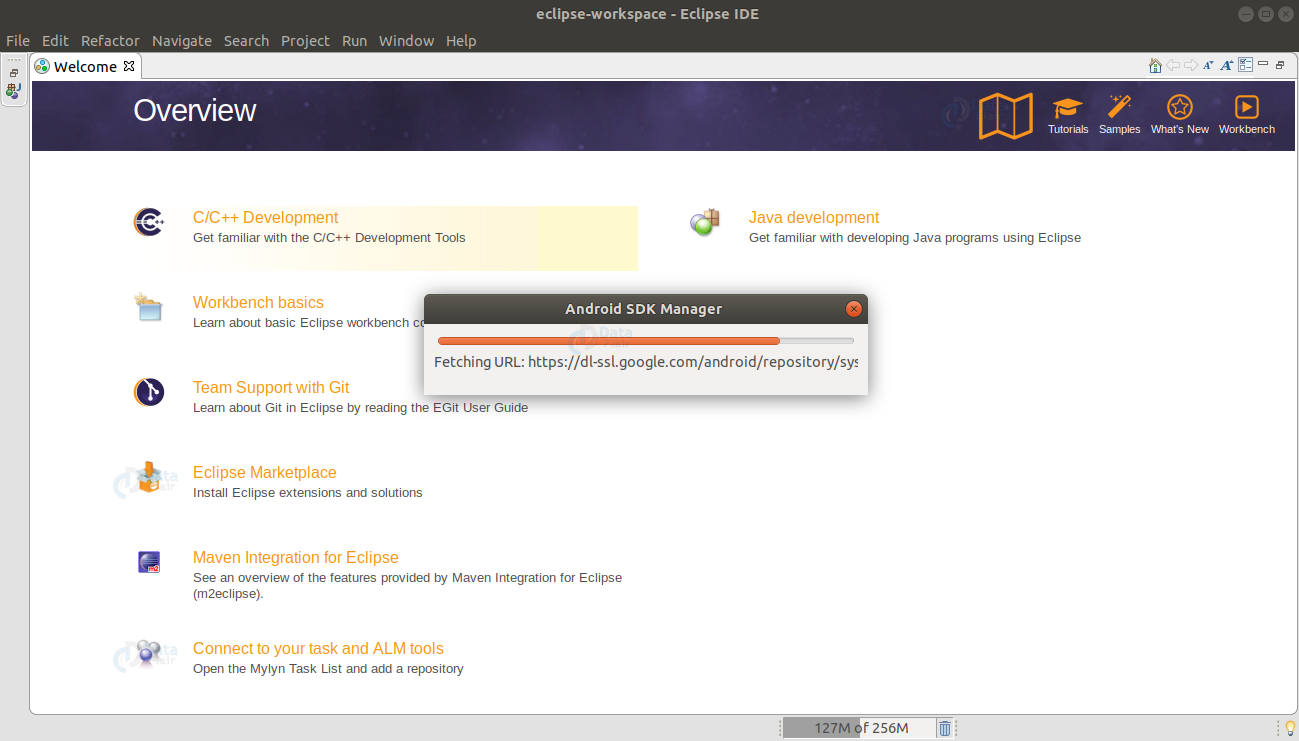
14. After that, the Android SDK will be updated
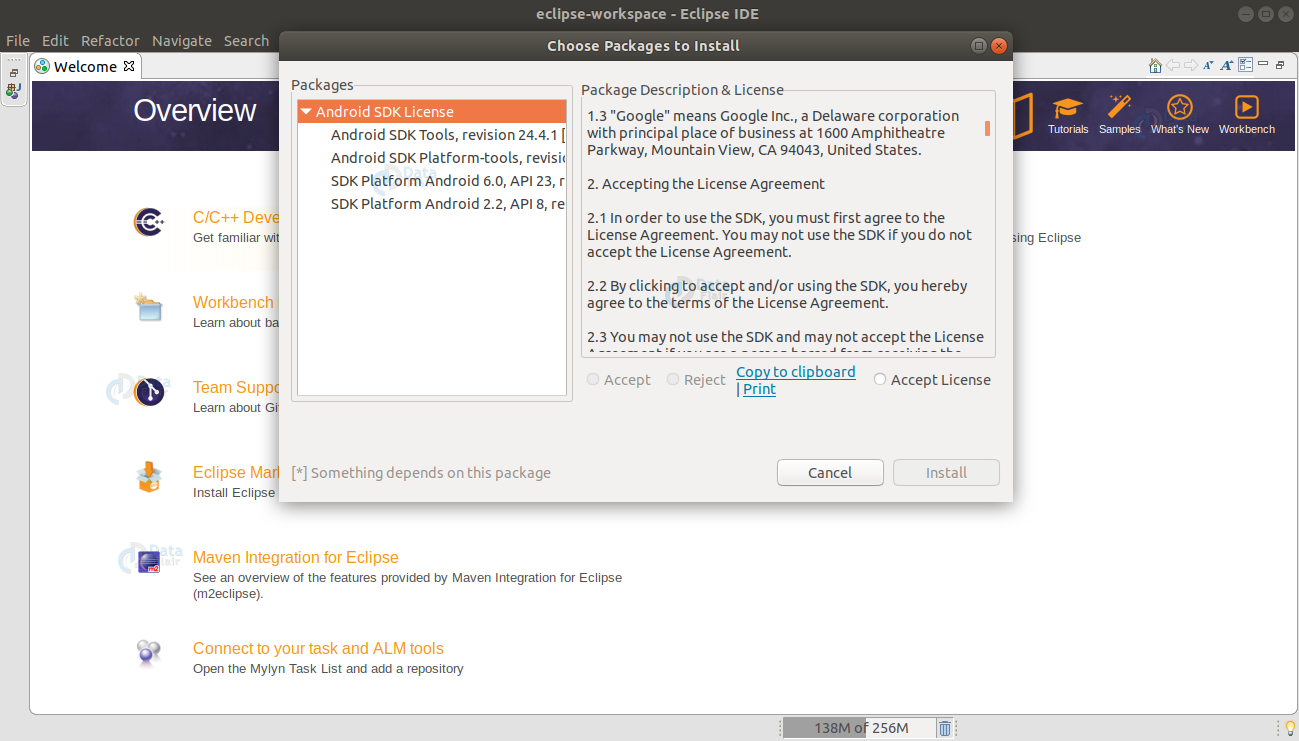
15. Then, go through the license and read them carefully. After that accept the license and install it:
16. Then, After the software installation, you are now ready to use the Eclipse IDE for Android.
Summary
So, In conclusion you have learned how to set up Eclipse for Android. You have seen how you can install Eclipse IDE on your Linux device. And then, you also saw how you can integrate Android SDK with Eclipse IDE. After the installation and setup of Eclipse for Android, you’re ready to use it.
We work very hard to provide you quality material
Could you take 15 seconds and share your happy experience on Google


