Localization in Android – Step by Step Implementation
Expert-led Courses: Transform Your Career – Enroll Now
So let’s get started with this article on Localization in Android, here we will learn about Android Localization and implement it. Android supports various languages and cultures that is one of the main reasons for its popularity.
Do you Remember? We read that Android supports various Languages thus, helping people all over the world in a different way.
Explore Top Android Features with DataFlair
Localization in Android
The applications that we use in Android devices can be specific to a particular language. That is where Localization comes in the role. Localization is a process that changes the string into various different languages based on user requirements. In this tutorial, we will implement it practically in our application.
Localization can be done for Dates and time as well. Localizing the string is good for the users, but, how about localizing the date and the time? Yes, it can be done too. Luckily, Android SDK includes the classes that format dates and times according to the locale. In Android SDK these date and time are handled using Date class from java.util namespace. To return the current date and time, you can use java.util.Calendar.
You can code it this way to return the Date and the Time:
Date date= Calendar.getInstance().getTime(); // this will get the date and the time
java.text.DateFormat date_format; //This will get the standard format
Date_format = android.text.format.DateFormat.getDateFormat(this);
And for Time:
java.util.Date date_today = Calendar.getInstance().getTime();
java.text.DateFormat time_format;
time_format = android.text.format.DateFormat.getTimeFormat(this);
Language Codes and Folder names:
To implement it in our application we need to first create separate ‘values’ files in the resource folder specifying the language code.
Few of the common language codes that are used in Android are mentioned below:
| Language | Code | Folder Name |
| Arabic | ar | values-ar |
| Bengali | bn | values-bn |
| Bulgarian | bg | values-bg |
| Chinese | zh | values-zh |
| French | fr | values-fr |
| German | de | values-de |
| Japanese | ja | values-ja |
| Tibetan | bo | values-bo |
| Hindi | hi | values-hi |
| Telugu | te | values-te |
| Punjabi | pa | values-pa |
The above mentioned code and folder names would be mentioned in the strings.xml file, where the string code would be mentioned as:
- Say for Hindi:
res/values-hi / Strings.xml –
<?xml version="1.0" encoding="utf-8"?>
<resources>
   <string name="app_name">स्थानीयकरण उदाहरण</string>
   <string name="hello">नमस्ते दुनिया</string>
   <string name="DataFlair">डाटा फ्लेयर</string>
   <string name="Akshita">अक्षिता ने आपको टेक्स्ट किया</string>
</resources>
- Say for Japanese:
res/values-ja / Strings.xml –
<resources>
   <string name="DataFlair">データフレア</string>
   <string name="hello">" こんにちは世界"</string>
   <string name="Akshita">明下はあなたにテキストメッセージを送りました</string>
   <string name="app_name" translatable="false">" 私のAndroidローカリゼーション"</string>
</resources>
Implementation of Localization in Android
Now that we have understood localization and why it is done. It is time for us to implement it in Android Studio, and for this, we’ll follow the following steps:
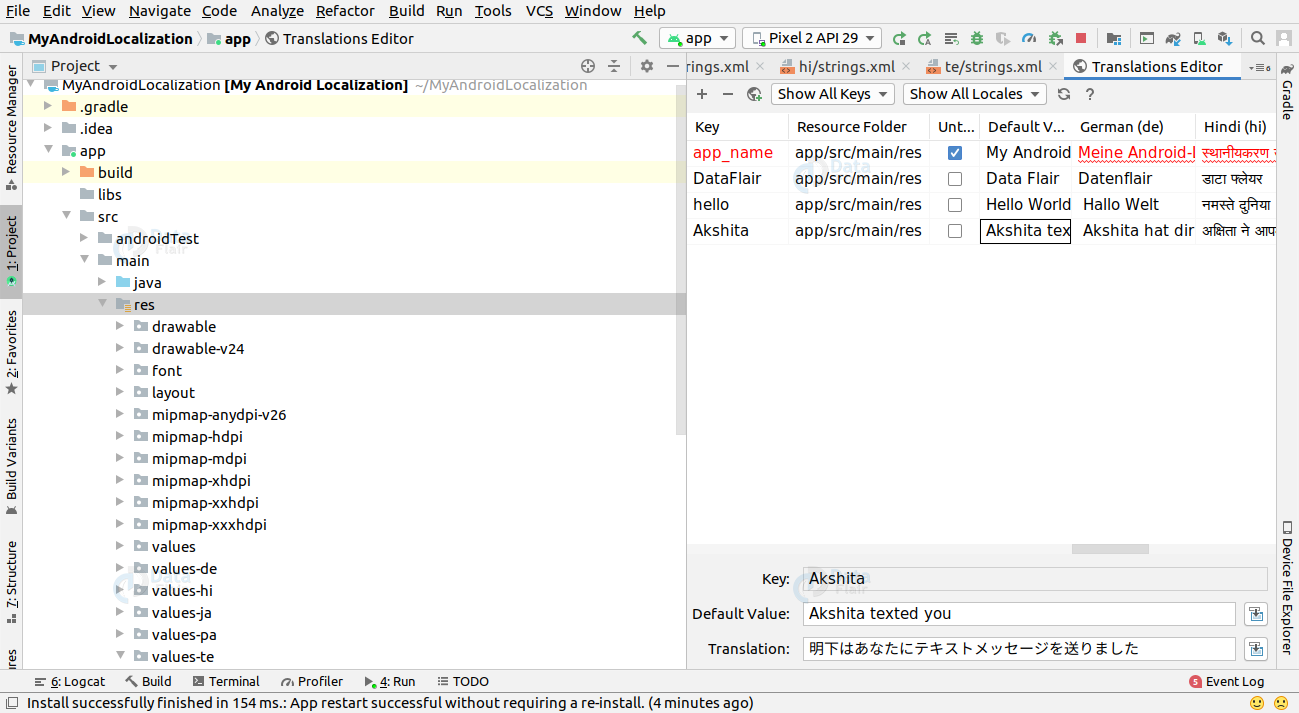
1. First of all, you need to create a values folder in the resource file with the name “values-local”. Here, local is the ISO code for the country language that you want. Like for Hindi, you can name it as “values-hi”, for Telugu you can name it as “values-te”, for German it is “values-de”.
This would look like-
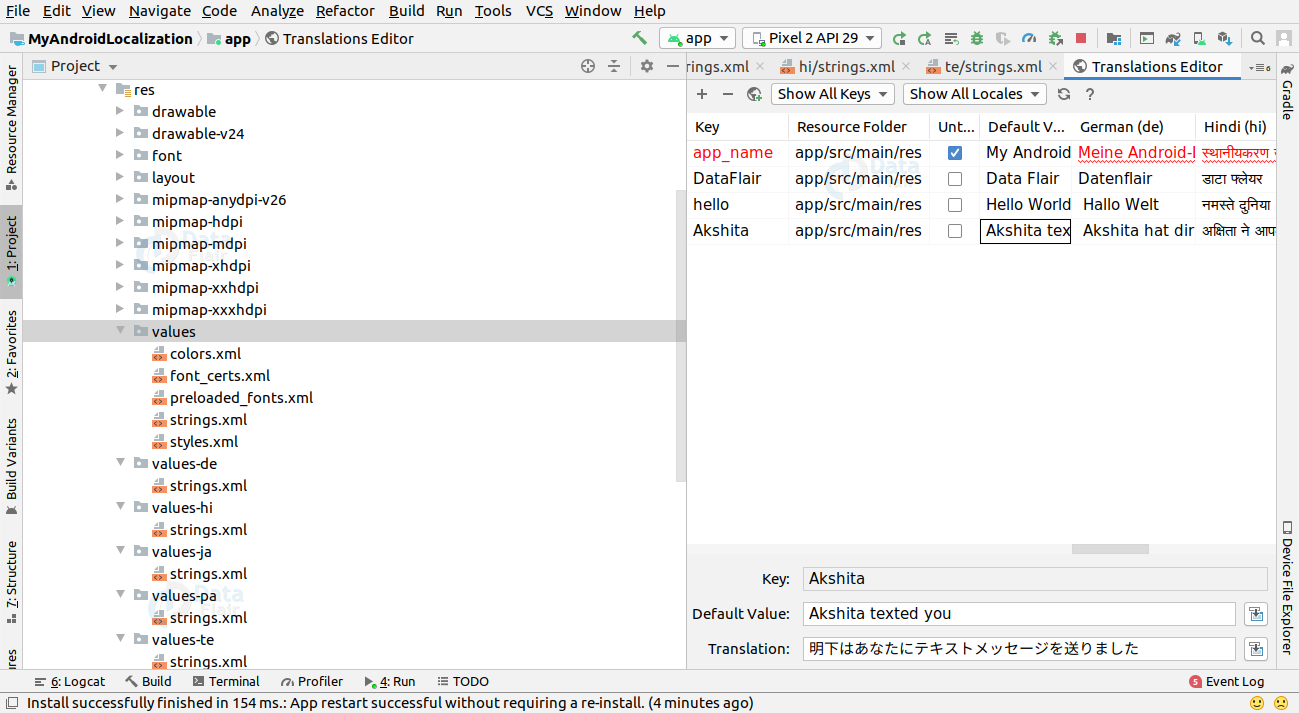
2. Now after creating the folders, you need to copy the Strings.xml file from the default values.xml folder and paste them in each particular values folder.
3. Now, In the activity_main.xml file, write the following code:
<?xml version="1.0" encoding="utf-8"?>
<LinearLayout xmlns:android="http://schemas.android.com/apk/res/android"
   android:layout_width="match_parent"
   android:layout_height="match_parent"
   android:orientation="vertical">

   <TextView
       android:id="@+id/text_view1"
       android:layout_width="wrap_content"
       android:layout_height="wrap_content"
       android:layout_gravity="center"
       android:layout_marginTop="150dp"
       android:fontFamily="@font/averia_libre_bold"
       android:text="@string/hello"
       android:textColor="#053E37"
       android:textSize="32dp"
       android:textStyle="bold" />

   <TextView
       android:id="@+id/text_view2"
       android:layout_width="wrap_content"
       android:layout_height="wrap_content"
       android:layout_gravity="center"
       android:layout_marginTop="30dp"
       android:fontFamily="@font/averia_libre_bold"
       android:text="@string/DataFlair"
       android:textColor="#03554B"
       android:textSize="32dp"
       android:textStyle="bold" />

   <TextView
       android:id="@+id/text_view3"
       android:layout_width="wrap_content"
       android:layout_height="wrap_content"
       android:layout_gravity="center"
       android:layout_marginTop="32dp"
       android:fontFamily="@font/averia_libre_bold"
       android:text="@string/Akshita"
       android:textColor="#079180"
       android:textSize="32dp"
       android:textStyle="bold" />
</LinearLayout>
4. Now, in the strings.xml file of values-local, write the following:
a) values-pa / Strings.xml –
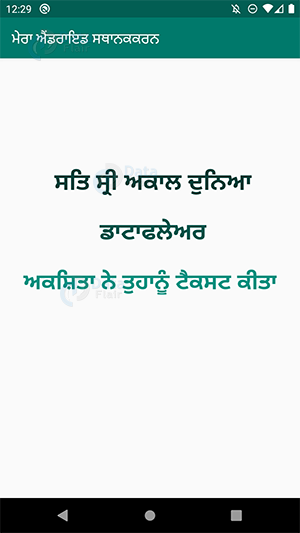
<?xml version="1.0" encoding="utf-8"?>
<resources>
   <string name="hello">" ਸਤਿ ਸ੍ਰੀ ਅਕਾਲ ਦੁਨਿਆ"</string>
   <string name="DataFlair">" ਡਾਟਾਫਲੇਅਰ"</string>
   <string name="Akshita">ਅਕਸ਼ਿਤਾ ਨੇ ਤੁਹਾਨੂੰ ਟੈਕਸਟ ਕੀਤਾ</string>
   <string name="app_name" translatable="false">ਮੇਰਾ ਐਂਡਰਾਇਡ ਸਥਾਨਕਕਰਨ</string>
</resources>
b) values-de/ Strings.xml –
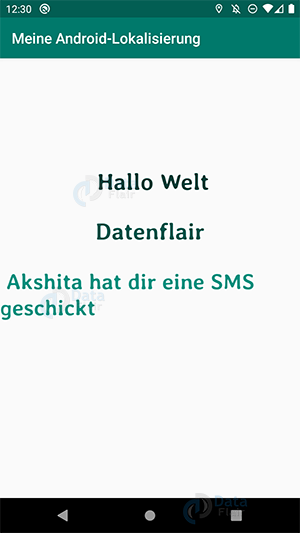
<?xml version="1.0" encoding="utf-8"?>
<resources>
   <string name="Akshita">" Akshita hat dir eine SMS geschickt"</string>
   <string name="DataFlair">Datenflair</string>
   <string name="hello">" Hallo Welt"</string>
   <string name="app_name" translatable="false">Meine Android-Lokalisierung</string>
</resources>
c) values-hi / Strings.xml –
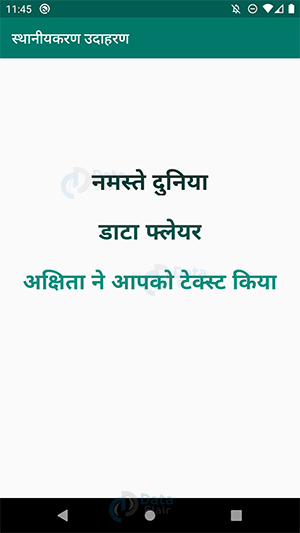
<?xml version="1.0" encoding="utf-8"?>
<resources>
   <string name="app_name">स्थानीयकरण उदाहरण</string>
   <string name="hello">नमस्ते दुनिया</string>
   <string name="DataFlair">डाटा फ्लेयर</string>
   <string name="Akshita">अक्षिता ने आपको टेक्स्ट किया</string>
</resources>
d) values-te / Strings.xml –
<?xml version="1.0" encoding="utf-8"?>
<resources>
   <string name="Akshita">డేటా ఫ్లెయిర్</string>
   <string name="DataFlair">హలో</string>
   <string name="hello">హలో వరల్డ్</string>
   <string name="app_name" translatable="false">నా Android స్థానికీకరణ</string>
</resources>
e) values-ja / Strings.xml –
<resources>
   <string name="DataFlair">データフレア</string>
   <string name="hello">" こんにちは世界"</string>
   <string name="Akshita">明下はあなたにテキストメッセージを送りました</string>
   <string name="app_name" translatable="false">" 私のAndroidローカリゼーション"</string>
</resources>
5. Write the following code in Colors.xml file-
<?xml version="1.0" encoding="utf-8"?>
<resources>
   <color name="colorPrimary">#00796B</color>
   <color name="colorPrimaryDark">#025E53</color>
   <color name="colorAccent">#C2185B</color>
</resources>
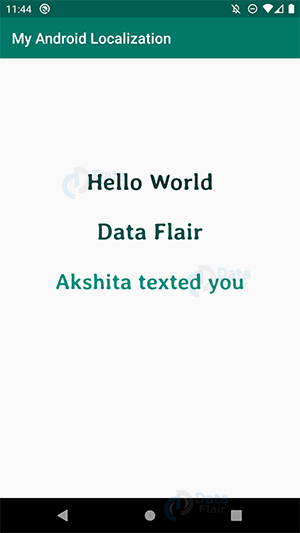
6. Now you can run the app:
The Default language would be English.
7. Now Go to device Settings > Languages and Input > Choose Language and set it as default.
You can see these steps in case of difficulty in finding the Languages and Input:
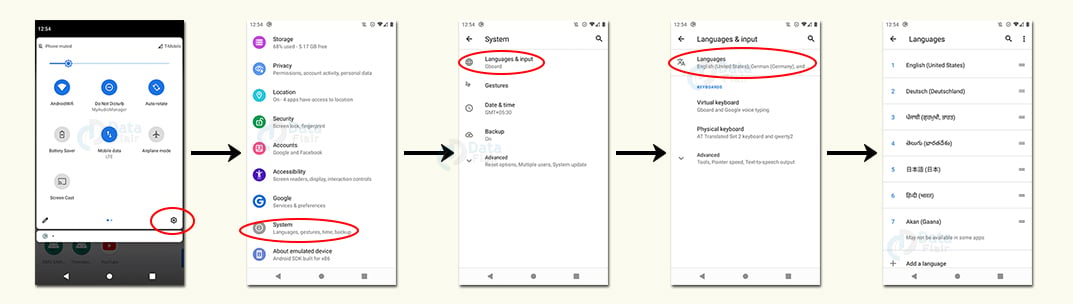
8. After that, on opening the app you’ll find the results as follows:
a) Punjabi :
b) Deutsch (German):
c) Hindi:
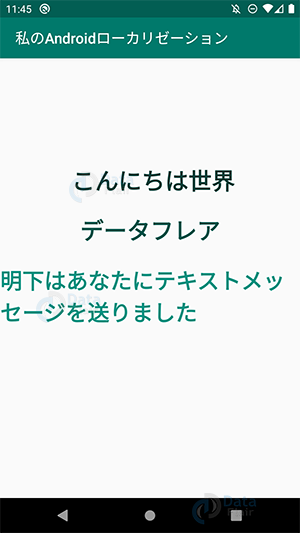
d) Japanese:
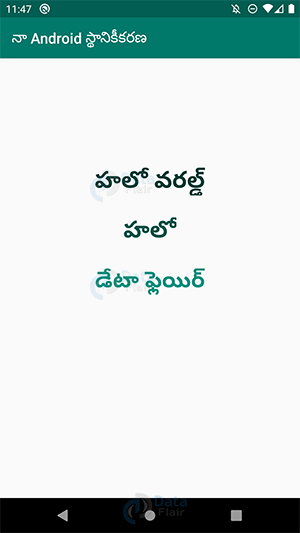
e) Telugu:
Summary
In this article, we read about Localization in Android. We also implemented it in a small application which is an example to show how it takes place. Let us finish this tutorial on the note that you have learned to implement it. Thank You.
I hope you liked the article on Android Localization. Please rate us on google to get more such interesting articles.
Did you like this article? If Yes, please give DataFlair 5 Stars on Google


hy dear can you add me in your subscription list………..