Build a Simple Calculator App in Android Studio [Source Code Included]
Job-ready Online Courses: Knowledge Awaits – Click to Access!
Learn how to develop a simple calculator app in android studio
Hey there Android enthusiasts, greetings from DataFlair. Today we are going to see and learn to implement an Android Project that is a simple calculator app in android studio. We’ll understand the complete project development in this article.
Do you know when was the first ever mechanical calculator created? The Calculators that we use today were never the same earlier. The first calculator was invented in the year 1642 by Blaise Pascal when he was 19 years old. Okay, now let us begin with our project without any further delay!!

What is our simple calculator project all about?
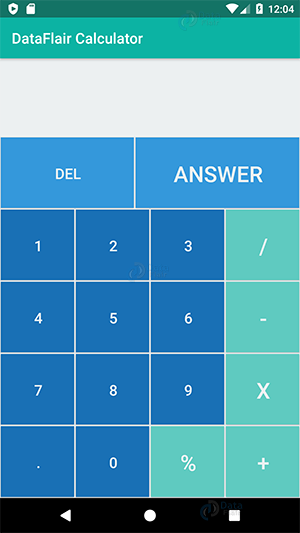
This is a basic project for beginners, the android calculator app will help us to do various arithmetic calculations. This android application will have a user interface with numbers and arithmetic operations. For the development of this application, we will make use of Android Studio. Let us go through its description about what things the user interface will have:
- It will have the number keys that will be created using buttons
- Another thing would be operators like +, *, /, -, % that are created using buttons too
- Then we’ll have to create two more buttons for the delete and answer buttons
- Then, there will be a screen that will show the number entered by the user and result when they click on answer
- This calculator app would be a one time install; once the user installs it they are always ready to use it
Prerequisites for this android project
To develop this simple calculator app the requirements and prerequisites are as follows:
- Java: First of all you need to have the knowledge of Java Programming. Java programming plays a very important role as we will develop the app code in Java
- XML: XML is another important part of our android application. It will be used for the development of the user interface for the application
- Android Studio: Android Studio is the backbone of our application, as we will develop our app using android studio. Android virtual device is also shipped with android studio that will be helpful in testing whether the applications are working or not
Develop a Simple Calculator App in Android Studio
Now we’ll begin with the development of a simple calculator app. Throughout this article, we’ll understand the usage and working of the code before we implement it. So let us see the required files & steps for the code:
- First of all, you would need to download the code. Please download the source code: Android calculator source code
- Now, we’ll see what’s there in the code to understand it better. So to create the interface we’ve added the number button and the operators for the calculator. This will be for the users to interact with our calculator. We’ve arranged them horizontally in four layers. This will be present in the main_activity.xml file.
- Also, there are the following things that we have added in the drawable that are as follows:
- The description of the buttons that we use. You can find that code in Res > drawable > Buttons.xml
- We have added the description of the operator buttons. You can find that code in Res > drawable > Operator.xml
- We also described the selector in drawable, it will show the effect as soon as we select the buttons. You can find that code in Res > drawable > Selector.xml
- And then finally we had written the code for the actual processing of the calculator. For this, the code is written in the MainActivity.java file.
- So, once we are ready with code we will run the calculator.
Now to begin the implementation of simple calculator app in android studio, you just need to follow the following steps and it’s ready to go-
1. After downloading the source code (DataFlair-Calculator.zip) file, the next step is to open the android studio:
2. Now, click on the Files meu:
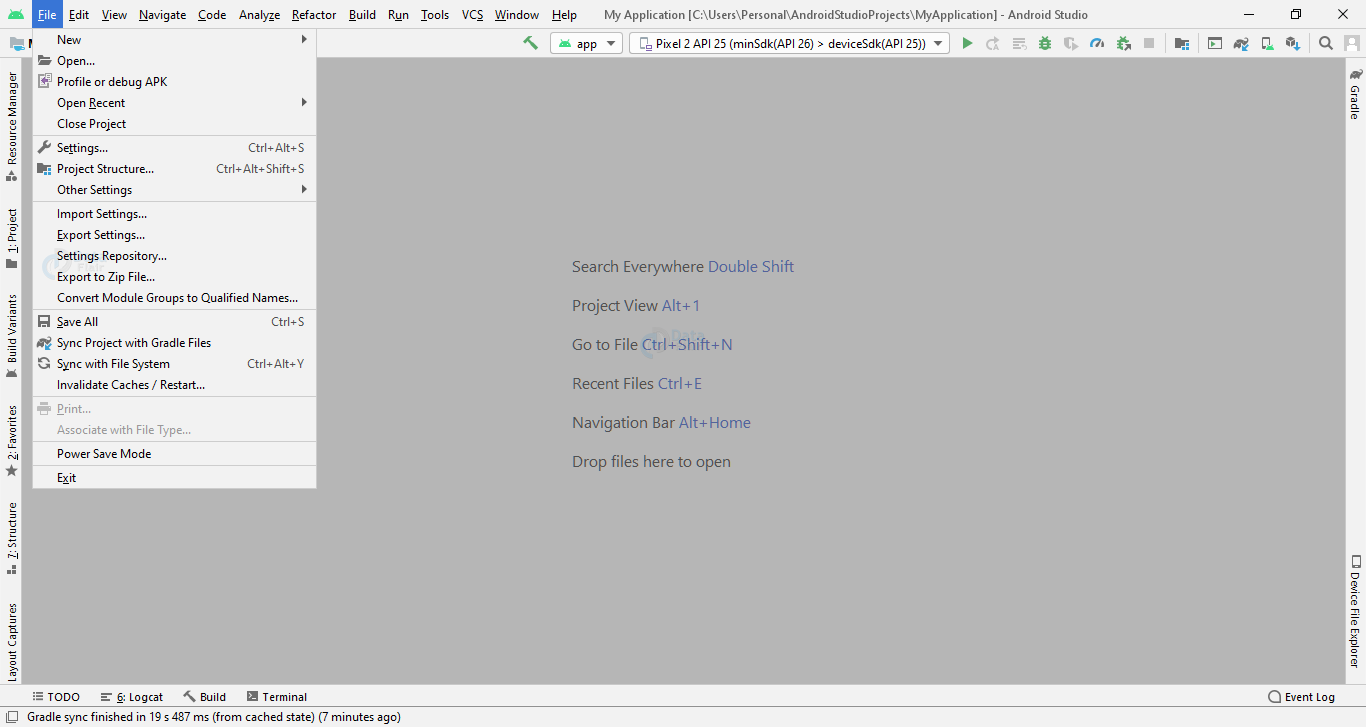
3. Click on New and select “import project..”:

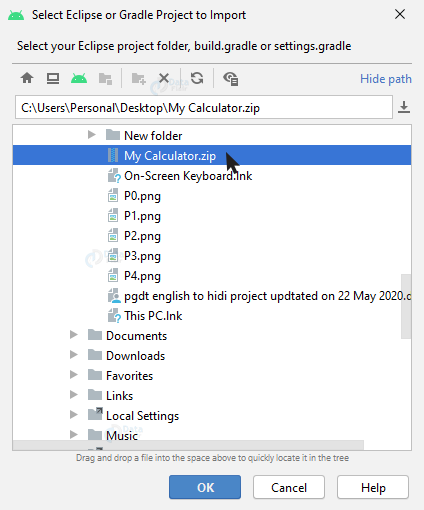
4. Select the location of that file as follows and then click on the “OK” button:
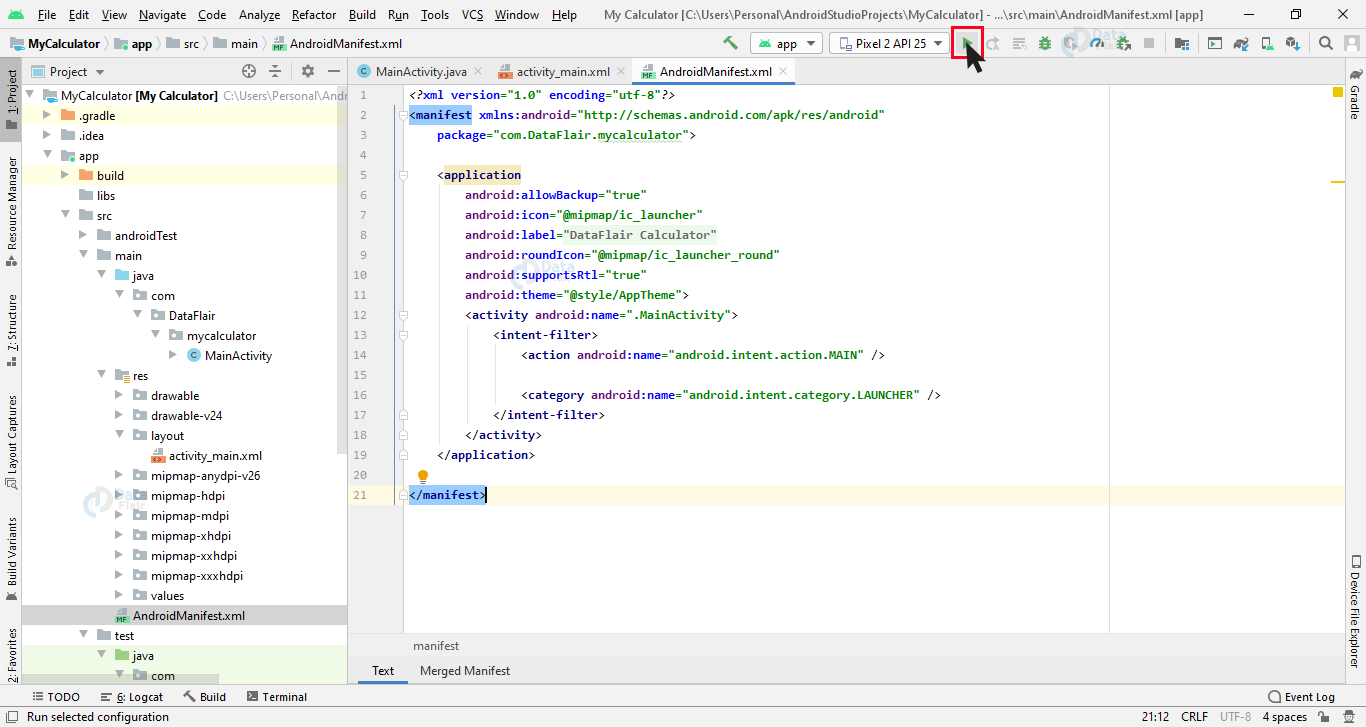
5. So finally, here is the available code and you can run this by clicking on the Run Button:
6. The Android Virtual Device will start as follows:

7. Now, our simple calculator app is ready:
Summary
So in this tutorial, we have learned how to create a simple calculator app in android studio. This is a good android project for beginners, as it will increase your ability to apply logic while you’re coding. We hope that you liked it and we’re sure that you will love implementing it.
Did you know we work 24x7 to provide you best tutorials
Please encourage us - write a review on Google


it was very help full to me
very helpful
Doesn’t work
Ok
This shows you how to download someone elses work, and import it to android studio, and run the program. This did not show you how to make an calculator app.
Nice……….
Good
it is very nice thank you
It working perfectly fine nice combo