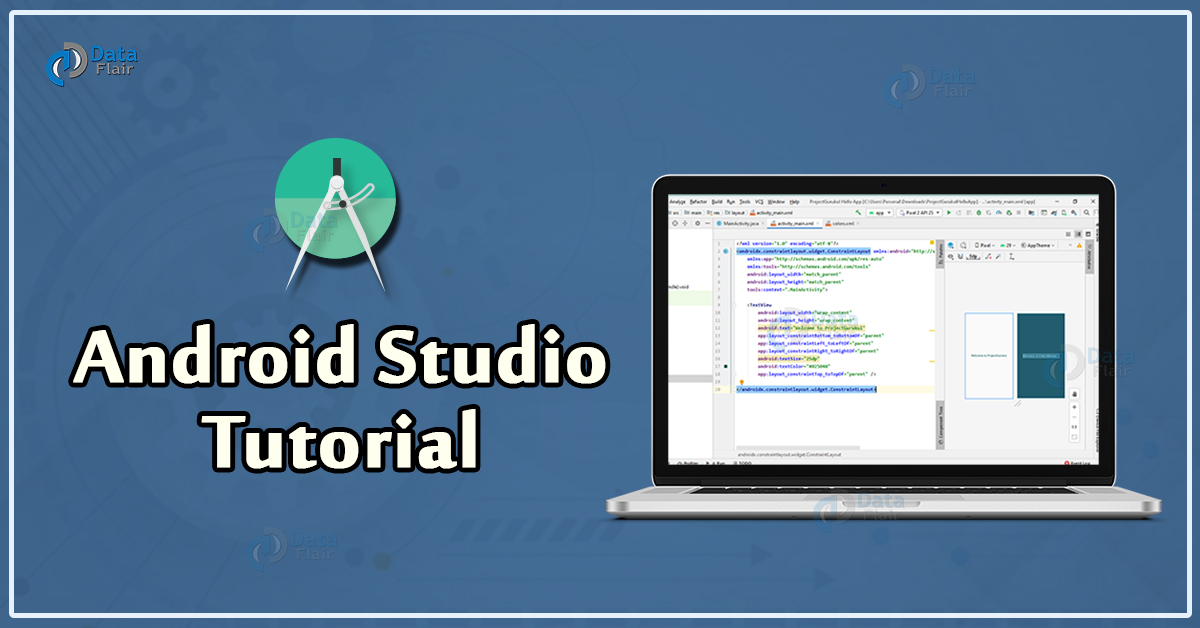
Android Studio Tutorial – The Backbone of Android App Development
Placement-ready Online Courses: Your Passport to Excellence - Start Now
Hello everyone, in this Android tutorial, we’ll have a complete look about Android Studio. We will know everything about Android Studio right from what it is, to why it is used, and how to use it.
What is Android Studio?
Android Studio is the Official IDE for Google’s Operating System that is Android. It is built on JetBrains’ IntelliJ IDEA software, especially for Android Application Development. This can be used on Windows, macOS, and also Linux based operating systems. It has risen as a replacement for Eclipse Android development tools for the native Android app development. Google announced Android Studio as the primary IDE for native android apps on 16th May 2013 at the Google I/O conference.
Java was the official language of Android Studio for Android app development, which was recently replaced by Kotlin on 7th May 2019.
Why is Android Studio used?
Android Studio is a development framework that has every tool required for Android Application Development. The purpose of developing it was to accelerate the development and help developers. It helps the developers to build the apps of the highest quality for every Android Device. It offers many tools to developers for coding, editing, designing, debugging, testing, and whatnot. Android Studio also has some features such as auto code completion and refactoring that makes the project development hasslefree. Android Studio is useful for Android application development if you’re good with either Java or Kotlin.
What are Features of Android Studio?
We already know that Android Studio is based on IntelliJ that does all the things that Eclipse did with the ADT plug-in. Other than that, it has many things and many more new and exciting features that we will see. Without any delay let us check them out-
- It has Gradle-built support
- It lets debug the code easily and has quick fixes.
- There are lint tools that catch performance issues, usability, or version compatibility problems.
- It has a Proguard tool that is one of the best things in Android Studio.
- It has a template-based wizard that helps in creating common Android designs and layouts.
- This has a rich editor that allows us to drag and drop the UI components and check it very easily.
- It has a rich color preview editor that lets us add the color and the color name in the resource directory.
- It has a deep code analysis, which means it shows exactly where the bug is and also gives suggestions to correct it without any complexity.
Android Studio Installation
So guys, we know you are interested in Android Application development. To begin with application development in Android Studio, you must begin with its installation. Learn Android installation in easy steps.
First Android App in Android Studio
Once you have Android Studio ready with you, now you can proceed to create your first ever Android App. Before beginning with it, it would be good if you brush up the following skills-
- Object-Oriented Programming
- Java Programming
- Basics of extensible markup language
Android Studio for Android Applications
Android Studio has many exciting things that help and encourages developers to create many new applications. Let us see these things one by one in the following:
a. Code and debug Faster
As Android Studio is based on IntelliJ, it provides the fastest turnaround for its coding and workflow. It also has auto code completion that is of great use for the developers.
b. Easy and fast Run
It has an instant run feature that immediately runs the app using the codes and the resources provided. It is intelligent enough to understand the changes and show them immediately in the app.
c. Smart Code editor
Its code editor helps the developer in writing better code faster and more productive. For this, it offers advanced code completion, refactoring, and code analysis features. As you type, it provides suggestions from which you can easily choose the best fit.
d. Faster Emulator
The Android Emulator installs the apps faster than a real device and lets the developers test their app on various Android Virtual Devices. These devices can be smartphones, tablets, Android Wear, and even Android TV devices.
e. Great Build System
Android Studio offers rich dependency management and customizable build configurations for apps. The developers can configure the projects and include local as well as hosted libraries. The build variants that include different code and resources can also be defined.
f. Supports all Android devices
Android Studio IDE provides a unified environment to build apps for all Android devices. These devices are phones, tablets, Android Wear, and also TVs. It also has the facility of working in modules that allow developers to divide their projects into functional units that can be independently built, tested, and debug.
g. Templates and sample apps
Android Studio provides templates and sample applications that make it easy to add well-established patterns such as menu or navigation, etc. The developer can start with a code template or even an API in the editor. It also has this functionality where the code can be directly imported in the Android Studio and run.
h. Testing tools
Android Studio provides many tools that help in testing Android apps and their functional UI parts. UI test codes can be easily generated using Espresso Test Recorder, recording the interactions with the app on an emulator or a real device.
i. Keyboard shortcuts
Here are 10 shortcuts to help you through your Android Application Development:
- Ctrl + F – It will help you find words in your file.
- Ctrl + R – It will help you replace a word/ name.
- F5 – It will help you to copy.
- Ctrl+ (+/-) – It will let you zoom in or out.
- F11 – It will get the Android Studio in full-screen mode.
- Ctrl + B – It will open the XML file.
- Ctrl + N – It will help you find a class.
- Shift + F6 – It will help you to rename a class name or variable name.
- Ctrl + Shift+ N – It will help you find a file.
- Ctrl + I – It will help to implement methods.
j. Firebase Support
Android Studio provides Firebase integration with the projects you create in Android Studio, which helps in adding various Firebase features such as authentication with Google, Realtime Database and Firestorage for Database storage and analytics for your project as well.
k. Easier Debugging
Android Studio provides Logcat, a command-line tool which allows users to view stack traces whenever the project throws an error, and show the log messages from your own app while running on an emulator or a physical device.
Some other Tips
We would like to conclude this tutorial by providing you some tips and tricks. These will help you out throughout the journey of Android App development using Android Studio-
- You can change the theme as per your convenience as there is a light and a dark theme to use Android Studio.
- You can make a very fast search if you need to find the files or classes or symbols. It is very simple. You can simply press the Shift key two times, and there you go; you can search it.
- While writing the code, you would be given suggestions, pressing the tab key will type that automatically.
- You can also check the CPU, memory, and network usage of the applications in Android Studio. This can be done through the profile check feature in it.
- Also, if there is some issue with the name of the class or variable or method, you can easily change it too. You just need to right click and choose the refactor and then rename. And you are done.
Summary
In this article, we have gone through Android Studio. We read that it is the IDE for Android Application Development. We then saw some features of Android Studio. Then we have understood how Android Studio gives the best support for Android Application Development. Not to forget we also gave a few tips and shortcuts to work on Android Studio. We hope this tutorial was useful for you. Thank You.
We work very hard to provide you quality material
Could you take 15 seconds and share your happy experience on Google


