How to Create your First Android App in Easy Steps
FREE Online Courses: Elevate Skills, Zero Cost. Enroll Now!
We all know that we don’t understand anything until we ourselves try it. The same thing applies here in Android, no matter how much theoretical knowledge you get, nothing would change if you don’t apply it practically. So, to get some confidence and knowledge, here is an example of how we can create and implement our app on Android Studio.
Let us begin with our very first application which will show “Hello World” on the screen.
Steps to Create App in Android Studio
Here is the step-by-step process to create your first android app online without coding:
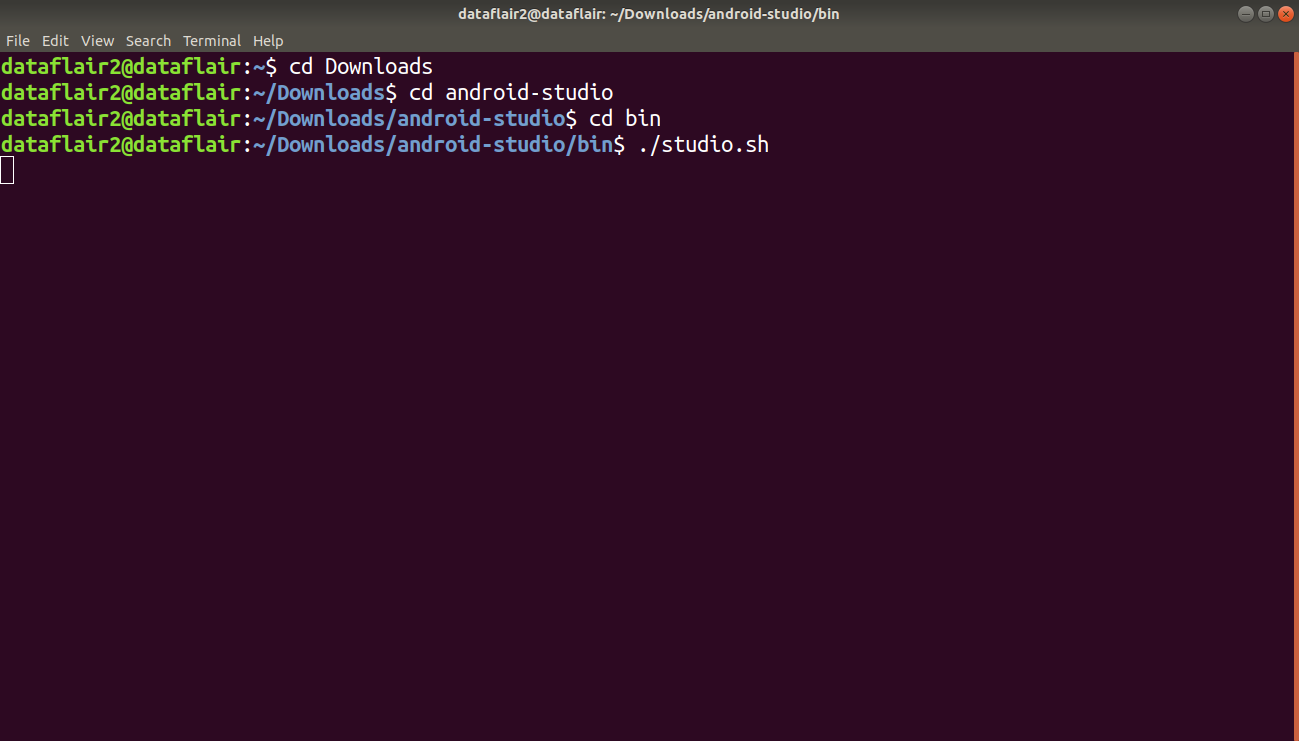
Step 1: To open Android Studio in Ubuntu, follow the steps:
Press ctrl+alt+T, it’ll open terminal. After the terminal opens, run the following commands in sequence.
cd Downloads
Press [Enter]
cd android-studio
Press [Enter]
cd bin
Press [Enter]
./ studio.sh
Press [Enter]
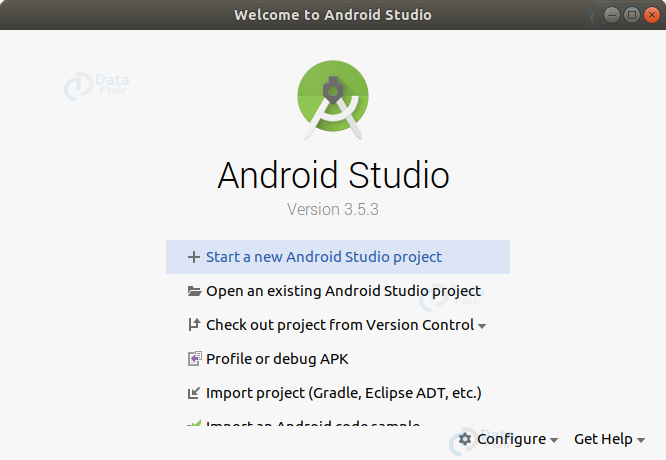
These commands will open the Android Studio as shown below.
Now, choose + Start a new Android Studio project.
Step 2: Choose your project.
In this, you can choose project whichever you want to use.
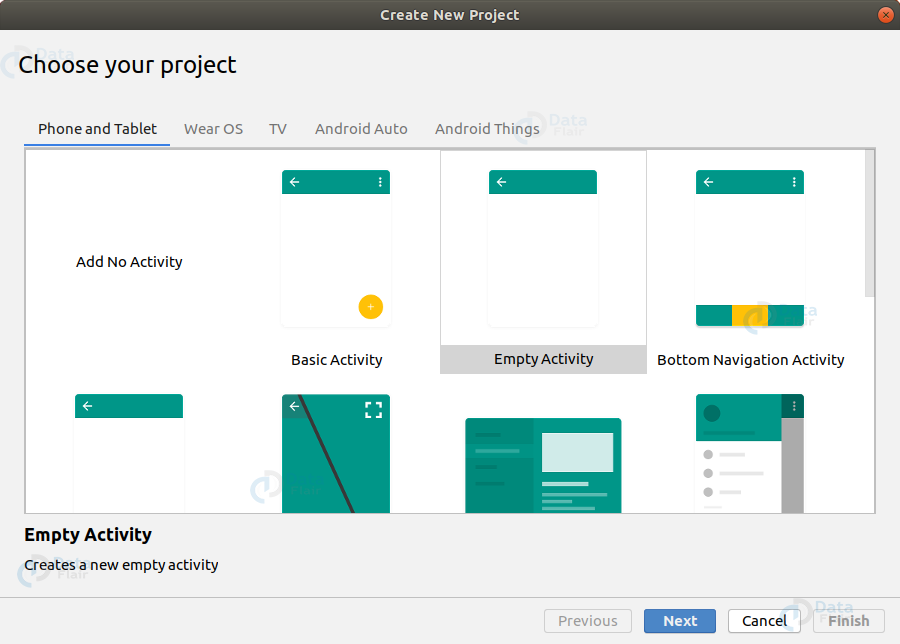
We’ll choose Empty Activity for our first project and press [Next].

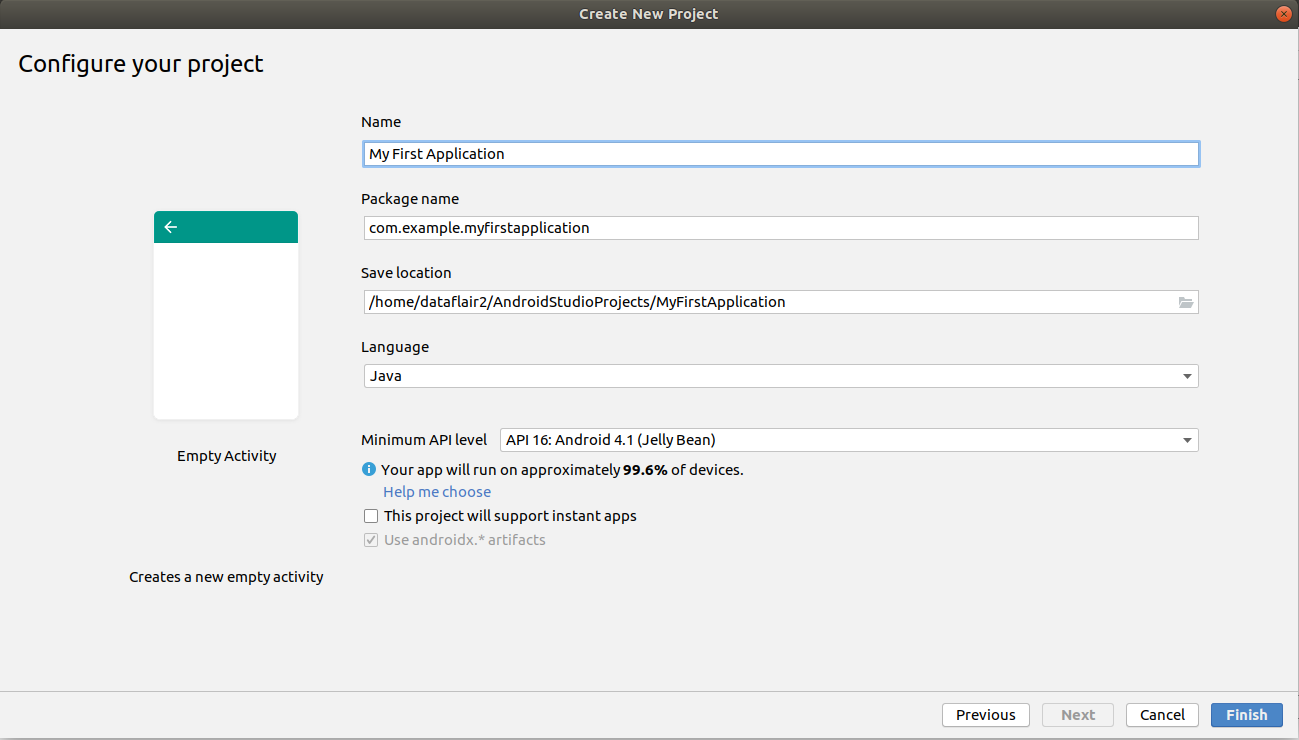
Step 3: Now we’ll move towards the most important part of this application.
- Here, give a name for your application.
- Choose the language of implementation, we’ll use Java.
- Check the checkbox of androidx.*artifacts, leave if already checked.
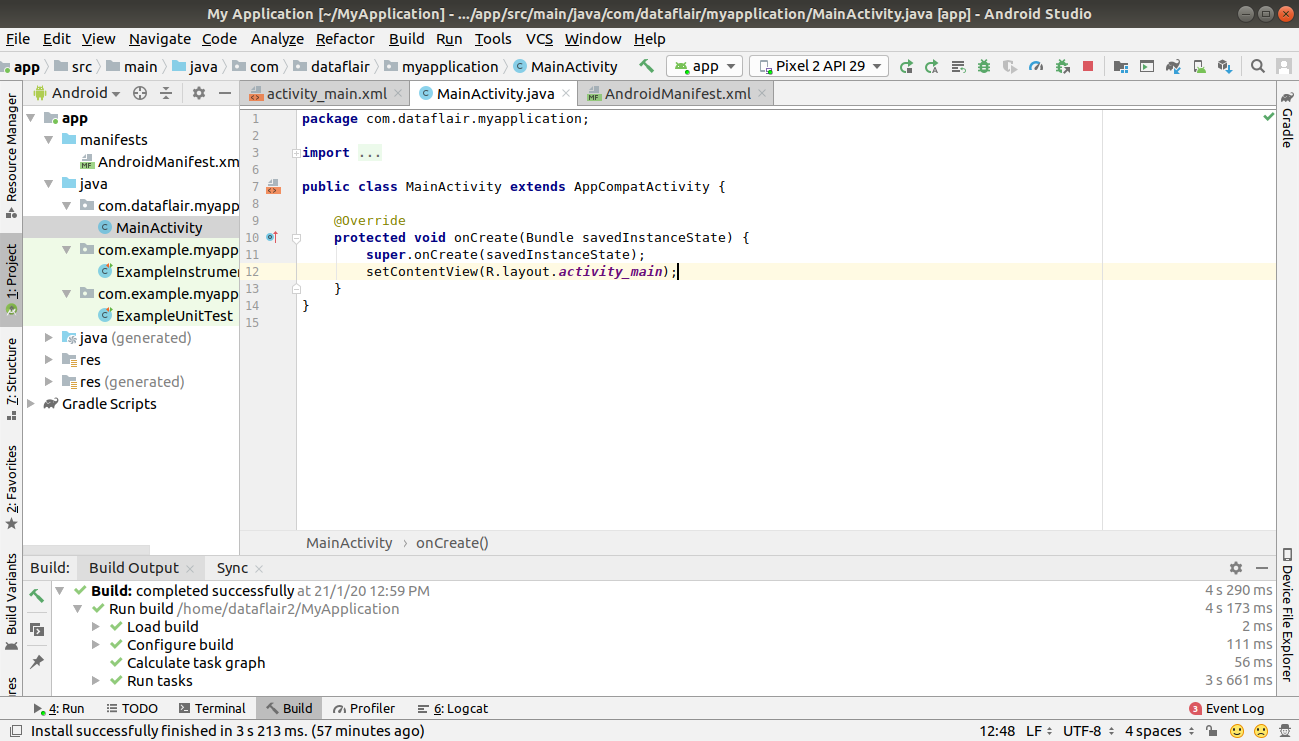
Step 4: Now you’ll find the following on your screen.

Here, you can find the following things using the given steps about your application:
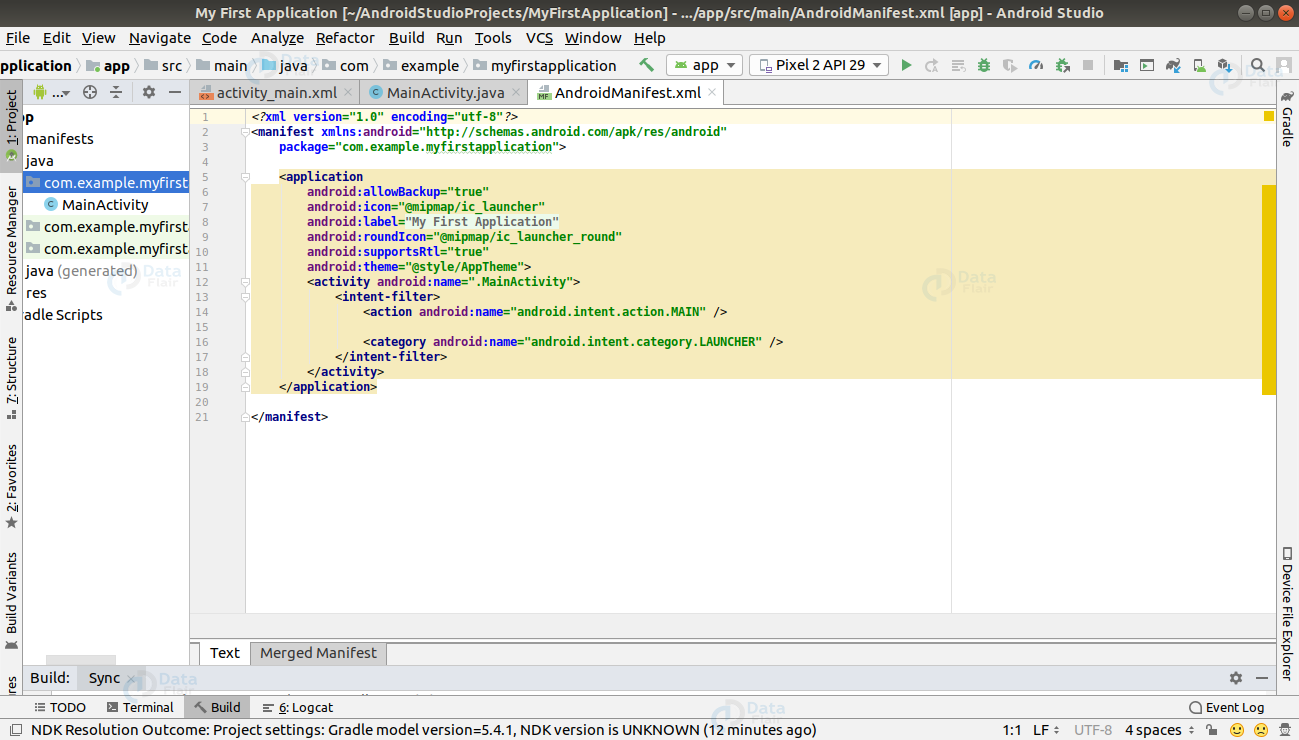
1. Manifest files describe the components of the application and its characteristics.
App -> menifests-> AndroidManifests.xml
2. XML files are used to describe the layout and to design the User Interface of the Application.
In our project, it has a TextView which has text Hello World.
app-> res->layout -> main_activity.xml
In XML, we can find the layout in 2 ways:
- Design
- Text
Both are shown below :
Design part shows an easy drag and drop feature for application layout and User Interface designing.
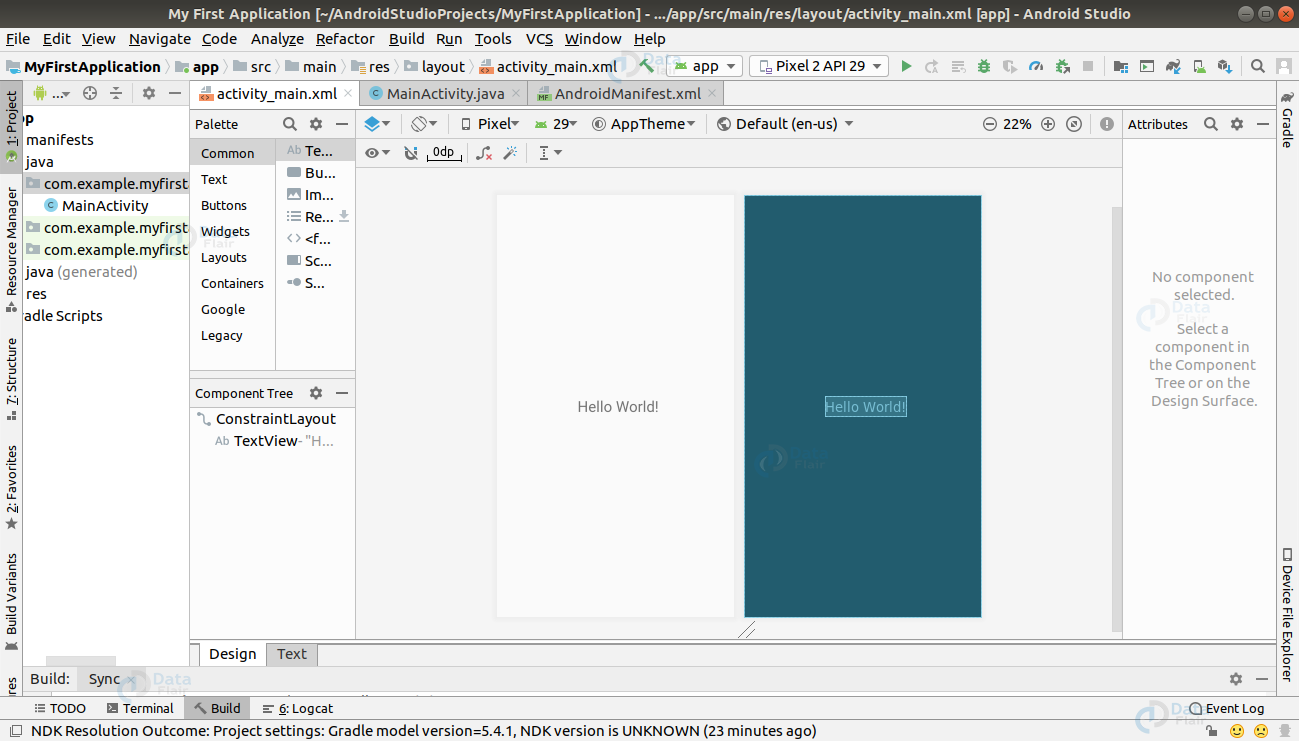
Text contains the coding part of the XML where we can code and design the User Interface.

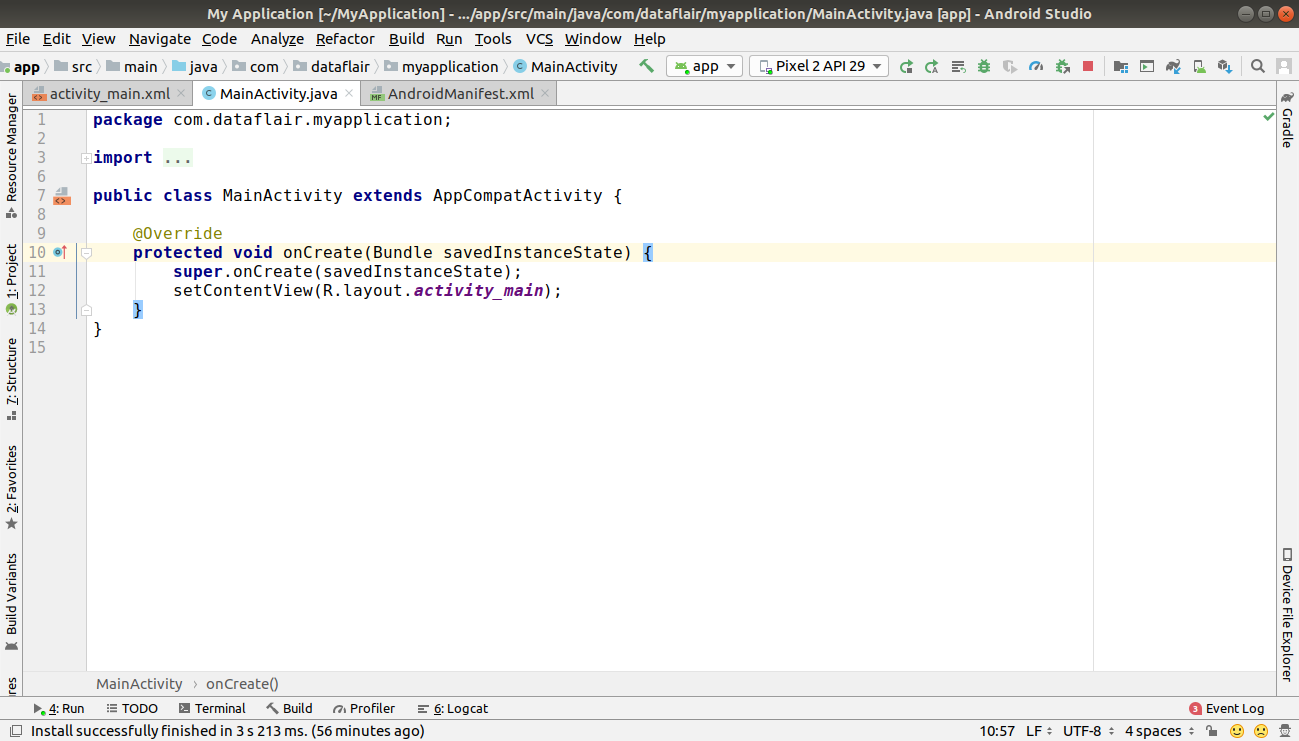
Activity is the main entry point of our application. When we run our application, the system launches an instance of our activity and load the layout.
Step 5: Now, we’ll launch our application on an emulator and for that, we need to set AVD. AVD is an Android virtual device that gives us the same experience as that of a real phone.
Now for that, we will go to Tools> AVD Manager. After this, our next step would be to add a virtual device.
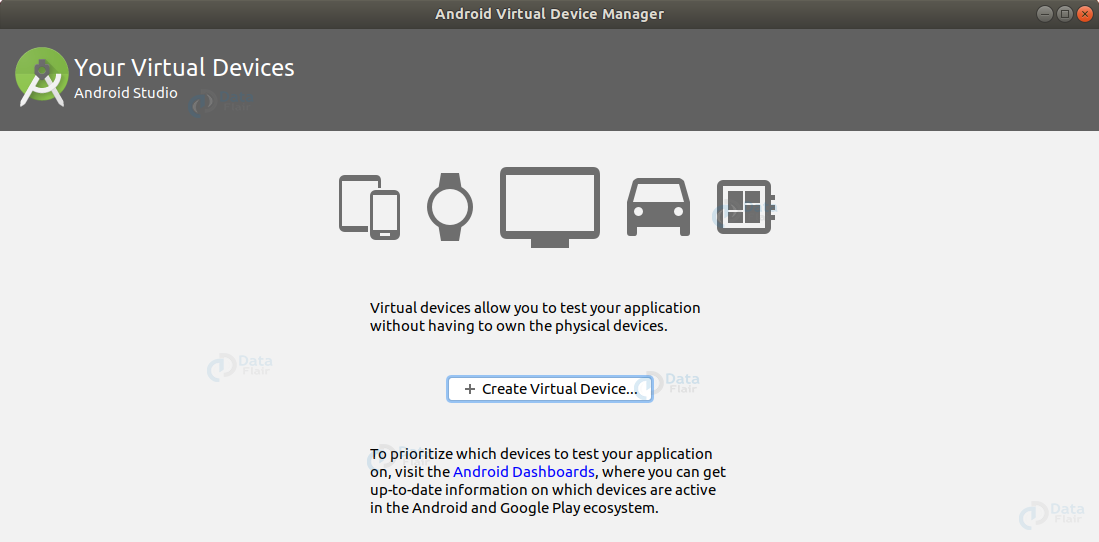
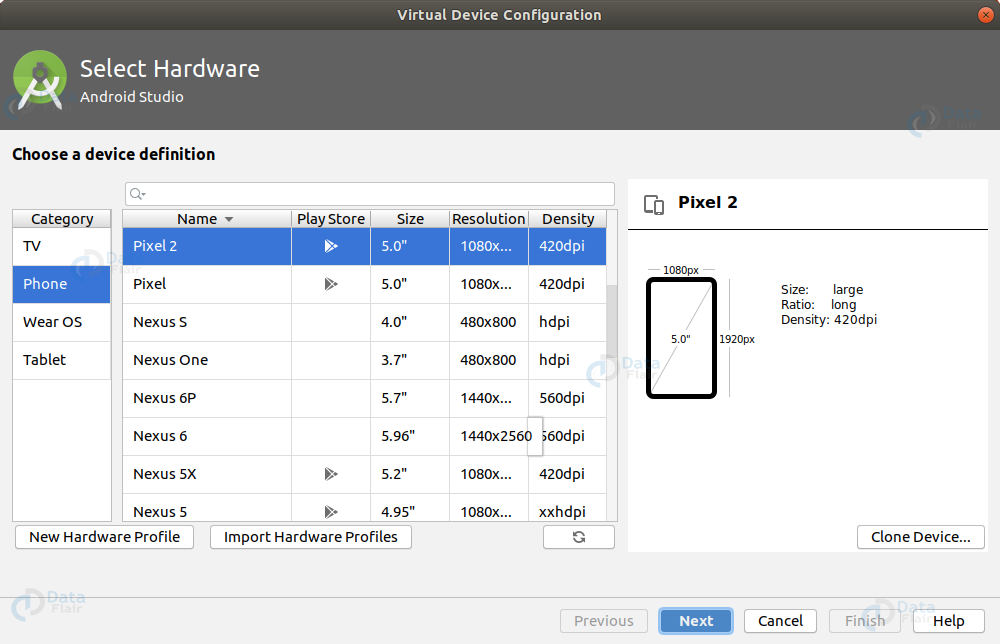
Select the hardware device:
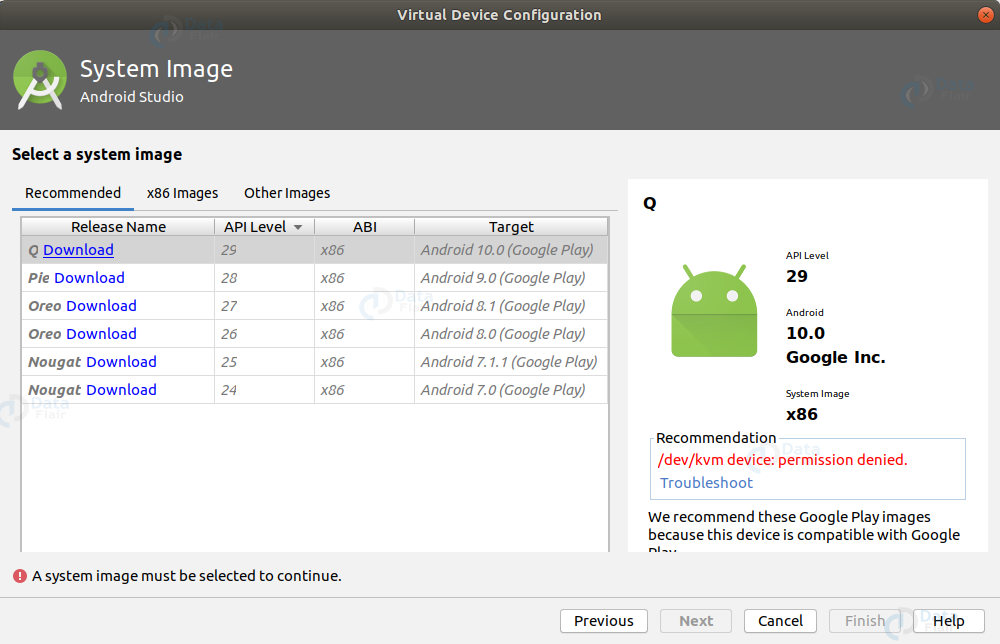
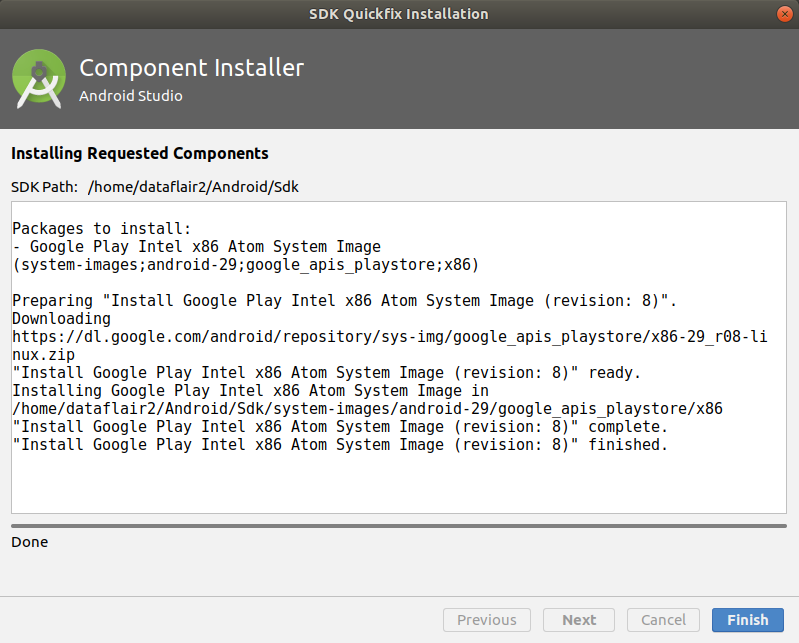
Then select the system image :
After everything is done, press [Finish].
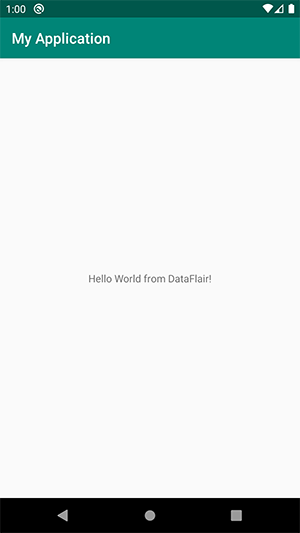
Step 6: Now we’ll run our application as follows.
1. Choose the virtual device.
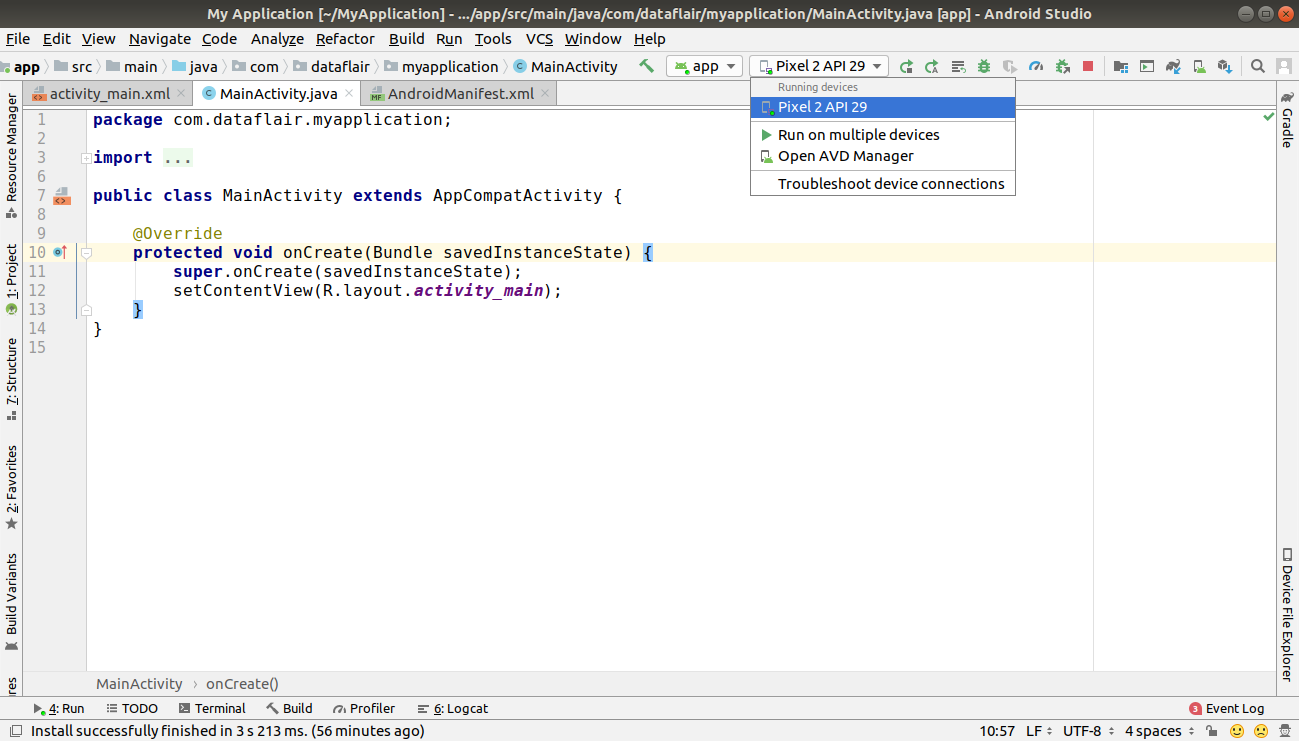
2. Click on the green run button.
3. Now the Emulator will run and our application would run like this.
Summary
So, how was your first program? It was easy right? So yes, creating an android app is this easy. This is how you’re going to do it for your upcoming applications. In this you had nothing to code for, but, I hope you will further make many applications on your own.
Any difficulty while performing steps to create app in Android Studio? Mention in the comment section.
Did you like our efforts? If Yes, please give DataFlair 5 Stars on Google


I do not get the following files you described in Step 4. I am stuck at that step. I have no idea how to get these files.