Harry Potter’s Invisible Cloak using OpenCV – Python Project
Machine Learning courses with 100+ Real-time projects Start Now!!
Are you fascinated with Harry Potter’s Invisible Cloak?
Do you want to wear that cloak?
If Yes!! then in this python project, we will develop invisible cloak using OpenCV using which you will become invisible.
About Invisible Cloak Project
We will create the invisible cloak using an image processing technique called Color detection and segmentation. In order to make this project, you’ll need a single-color cloth. The cloth should not contain any other color visible. Here we are using a green cloth to develop this python project.
Why single-color cloth?
Because we are using color detection and segmentation techniques. If any other color is visible in our cloak then we have to process the image frame for that color also.
Note:
- Cloth color should be unique relative to the background. (i.e. If the cloth is green then the background shouldn’t contain any green color)
- In good lighting conditions, it works best.
- Try to choose red, green or blue cloth, because these three colors are easier to detect.
Color Detection & Segmentation
So what is Color Detection and Segmentation in Image Processing?
Color detection is a technique where we can detect any color in a given range of HSV color space.
Image segmentation is the process of labeling every pixel in an image, where each pixel having the same label shares certain characteristics.
Project Prerequisites:
- Python – 3.x (we used Python 3.7.10 in this project)
- Numpy – 1.19.2
- OpenCV – 4.5
To install opencv, run the below command. Numpy will be automatically installed.
“pip install opencv-python”
Download Invisible Cloak Python Code
Please download the source code of python invisible cloak project: Invisible Cloak Project Code
Steps to Build Invisible Cloak OpenCV Project:
Now we have everything ready. Below are the steps to create invisible cloak:
- Import necessary packages and Initialize the camera.
- Store a single frame before starting the infinite loop.
- Detect the color of the cloth and create a mask.
- Apply the mask on frames.
- Combine masked frames together.
- Removing unnecessary noise from masks.
Step 1 – Import necessary packages and Initialize the camera:
# DataFlair Invisible Cloak project using OpenCV.
import cv2
import time
import numpy as np
cap = cv2.VideoCapture(0)
Explanation:
- Using import, we imported the required libraries
- To access the camera, we use the method cv2.VideoCapture(0) and set the capture object as cap.
Step 2 – Store a single frame before starting the infinite loop:
_, background = cap.read()
time.sleep(2)
_, background = cap.read()

while cap.isOpen():
    _, frame - cap.read()
Explanation:
- cap.read() function captures frames from webcam
- 2-second delay between two captures are for adjusting camera auto exposure
- cap.isOpen() function checks if the camera is open or not and returns true if the camera is open and false if the camera is not open.
- While capturing the background make sure that you or your clothes don’t accidentally come into the frame.
Step 3 – Detect the cloth:
In this invisible cloak opencv project, we are using green cloth so we have to detect green color. So how can we do this?
OpenCV reads the frame as BGR colorspace. To detect any color first we have to convert the frame to HSV colorspace.
Why HSV?
HSV stands for HUE, SATURATION, and VALUE (or brightness). It is a cylindrical color space.
- HUE: The hues are modeled as an angular dimension which encodes color information.
- SATURATION: Saturation encodes intensity of color.
- VALUE: Value represents the brightness of the color.
hsv = cv2.cvtColor(frame, cv2.COLOR_BGR2HSV)
lower_bound = np.array([50, 80, 50])
upper_bound = np.array([90, 255, 255])
mask = cv2.inRange(hsv, lower_bound, upper_bound)
Explanation:
- cv2.cvtColor() function converts colorspace.
- Lower bound and Upper bound are the boundaries of green color.
- cv2.inRange() function returns a segmented binary mask of the frame where the green color is present.
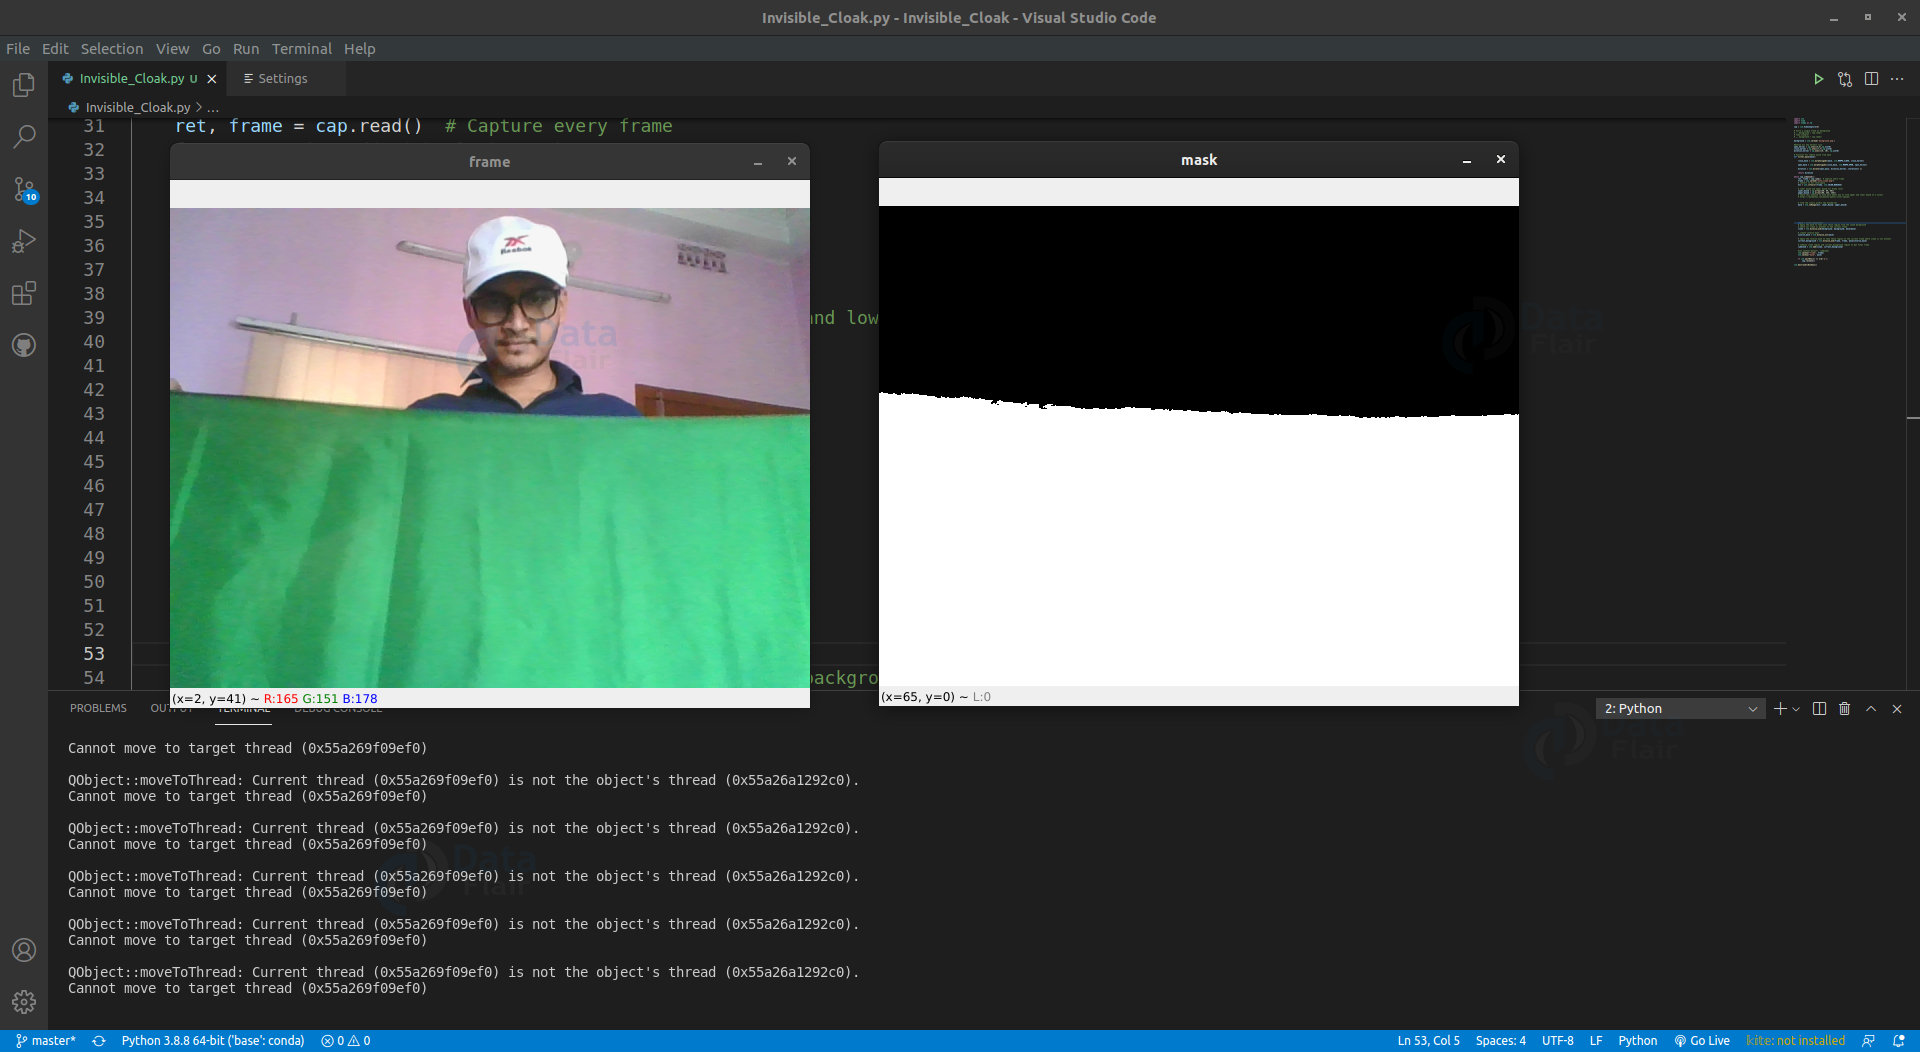
Here we can see in the frame wherever the green color is detected the mask shows that as white. The rest of the region is black.
Step 4 – Apply the mask:
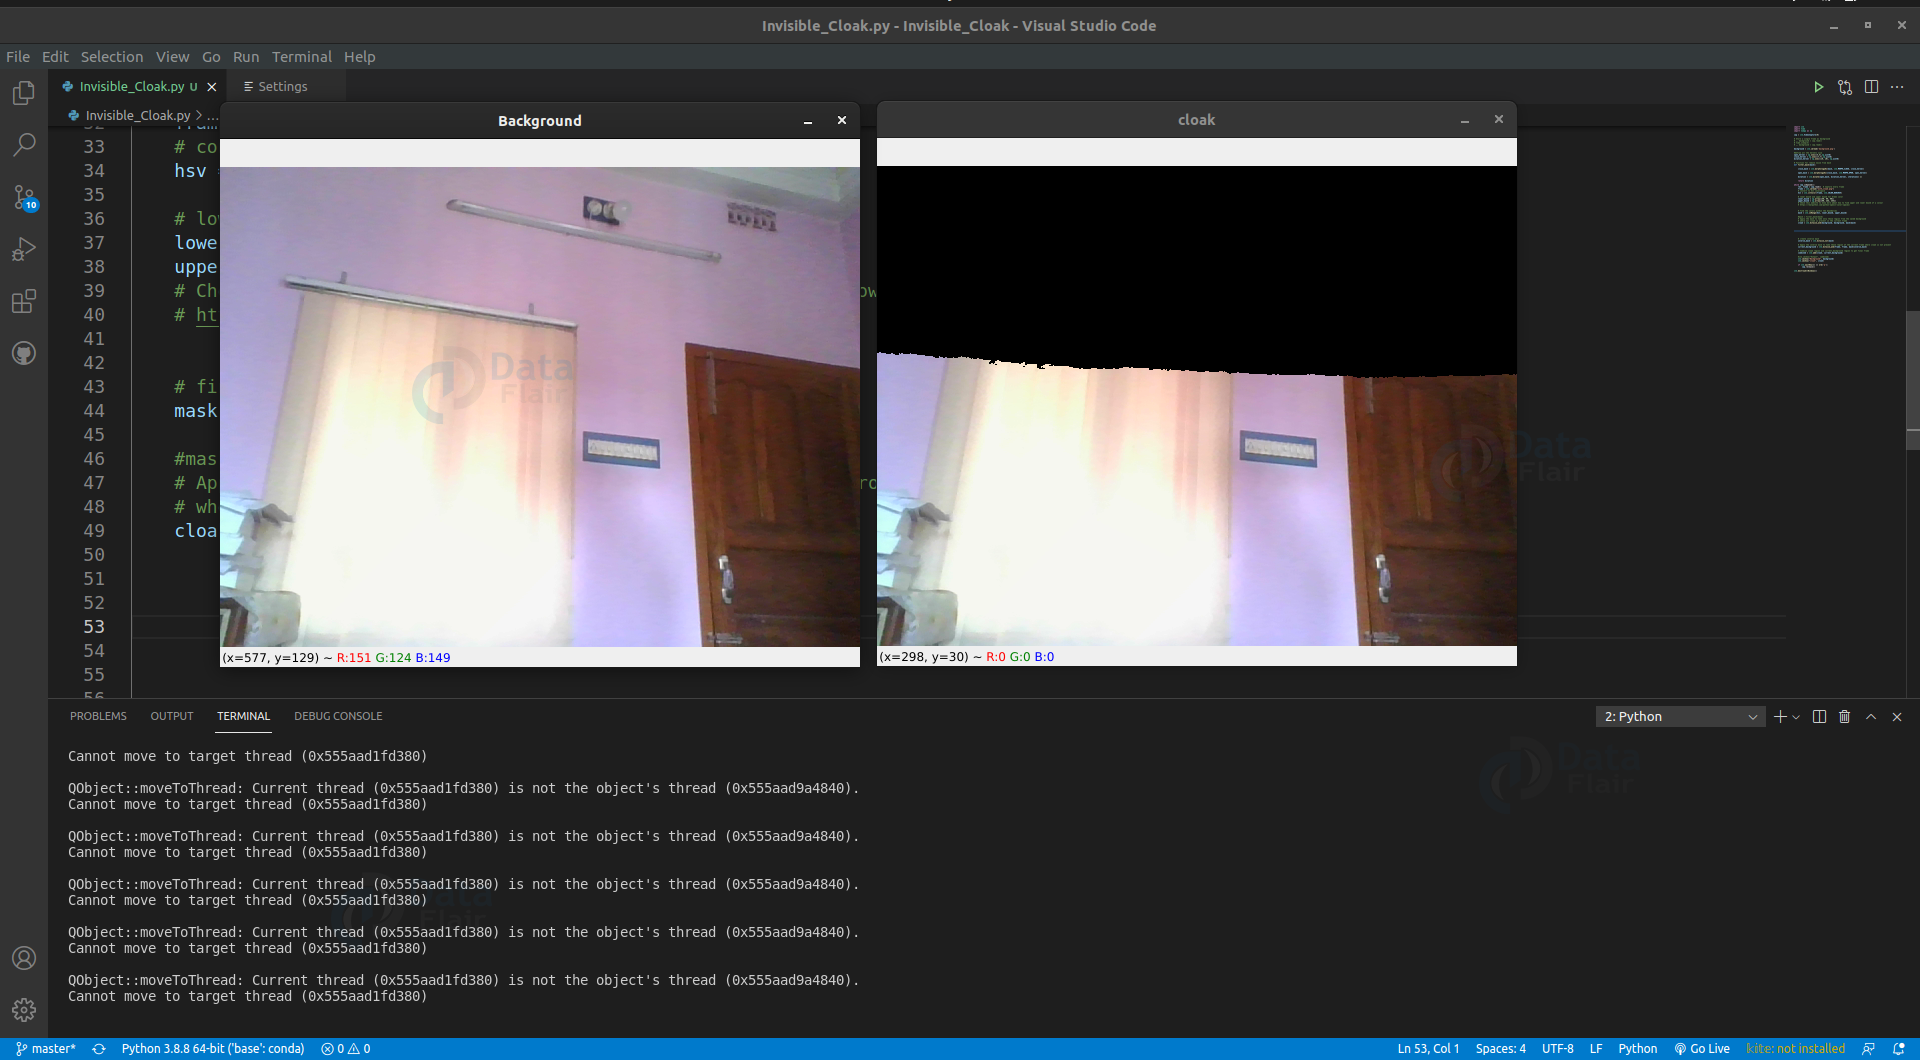
We have successfully detected the cloak. We want to show our previously-stored background in the main frame where the cloak is present. First, we need to take the only white region from the background.
# Apply the mask to take only those region from the saved background
# where our cloak is present in the current frame
cloak = cv2.bitwise_and(background, background, mask=mask)
Explanation:
cv2.bitwise_and() applies mask on frame in the region where mask is true (means white).
We have successfully replaced the cloak region with the background. Now we need those regions of our main frame where the clock is not present. To get this we can simply invert the mask and do the same procedure for the main frame.
# create inverse mask
inverse_mask = cv2.bitwise_not(mask)

# Apply the inverse mask to take those region of the current frame where cloak is # not present
current_background = cv2.bitwise_and(frame, frame, mask=inverse_mask)
Explanation:
cv2.bitwise_not() inverse the mask pixel value. Where the mask is white it returns black and where is black it returns white.
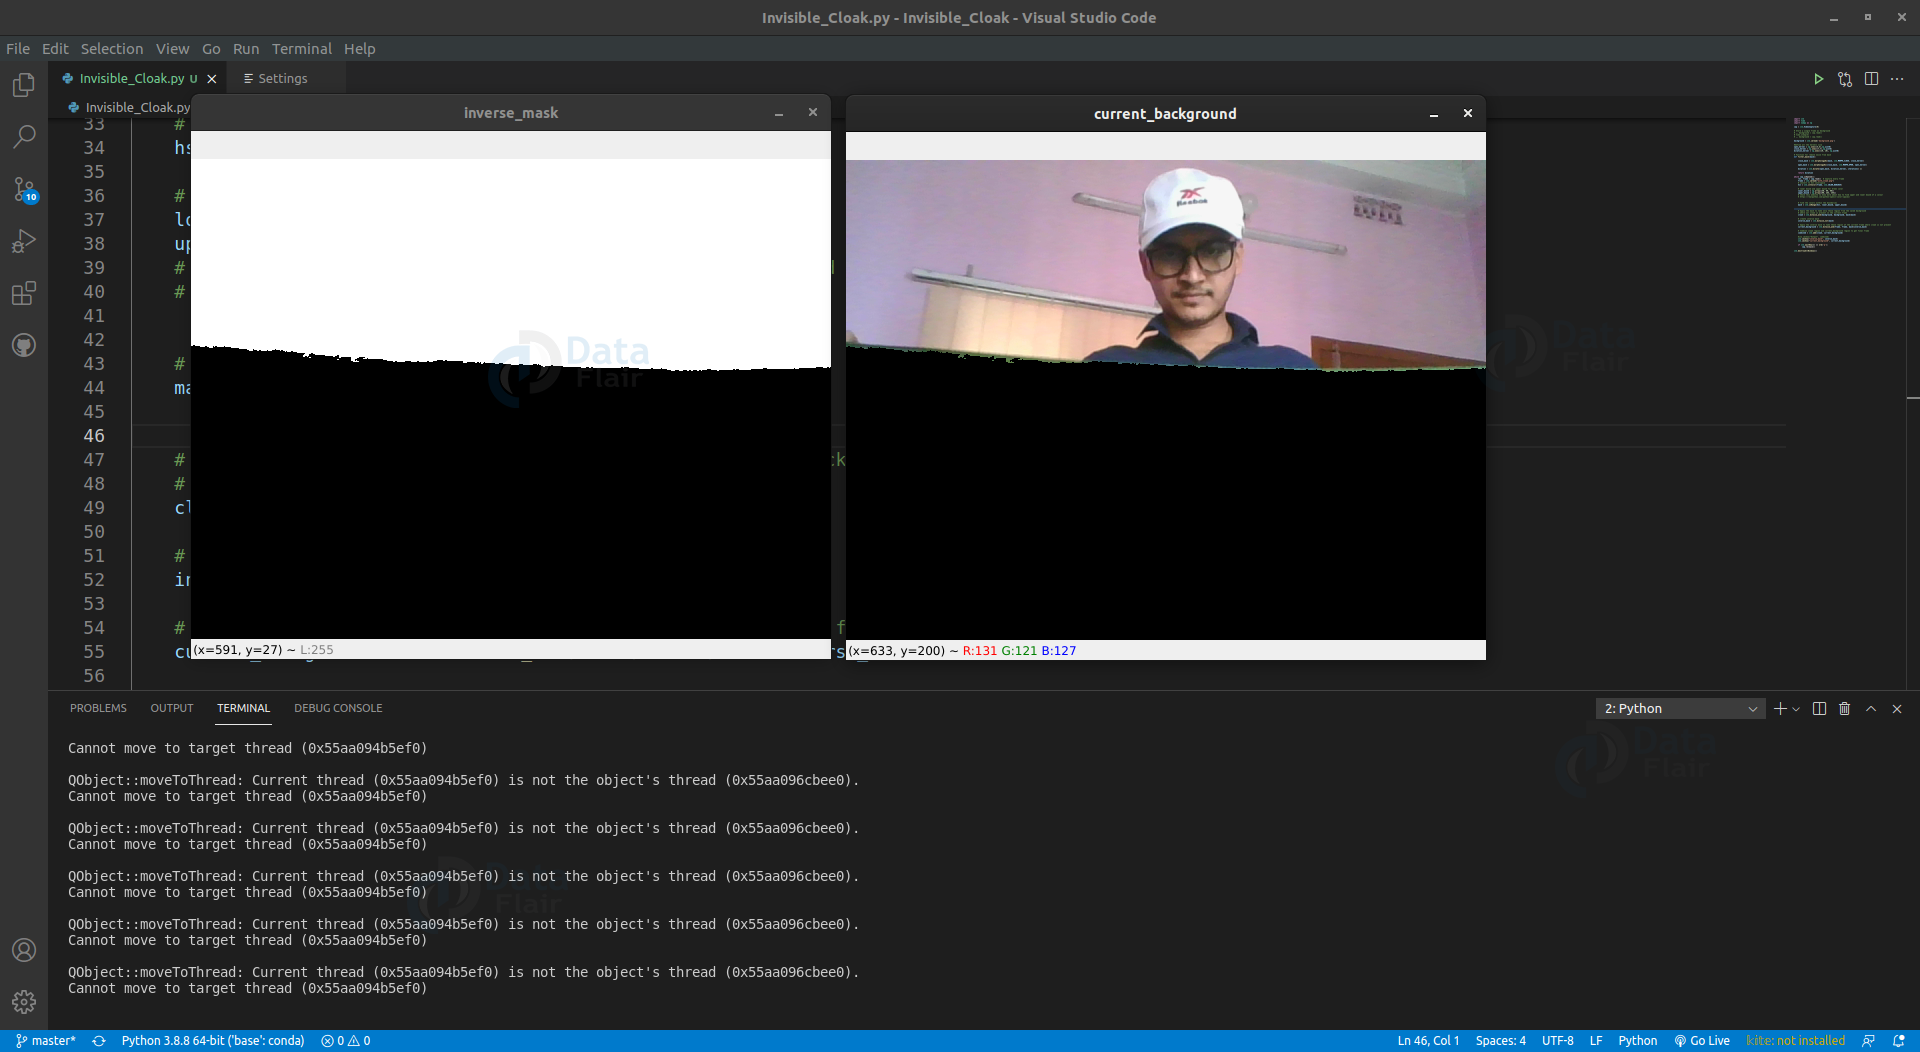
Here we have the inverse mask at the left and the corresponding region from the current frame at the right.
Step 5 – Combine masked frames together:
Finally, we have a cloak background and current frame background. Now it’s time to combine those to get a whole frame.
combined = cv2.add(cloak, current_background)
Explanation:
cv2.add() adds two frames and returns a single frame.
Yeah, finally we are reaching our goal. But can you see the green edges of the cloak? We have to remove those edges to get the perfect finishing.
So what can we do here?
We’re gonna use some filtering methods provided by OpenCV. OpenCV provides morphological operation libraries.
Step 6 – Removing unnecessary noise from mask :
open_kernel = np.ones((5,5),np.uint8)
close_kernel = np.ones((7,7),np.uint8)
dilation_kernel = np.ones((10, 10), np.uint8)
Explanation:
- np.ones((5,5),np.uint8) create a 5×5 8 bit integer matrix.
- Adjust kernel size according to your condition.
def filter_mask(mask):

    close_mask = cv2.morphologyEx(mask, cv2.MORPH_CLOSE, close_kernel)
    open_mask = cv2.morphologyEx(close_mask, cv2.MORPH_OPEN, open_kernel)
    dilation = cv2.dilate(open_mask, dialation_kernel, iterations= 1)
    return dilation
Explanation:
- cv2.MORPH_CLOSE removes unnecessary black noise from the white region in the mask. And how much noise to remove that is defined by kernel size.
- cv2.MORPH_OPEN removes unnecessary white noise from the black region.
- cv2.dilate increases white region in the image.
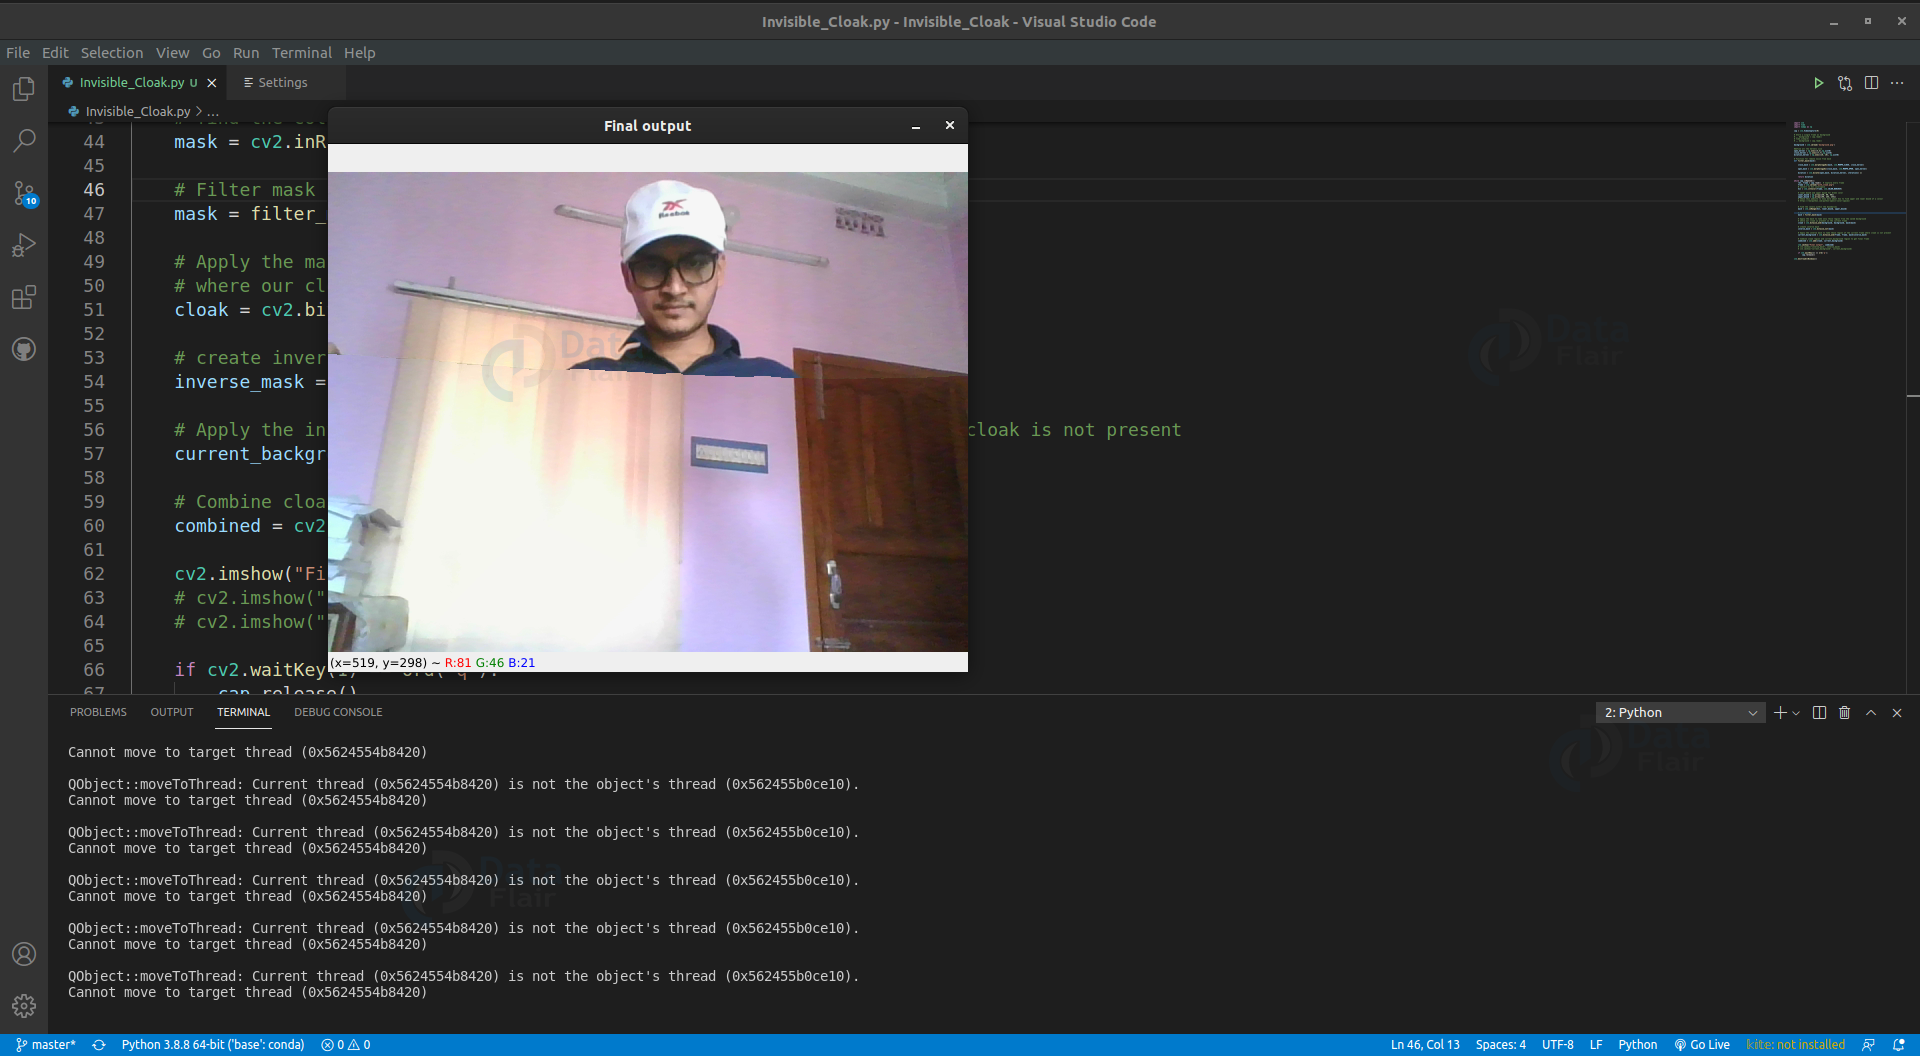
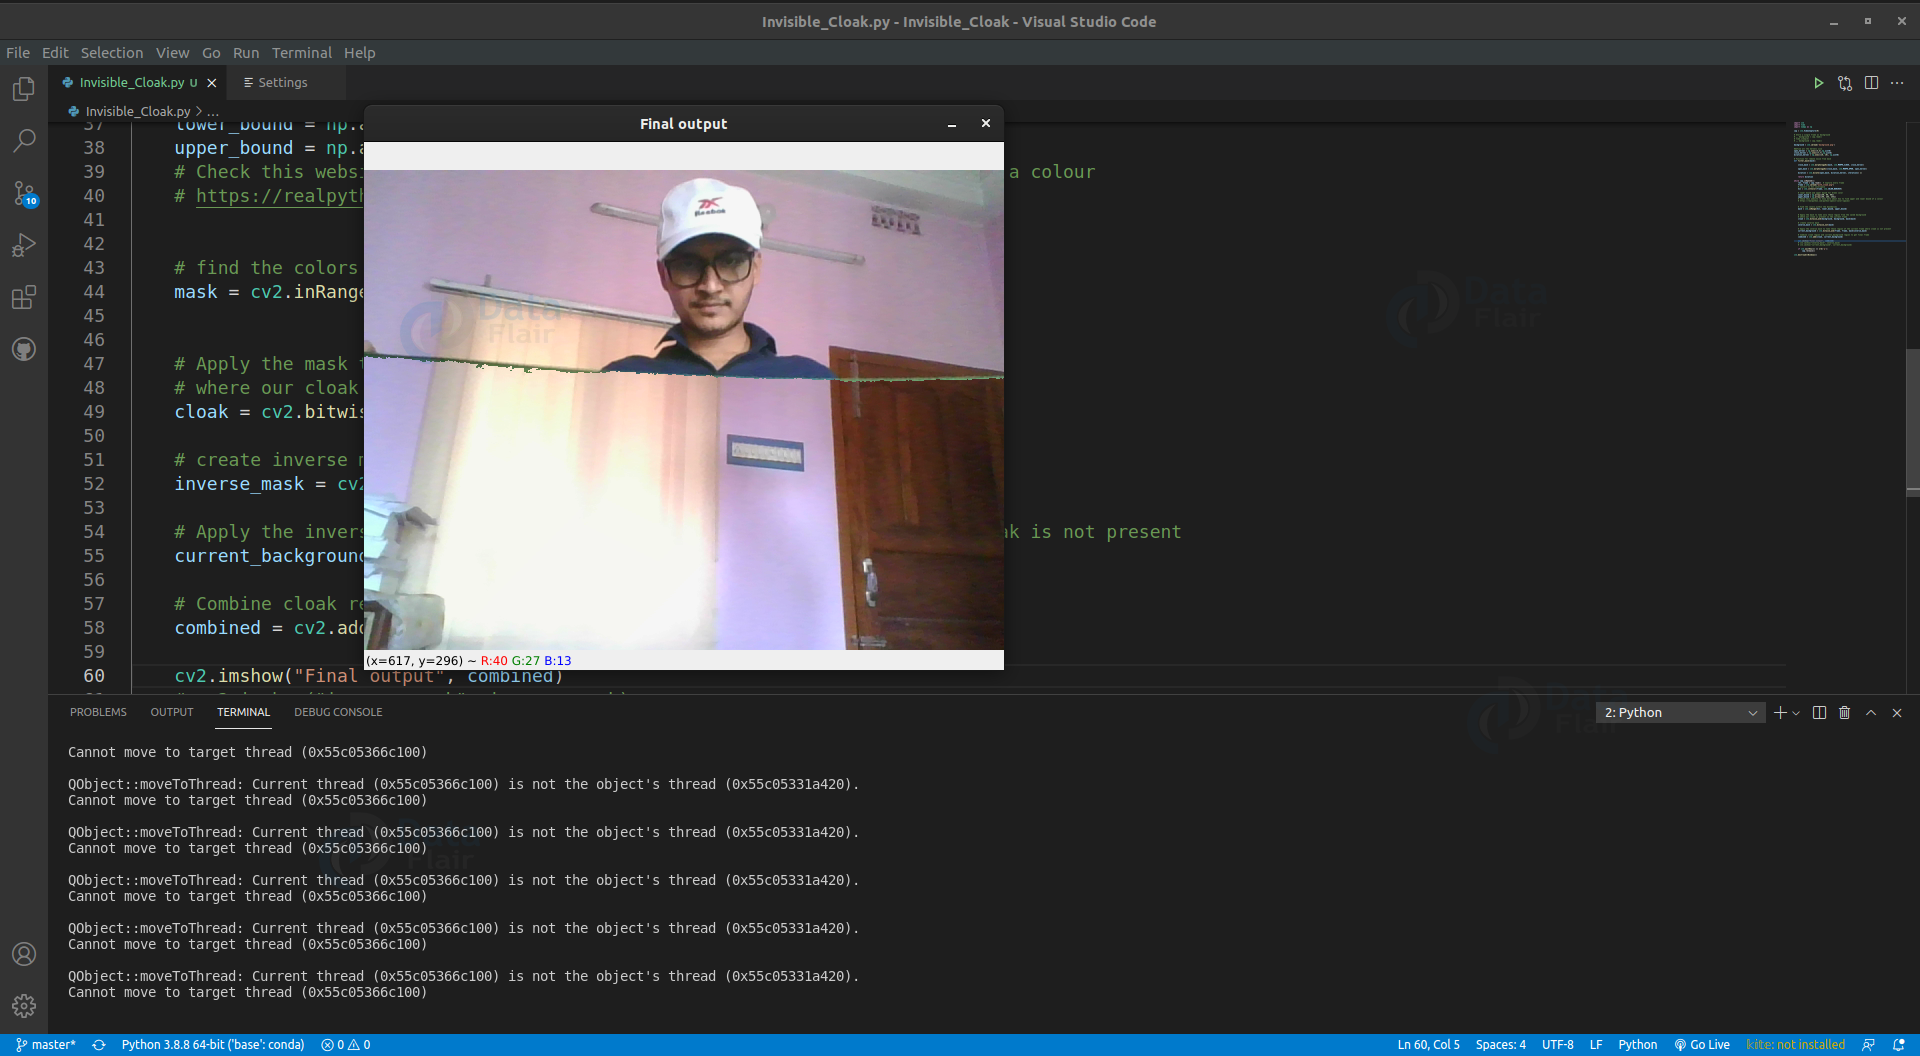
OpenCV Invisible Cloak Output
Summary
Imagine wearing a cloak and disappearing like in Harry Potter! This fun project uses OpenCV in Python to make a real-time invisibility effect. When someone wears a cloak of a certain color (like red or green), the program removes that color and shows the background instead. It looks like the person has vanished.
In this machine learning project, we have created Invisible Cloak using OpenCV. We implemented color detection and segmentation technique. In this opencv project, we learned about morphological operations, masking, and other image processing concepts.
This project is very popular and exciting for beginners. It teaches real-time video processing, color detection, and OpenCV operations. It also shows how creative you can get with computer vision. It’s perfect for making fun YouTube or Instagram videos and learning OpenCV basics.
Your opinion matters
Please write your valuable feedback about DataFlair on Google


Why do u even call this machine learning
I have got an error. how i solve this error plz help me
you are Awesome!
this works great , Thank you for sharing 🙂