Image Classification – Deep Learning Project in Python with Keras
Machine Learning courses with 100+ Real-time projects Start Now!!
Image classification is a fascinating deep learning project. Specifically, image classification comes under the computer vision project category.
In this project, we will build a convolution neural network in Keras with python on a CIFAR-10 dataset. First, we will explore our dataset, and then we will train our neural network using python and Keras.
What is Image Classification
- The classification problem is to categorize all the pixels of a digital image into one of the defined classes.
- Image classification is the most critical use case in digital image analysis.
- Image classification is an application of both supervised classification and unsupervised classification.
- In supervised classification, we select samples for each target class. We train our neural network on these target class samples and then classify new samples.
- In unsupervised classification, we group the sample images into clusters of images having similar properties. Then, we classify each cluster into our intended classes.
About Image Classification Dataset
CIFAR-10 is a very popular computer vision dataset. This dataset is well studied in many types of deep learning research for object recognition.
This dataset consists of 60,000 images divided into 10 target classes, with each category containing 6000 images of shape 32*32. This dataset contains images of low resolution (32*32), which allows researchers to try new algorithms. The 10 different classes of this dataset are:
- Airplane
- Car
- Bird
- Cat
- Deer
- Dog
- Frog
- Horse
- Ship
- Truck
CIFAR-10 dataset is already available in the datasets module of Keras. We do not need to download it; we can directly import it from keras.datasets.
Project Prerequisites:
The prerequisite to develop and execute image classification project is Keras and Tensorflow installation.
Steps for image classification on CIFAR-10:
1. Load the dataset from keras datasets module
from keras.datasets import cifar10
import matplotlib.pyplot as plt

(train_X,train_Y),(test_X,test_Y)=cifar10.load_data()
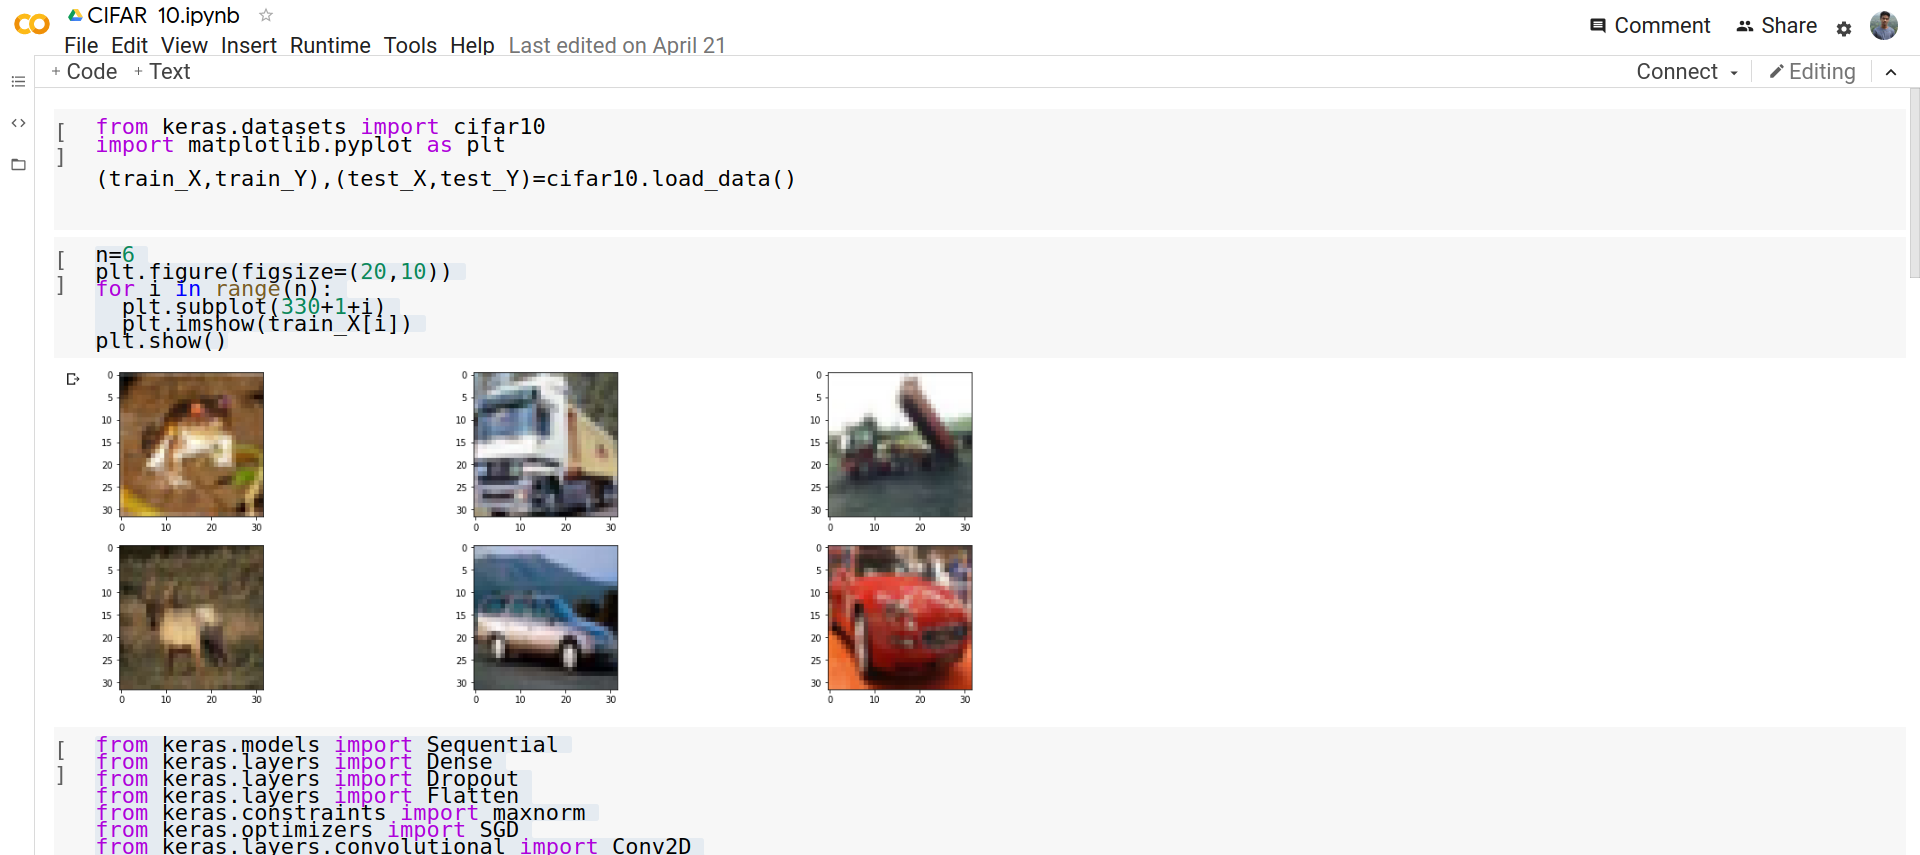
2. Plot some images from the dataset to visualize the dataset
n=6
plt.figure(figsize=(20,10))
for i in range(n):
plt.subplot(330+1+i)
plt.imshow(train_X[i])
plt.show()
3. Import the required layers and modules to create our convolution neural net architecture
from keras.models import Sequential
from keras.layers import Dense
from keras.layers import Dropout
from keras.layers import Flatten
from keras.constraints import maxnorm
from keras.optimizers import SGD
from keras.layers.convolutional import Conv2D
from keras.layers.convolutional import MaxPooling2D
from keras.utils import np_utils
4. Convert the pixel values of the dataset to float type and then normalize the dataset
train_x=train_X.astype('float32')
test_X=test_X.astype('float32')

train_X=train_X/255.0
test_X=test_X/255.0
5. Now perform the one-hot encoding for target classes
train_Y=np_utils.to_categorical(train_Y)
test_Y=np_utils.to_categorical(test_Y)

num_classes=test_Y.shape[1]
6. Create the sequential model and add the layers
model=Sequential()
model.add(Conv2D(32,(3,3),input_shape=(32,32,3),
    padding='same',activation='relu',
    kernel_constraint=maxnorm(3)))
model.add(Dropout(0.2))
model.add(Conv2D(32,(3,3),activation='relu',padding='same',kernel_constraint=maxnorm(3)))
model.add(MaxPooling2D(pool_size=(2,2)))
model.add(Flatten())
model.add(Dense(512,activation='relu',kernel_constraint=maxnorm(3)))
model.add(Dropout(0.5))
model.add(Dense(num_classes, activation='softmax'))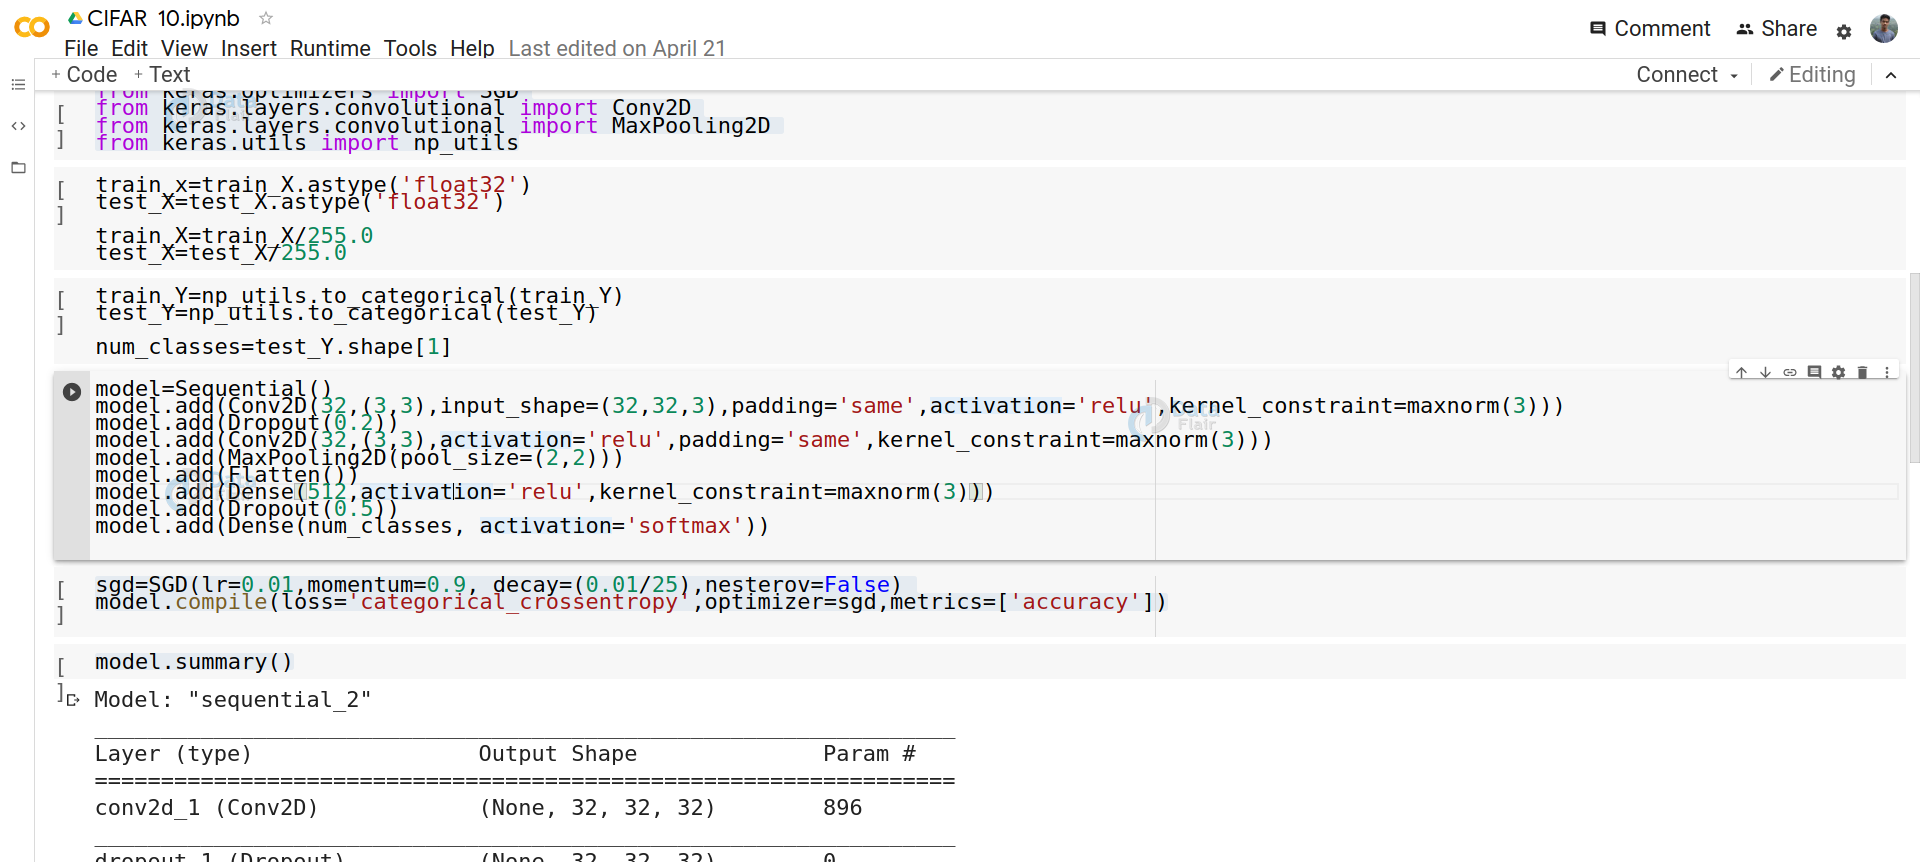
7. Configure the optimizer and compile the model
sgd=SGD(lr=0.01,momentum=0.9,decay=(0.01/25),nesterov=Fals)

model.compile(loss='categorical_crossentropy',
  optimizer=sgd,
  metrics=['accuracy'])
8. View the model summary for better understanding of model architecture
model.summary()
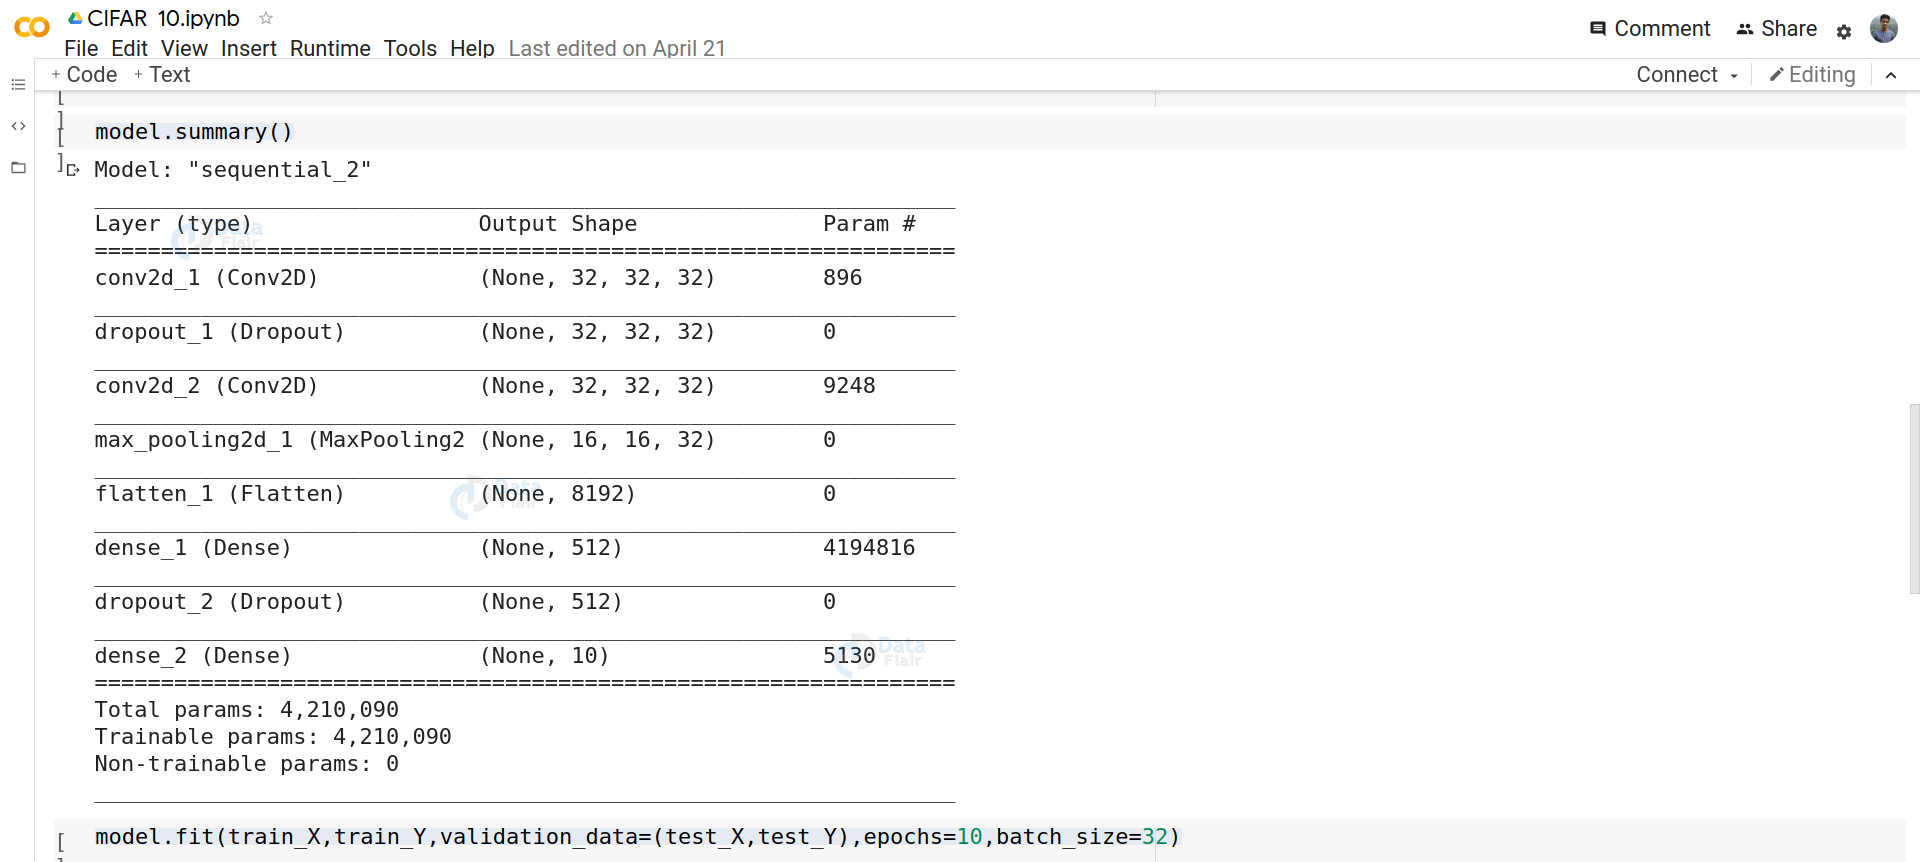
9. Train the model
model.fit(train_X,train_Y,
    validation_data=(test_X,test_Y),
    epochs=10,batch_size=32)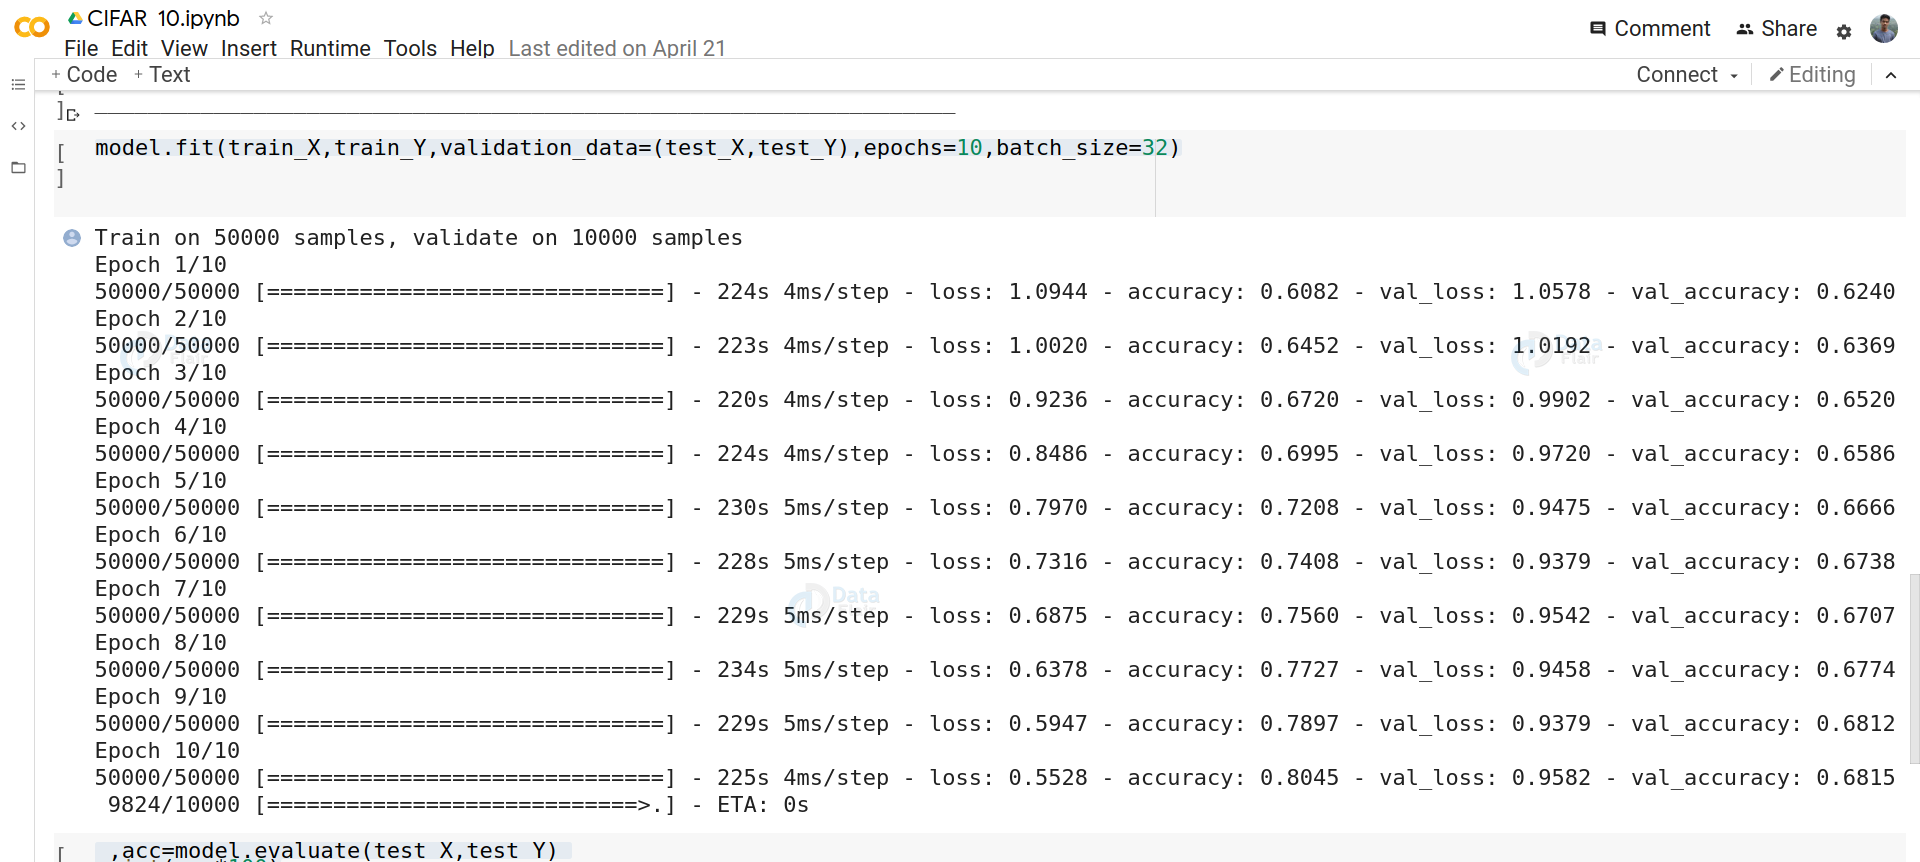
10. Calculate its accuracy on testing data
_,acc=model.evaluate(test_X,test_Y)
print(acc*100)
11. Save the model
model.save("model1_cifar_10epoch.h5")12. Make a dictionary to map to the output classes and make predictions from the model
results={
   0:'aeroplane',
   1:'automobile',
   2:'bird',
   3:'cat',
   4:'deer',
   5:'dog',
   6:'frog',
   7:'horse',
   8:'ship',
   9:'truck'
}
from PIL import Image
import numpy as np
im=Image.open("__image_path__")
# the input image is required to be in the shape of dataset, i.e (32,32,3)

im=im.resize((32,32))
im=np.expand_dims(im,axis=0)
im=np.array(im)
pred=model.predict_classes([im])[0]
print(pred,results[pred])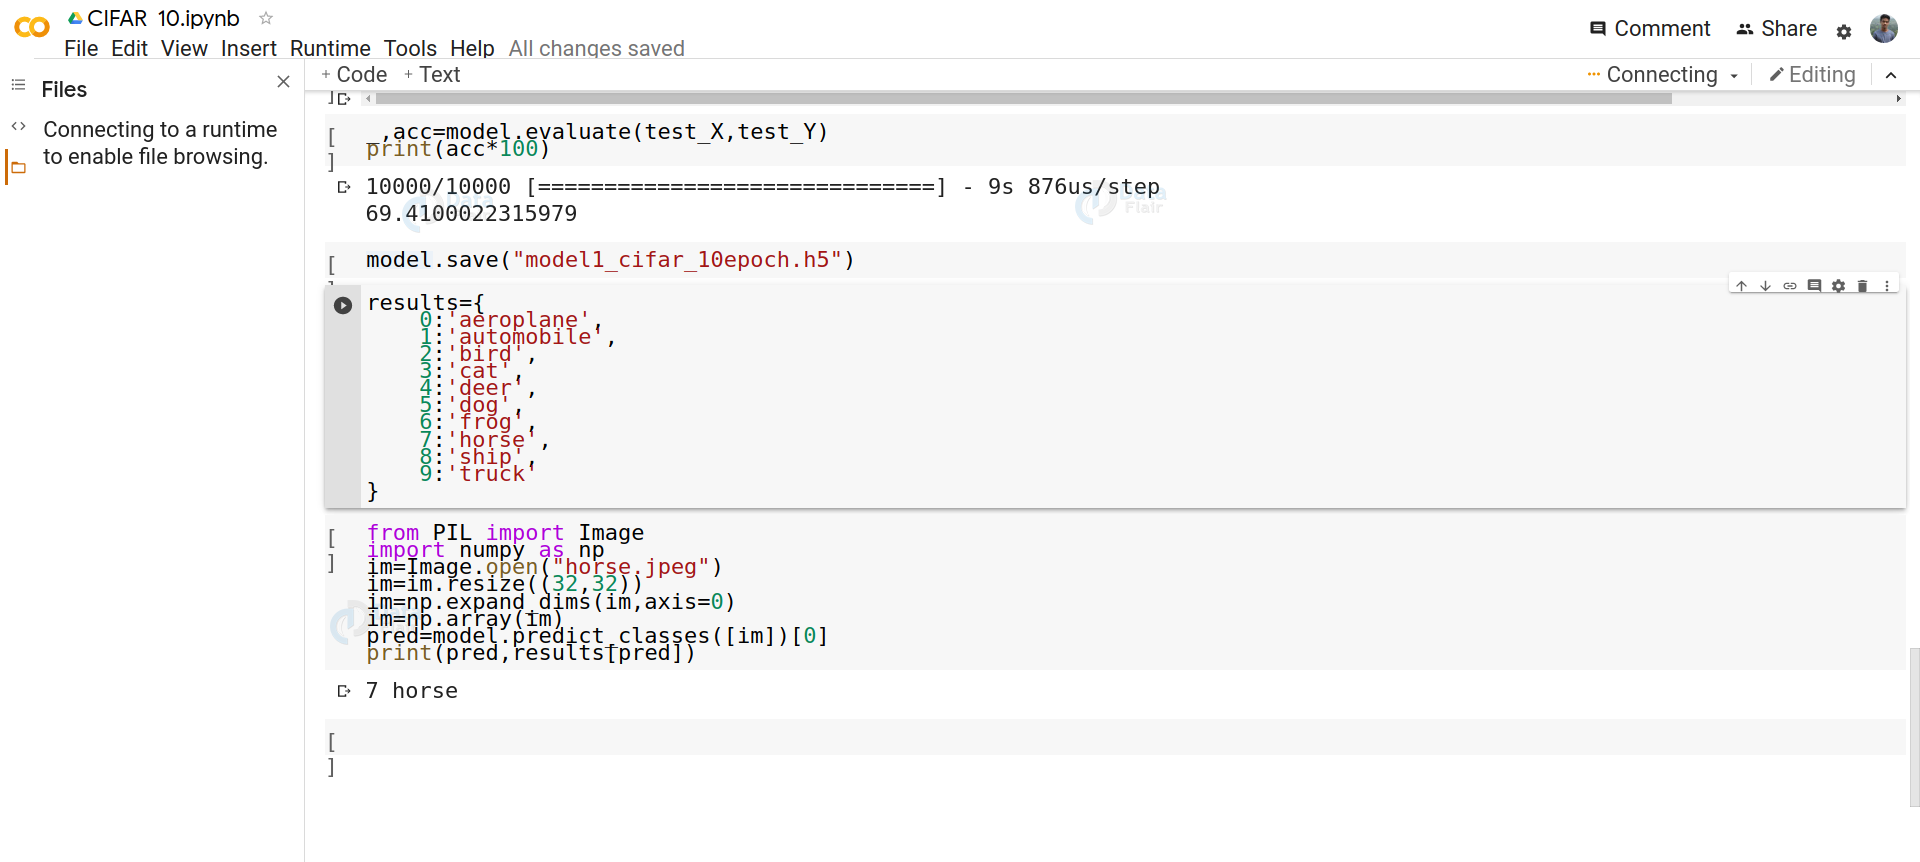
You can test the result on your custom image input. To improve accuracy, try increasing the epoch count to 25 for training.
Image Classification Project GUI
Here, we will build a graphical user interface for our image classifier. We will build this GUI using Tkinter python library. To install Tkinker:
sudo apt-get install python3-tk
To make the GUI make a new file gui.py and copy our model (“model1_cifar_10epoch.h5”) to this directory.
Now paste the below code into the gui.py file:
import tkinter as tk
from tkinter import filedialog
from tkinter import *
from PIL import ImageTk, Image
import numpy

#load the trained model to classify the images

from keras.models import load_model
model = load_model('model1_cifar_10epoch.h5')

#dictionary to label all the CIFAR-10 dataset classes.

classes = {
    0:'aeroplane',
    1:'automobile',
    2:'bird',
    3:'cat',
    4:'deer',
    5:'dog',
    6:'frog',
    7:'horse',
    8:'ship',
    9:'truck'
}
#initialise GUI

top=tk.Tk()
top.geometry('800x600')
top.title('Image Classification CIFAR10')
top.configure(background='#CDCDCD')
label=Label(top,background='#CDCDCD', font=('arial',15,'bold'))
sign_image = Label(top)

def classify(file_path):
    global label_packed
    image = Image.open(file_path)
    image = image.resize((32,32))
    image = numpy.expand_dims(image, axis=0)
    image = numpy.array(image)
    pred = model.predict_classes([image])[0]
    sign = classes[pred]
    print(sign)
    label.configure(foreground='#011638', text=sign)

def show_classify_button(file_path):
    classify_b=Button(top,text="Classify Image",
   command=lambda: classify(file_path),padx=10,pady=5)
    classify_b.configure(background='#364156', foreground='white',
font=('arial',10,'bold'))
    classify_b.place(relx=0.79,rely=0.46)

def upload_image():
    try:
        file_path=filedialog.askopenfilename()
        uploaded=Image.open(file_path)
  uploaded.thumbnail(((top.winfo_width()/2.25),
    (top.winfo_height()/2.25)))
        im=ImageTk.PhotoImage(uploaded)
        sign_image.configure(image=im)
        sign_image.image=im
        label.configure(text='')
        show_classify_button(file_path)
    except:
        pass

upload=Button(top,text="Upload an image",command=upload_image,
  padx=10,pady=5)

upload.configure(background='#364156', foreground='white',
    font=('arial',10,'bold'))

upload.pack(side=BOTTOM,pady=50)
sign_image.pack(side=BOTTOM,expand=True)
label.pack(side=BOTTOM,expand=True)
heading = Label(top, text="Image Classification CIFAR10",pady=20, font=('arial',20,'bold'))

heading.configure(background='#CDCDCD',foreground='#364156')
heading.pack()
top.mainloop()
Now run the python file gui.py to execute image classification project:
python3 gui.py
Summary:
The objective of the image classification project was to enable the beginners to start working with Keras to solve real-time deep learning problems.
In this keras deep learning Project, we talked about the image classification paradigm for digital image analysis. We discuss supervised and unsupervised image classifications.
Then it explains the CIFAR-10 dataset and its classes. Finally, we saw how to build a convolution neural network for image classification on the CIFAR-10 dataset.
Your 15 seconds will encourage us to work even harder
Please share your happy experience on Google


When I copy and paste the gui.py and try to execute it, it shows an error – unindent does not match any outer indentation level,
please help me out
you have to install libraries packages first, from terminal or directly from the editor depending on what you using
Plz give me ppt format in image classification
When I copy and paste the gui.py it give me an error. Is the file available for download somewhere? Please help!!!
I am getting misclassification while testinfg. Is everyone getting misclassification or I have made mistake?
where the image is stored??? when we upload image , from where image is stored??
at the importing module section…..replace “from keras.optimizers import SGD” with “from tensorflow.keras.optimizers import SGD”.
I have read the Python 3.7 optimizers documentary and found that they moved SGD to tensorflow.
thank you so much.
in the classify function of GUI.py replace “pred = model.predict_classes([image])[0]” with “pred=np.argmax(model.predict([image])[0],axis=-1)”
In Python 3.6+, the predict_classses() function has been removed from Sequence class.
Do the same for single file inclusion code.
Thank you.
i replaced, but it shoes me
ValueError: in user code
I am not able to understand what to do with the installation after installing Keras…the Clone from git process isn’t quite working what should I do?
And where I am supposed to write the code afterwards as in which IDE?
Please how do I copy all the source code?