Python Solar System Visualizer Project
Master Python with 70+ Hands-on Projects and Get Job-ready - Learn Python
In this project, we will be building a solar system visualizer using Python and the Pygame library. This project will simulate the orbit of planets around the sun and allow users to see the relative positions of the planets in real-time.
About Python Solar System Visualizer
The objective of this project is to teach students how to use Pygame to create a graphical user interface (GUI) and to simulate the movement of objects in a 2D space.
Prerequisites for Solar System Visualizer using Python
- Basic understanding of Python programming
- Pygame library installed
To install the pygame library type the below command in the terminal and it will be installed.
pip install pygame
Download Python Solar System Visualizer Project
Please download the source code of python Solar System Visualizer project from the following link: Python Solar System Visualizer Project Code
Steps to Create Solar System Visualizer using Python
Following are the steps for developing the python Solar System Visualizer project:
Step 1: Importing Libraries
The first step in building our solar system visualizer project is to import the necessary libraries. In this case, we will be using the Pygame library to handle the GUI and the math library for mathematical calculations.
# Import the pygame library
import pygame
import math
import os
Step 2: Initializing Pygame
After importing the necessary libraries, we initialize Pygame using the pygame.init() function.
# Initialize Pygame
pygame.init()
Step 3: Setting the Window Size and Title
We set the size of the window using the set_mode() function and set the title of the window using the set_caption() function.
# Set the window size
size = (800, 800)
screen = pygame.display.set_mode(size)


# Set the title of the window
pygame.display.set_caption("DataFlair - Solar System Visualizer")
Step 4: Loading Images of the Planets and Space
In this step, we load the images of the planets and space using the image.load() function of the Pygame library. The images must be in the ‘planets’ directory.
# Load the images for each planet
sun_image = pygame.image.load(os.path.join("planets", "sun.png"))
mercury_image = pygame.image.load(os.path.join("planets", "mercury.png"))
venus_image = pygame.image.load(os.path.join("planets", "venus.png"))
earth_image = pygame.image.load(os.path.join("planets", "earth.png"))
mars_image = pygame.image.load(os.path.join("planets", "mars.png"))
jupiter_image = pygame.image.load(os.path.join("planets", "jupiter.png"))
saturn_image = pygame.image.load(os.path.join("planets", "saturn_ring.png"))
uranus_image = pygame.image.load(os.path.join("planets", "uranus.png"))
neptune_image = pygame.image.load(os.path.join("planets", "neptune.png"))


# Load the background image
background_image = pygame.image.load(os.path.join("planets", "space.png"))
Step 5: Reducing Image Size of the Planets
To make the planets visible on the screen, we need to reduce the size of the images using the transform.scale() function of the Pygame library.
# Reducing image size of the planets
sun_image = pygame.transform.scale(sun_image, (80, 80))
mercury_image = pygame.transform.scale(mercury_image, (15, 15))
venus_image = pygame.transform.scale(venus_image, (25, 25))
earth_image = pygame.transform.scale(earth_image, (30, 30))
mars_image = pygame.transform.scale(mars_image, (20, 20))
saturn_image = pygame.transform.scale(saturn_image, (100, 40))
uranus_image = pygame.transform.scale(uranus_image, (35, 35))
jupiter_image = pygame.transform.scale(jupiter_image, (50, 50))
neptune_image = pygame.transform.scale(neptune_image, (40, 40))
Step 6: Creating planets with their properties and initializing the positions of the planets, clock and fps
In this step we will be creating a list of planets with their properties like distance, period and radius.
# Create a list of planets with their properties
planets = [
   {"name": "Sun", "image": sun_image, "radius": 200, "x": 400, "y": 390, "vx": 0, "vy": 0},
   {"name": "Mercury", "image": mercury_image, "angle": 0, "distance": 65, "period": 0.24, "radius": 10},
   {"name": "Venus", "image": venus_image, "angle": 0, "distance": 90, "period": 0.62, "radius": 20},
   {"name": "Earth", "image": earth_image, "angle": 0, "distance": 125, "period": 1, "radius": 25},
   {"name": "Mars", "image": mars_image, "angle": 0, "distance": 155, "period": 1.88, "radius": 15},
   {"name": "Jupiter", "image": jupiter_image, "angle": 0, "distance": 195, "period": 11.86, "radius": 45},
   {"name": "Saturn", "image": saturn_image, "angle": 0, "distance": 260, "period": 29.5, "radius": 40},
   {"name": "Uranus", "image": uranus_image, "angle": 0, "distance": 320, "period": 84, "radius": 30},
   {"name": "Neptune", "image": neptune_image, "angle": 0, "distance": 370, "period": 164.8, "radius": 35}
]
After creating the planets we will initialize the positions of the planets based on their angle and distance from the first planet in the planets list, and then create a list for storing the past positions of each planet. The variable clock is also being set up to control the framerate of the animation, with a target fps of 30.
# initialize the positions of the planets
for planet in planets[1:]:
   planet["x"] = planets[0]["x"] + math.cos(planet["angle"]) * planet["distance"]
   planet["y"] = planets[0]["y"] + math.sin(planet["angle"]) * planet["distance"]


# Create a list of past positions for each planet
for planet in planets[1:]:
   planet["past_positions"] = []


# Set the clock to control framerate
clock = pygame.time.Clock()
fps = 30
Step 7: Creating the animation loop
We will now create the animation loop that will be responsible for updating the positions of the planets, drawing them on the screen and handling user input. This loop will run continuously until the user closes the window or quits the program.
# Run the game loop
running = True
while running:


   # Handle events in the game loop
   for event in pygame.event.get():


       # Check for QUIT event
        if event.type == pygame.QUIT:
            running = False


   # Clear the screen with background image
   screen.blit(background_image, (0, 0))


   # Display the sun at the center
   image_rect = planets[0]["image"].get_rect()
   image_rect.center = (int(planets[0]["x"]), int(planets[0]["y"]))
   screen.blit(planets[0]["image"], image_rect)

   # Draw and update the position of the planets
   for planet in planets[1:]:


       # Increment the angle based on the period of the planet
       # so that it completes one orbit in the given period
       planet["angle"] += 0.05 * (1 / planet["period"])


       # Calculate the position of the planet based on the angle
       planet["x"] = planets[0]["x"] + math.cos(planet["angle"]) * planet["distance"]
       planet["y"] = planets[0]["y"] + math.sin(planet["angle"]) * planet["distance"]


       # Add the current position to the list of past positions
       # and draw a trail behind the planet
       planet["past_positions"].append((planet["x"], planet["y"]))


       # Draw the trail
       for i in range(1, len(planet["past_positions"])):
           pygame.draw.line(screen, (153,153,0), planet["past_positions"][i-1], planet["past_positions"][i], 1)


       # Get the rect for the planet's image and set its center to the planet's position
       image_rect = planet["image"].get_rect()
       image_rect.center = (int(planet["x"]), int(planet["y"]))

       # Draw the planet's image
       screen.blit(planet["image"], image_rect)


   # Update the display
   pygame.display.update()


   # Wait for the specified number of frames per second
   clock.tick(fps)


# Quit pygame
pygame.quit()
This loop starts by handling the user input using the pygame.event.get() function. It checks if the user has closed the window and sets the running variable to False if so.
Then, the screen is cleared by drawing the background image on it. The positions of the planets are updated by incrementing the angle of each planet by (2*math.pi)/planet[“period”] and calculating the new x and y positions based on the angle and distance from the sun.
The planets are then drawn on the screen by blitting their images at their current x and y positions. Finally, the display is updated and the framerate is controlled by calling the clock.tick(fps) function.
At the end, if the user closes the window, pygame will quit.
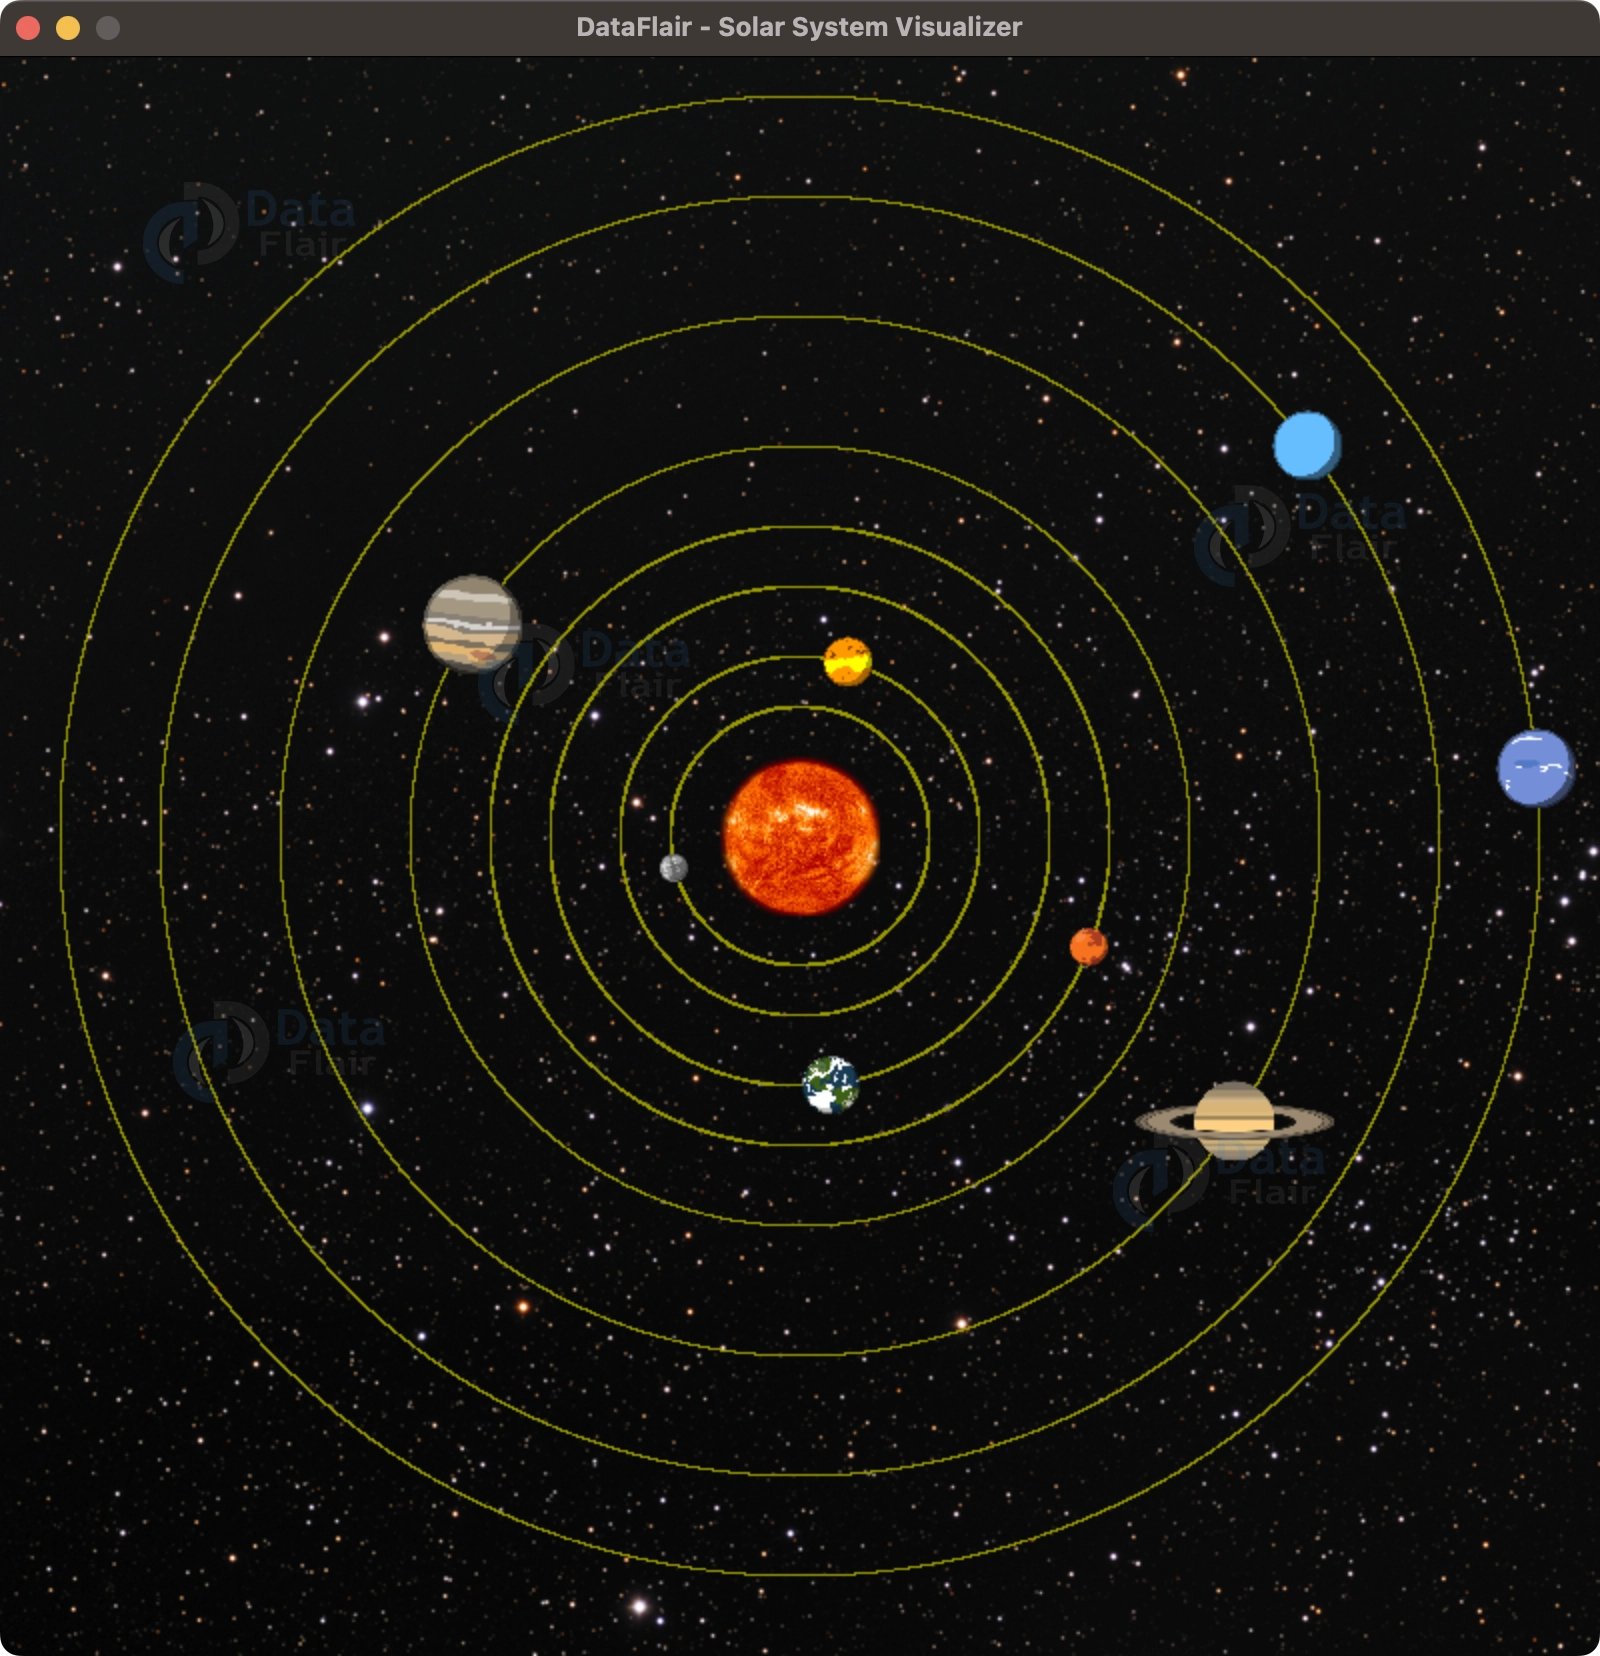
Python Solar System Visualizer Output
Summary
Congratulations! You have successfully created a Solar System Visualizer project using Pygame. You can now customize and expand upon this program to make it even more interesting and engaging.
In this project, we’ve walked through the process of creating a Solar System Visualizer project using Pygame. We’ve covered everything from importing libraries to creating the animation loop, and you should now have a solid understanding of how to create your own Pygame-based animations.
Did you know we work 24x7 to provide you best tutorials
Please encourage us - write a review on Google


