Online Library Management System in Python Django
Master Python with 70+ Hands-on Projects and Get Job-ready - Learn Python
Interactive Online Courses: Elevate Skills & Succeed Enroll Now!
A School or College Library is where students can have access to a variety of resources that are all kinds of books. let us create Online Library Management System using Django.
About the Online Library Management System:
Students can register themselves to this system. The admin can then issue them with any book they want to read for a period of 14 days. The students are requested to return it within 14 days (2 weeks) of time or else there is a Rs 5 fine each day till the book is being returned. After returning they again issue a new book if the student wants.
Django Online Library Management System Project:
The main objective of this project is to manage the details of the students, books and the issued books efficiently. This project helps to keep all the records of the library.
Project Prerequisites:
You must know the following languages required for this online library management system project:
- HTML
- CSS
- Bootstrap
- Django
Project Features:
For admin
- Admin can add new books
- View the whole list of books and delete any book
- View the whole list of students and delete any student
- Issue a book to a student
- View all the issued books
For students
- A student can see his/her profile
- Edit their profile
- Can change password
- View the issued book by them
Download Online Library Management System Django Project Code
Please download the source code of python django online library management system from the following link: Online Library Management System Python Django Project
Project File Structure
Steps for Online Library Management System using Python Django:
Models.py:
from django.db import models
from django.contrib.auth.models import User
from datetime import datetime,timedelta

class Book(models.Model):
    name = models.CharField(max_length=200)
    author = models.CharField(max_length=200)
    isbn = models.PositiveIntegerField()
    category = models.CharField(max_length=50)

    def __str__(self):
        return str(self.name) + " ["+str(self.isbn)+']'

class Student(models.Model):
    user = models.OneToOneField(User, on_delete=models.CASCADE)
    classroom = models.CharField(max_length=10)
    branch = models.CharField(max_length=10)
    roll_no = models.CharField(max_length=3, blank=True)
    phone = models.CharField(max_length=10, blank=True)
    image = models.ImageField(upload_to="", blank=True)

    def __str__(self):
        return str(self.user) + " ["+str(self.branch)+']' + " ["+str(self.classroom)+']' + " ["+str(self.roll_no)+']'

def expiry():
    return datetime.today() + timedelta(days=14)
class IssuedBook(models.Model):
    student_id = models.CharField(max_length=100, blank=True)
    isbn = models.CharField(max_length=13)
    issued_date = models.DateField(auto_now=True)
    expiry_date = models.DateField(default=expiry)
Code Explanation:
Book model:
It saves all the data of each book added to the system.
Student model:
It saves all the details of each student registered to the system.
IssuedBook model:
It saves all the details of any book issued by a student.
Urls.py :
from django.urls import path
from . import views

urlpatterns = [
    path("", views.index, name="index"),
    path("add_book/", views.add_book, name="add_book"),
    path("view_books/", views.view_books, name="view_books"),
    path("view_students/", views.view_students, name="view_students"),
    path("issue_book/", views.issue_book, name="issue_book"),
    path("view_issued_book/", views.view_issued_book, name="view_issued_book"),
    path("student_issued_books/", views.student_issued_books, name="student_issued_books"),
    path("profile/", views.profile, name="profile"),
    path("edit_profile/", views.edit_profile, name="edit_profile"),

    path("student_registration/", views.student_registration, name="student_registration"),
    path("change_password/", views.change_password, name="change_password"),
    path("student_login/", views.student_login, name="student_login"),
    path("admin_login/", views.admin_login, name="admin_login"),
    path("logout/", views.Logout, name="logout"),

    path("delete_book/<int:myid>/", views.delete_book, name="delete_book"),
    path("delete_student/<int:myid>/", views.delete_student, name="delete_student"),
]
Code Explanation:
These are all the urls present in this project.
1. Home Page (index.html):
<div class="p-4 bg-light">
    <div class="container-fluid py-5">
      <h1 class="display-5 fw-bold">Custom jumbotron</h1>
      <p class="col-md-8 fs-4">Using a series of utilities, you can create this jumbotron, just like the one in previous versions of Bootstrap. Check out the examples below for how you can remix and restyle it to your liking.</p>
      <button class="btn btn-primary btn-lg" type="button">Example button</button>
    </div>
    <div class="container">
  <div class="row">

    <div class="col-lg-6">
      <img src="{% static 'Admin-icon.png' %}" width="50%" height="50%" alt=""><br><br>
        <a class="btn btn-outline-primary btn-lg" style="text-align:center" href="/admin_login/">Admin</a>
    </div>

    <div class="col-lg-6">
      <img src="{% static 'student.png' %}" width="50%" height="50%" alt=""><br><br>
      <a class="btn btn-outline-primary btn-lg" href="/student_login/">Student</a>
    </div>
  </div>
  </div>
</div>
Views.py:
def index(request):
    return render(request, "index.html")
Code Explanation:
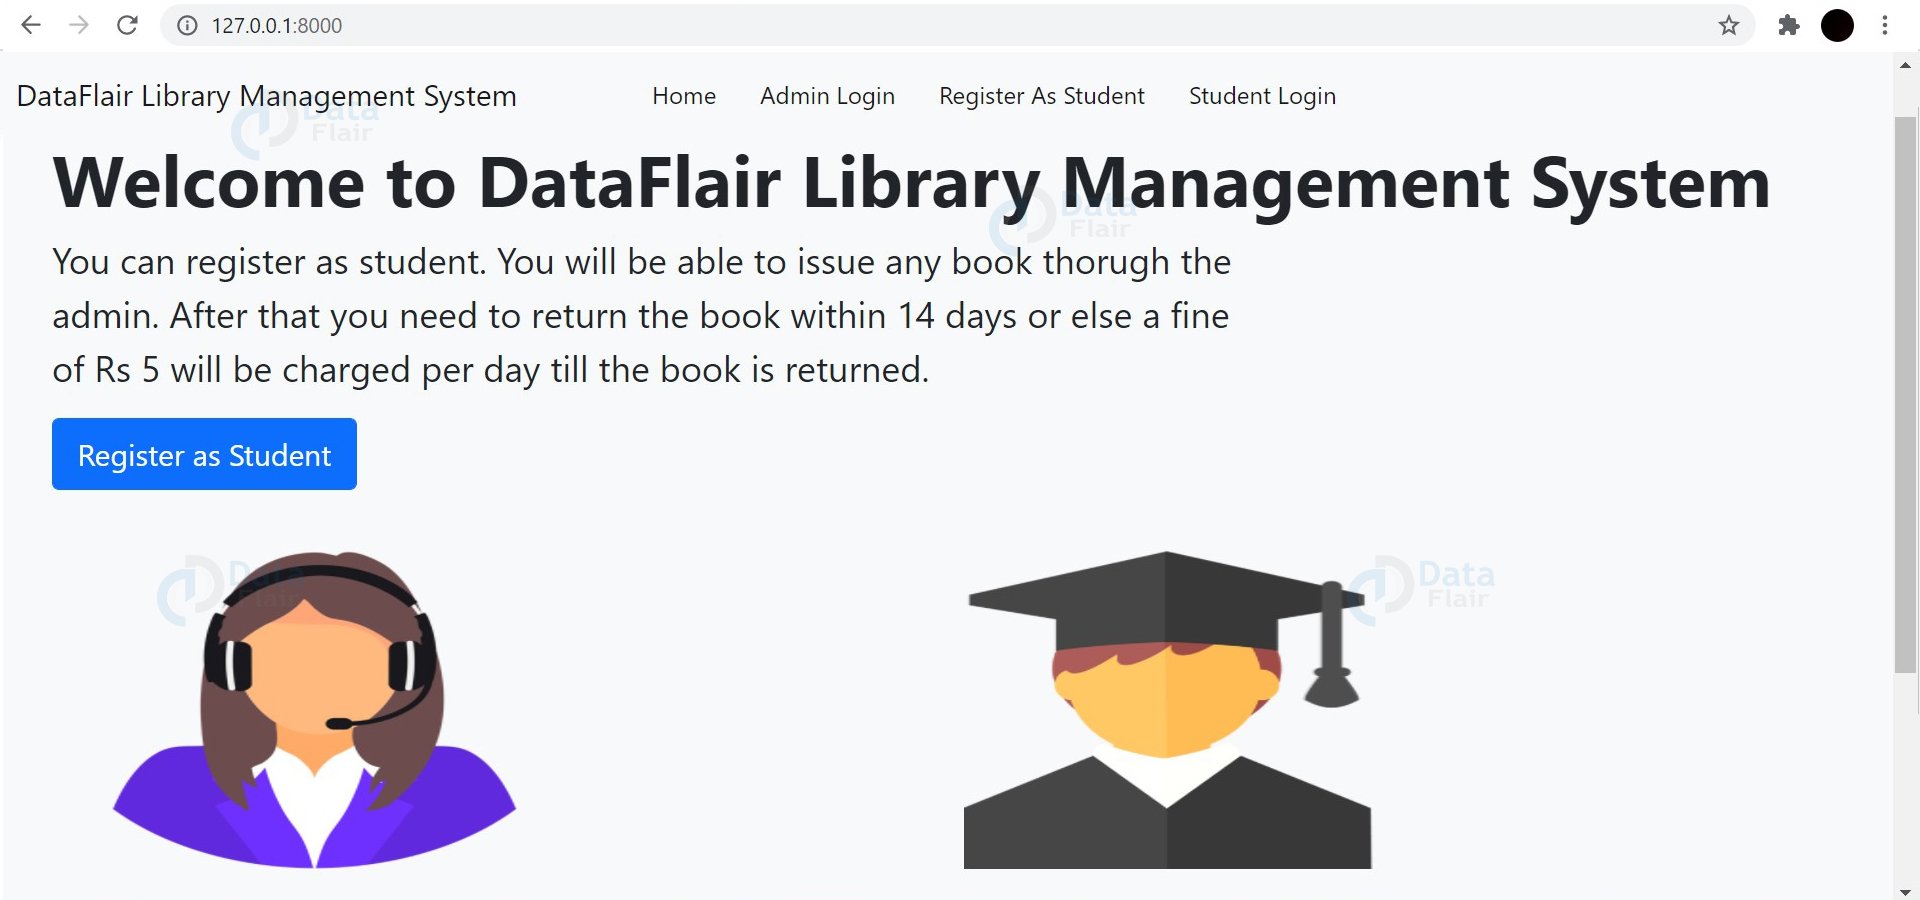
On the homepage of the library management project, there are various options like student registration, student login and admin login. Students can register through register as student option. Then they can also login by clicking on student login. Admin can login through admin login.
2. Add Book (add_book.html):
<div class="container">
    <form method="POST"> {% csrf_token %}
    <div class="row mt-4">
        <div class="form-group col-md-12">
            <label><i style="font-weight: bold;">Book Name</i></label>
            <input type="text" class="form-control mt-2" name="name" placeholder="Enter name of the Book" required>
        </div>
    </div>

    <div class="row mt-4">
        <div class="form-group col-md-12">
            <label><i style="font-weight: bold;">Author Name</i></label>
            <input type="text" class="form-control mt-2" name="author" placeholder="Enter name of the Author" required>
        </div>
    </div>

    <div class="row mt-4">
        <div class="form-group col-md-12">
            <label><i style="font-weight: bold;">ISBN Number</i></label>
            <input type="number" class="form-control mt-2" name="isbn" placeholder="Enter ISBN number of the book" required>
        </div>
    </div>

    <div class="row mt-4">
        <div class="form-group col-md-12">
            <label><i style="font-weight: bold;">Category</i></label>
            <input type="text" class="form-control mt-2" name="category" placeholder="Enter Category of the book" required>
        </div>
    </div>
    <button type="submit" class="btn btn-outline-primary mt-4">Add Book</button>
</div>
</form>
Views.py:
def add_book(request):
    if request.method == "POST":
        name = request.POST['name']
        author = request.POST['author']
        isbn = request.POST['isbn']
        category = request.POST['category']

        books = Book.objects.create(name=name, author=author, isbn=isbn, category=category)
        books.save()
        alert = True
        return render(request, "add_book.html", {'alert':alert})
    return render(request, "add_book.html")
Code Explanation:
After the admin login, the admin can add new books or delete a book. Admin just have to give the details of the book in a form and add that book.
3. View All Books (view_books.html):
<div class="container mt-4">
    <h1 class="text-center"><u>All Books List</u></h1>
    <table class="table table-hover" id="example">
        <thead>
            <tr>
                <th>Sr.No</th>
                <th>Book Name</th>
                <th>Author</th>
                <th>ISBN Number</th>
                <th>Category</th>
                <th>Delete</th>
            </tr>
        </thead>
        <tbody>
            {% for book in books %}
            <tr>
                <td>{{forloop.counter}}.</td>
                <td>{{book.name}}</td>
                <td>{{book.author}}</td>
                <td>{{book.isbn}}</td>
                <td>{{book.category}}</td>
                <td><a href="/delete_book/{{book.id}}/" class="btn btn-danger" onclick="return confirm('Are you sure you want to delete this book?')">Delete</a></td>
            </tr>
            {% endfor %}
        </tbody>
    </table>
    </div>
Views.py:
def view_books(request):
    books = Book.objects.all()
    return render(request, "view_books.html", {'books':books})
Code Explanation:
As we have saved all the details of the book inside the book model, then from the book model we fetch all the data of the books and display it in the form of a table.
4. View All Students (view_books.html):
<div class="container mt-4">
    <h1 class="text-center"><u>Students List</u></h1>
    <table class="table table-hover" id="example">
        <thead>
            <tr class="text-center">
                <th>Sr.No</th>
                <th>Name</th>
                <th>ID</th>
                <th>Email</th>
                <th>Mobile Number</th>
                <th>Branch</th>
                <th>Class</th>
                <th>Roll Number</th>
                <th>Delete</th>
            </tr>
        </thead>
        <tbody>
            {% for student in students %}
            <tr class="text-center">
                <td>{{forloop.counter}}.</td>
                <td>{{student.user.get_full_name}}</td>
                <td>{{student.user.id}}</td>
                <td>{{student.user.email}}</td>
                <td>{{student.phone}}</td>
                <td>{{student.branch}}</td>
                <td>{{student.classroom}}</td>
                <td>{{student.roll_no}}</td>
                <td><a href="/delete_book/{{book.id}}/" class="btn btn-danger" onclick="return confirm('Are you sure you want to delete this student?')">Delete</a></td>
            </tr>
            {% endfor %}
        </tbody>
    </table>
    </div>
Views.py:
def view_students(request):
    students = Student.objects.all()
    return render(request, "view_students.html", {'students':students})
Code Explanation:
All the details of the registered students are displayed in the form of a table. The admin is able to see the students list.
5. Issue a Book (issue_book.html):
<div class="container mt-4">
    <form method="POST"> {% csrf_token %}
        {% for i in form %}
        <div class="form-group">
            <br>
          <label class="control-label col-xs-4">{{ i.label_tag }}</label>
          <div class="col-xs-8 mt-2">
          {{ i }}
           </div>
        </div>
        {% endfor %}
    <button type="submit" class="btn btn-outline-primary mt-4">Issue Book</button>
</div>
</form>
Views.py:
def issue_book(request):
    form = forms.IssueBookForm()
    if request.method == "POST":
        form = forms.IssueBookForm(request.POST)
        if form.is_valid():
            obj = models.IssuedBook()
            obj.student_id = request.POST['name2']
            obj.isbn = request.POST['isbn2']
            obj.save()
            alert = True
            return render(request, "issue_book.html", {'obj':obj, 'alert':alert})
    return render(request, "issue_book.html", {'form':form})
Code Explanation:
Students can ask the admin whichever book they want to issue. Then the admin can issue a book to students by selecting the book and the student.
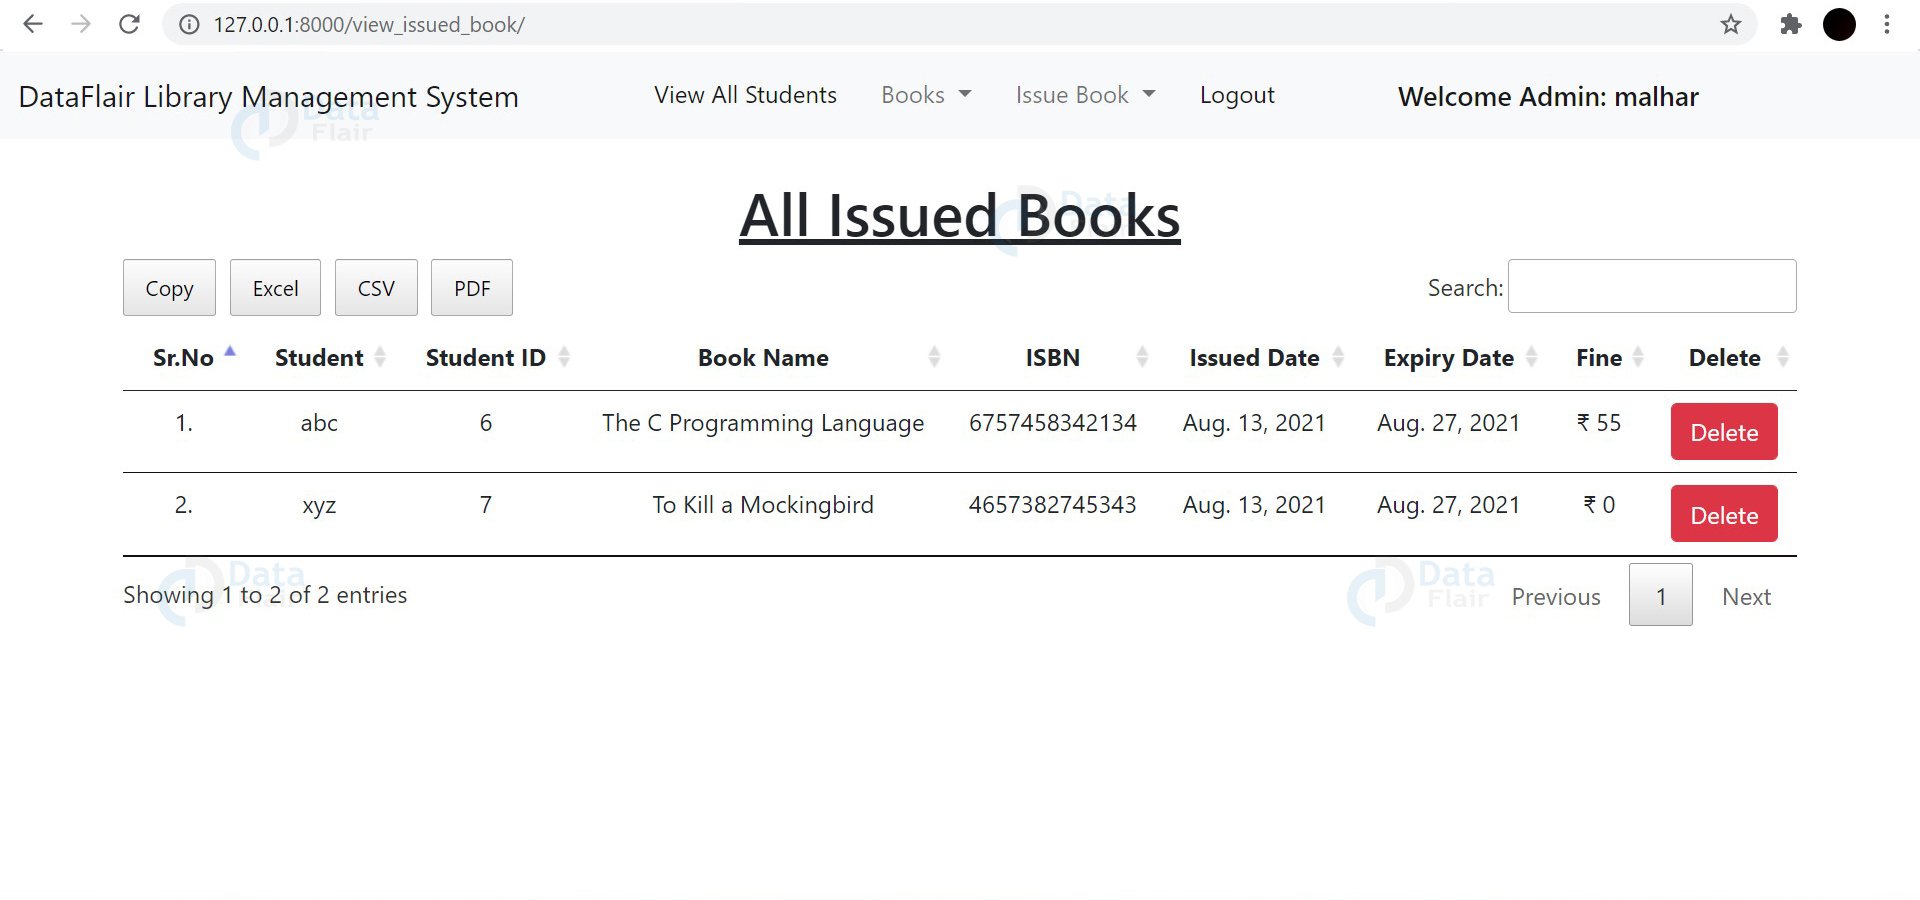
6. View all issued books (issue_book.html):
<div class="container mt-4">
    <h1 class="text-center"><u>All Issued Books</u></h1>
    <table class="table table-hover" id="example">
        <thead>
            <tr class="text-center">
                <th>Sr.No</th>
                <th>Student</th>
                <th>Student ID</th>
                <th>Book Name</th>
                <th>ISBN</th>
                <th>Issued Date</th>
                <th>Expiry Date</th>
                <th>Fine</th>
                <th>Delete</th>
            </tr>
        </thead>
        <tbody>
            {% for i in details %}
            <tr class="text-center">
                <td>{{forloop.counter}}.</td>
                <td>{{i.0}}</td>
                <td>{{i.1}}</td>
                <td>{{i.2}}</td>
                <td>{{i.3}}</td>
                <td>{{i.4}}</td>
                <td>{{i.5}}</td>
                <td>₹ {{i.6}}</td>
                <td><a href="/delete_issue/{{book.id}}/" class="btn btn-danger" onclick="return confirm('Are you sure you want to delete this issued book details?')">Delete</a></td>
            </tr>
            {% endfor %}
        </tbody>
    </table>
    </div>
Views.py:
def view_issued_book(request):
    issuedBooks = IssuedBook.objects.all()
    details = []
    for i in issuedBooks:
        days = (date.today()-i.issued_date)
        d=days.days
        fine=0
        if d>14:
            day=d-14
            fine=day*5
        books = list(models.Book.objects.filter(isbn=i.isbn))
        students = list(models.Student.objects.filter(user=i.student_id))
        i=0
        for l in books:
            t=(students[i].user,students[i].user_id,books[i].name,books[i].isbn,issuedBooks[0].issued_date,issuedBooks[0].expiry_date,fine)
            i=i+1
            details.append(t)
    return render(request, "view_issued_book.html", {'issuedBooks':issuedBooks, 'details':details})
Code Explanation:
After issuing the books, the admin can view all the issued books by students. If the date of issue crosses 14 days then a fine of Rs 5 each day will also be shown. After returning the book the admin can delete the issued book details of the students.
7. Student Profile (profile.html):
<div class="container profile">
        <div class="row">
            <div class="col-md-4">
                <div class="profile-img">
                    <img src="{{user.student.image.url}}" alt="" width="310px" height="270px">
                </div>
            </div>
            <div class="col-md-8">
                <div class="profile-tab">
                    <div class="tab-pane">
                        <div class="row">
                            <div class="col-md-6">
                                <label>ID:</label>
                            </div>
                            <div class="col-md-6">
                                <p>{{user.id}}</p>
                            </div>
                        </div>
                        <div class="row">
                            <div class="col-md-6">
                                <label>Username:</label>
                            </div>
                            <div class="col-md-6">
                                <p>{{user}}</p>
                            </div>
                        </div>
                        <div class="row">
                            <div class="col-md-6">
                                <label>Full Name:</label>
                            </div>
                            <div class="col-md-6">
                                <p>{{user.get_full_name}}</p>
                            </div>
                        </div>
                        <div class="row">
                            <div class="col-md-6">
                                <label>Email:</label>
                            </div>
                            <div class="col-md-6">
                                <p>{{user.email}}</p>
                            </div>
                        </div>
                        <div class="row">
                            <div class="col-md-6">
                                <label>Phone Number:</label>
                            </div>
                            <div class="col-md-6">
                                <p>{{user.student.phone}}</p>
                            </div>
                        </div>
                        <div class="row">
                            <div class="col-md-6">
                                <label>Branch:</label>
                            </div>
                            <div class="col-md-6">
                                <p>{{user.student.branch}}</p>
                            </div>
                        </div>
                        <div class="row">
                            <div class="col-md-6">
                                <label>Class:</label>
                            </div>
                            <div class="col-md-6">
                                <p>{{user.student.classroom}}</p>
                            </div>
                        </div>
                        <div class="row">
                            <div class="col-md-6">
                                <label>Roll Number:</label>
                            </div>
                            <div class="col-md-6">
                                <p>{{user.student.roll_no}}</p>
                            </div>
                        </div>
                    </div>
                    <a href="/edit_profile/" style="width: 9rem;" class="btn btn-outline-primary mt-3">Edit Profile</a>
                </div>
            </div>
</div>
</div>
Views.py:
def profile(request):
    return render(request, "profile.html")
Code Explanation:
After login, students can see their profile which contains all the details that they had entered while registration.
8. Edit Profile (edit_profile.html):
<div class="container">
    <form method="POST"> {% csrf_token %}
<div class="row mt-4">
    <div class="form-group col-md-6">
        <label><i style="font-weight: bold;">Email</i></label>
        <input type="email" class="form-control mt-2" name="email" value="{{user.email}}">
    </div>
    <div class="form-group col-md-6">
        <label><i style="font-weight: bold;">Mobile Number</i></label>
        <input type="number" class="form-control mt-2" name="phone" value="{{user.student.phone}}">
    </div>
</div>

<div class="row mt-4">
    <div class="form-group col-md-6">
        <label><i style="font-weight: bold;">Branch Name</i></label>
        <input type="text" class="form-control mt-2" name="branch" value="{{user.student.branch}}">
    </div>
    <div class="form-group col-md-6">
        <label><i style="font-weight: bold;">Class Name</i></label>
        <input type="text" class="form-control mt-2" name="classroom" value="{{user.student.classroom}}">
    </div>
</div>

<div class="row mt-4">
    <div class="form-group col-md-6">
        <label><i style="font-weight: bold;">Roll Number</i></label>
        <input type="text" class="form-control mt-2" name="roll_no" value="{{user.student.roll_no}}">
    </div>
    </div>
    <button type="submit" class="btn btn-secondary mt-5">Update Profile</button>
</form>
</div>
Views.py:
def edit_profile(request):
    student = Student.objects.get(user=request.user)
    if request.method == "POST":
        email = request.POST['email']
        phone = request.POST['phone']
        branch = request.POST['branch']
        classroom = request.POST['classroom']
        roll_no = request.POST['roll_no']

        student.user.email = email
        student.phone = phone
        student.branch = branch
        student.classroom = classroom
        student.roll_no = roll_no
        student.user.save()
        student.save()
        alert = True
        return render(request, "edit_profile.html", {'alert':alert})
    return render(request, "edit_profile.html")
Code Explanation:
On clicking on the edit profile button on the profile page, students can edit some of the details from their profile.
Python Online Library Management System Output:
Home Page:
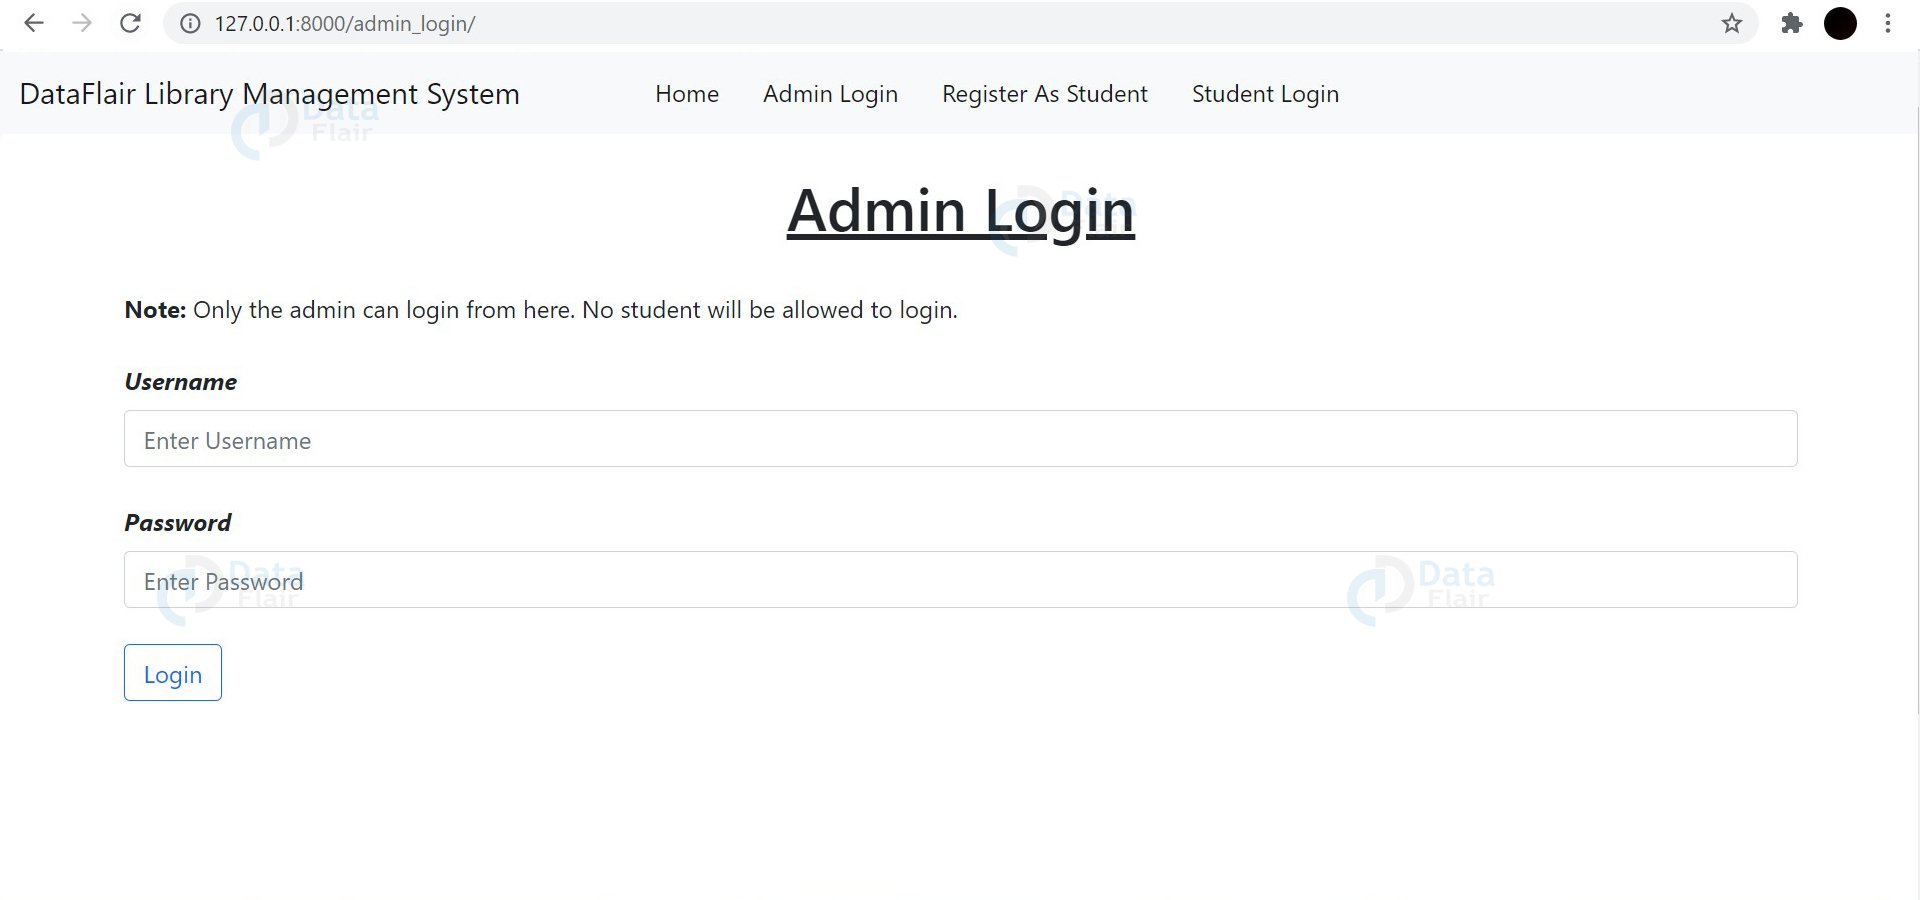
Admin Login:
Student Registration:

View All Issued Books:
Summary
With this project in Django, we have successfully developed an Online Library Management Project. We have used front-end (html, css, bootstrap) to design the pages and also back-end databases (Django) for storing and fetching data. I hope from this project you must have learned new concepts and understand Django much better. You can download the entire source code from the link mentioned above.
We work very hard to provide you quality material
Could you take 15 seconds and share your happy experience on Google


Want is the username and password for Admin login
you can create superuser then admin will get credentails
What is admin password, username is
Malhar
Tell me the username and password of admin
user name and password for admin are not working!!
Want is the username and password for Admin login
create superuser then you get admin user name and password ,
give any user name and password and save it. then use this username and pwd in admin login
cmd
>python3 manage.py createsuperuser
what is username and password for admin
you need to create admin account by using the following cmd. py manage.py createsuperuser adminname
password .
Fine amount is not generated it showing aug 13 to 27.how can I changed
Thank you so much to everyone on the data flair team. The online library management system was good. I want to make money, so I download the project, improve it, and then sell it to make ends meet.
anyone have you done this project with javascript ?
Delete Issued Book is not showing. After deleting view all issued book
same delete issue is not presetn do you have any solution for that if you have please give it
Knowledge is a right, not a privilege.
admin login username and password
kaam krega?? pakka??