How to Install Keras on Linux and Windows
Machine Learning courses with 100+ Real-time projects Start Now!!
Welcome back to DataFlair Keras Tutorial series. In this tutorial, we will see how to install Keras on Linux and Windows Operating Systems.
We will also discuss the issues and the configuration requirements after the installation of Keras.

How to install Keras on Linux
Keras is a Python deep learning framework, so you must have python installed on your system.
In Ubuntu python is included by default, we recommend having the latest version of python i.e python3. To check whether python 3 is installed in your system or not:
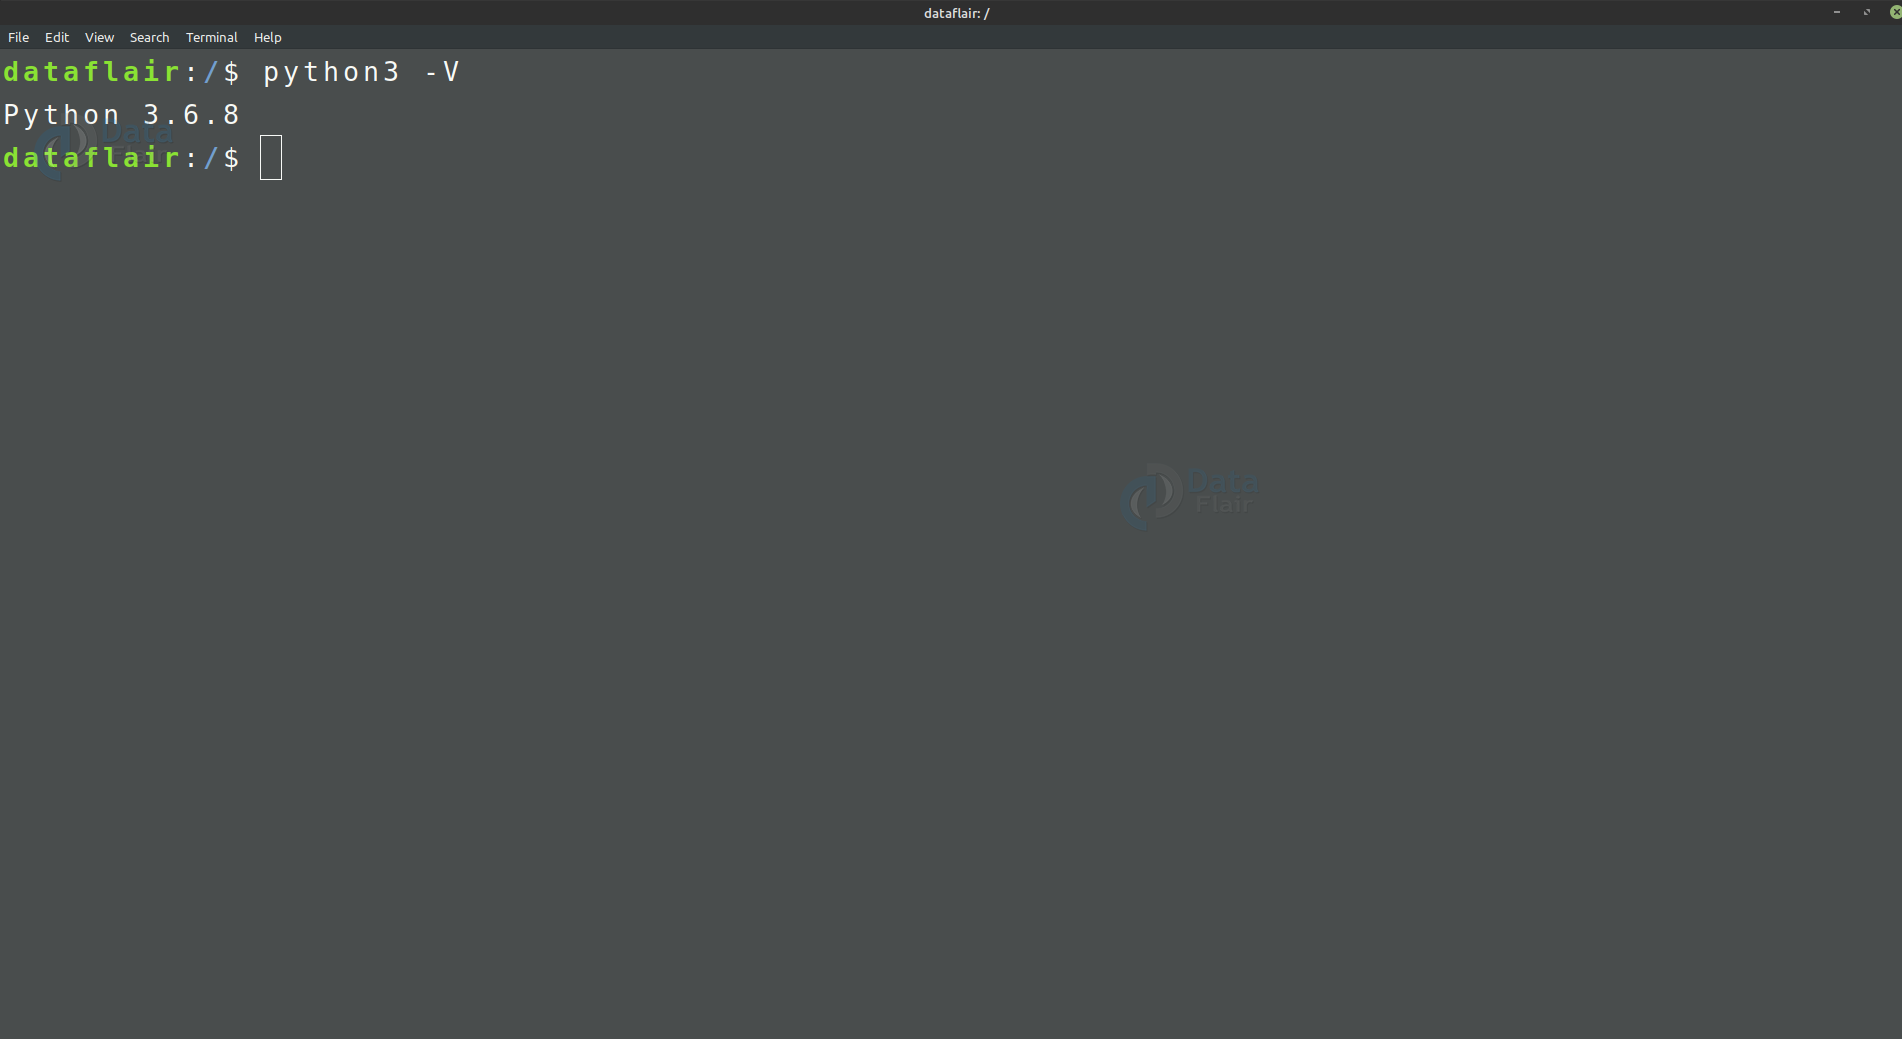
1. Open your terminal (Ctrl + Alt + T):
2. Type
python3 -V
Or
python3 –version
You must get the output of the version of python 3
If you do not have python 3 installed in your system, follow the below steps:
1. Add PPA by running following command in terminal
sudo add-apt-repository ppa:jonathonf/python-3.6
It will ask for superuser privileges, type in your password.
2. Check for updates and install python 3.6
sudo apt-get update
sudo apt-get install python3.6
3. Again check the python 3 version.
Now, since you have python 3, we will install Keras.
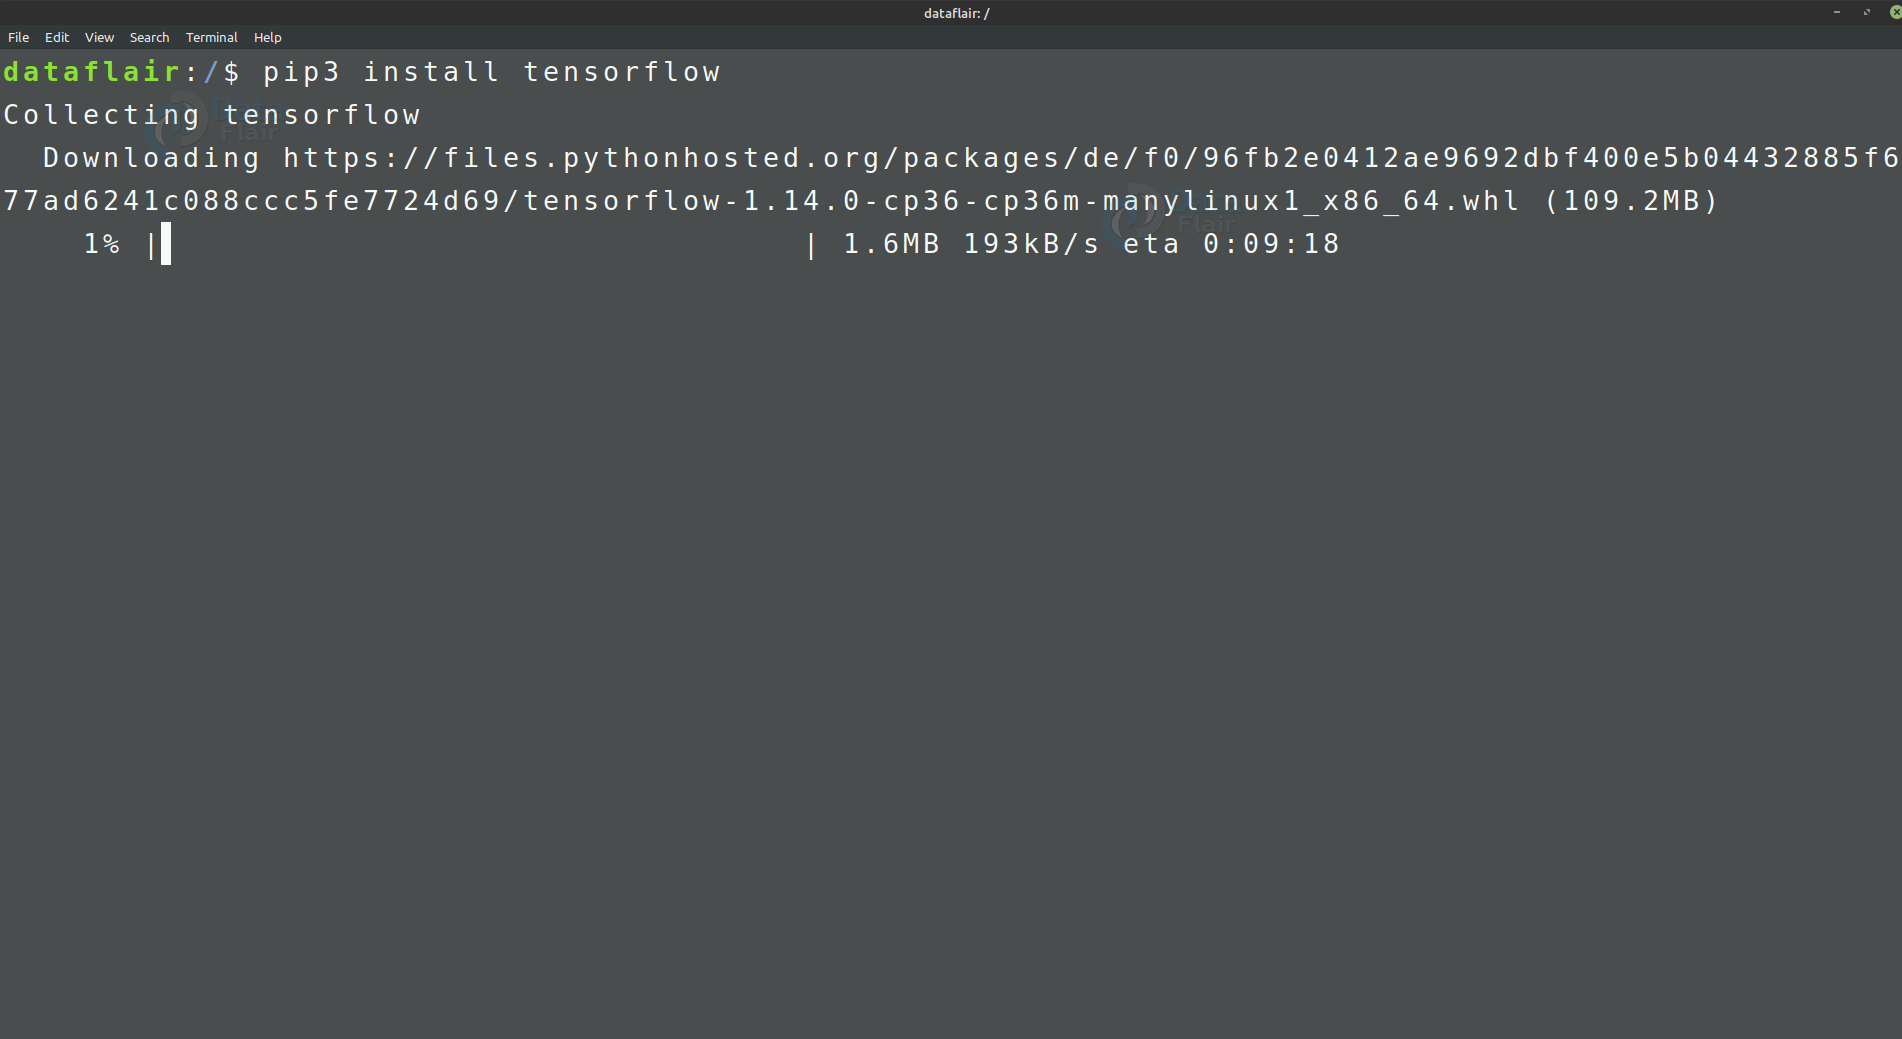
Before installing Keras, we need to install one of its backend engines i.e Tensorflow, Theano or Microsoft CNTK. We recommend you to install Tensorflow.
Install Tensorflow from PyPI:
pip3 install tensorflow
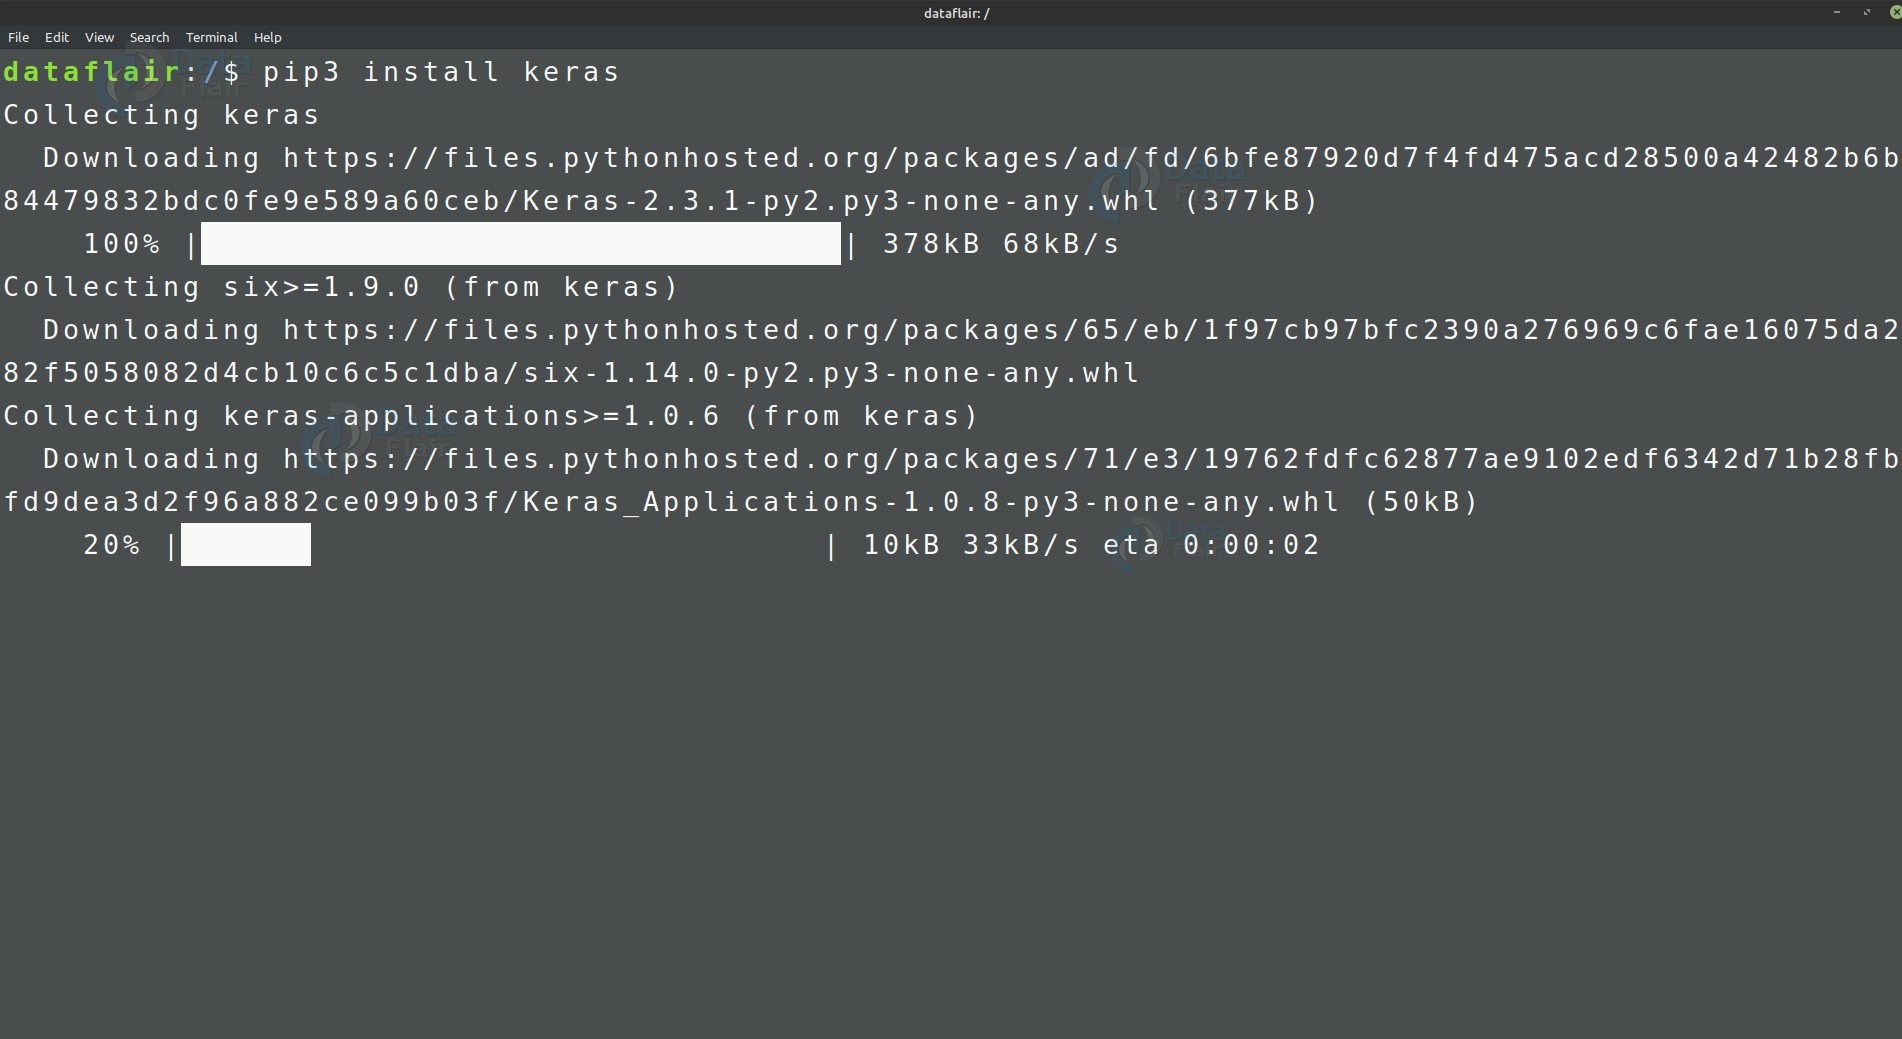
Now, let us do Keras installation:
- Install Keras from PyPI:
pip3 install Keras
Or,
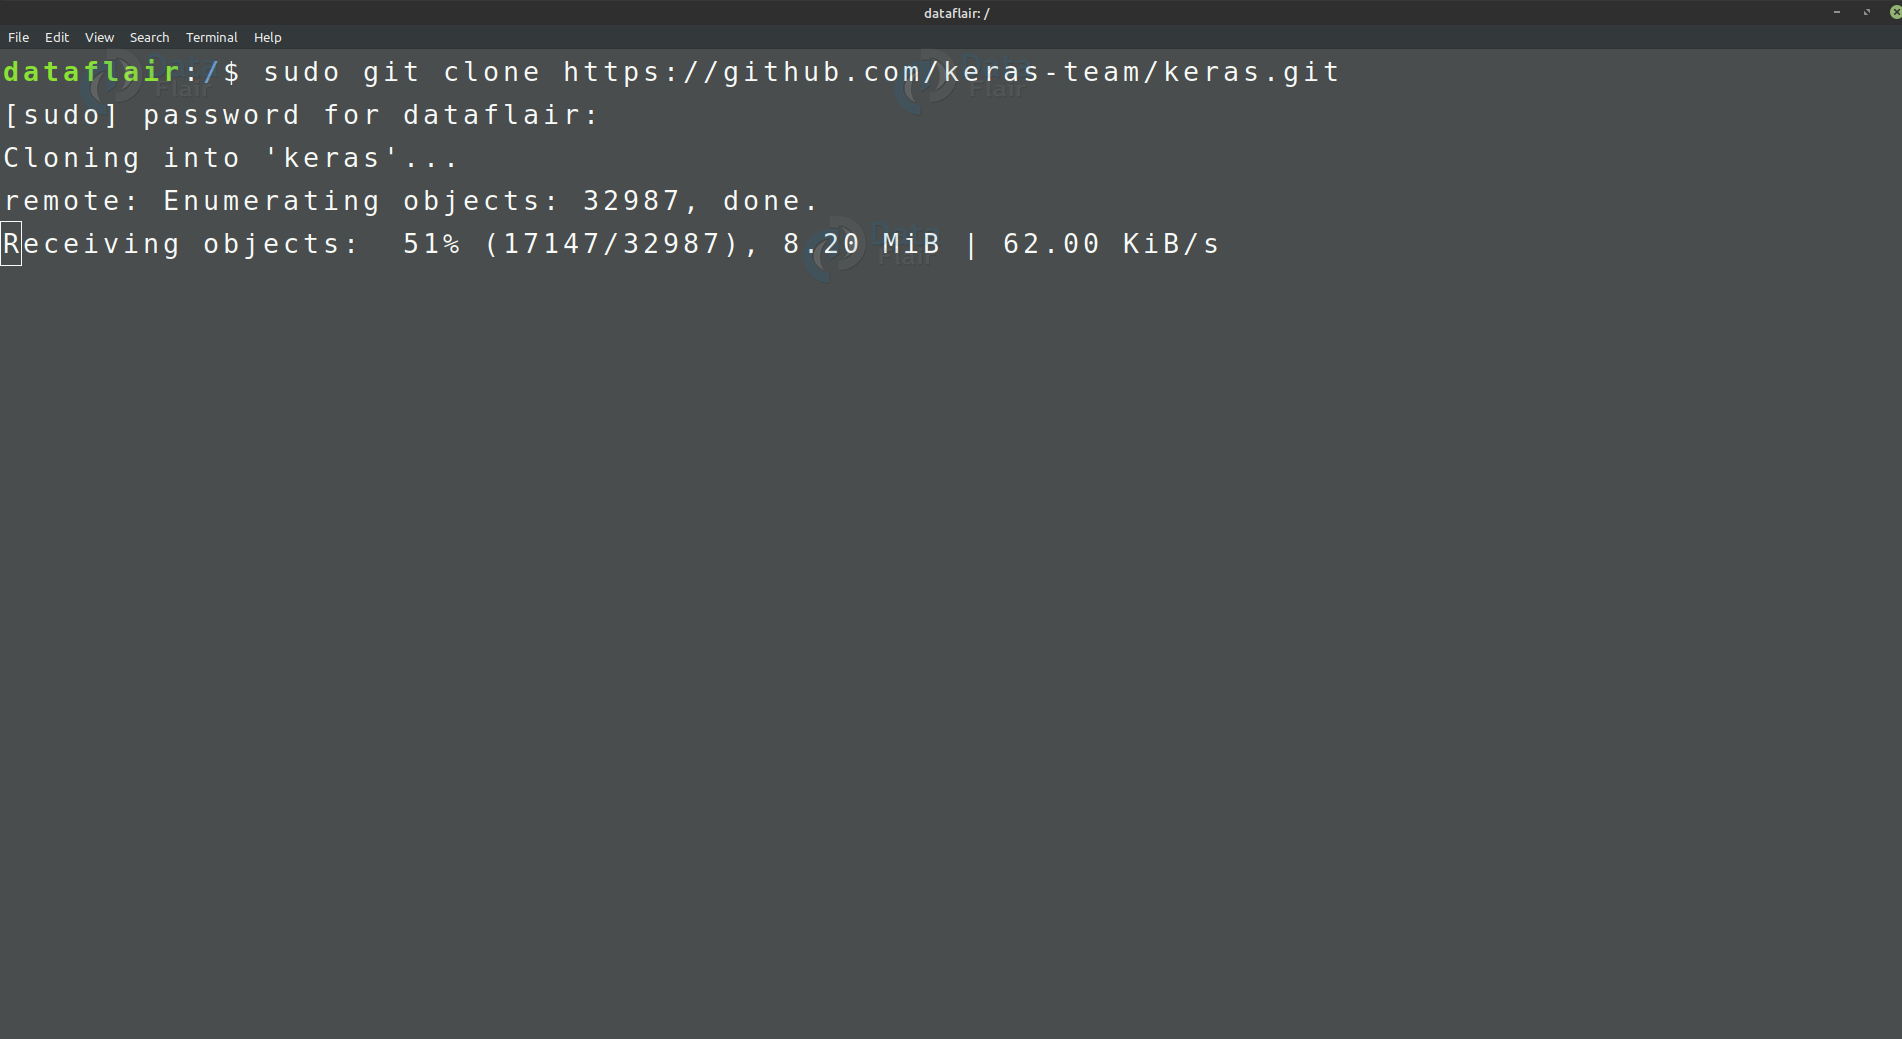
- Install Keras from Github:
- First clone the repository
git clone https://github.com/keras-team/keras.git
2. Go to keras folder
cd Keras
3. Run install command
sudo python3 setup.py install
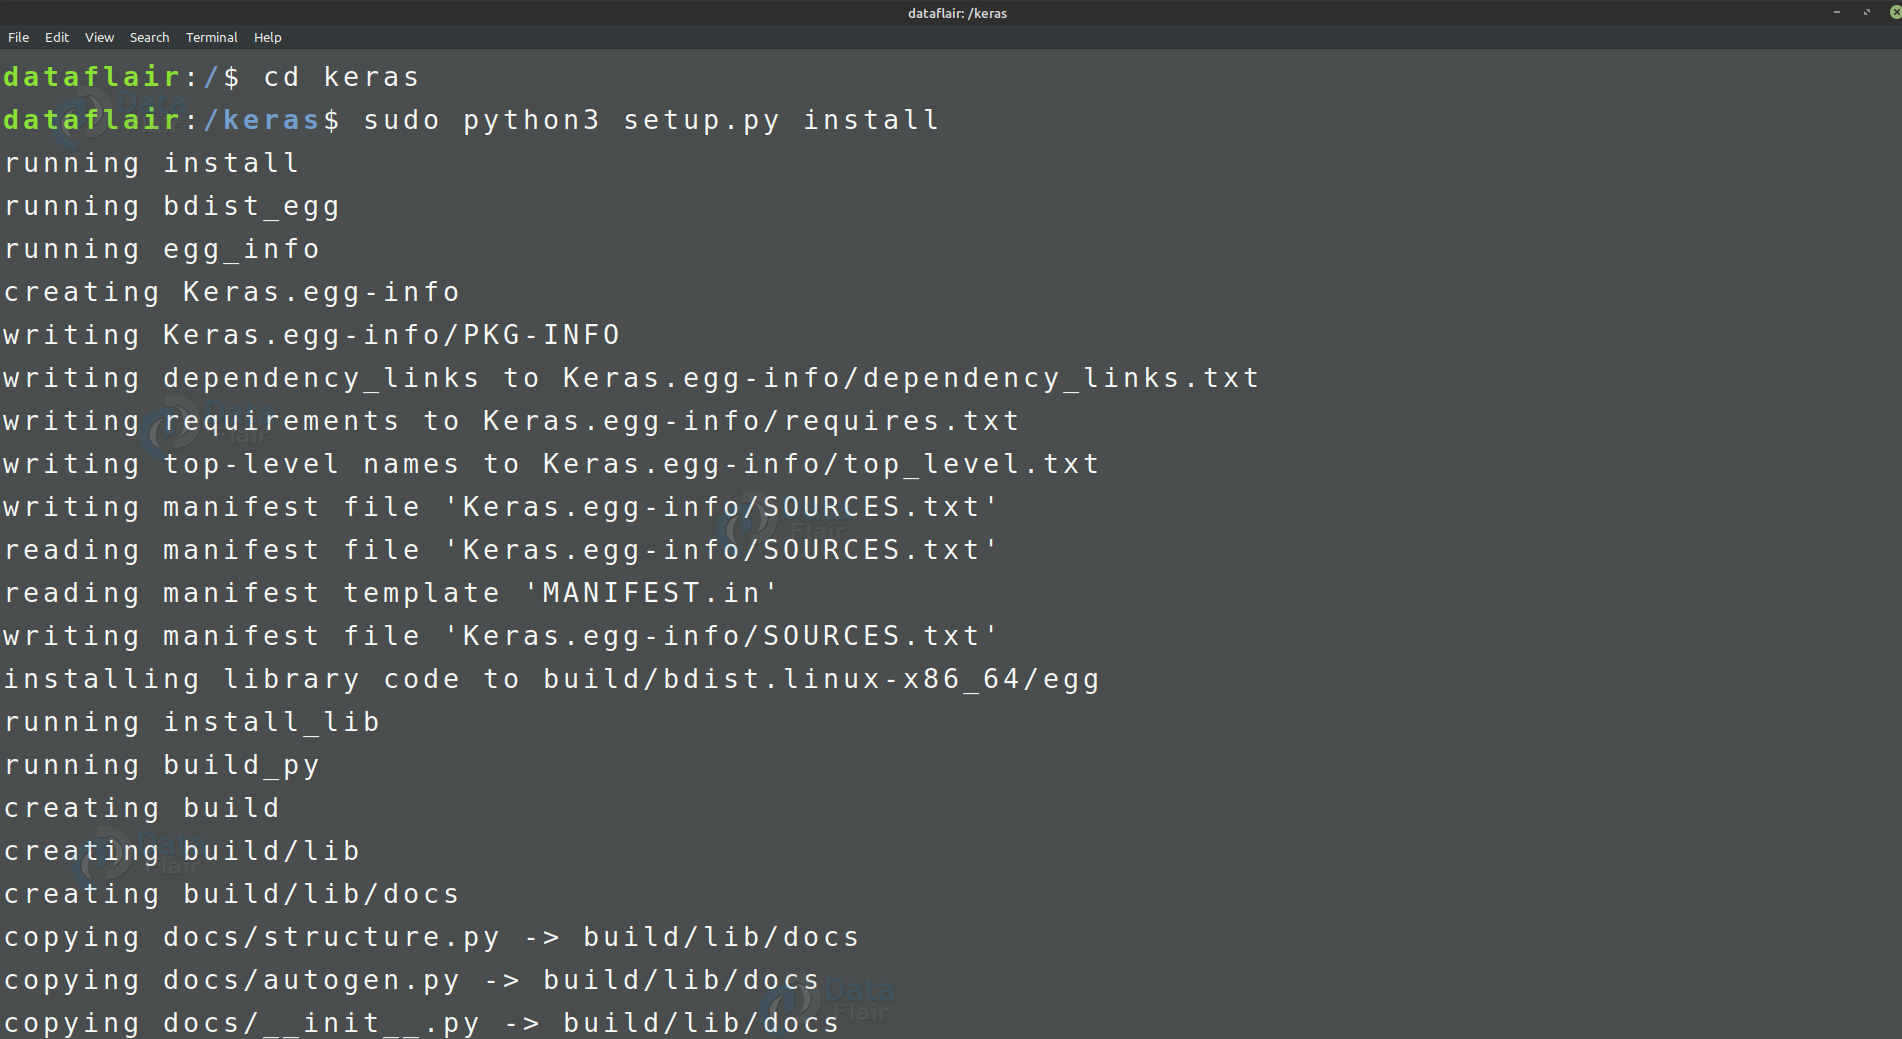
Keras is installed successfully.
How to install Keras on windows?
Before installing Keras, you must have Python installed on your system. We recommend you to have the latest version of python (python 3.5 +).
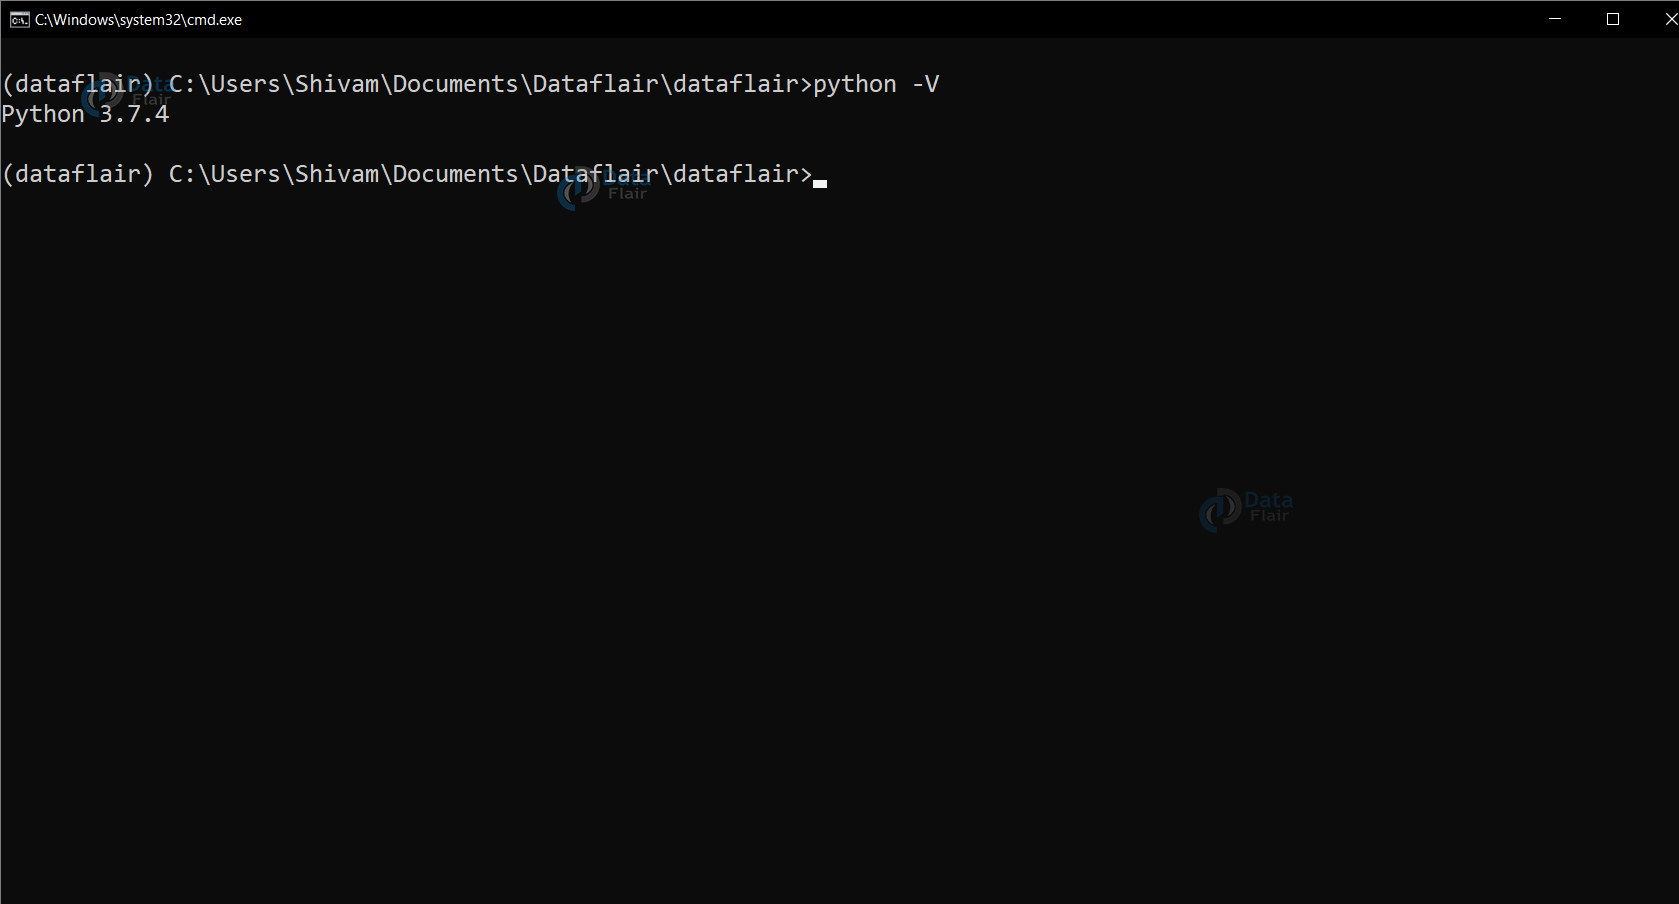
To check the version of python installed on your system.
1. Open cmd.
2. Type
python -V
Or,
python --version
It will show you the python version
If you do not have python installed on your system or have a lower version of python:
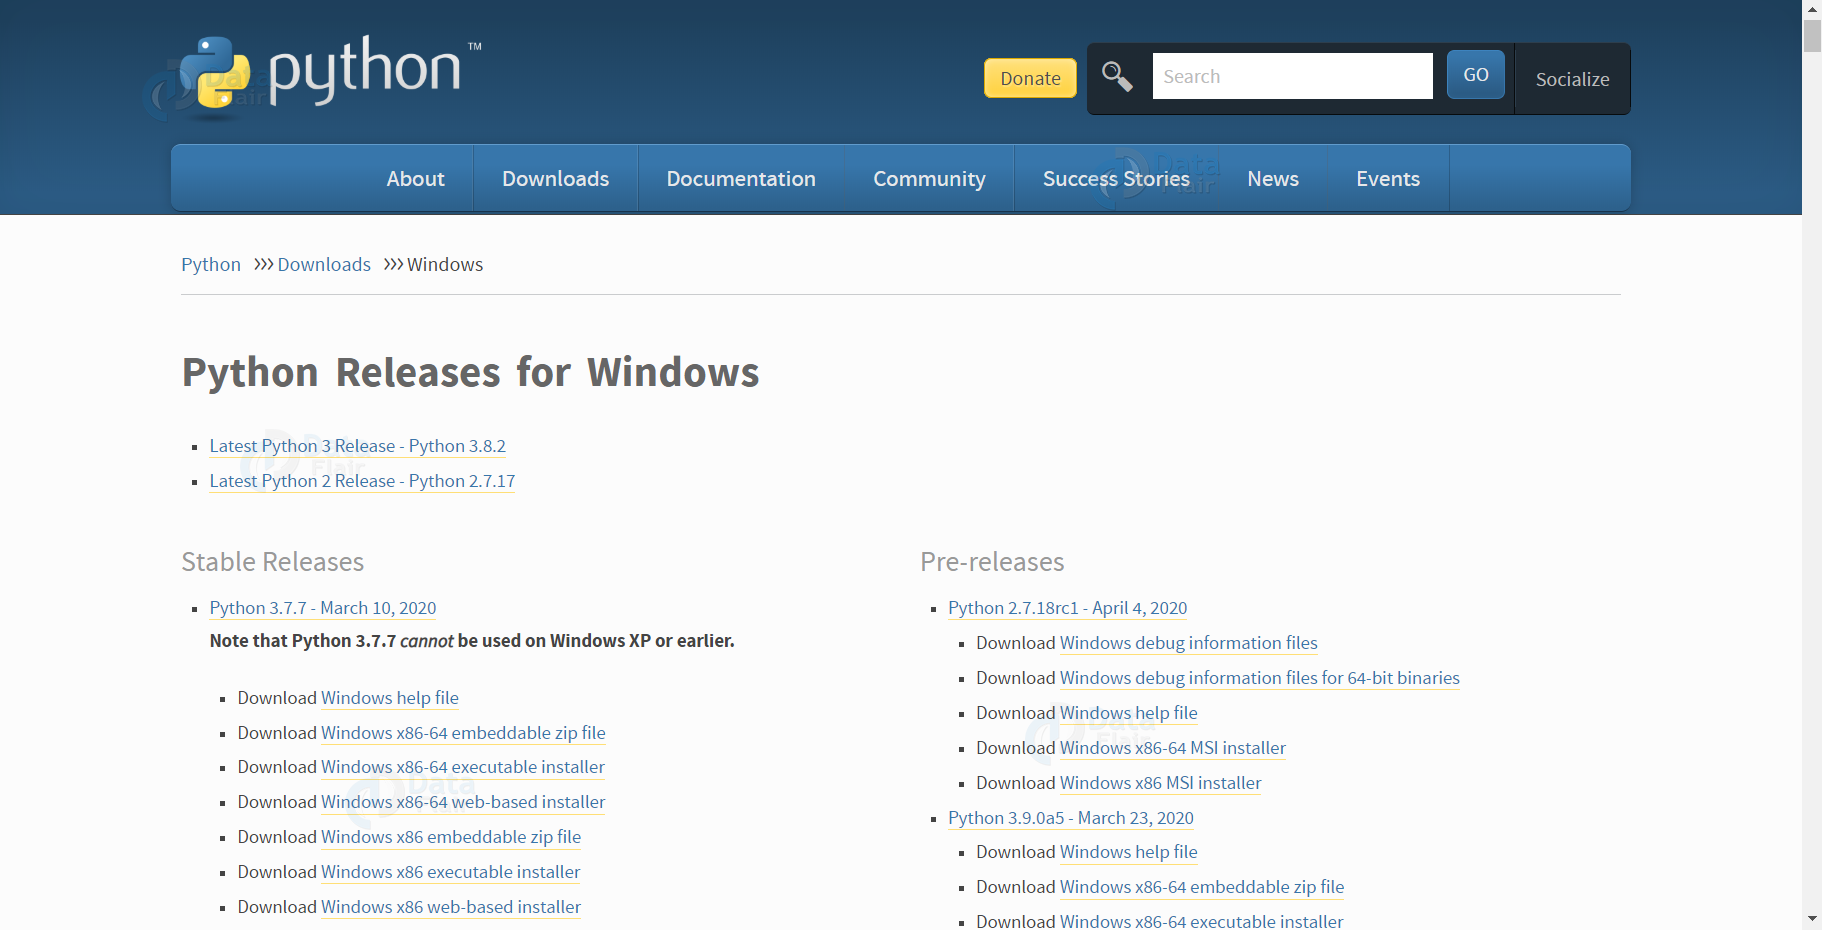
1. Go to the download page at python.org .
2. Click and select the latest version of python for windows.
3. Go to the bottom of the page and select Windows x86-64 executable installer for 64 bit or Windows x86 executable installer for 32-bit PC.
4. After downloading the installer, run the installer by double-clicking it.
5. Again check the version of python on your cmd.
Now since you have python 3, before installing Keras you must install one of its backend engines i.e Tensorflow, Theano or Microsoft CNTK. We recommend you to install Tensorflow.
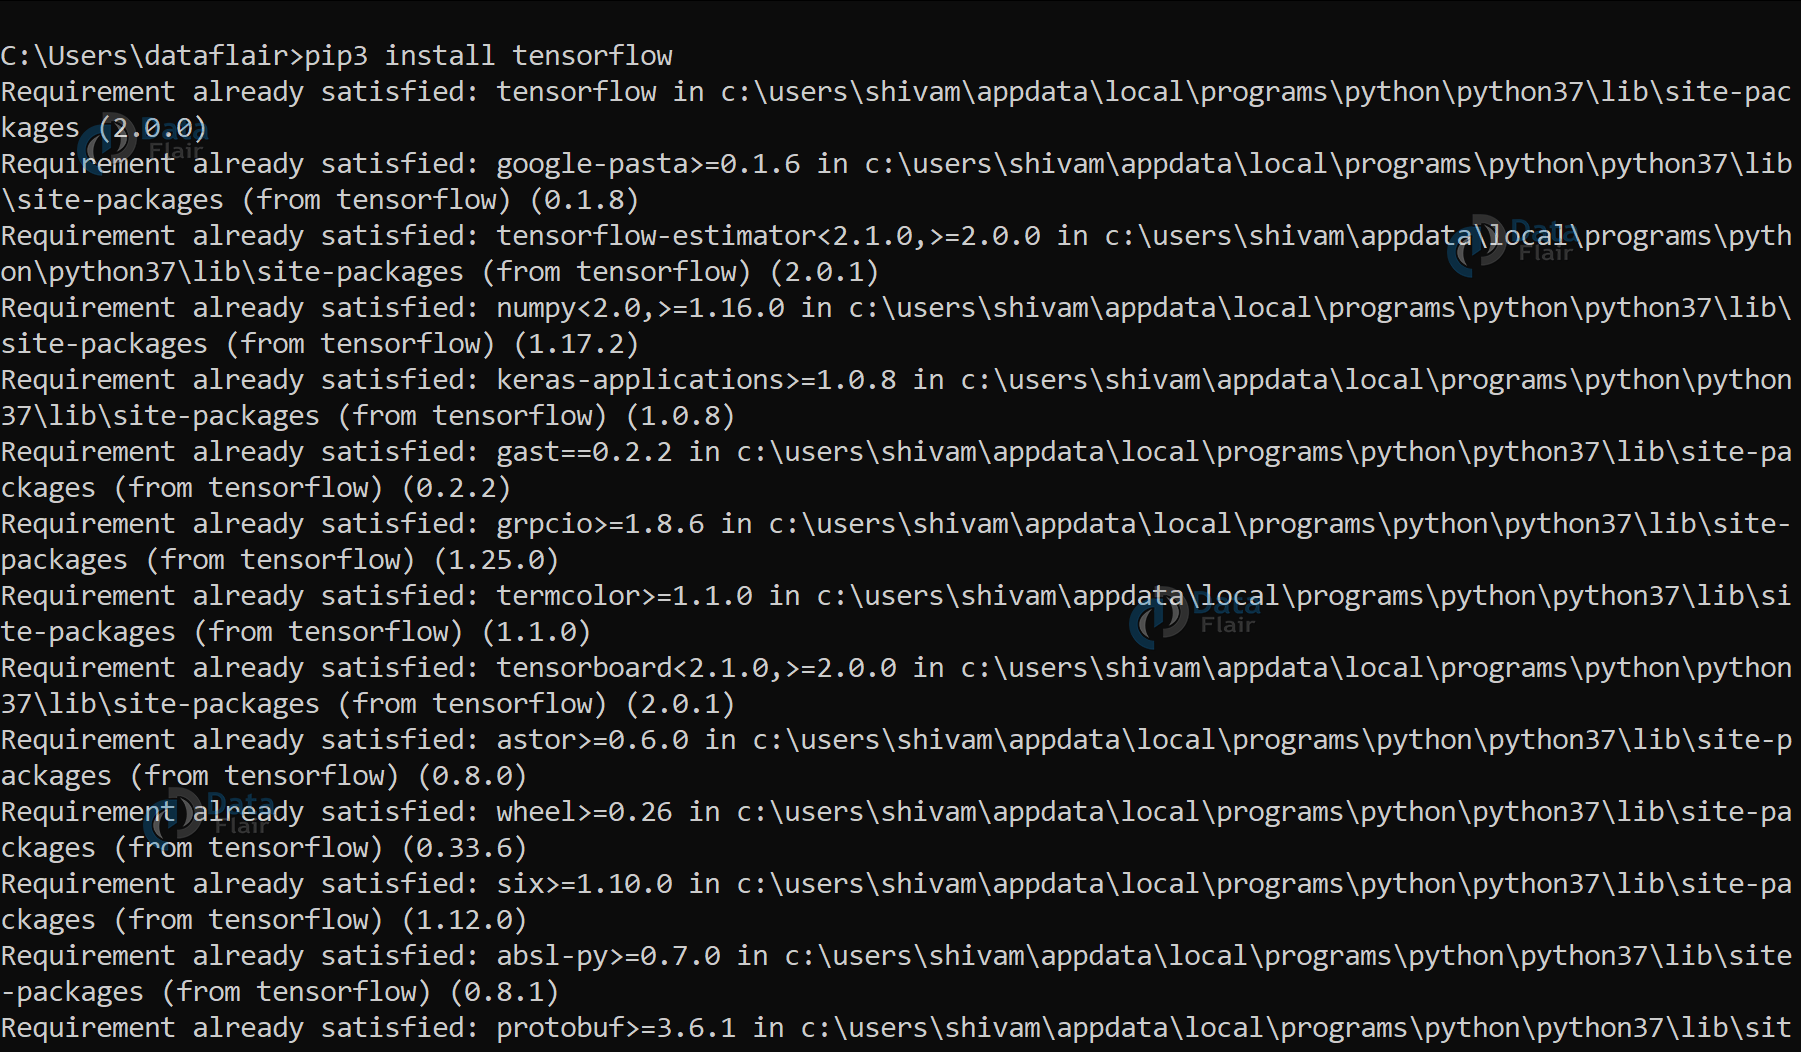
Install Tensorflow using pip3 package manager:
pip3 install tensorflow
Now install Keras
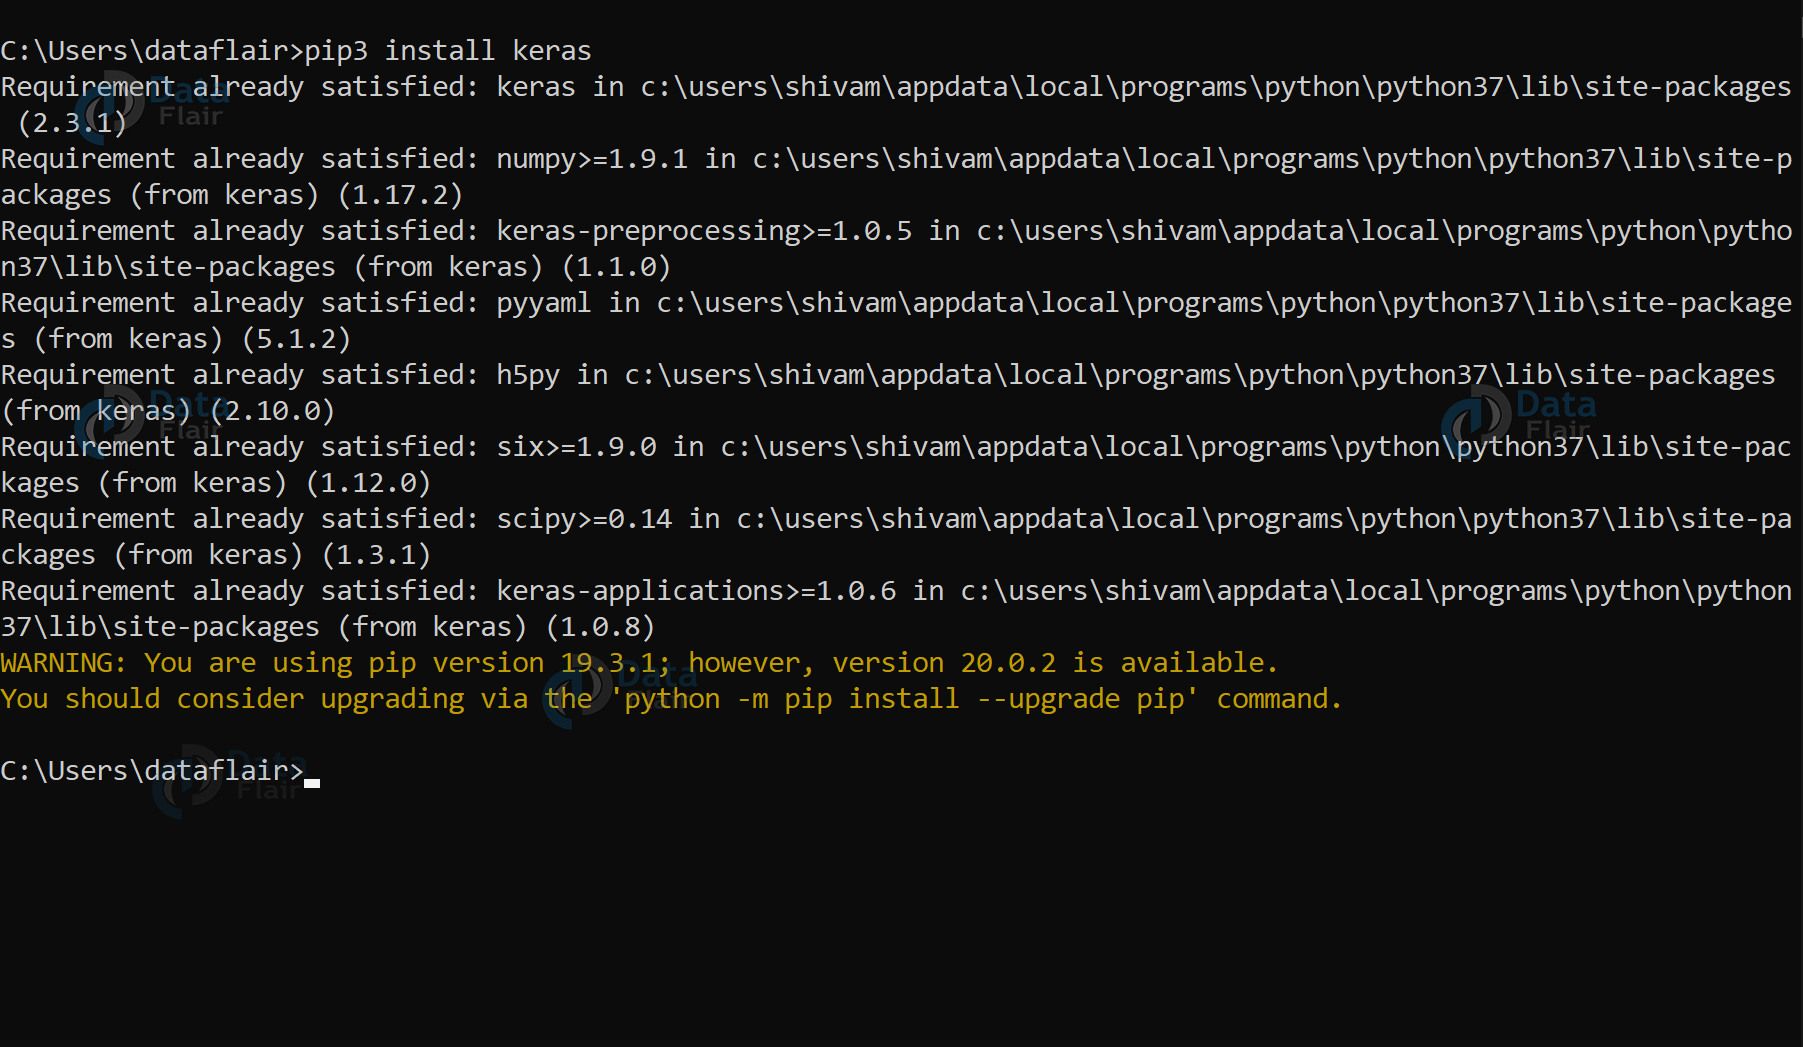
- Install Keras from PyPI:
pip3 install Keras
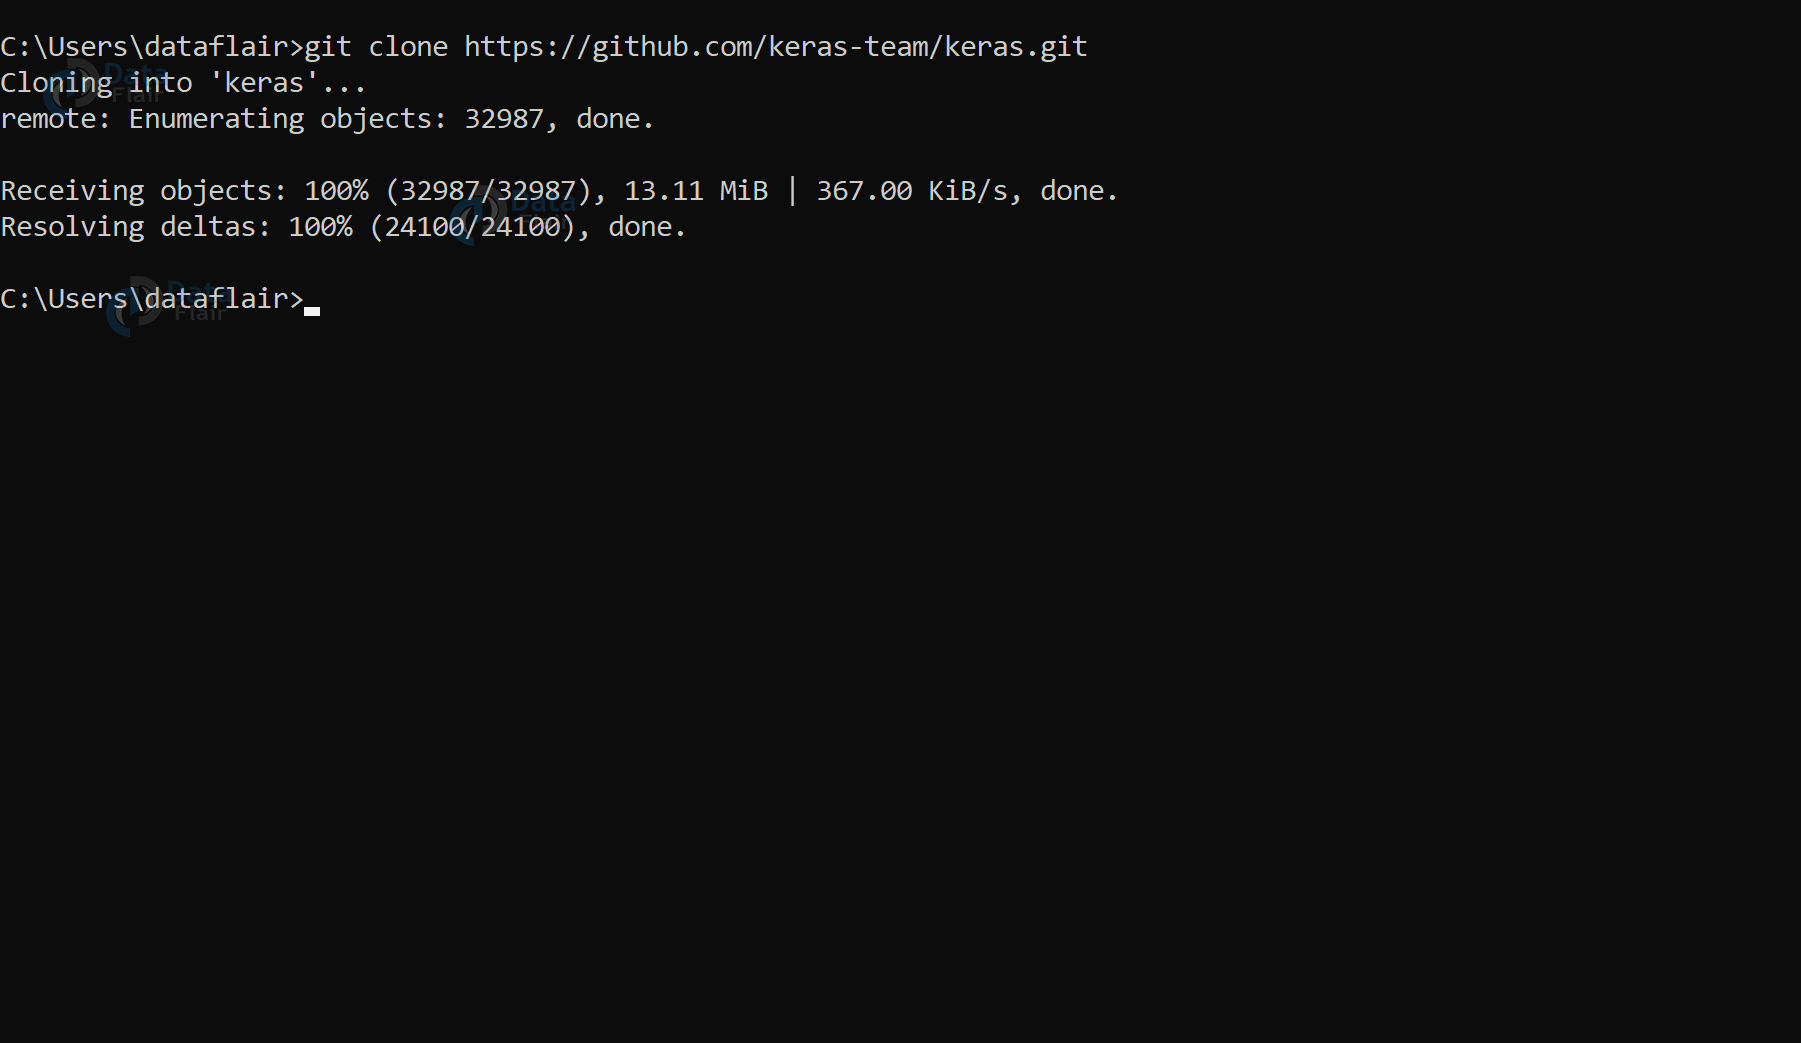
- Install Keras from github:
clone the git repository:
git clone https://github.com/keras-team/keras.git
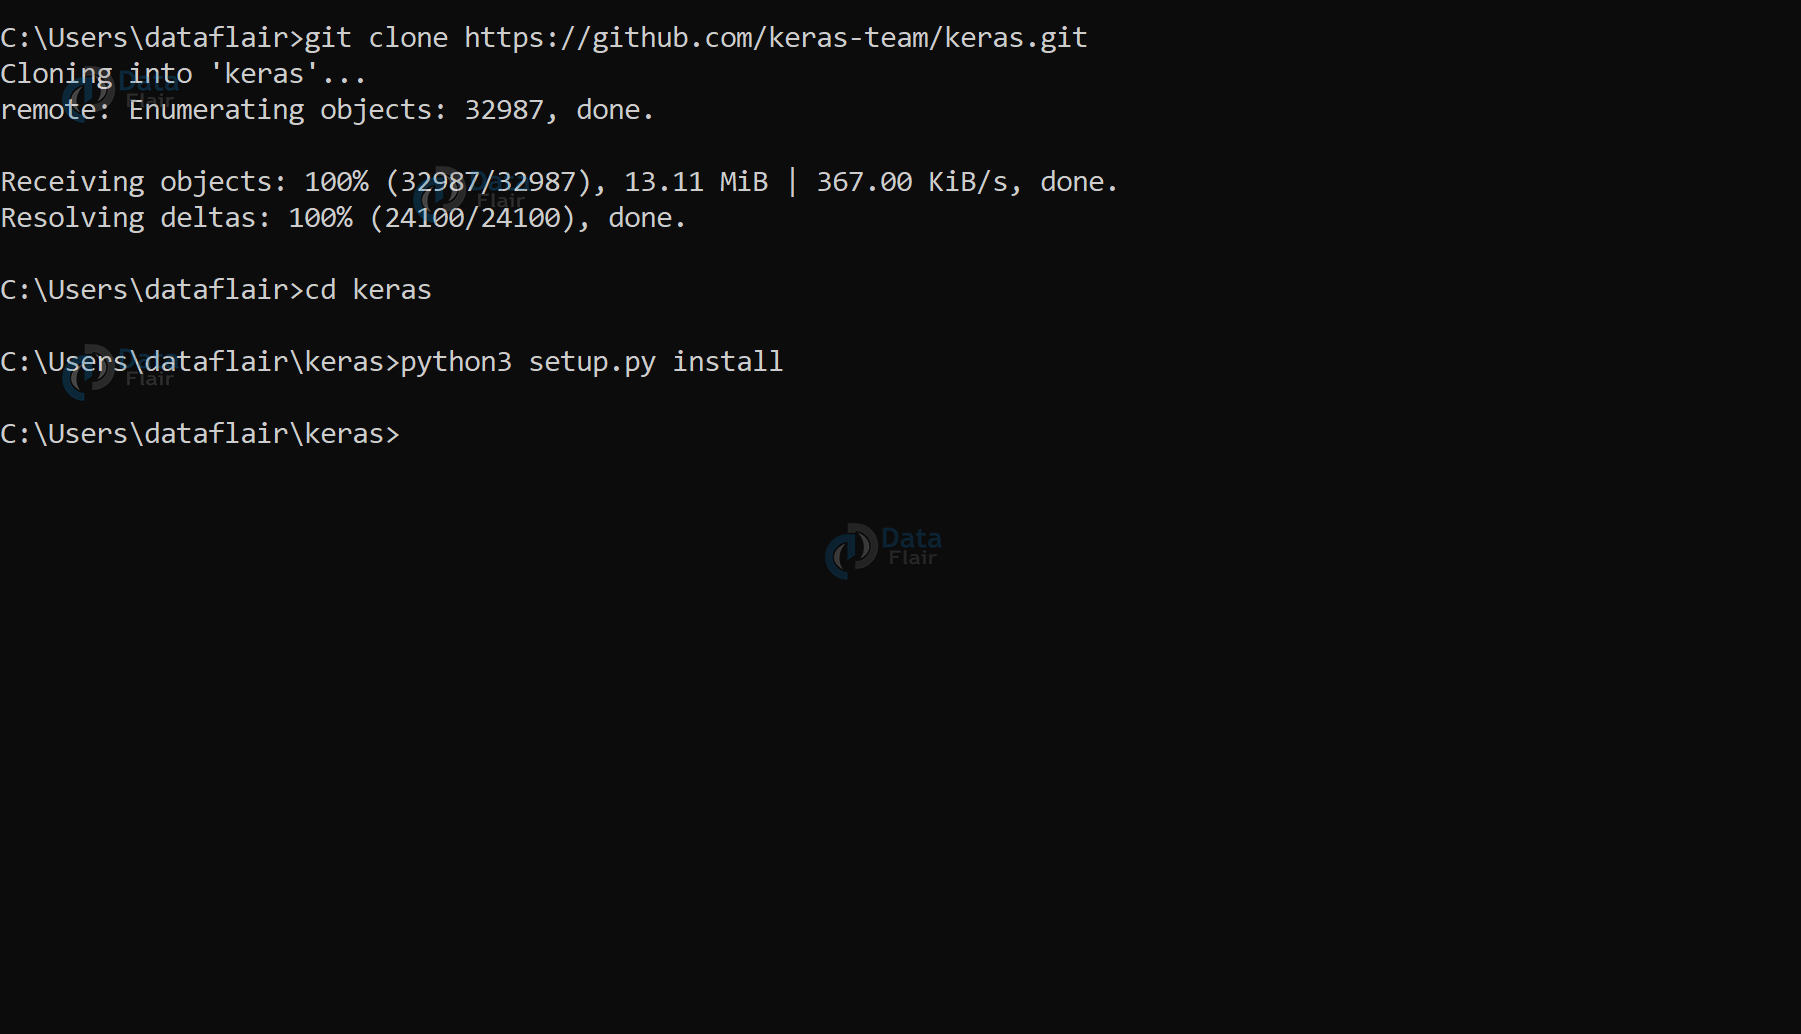
- Go to the keras folder.
cd keras
- Run install Command:
python3 setup.py install
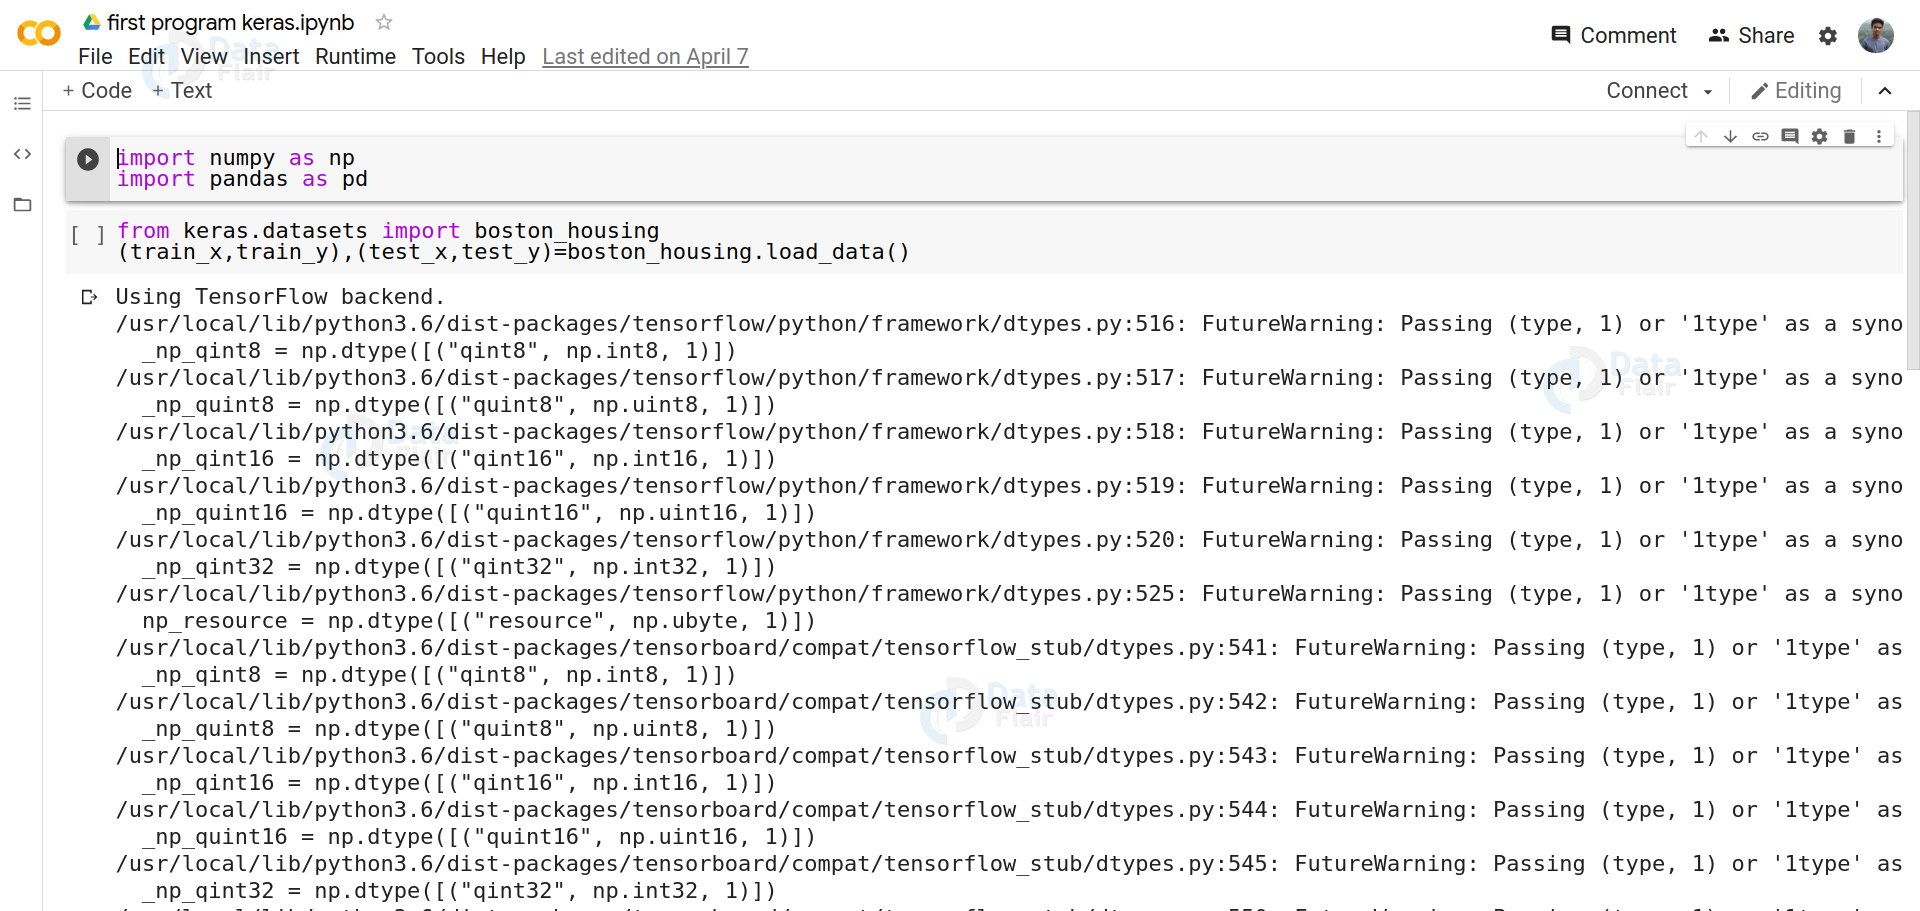
Create first program in Keras:
Here we will make a regression prediction model on the Boston Housing price dataset using Keras.
The dataset consists of 13 features of houses and has 506 house samples of Boston suburbs, we have to predict the price of houses .
It is a common machine learning regression problem, and its dataset is available in Keras.datasets module.
Implementation:
import numpy as np
import pandas as pd

#load the dataset,it may take some time

from keras.datasets import boston_housing
(train_x,train_y),(test_x,test_y)=boston_housing.load_data()
# normalize the data
mean=train_x.mean(axis=0)
train_x-=mean
std=train_x.std(axis=0)
train_x/=std

test_x-=mean
test_x/=std
#build the neural network
def build_model():
    model=models.Sequential()
    model.add(layers.Dense(64,activation=’relu’,input_shape=(train_x.shape[1],)))
    model.add(layers.Dense(64,activation=’relu’))
    model.add(layers.Dense(1))
    model.compile(optimizer=’rmsprop’,loss=’mse’,metric=[‘mae’])
    return model
# train the model
model=build_model()
model.fit(train_x,train_y,epochs=80,batch_size=16,verbose=0)
# evaluate the model using mean square error and mean absolute error
test_mse,test_mae=model.evaluate(test_x,test_y)

print(test_mae)
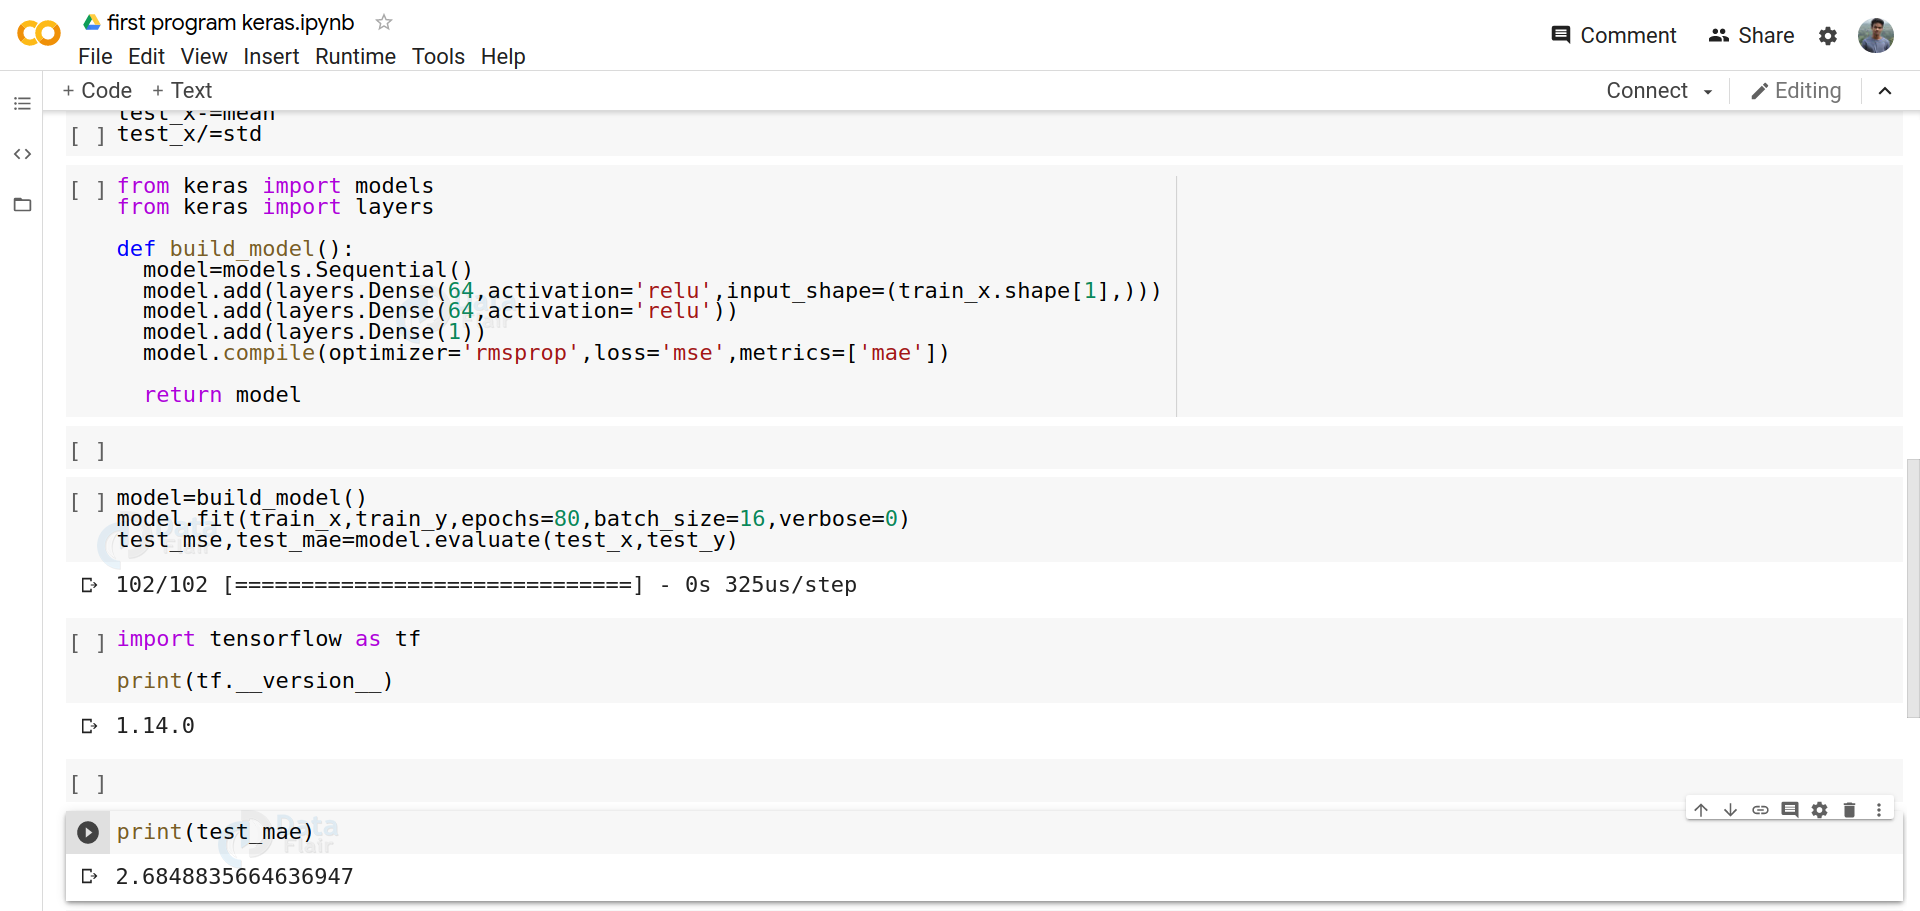
Our model gets a decent mean absolute error on our dataset. We can get better results by further preprocessing.
Summary
This article explains the one by one step to install Keras on Linux( Ubuntu ) and Windows operating systems. It also contains the implementation of Boston Housing price prediction, which is a well-studied regression modeling problem of machine learning.
Your 15 seconds will encourage us to work even harder
Please share your happy experience on Google


where are these codes to be written after installation?
jupyter notebook