Django Models – Learn to Create Your First Django Model
Python course with 57 real-time projects - Learn Python
FREE Online Courses: Your Passport to Excellence - Start Now
In this tutorial, we will be covering the Django Models concept. We learned about the Django MTV architecture in the previous tutorial and also got a good idea of the Model Component. Here we will learn about this particular component, model in-depth.
These concepts are very important for beginner web developers, as this will also help you understand other technologies.
Introduction to Django Models
So, what are Django Models exactly? A simple answer would be-
A Model in Django is a class imported from the django.db library that acts as the bridge between your database and server. This class is a representation of the data structure used by your website. It will directly relate this data-structure with the database. So that you don’t have to learn SQL for the database.
Also, every database implements SQL in a different way, because they all are made to complete a different task.
This creates a bit of a problem for the developers, for example:
You may know MySQL very well, but what will you do if your task can only be achieved by MongoDB?
There you can’t invest your time in understanding the new database and also trying to figure out how to integrate your server with the database.
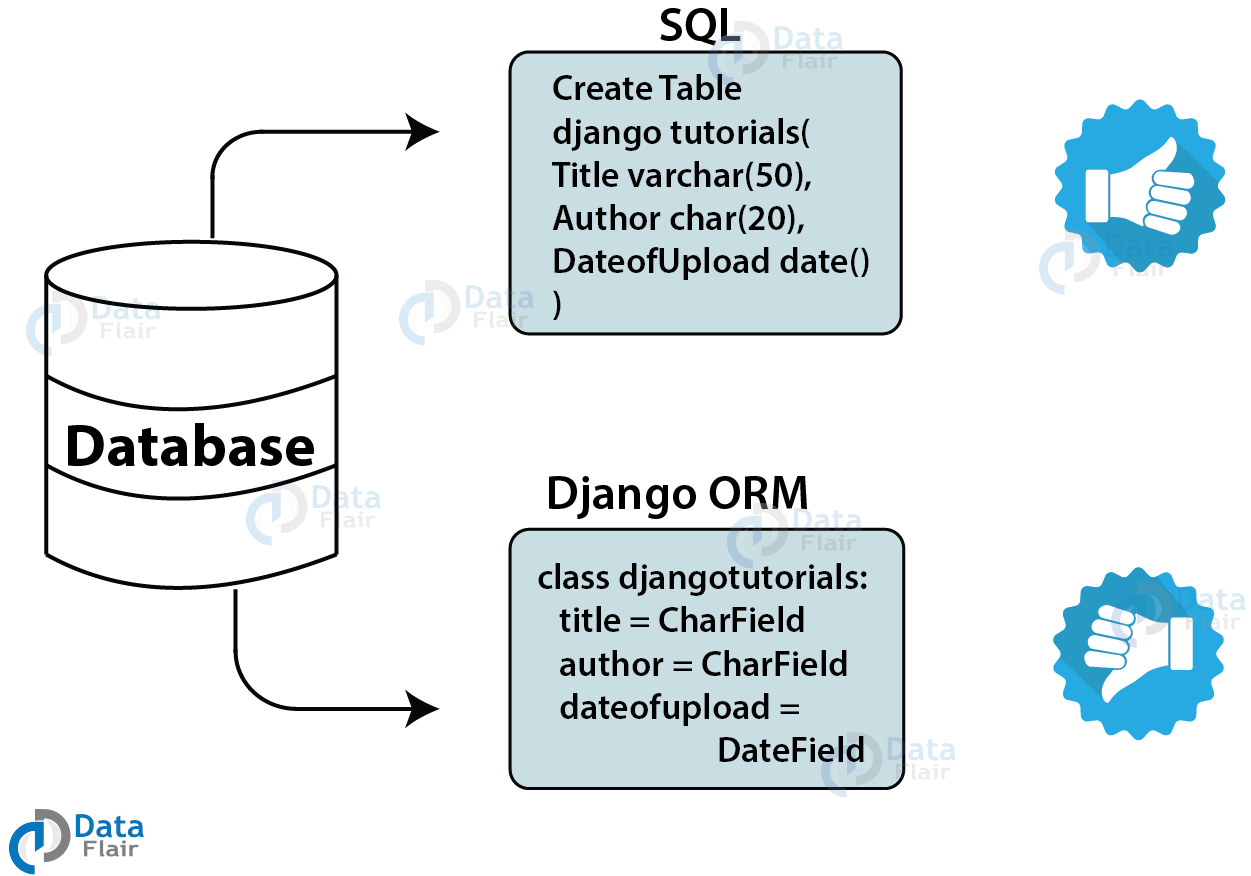
This problem is overseen by Django ORM, which is a great tool and provides you with the ability to write python data-structures instead of a database language. Thus making your work much easier.
As you can see the two data structures/ datasets, which one do you think is more readable? Python is my answer.
This makes it clear for someone who knows Python well and shows the importance of Django ORM over the SQL.
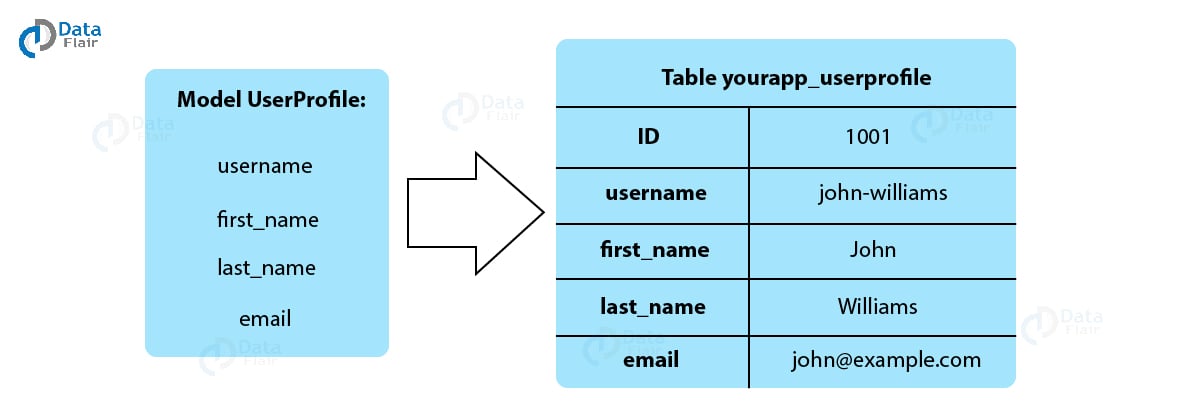
When you create a model, Django executes SQL to design a corresponding table in the database (as shown below) without the need to write even a single line of SQL. Django prefixes the name of the table with your Django application name. Also, the model links related information in the database.
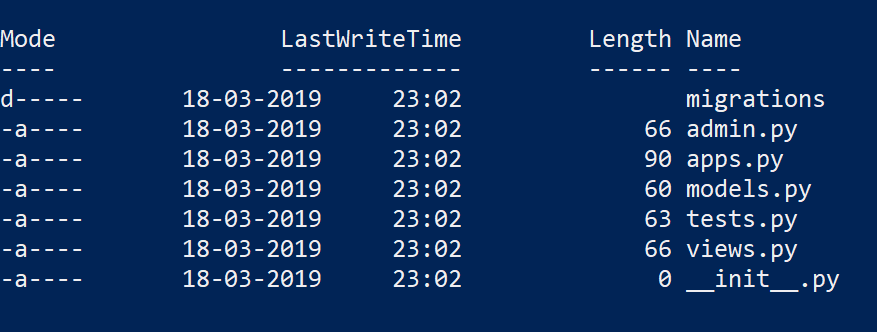
You can also retrieve the data in Python and that gives you all the functionalities of Python, that you will ever need. Also, if you are wondering where the model python code is, it’s in the models.py file in the custom application you have created.
This file is only importing the models file of the django.db library
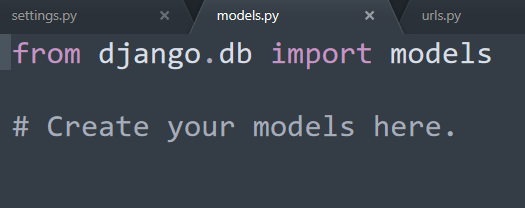
Here, you can create objects of class Model as we have imported the required file. We will create our website on the basis of a dataset which we will define here.
Explore Unique Django Features in detail
Creating Your First Django Model
Let’s do it step by step, also we are assuming that you have a database connected to your server or project otherwise nothing written here will work.
We are going to create a student model where we will have fields like roll_no., name, class and department.
1. Firstly, create a new app by this command:
django-admin startapp student
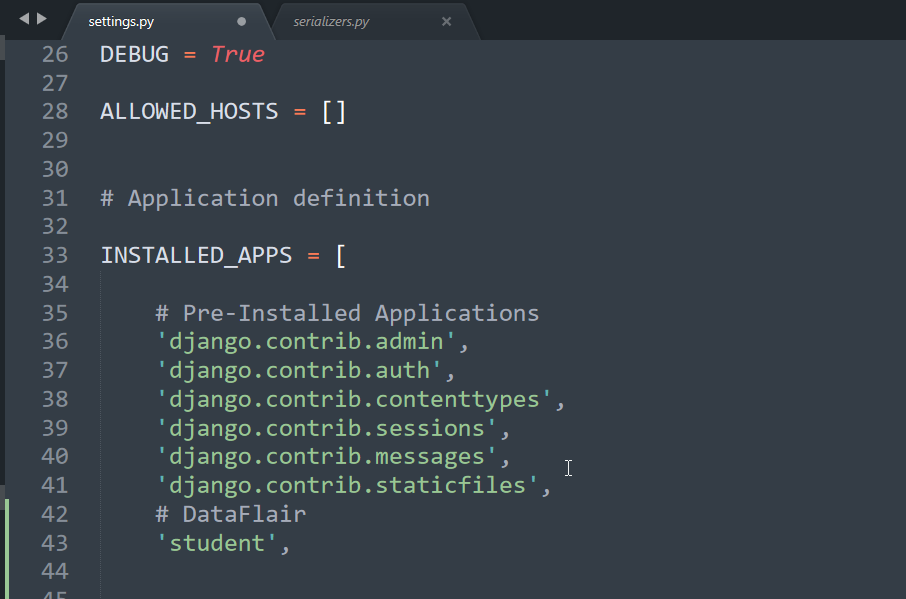
2. After creating the application you must install it in your project. To do that add ‘student’ application to INSTALLED_APPS List in settings.py file.
INSTALLED_APPS = [
‘django.contrib.admin’,
‘django.contrib.auth’,
‘django.contrib.contenttypes’,
‘django.contrib.sessions’,
‘django.contrib.messages’,
‘django.contrib.staticfiles’,
‘student’,
]
Then save your changes.
3. Open the models.py file in that and write this code in it
from django.db import models
class Student(models.Model):
roll_no = models.TextField()
name = models.TextField(max_length = 40)
stud_class = models.TextField()
department = models.TextField()
Here you can see that the models class has lots of methods for fields corresponding to web input. We are using text fields here as they are easier to implement and takes in any input.
4. Now, execute these commands.
python manage.py makemigrations
python manage.py migrate
Make sure that you have the database connected and you have started the Apache server and MySQL server in the database.
Learn to perform Python Database access.
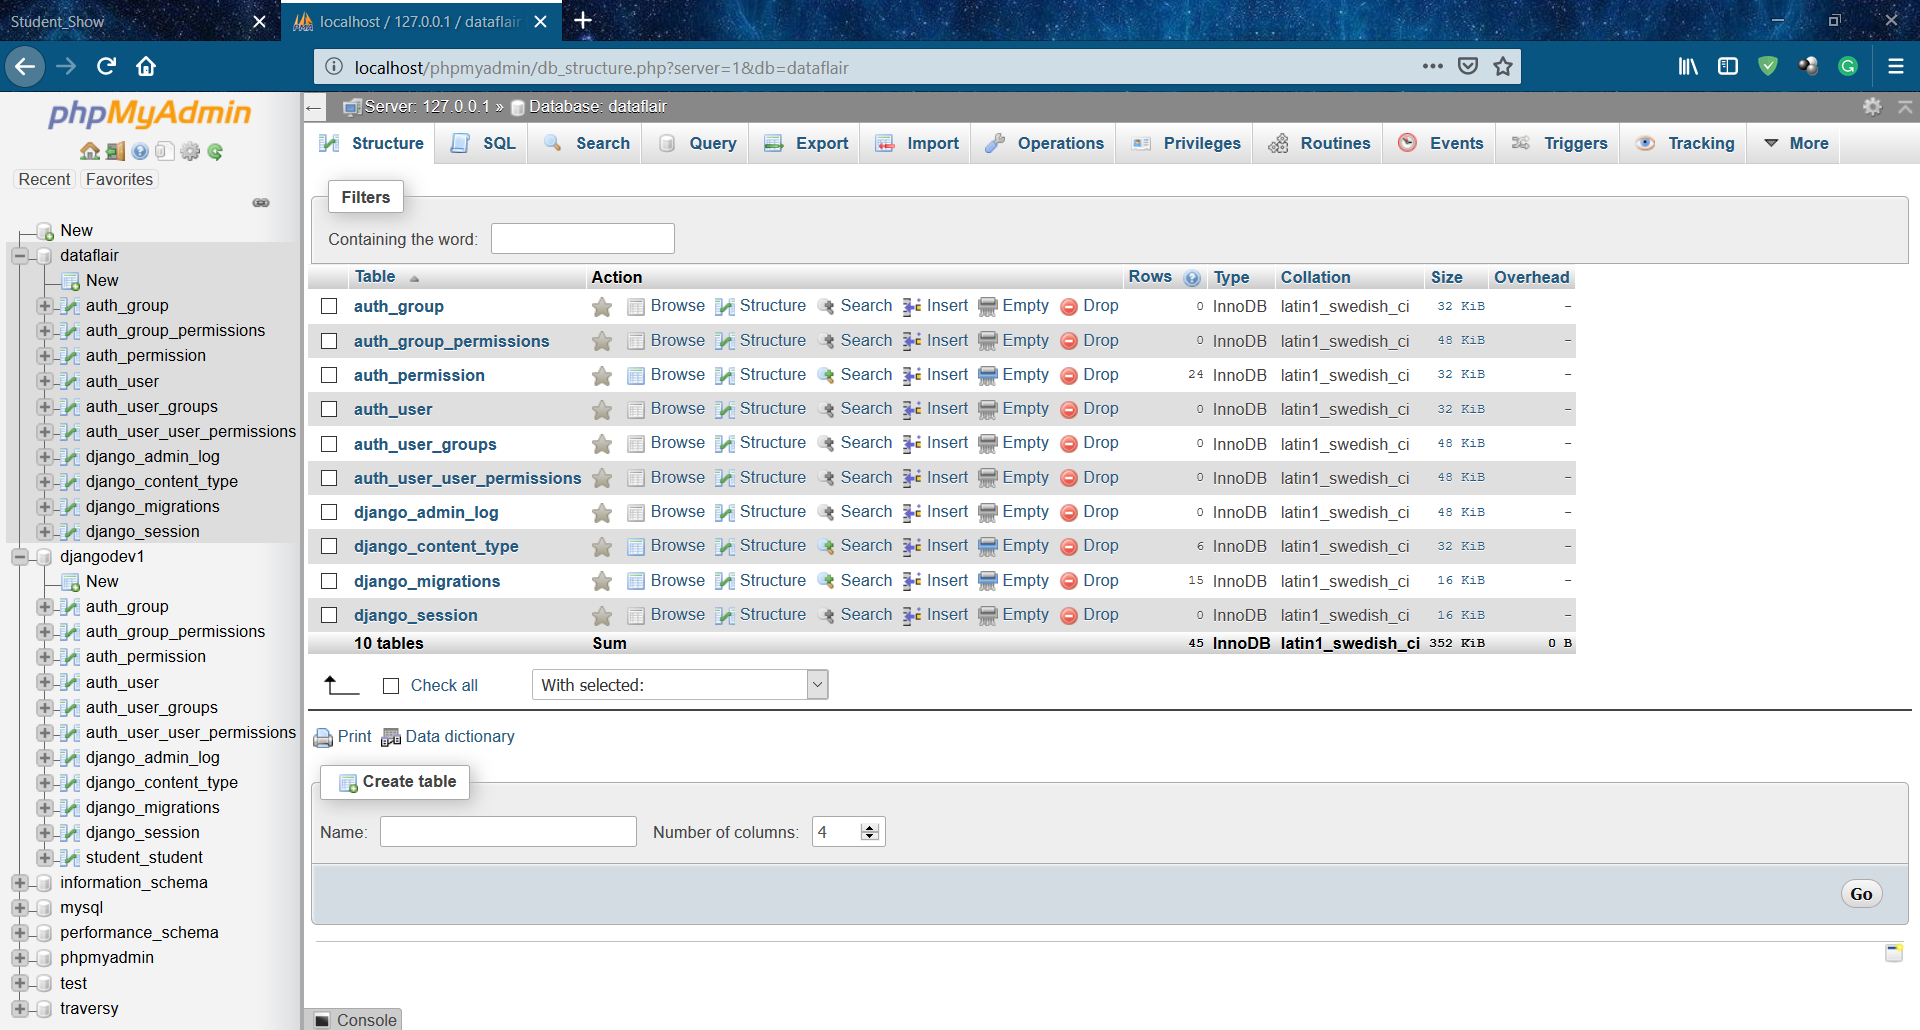
5. Open the localhost/phpmyadmin/
6. Now open the main database that you have created for this Django project. Then, check the table student_student
You will see these fields.
And all your tables can be made just like that, you can insert the data from there itself.
Advantages of Django Models
A model as stated in the definition is the link between the server and your database. Now, whenever you need the data or any operation is performed where data from the server is needed which is essentially just retrieving data from your database, it will need some middleware or bridge which can convert that data in a transmittable/Http response or more generally a web-transmittable format. There, Model comes in and does this important work for you.
If you don’t use the Django models, then you will have to perform a lot of work manually, like writing code that can connect your database with the Django server. In this case, you have to be an expert programmer. So our recommendation is that you shouldn’t bother yourself whether you master any database or not.
Model not only retrieves the data and converts it into the desirable format but execute it by applying business logic, or the logical part/ backend of your website that is actually inside the model component.
Not every operation is executable in the database and therefore we need backend which can actually perform some operation on our retrieved data, in this case, that language is Python.
So, what is different in a Django Model, you will ask?
Well, a lot of things. We will focus on main things though, for now.
- Power of Python
If you are familiar with python and its capability to let you create advanced data structures with ease, then you will be pretty confident in using models.
Now, imagine that you have a built-in tool that can turn that python code which you have written directly into any database of any technology with modifying some part in our settings.py file of our project.
Here in this part of settings.py, you just have to modify the values of the dictionary. Here the default database which Django provides you is SQLite and after running these 2 commands in your command line,
python manage.py makemigrations
python manage.py migrate
you must have gotten a new file in the project folder by the name db.sqlite3. We write it in the ‘NAME’ index of the dictionary.
Although SQLite is also a nice database letting you use almost all the basic database functionalities, but since we want the website to be scalable, we will be using SQL.
Note:
You can still use any database as essentially, we will be writing python code. That’s the beauty of Django as it supports almost all the databases out there with having built-in support for all of them. There are files which you have to import and we are ready to go.
- Built-in support for almost all the databases
Django’s “Batteries included” approach triumphs here. As the vast support for the databases is there, even we can use cloud databases which is still a lacking feature in many of the web frameworks.
Likewise, you can very easily change the database to the MySQL by just adding some new indexes in the database dictionary in the image.
Check out Top Django Books for improving Django Web Development knowledge
Summary
In this tutorial, we covered what is a Django model in-depth and how Django Models are different and also learned how we can create and implement models.
Hope, you understood the main need of the Model and the concept behind it which you will be able to use while learning further web-technologies other than Django.
Now, are you clear with the concept of Django Models? If you have any doubts, just enter in the comment section.
If you are Happy with DataFlair, do not forget to make us happy with your positive feedback on Google




i followed the instructions n i created student app but in database (phpmyadmin)
there is no reflection related to student
I found this part missing too.However managed to fix it by adding ‘student’ as a entry under Application definition INSTALLED_APPS List in the same file settings.py.So my settings.py has
INSTALLED_APPS = [
‘django.contrib.admin’,
‘django.contrib.auth’,
‘django.contrib.contenttypes’,
‘django.contrib.sessions’,
‘django.contrib.messages’,
‘django.contrib.staticfiles’,
‘student’,
]
Great tutorial!!
Hello Salma,
Glad that you liked our Django Models tutorial, do share this tutorial with your friends on social media to help them.
This tutorial is a little verbose and not ordered for build a project, I’m continued reading but think is not reliable to practice effects. Models are much more interesting part and need much better effort to explain in more detail, and the connections to databases also. Really I’m very dissapointed in this section, need a serious revision
I am having this same issue, although I have followed the instructions.
updated my settings.py
section (INSTALLED_APP =)
at the bottom with my app ‘name’,
There is no reflection or any database in connection to my app name or project name in localhost/phpmyadmin/
No tables found.
My setting.py section
DATABASES = {
‘default’: {
‘ENGINE’: ‘django.db.backends.sqlite3’,
‘NAME’: os.path.join(BASE_DIR, ‘db.sqlite3’),
}.
hasn’t been edited.
Is this why I can’t see anything in PHPMyAdmin?
How to connect it to database I had gone through the link (connect python to the database) but there is no mention of PHPmyAdmin or where to write this code of database connection among several files of django. please guide.
how to Make sure that you I the database connected and I have started the Apache server and MySQL server in the database.
I like this tutorial !
Class ‘Student’ has no ‘objects’ member !!!
this is the worst tutorial for beginners i hv ever read.
Steps for mysql before migrations command do following steps :
1. install mysql client with these command : pip install mysqlclient
2. in setting.py change the database configuration setting with these :
DATABASES = {
‘default’: {
# ‘ENGINE’: ‘django.db.backends.sqlite3’,
# ‘NAME’: BASE_DIR / ‘db.sqlite3’,
‘ENGINE’: ‘django.db.backends.mysql’,
# ‘NAME’: BASE_DIR / ‘db.mysql’,
‘NAME’: ‘dataflair’,
‘USER’: ‘root’,
‘PASSWORD’: ”,
‘PORT’: ‘3306’,
‘HOST’: ‘localhost’
}
}
in ablove configuration in a root define your phpmyadmin user and in password define your phpmyadmin password and before migrate create a database with dataflair in phpmyadmin otherwise it will give error.
3.Now, execute these commands.
python manage.py makemigrations
python manage.py migrate
now check in phpmyadmin tables are created. 🙂
Hello sir ,Hope You doing well i request to you please make some tutorial about complete django-allauth package, Social site API , in detail ,and one more request is please fix the header of your website its creating problem
Hello team,
I had issues where I would like to access register form while pressing a menu.
However I am failing to add the second Ur which redirect to that registration page after pressing Register menu.
Can anyone help me to know what to do on this stage? I have one app and two modules.
Kindly advise
Hello team,
Any one to help working on URL with a view linked to a menu?
Kindly advise.
Thx