Django Admin Interface – Setting Up Django Admin Site in 12 Easy Steps
Master Python with 70+ Hands-on Projects and Get Job-ready - Learn Python
Interactive Online Courses: Elevate Skills & Succeed Enroll Now!
Before starting this Django Admin tutorial, we recommend you to read Django Models Tutorial as we will integrate the model student which we created in it, with the Django Admin interface.
Django Admin Interface which is one of the most boasted features of Django Framework and the convenience it provides to the site maintainers is just exceptional. Also, it is an important part of the Django Framework and will benefit you in further tutorials.
Firstly, let’s learn about the Admin interface of the website.
What is Admin Interface?
The Admin interface of a website is the control panel of your website/ project. It is used by the administrators of the website to add, delete and edit the content on the site, and also maintain other functionalities accordingly made by the developers.
But there is a catch, admin interface being the main controller, it is needed to be coded by the developer individually. You have to take care of everything, from connection to the database to securing the admin interface as anyone using it is actually the controller and any security loophole in this is disastrous for your website.
Learn about the Components of Django Architecture
Working on Django Admin Interface
What is Django Admin?
Django Admin is the preloaded interface made to fulfill all the needs of the developers. Its language is quite generalized rather than technical.
The Django Admin is a fully featured interface and you won’t need to write an Admin interface for your project now. To begin with, it is always better to know the process of setting up Django Admin site as you will need it in future projects.
Setting Up Django Admin Site
Below are the steps to use the Django Admin Site and implement user models:
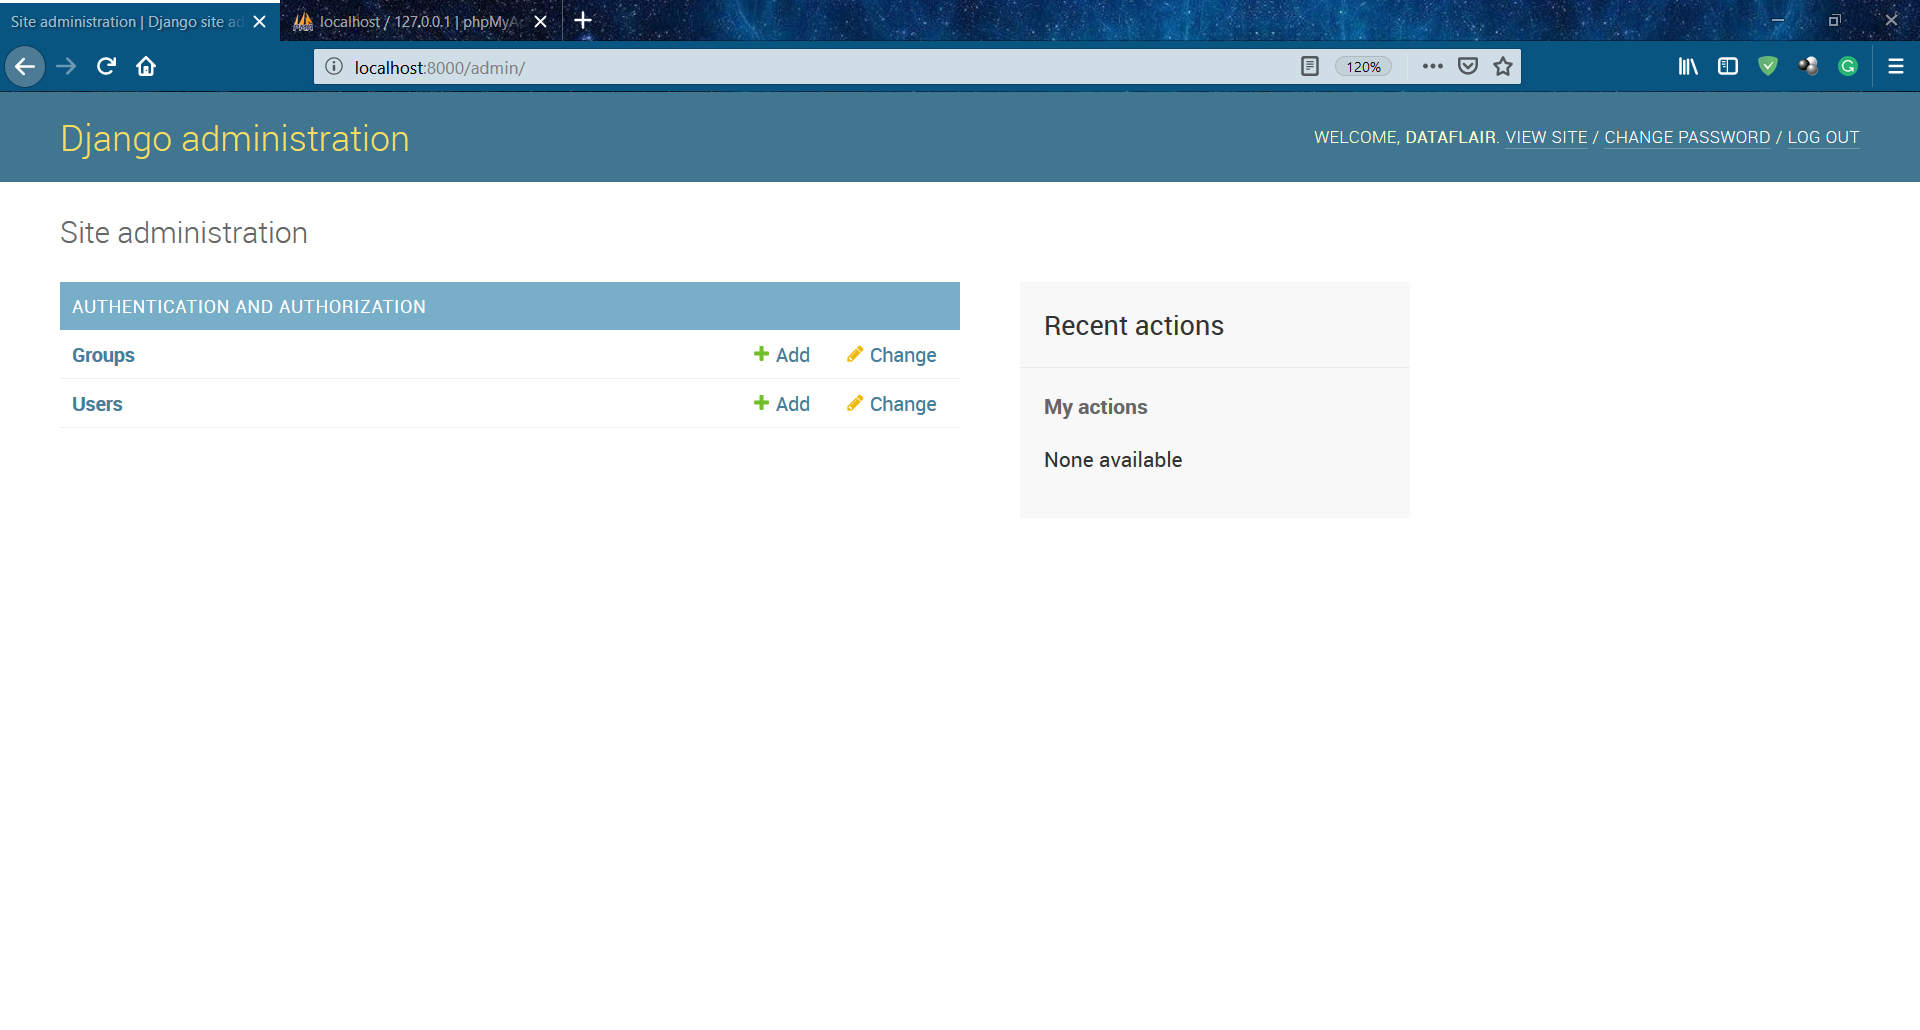
Step 1. After starting the Django server, if we search in the URL bar:
localhost:8000/admin/
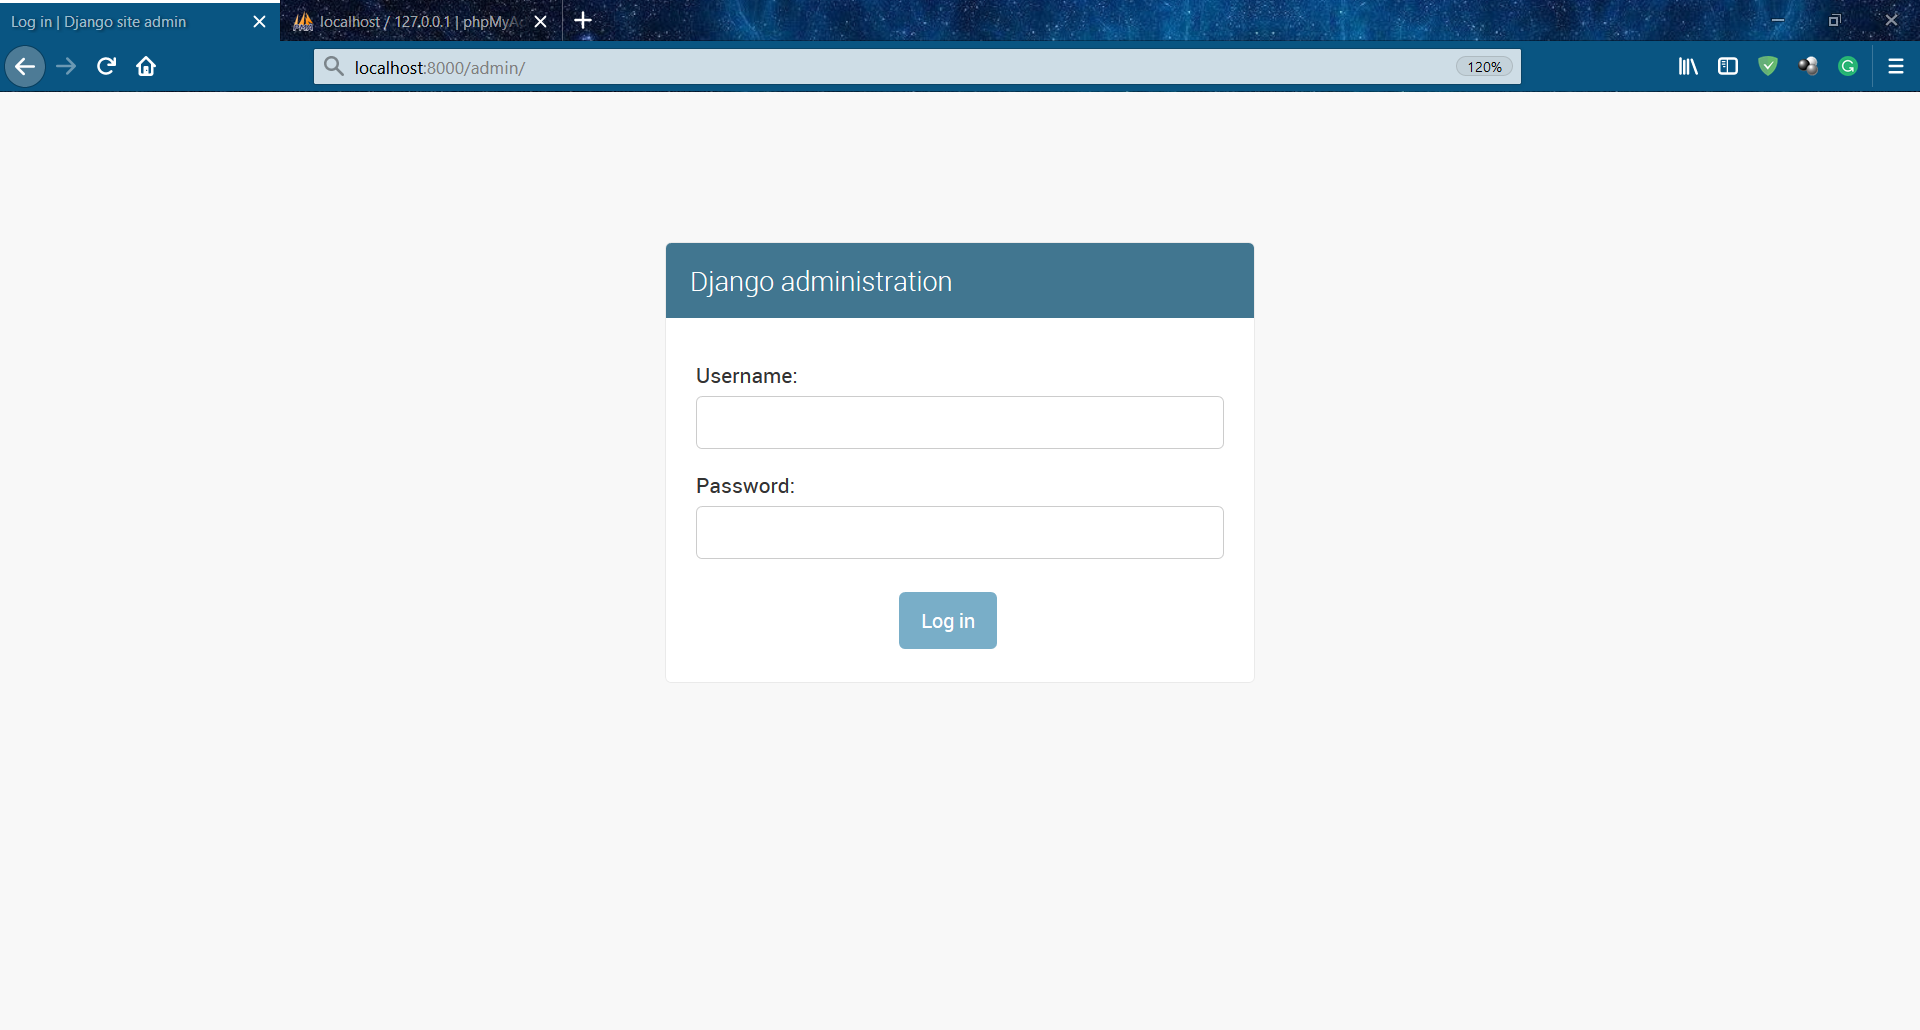
This image should pop up, and here site is asking for the username and password, let’s create one.
Step 2. Open the PowerShell or terminal and break the server by Ctrl + C.
Then type in this command:
python manage.py createsuperuser

Step 3. After executing this command, it will ask for your username, which is your choice again. Then it will ask you for the Email Id and Password. Complete the details.
There are some inbuilt security features here like if your password is totally numeric it will display a message to create a complex password and many such security loopholes have been covered up for users.
Explore the Steps to Create & Run the Django Project
What is a Superuser?
It is basically the credentials of the admin for your website, which can do any data manipulation and content manipulation related to your website.
Also, note that you should never share the superuser credentials with anyone, as it is the main controller of your website. When the website goes live, it is vital information for maintaining and controlling your website.
After successfully creating the superuser we are now going to log in to that admin page to start your Django server again.
Note:
In the above image, you can not see even the typed hashes of passwords, so just remember that while typing passwords, it is taking input in the passwords field but not showing you anything.
Understand the MTV Architecture of Django
Logging in to Admin Site
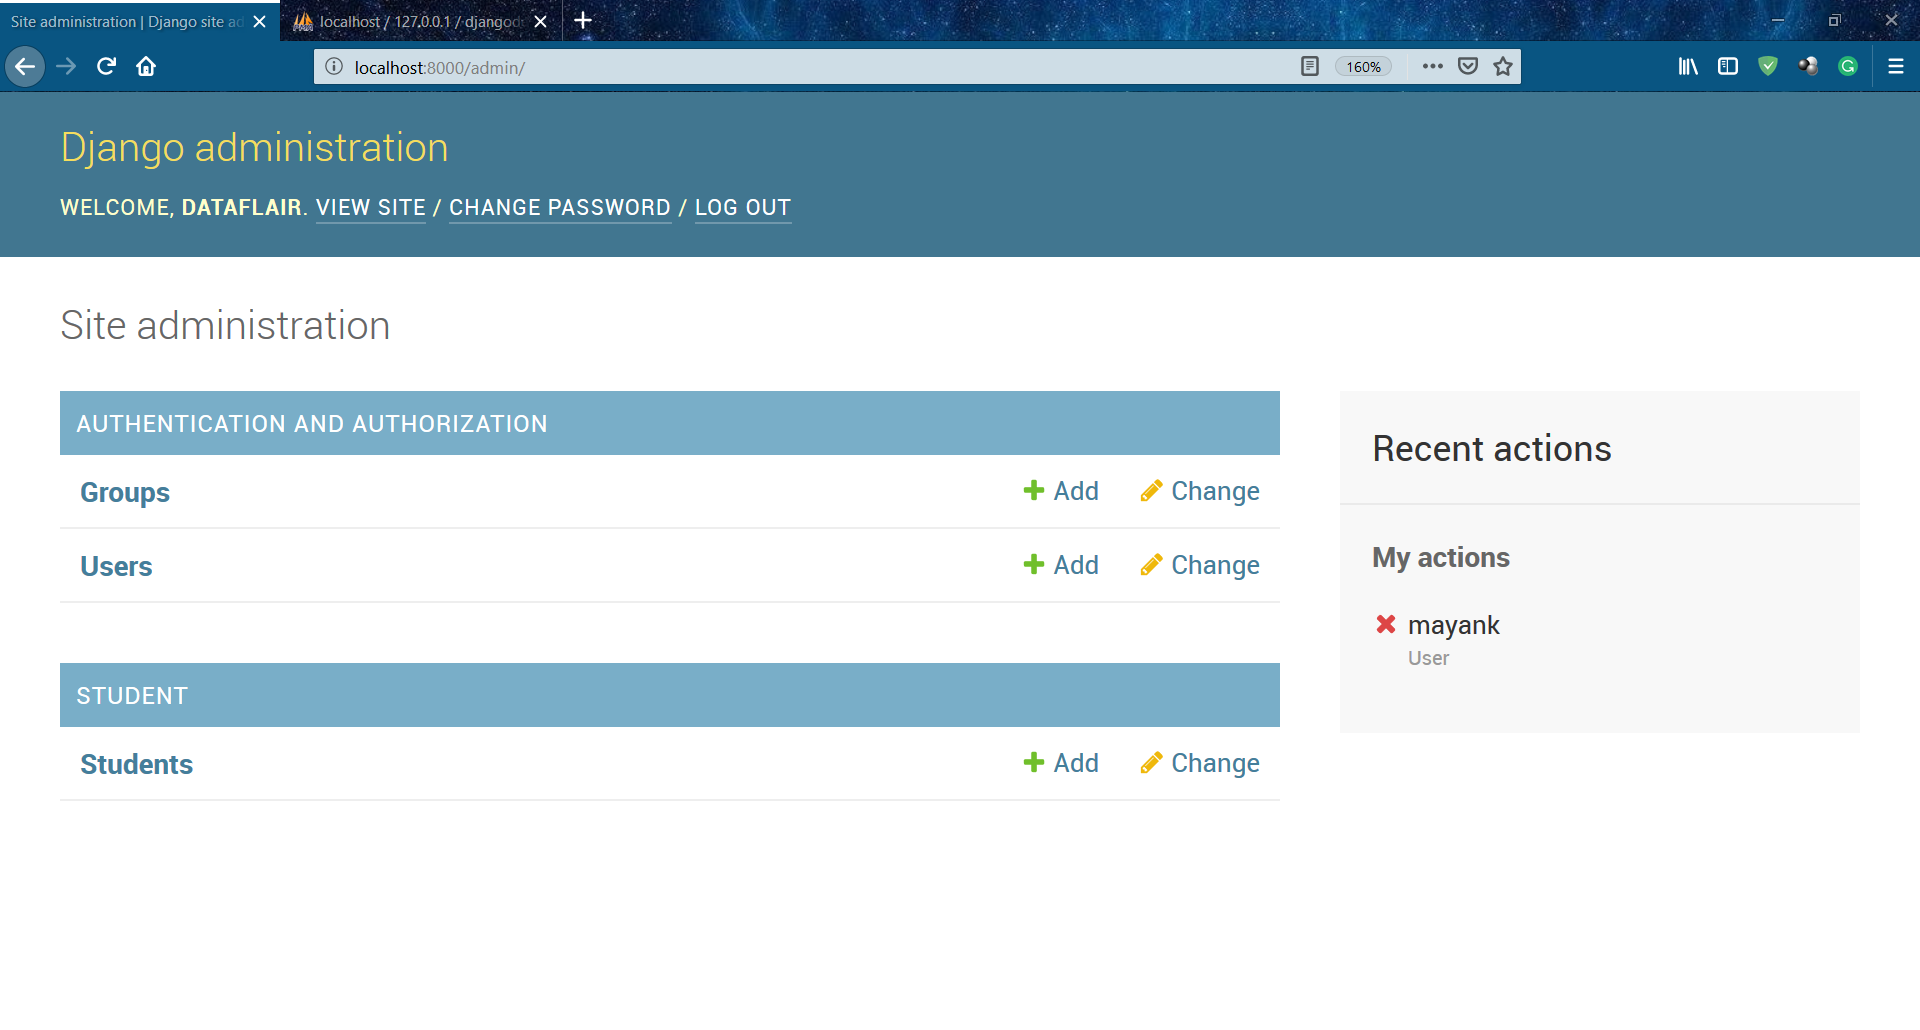
Step 4. Now login in admin using the credentials you just created.

You can see these options and this nice-looking interface.
Since we haven’t registered our custom applications with the Django admin interface yet, therefore it is not showing any of them. There are only two fields here and you have two options with each of them.
Step 5. Now click on the users field and you should see something like this.
Here, you should get only one user and the credentials which you inserted in it. Though you wouldn’t be able to see the password. That’s a plus from the Django’s side, all the passwords encrypt via a special security key in the settings.py file.
Step 6. Now, you can check whether the user you created got saved in it. Although you didn’t do anything with the database.
Step 7. Open phpMyAdmin and open the Django project’s database which we created, there open the auth_users table. You will get your credentials as it is, except Password.
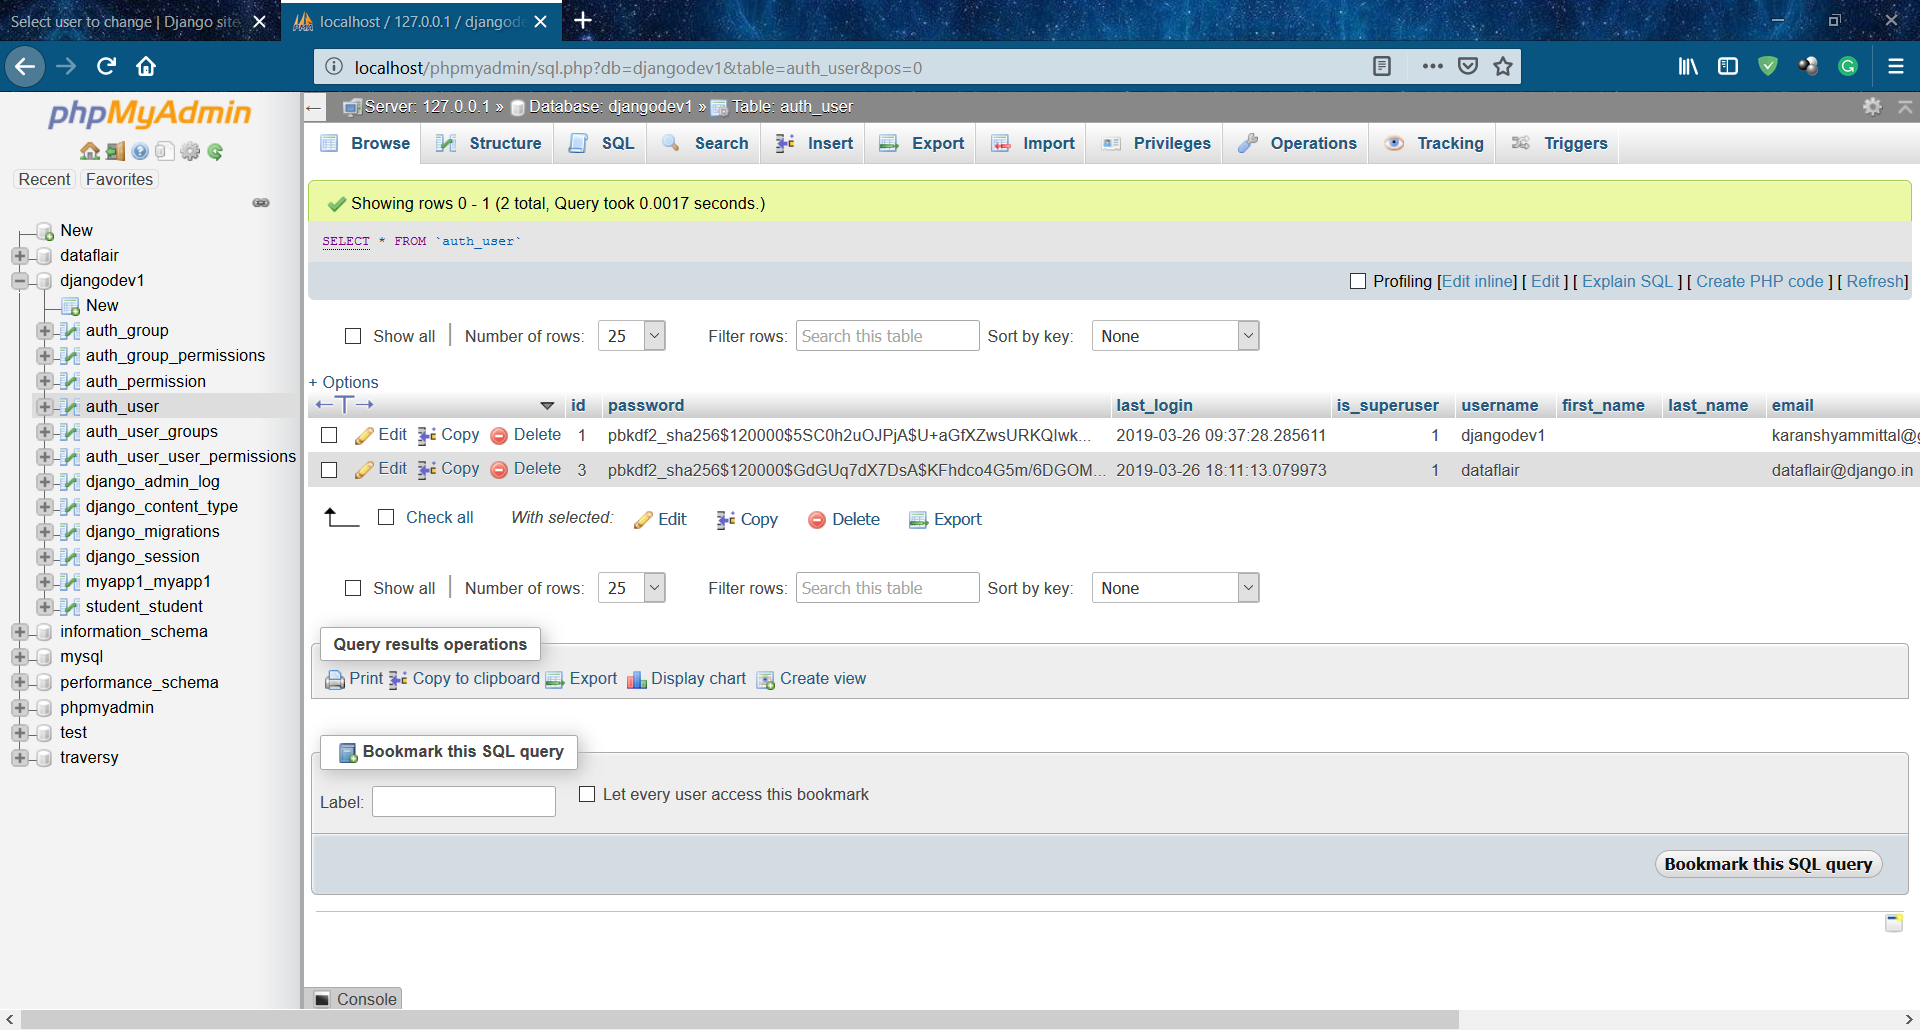
Notice, that there are many tables which we didn’t create but are inside our database. They are all django.contrib package’s imported models tables. django.contrib is a package for Django which is comparable to the relation of standard library with Python. Almost all the functionality we need is already on the django.contrib package.
Implementing User Models
Now we will be integrating the model student created in Django Models tutorial with the Django Admin interface for better functionality.
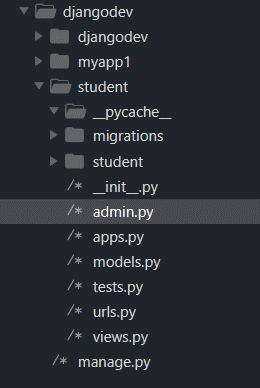
Step 8. Go to home in the Django Project.
Step 9. Now open the file admin.py of your app. The directory structure should be like this.
Step 10. Open the admin.py file and type in these two lines
from .models import Student

admin.site.register(Student)
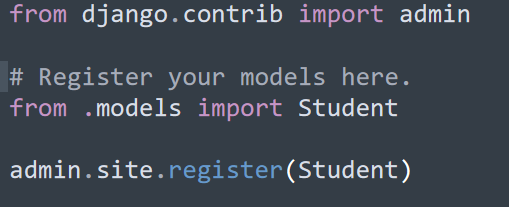
The first statement is to import class Student or the custom model we created.
The second line is to pass the model or register the model to the Django Admin interface.
Step 11. Now, open the localhost/admin again, and it wouldn’t ask you for a password.
We got the students model in admin and then, open that student field.
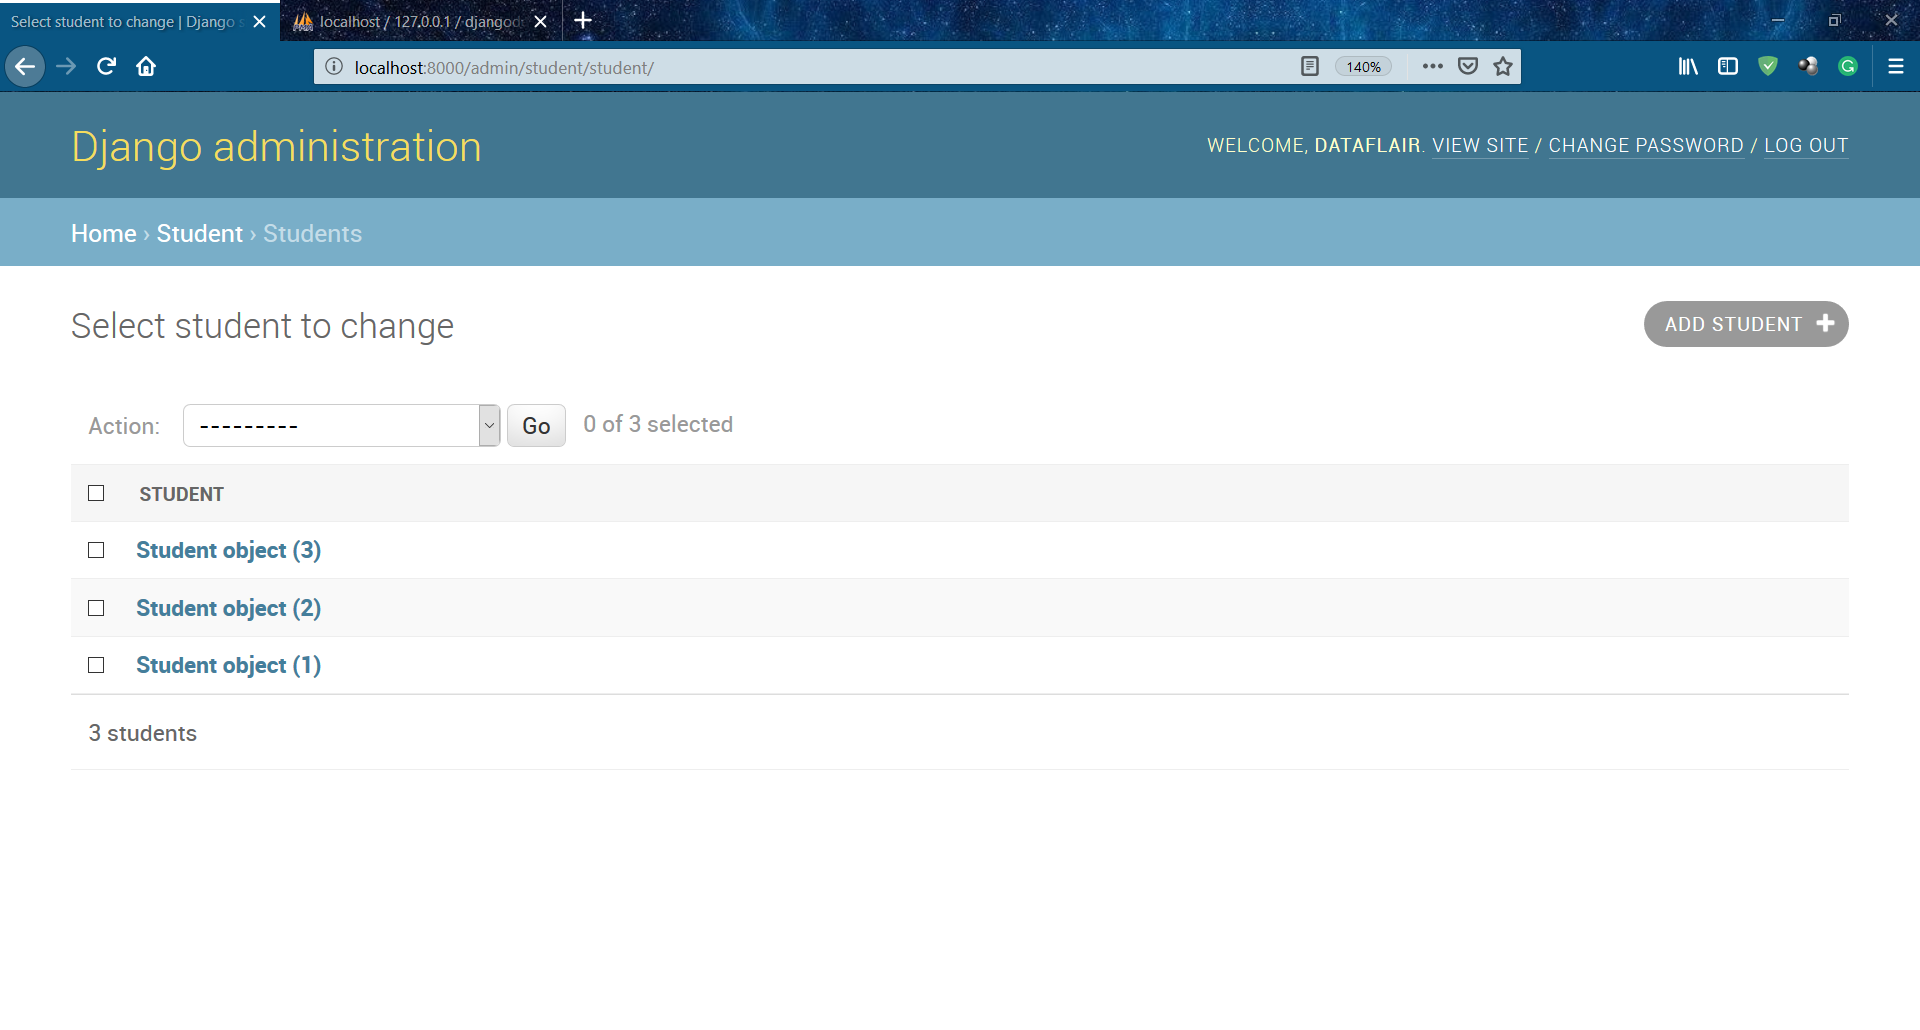
You will get the list of students we have and you can see a useful option there, like add a new student.
Adding a new student will actually add a new record in your database, all of it is the work of the Django Admin interface that integrates with Django ORM.
Learn to Create, Install & Deploy Django App
Step 12. Now, click on any student-object.
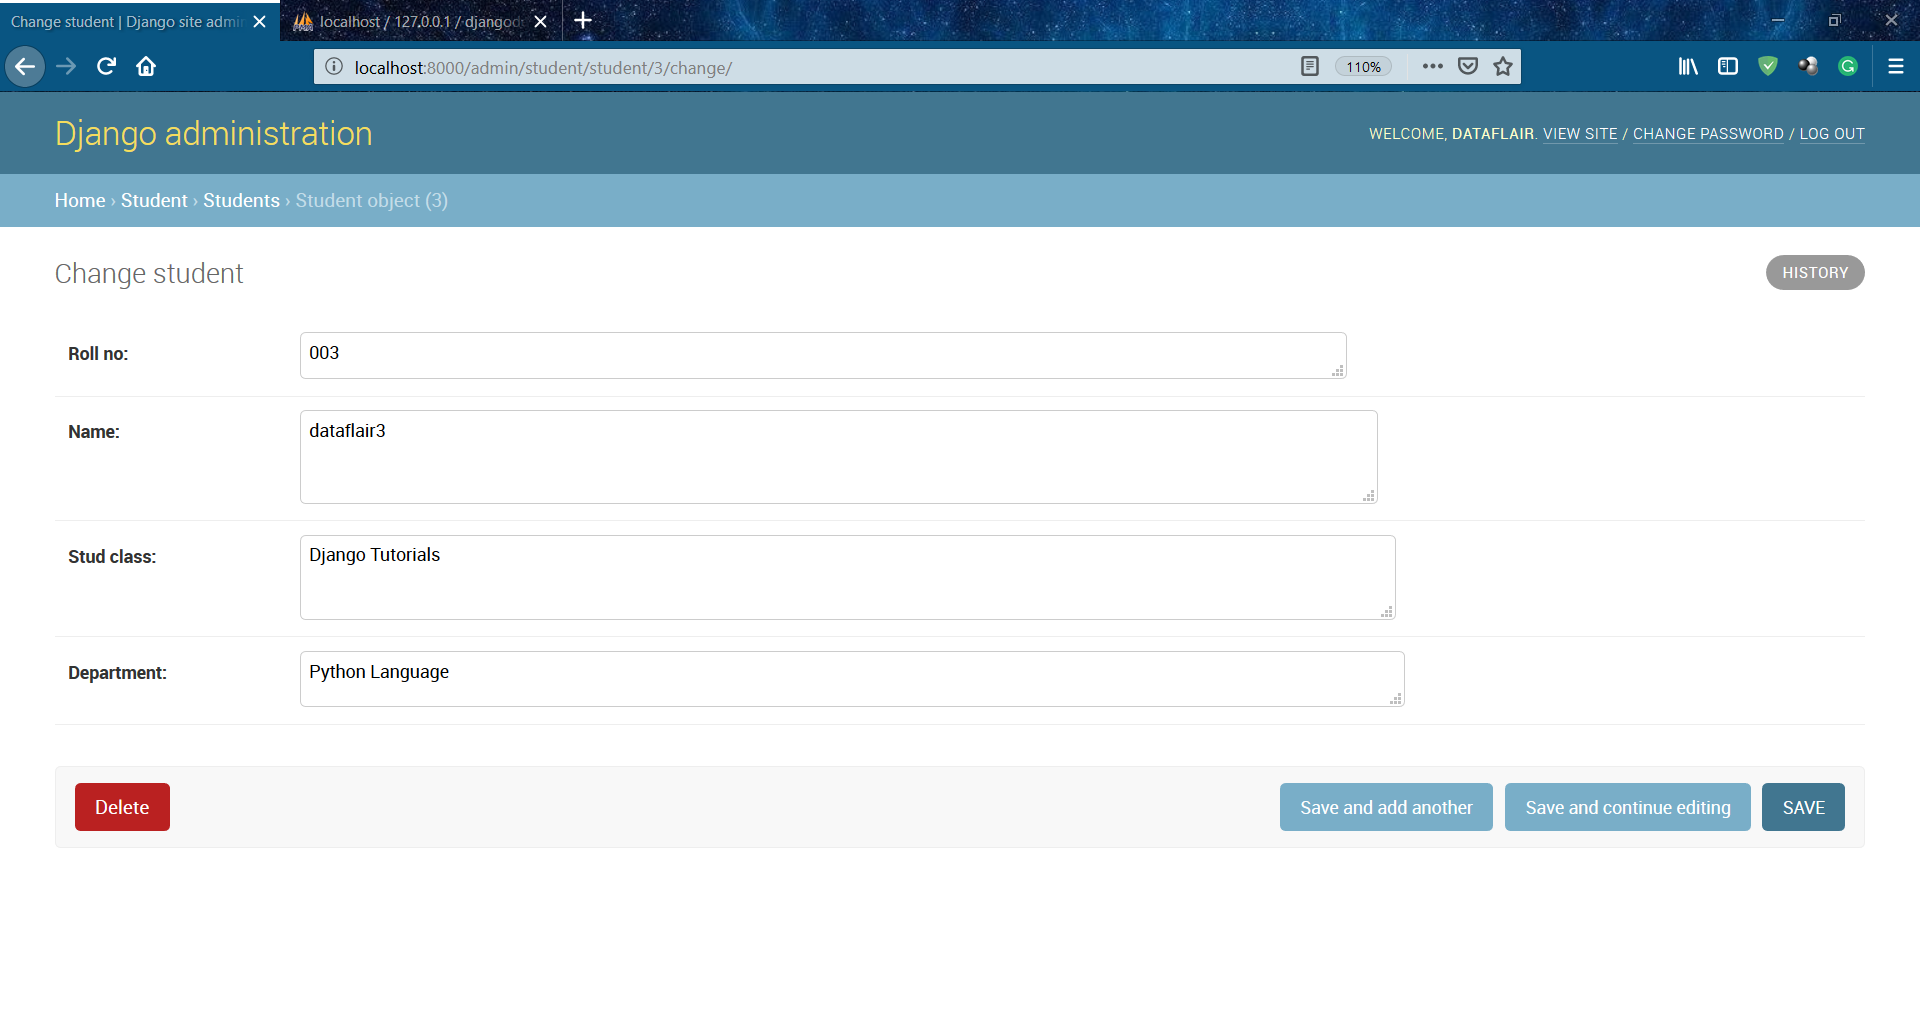
Here you can directly access and edit the information, without even going into the database.
For all of that, we have just written two lines of code. Here also you can see different options like save and delete.
See the power it gives you without writing the Django Admin interface itself. We mean it’s easy to use plus it’s much more secure than anything we have written for the same.
If you have multiple developers working on the same project, then greater functionality of interface will help. You can choose which developers get what privileges, without any typing, you just have to select.
Check out Top Django Books and increase your Web Development knowledge
Summary
The Django Admin interface is very powerful but it is also true that some websites may not need admin interface because of their nature. But again those will not be too scalable or will not be for commercial use. If you want rapid content management without needing to reinvent the wheel(admin ) again then Django is the best framework and the best admin you would get with lots of features as a developer.
In this tutorial, we covered how to create a superuser and how we can integrate our project with the Admin interface. You should try implementing different models with admin and then you will get much more familiar with it.
Do let us know, if you have any queries related to the Django Admin Tutorial, in the comment section below.
Did you like this article? If Yes, please give DataFlair 5 Stars on Google


Very interesting article, I found very useful ando good reason to learn more about this framwork. Very thanks for this tutorial