Django Cookies and Cookies Handling – How to Create Cookies in Django
Master Python with 70+ Hands-on Projects and Get Job-ready - Learn Python
Expert-led Online Courses: Elevate Your Skills, Get ready for Future - Enroll Now!
When we see the word cookies, we expect a chocolate chip baked biscuit, but here we will talk about computer cookies. They do a great piece of work that makes it more easy for you to surf the Internet but they can be irritating if you do not know how to remove or delete cookies.
This tutorial will help you understand the basic concept of computer cookies and why are they used on the web. Also, we will learn to create Django cookies with the server.
Firstly, let’s see the definition of cookies.
What are Cookies?
Cookies, technically called HTTP Cookies are small text files which are created and maintained by your browser on the particular request of Web-Server. They are stored locally by your browser, and most browser will also show you the cookies generated in the Privacy and Security settings of the browser.
HTTP is a stateless protocol. When any request is sent to the server, over this protocol, the server cannot distinguish whether the user is new or has visited the site previously.
Suppose, you are logging in any website, that website will respond the browser with some cookies which will have some unique identification of user generated by the server and some more details according to the context of the website.
Cookies made these implementations possible with ease which were previously not possible over HTTP implementation.
How do Cookies work?
Cookies work like other HTTP requests over the Internet. In a typical web-system, the browser makes a request to the server. The server then sends the response along with some cookies, which may contain some login information or some other data.
When the browser makes a new request, the cookie generated previously is also transmitted to the server. This process is repeated every time a new request is made by the browser.
The browser repeats the process until the cookie expires or the session is closed and the cookie is deleted by the browser itself.
Then, the cookie applies in all sorts of tasks, like when your login to a website or when shopping online on the web. Google AdSense and Google Analytics can also track you using the cookies they generate. Different websites use cookies differently according to their needs.
Now, let’s move on to the core section in which you will learn to create cookies in the Django framework.
Creating Cookies in Django
Django bypasses lots of work which otherwise would be required when working on cookies. Django has methods like set_cookie() which we can use to create cookies very easily.
The set_cookie() has these attributes:
name: It specifies the name of cookie.
value: It specifies the text or variable you want to store in the cookie.
max_age: It is the time period of cookie in seconds. After the time period completes, it will expire. It is an optional parameter; if not present then the cookie will exist till the time browser close.
We will add this method to our view functions for creating cookies.
Code:
def setcookie(request):
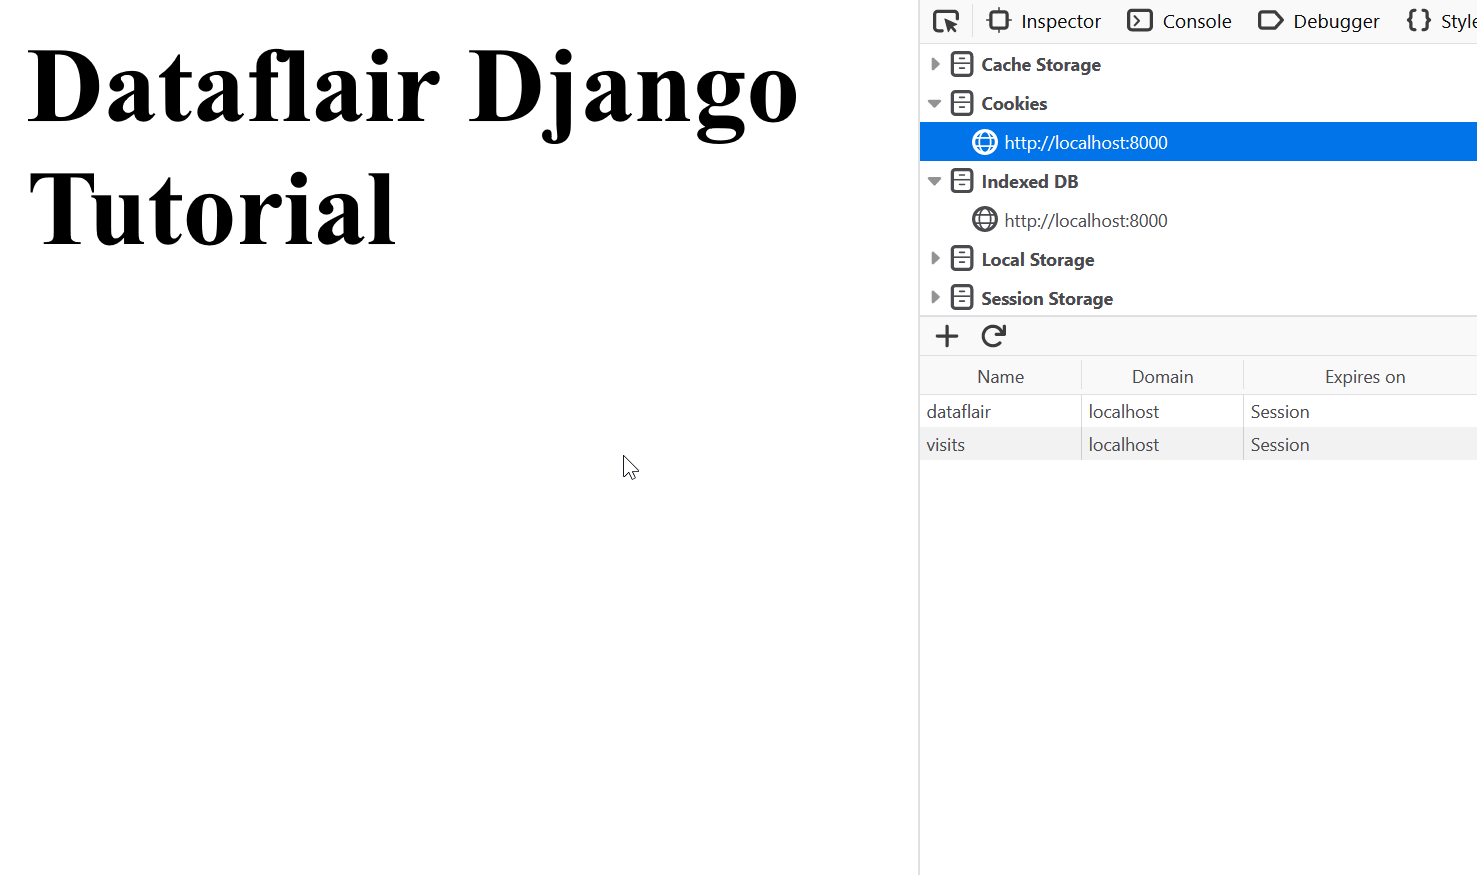
html = HttpResponse("<h1>Dataflair Django Tutorial</h1>")
html.set_cookie('dataflair', 'Hello this is your Cookies', max_age = None)
return html
This function will return to the browser, and when you run it, you can check the created cookie in your browser settings.
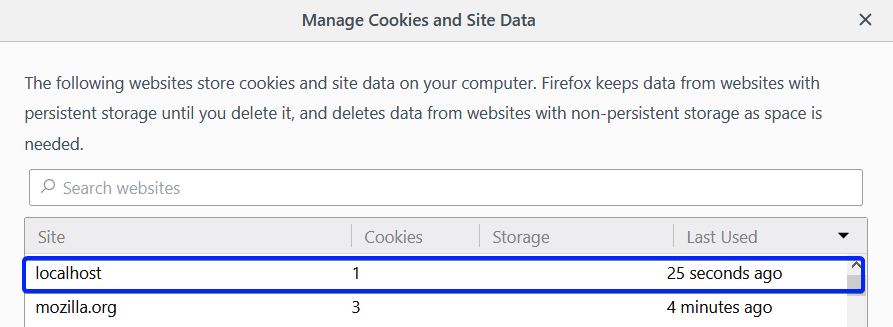
The cookie we just created can be seen here. Since we are using localhost, therefore, the site name comes as localhost.
Now, add these paths to urls.py of your project.
Code:
    path('setcookie', setcookie),
    path('getcookie', showcookie),

It will add the necessary paths to call view functions. We will define both the functions in the coming section.
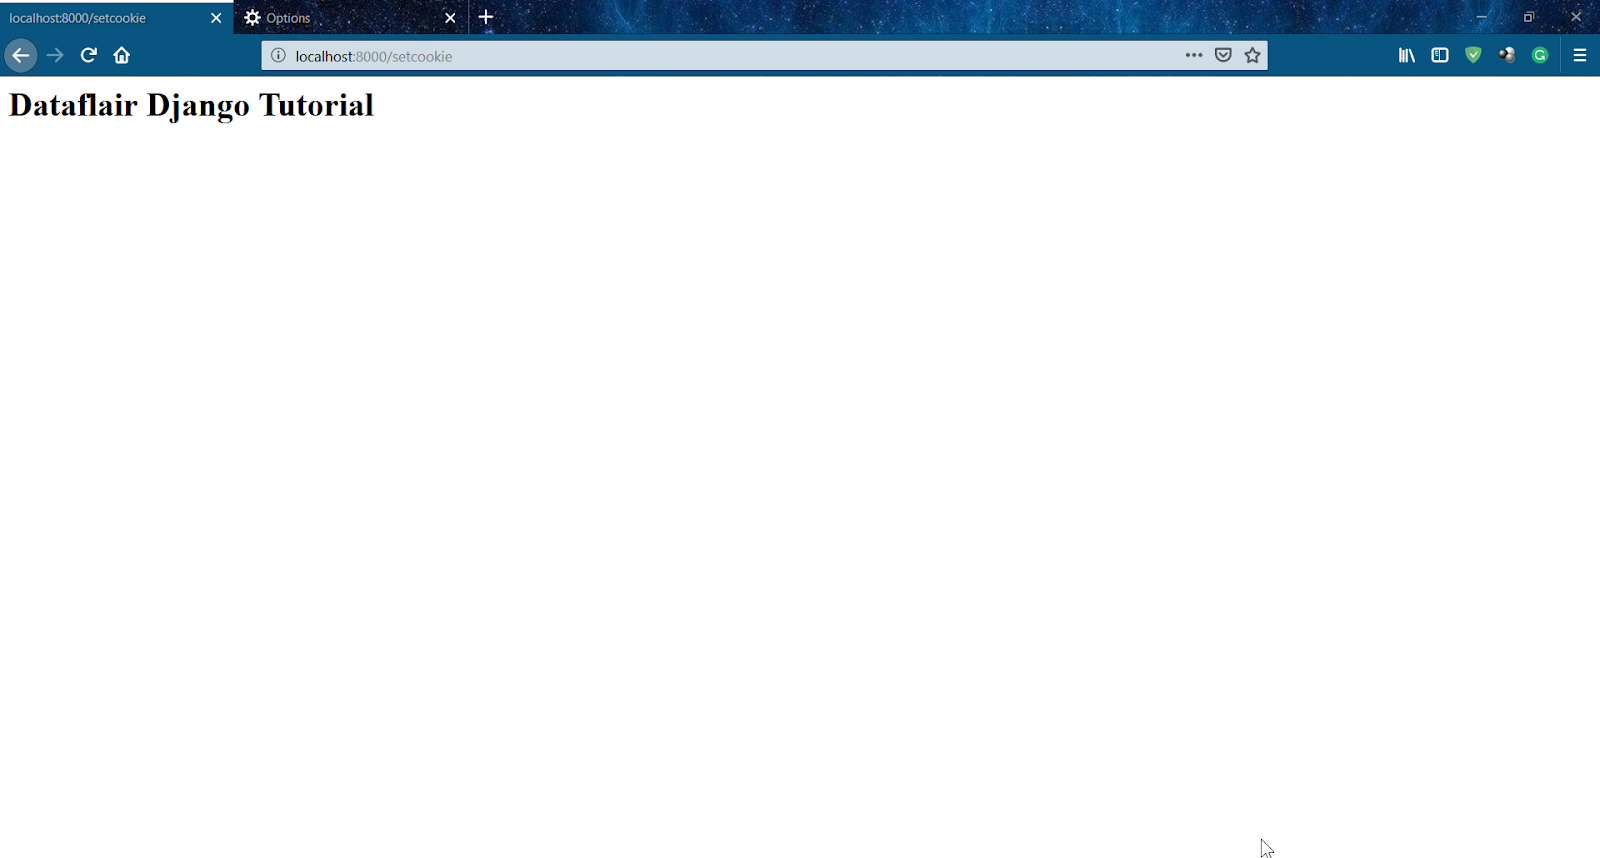
The output of the setcookie() view function will be this.
Read Cookies from request
Cookies pass to the particular website every time the client makes a request. Therefore, server every time receives a cookie alongside the request. Django makes it very easy for us to retrieve data from a cookie.
1. Using request.COOKIES[]
Django’s request object has an attribute COOKIES, like COOKIES array in PHP.
COOKIES is a special attribute of request, and its value is the name of the cookie from which you want to read data. Since there can be multiple cookies, you can change this value many times according to the type of cookie you want to store.
Here is how you can use the same.
We will use basic syntax to access a class parameter as:
request.COOKIES[‘cookie_name’]
Code:
def showcookie(request):
show = request.COOKIES['dataflair']
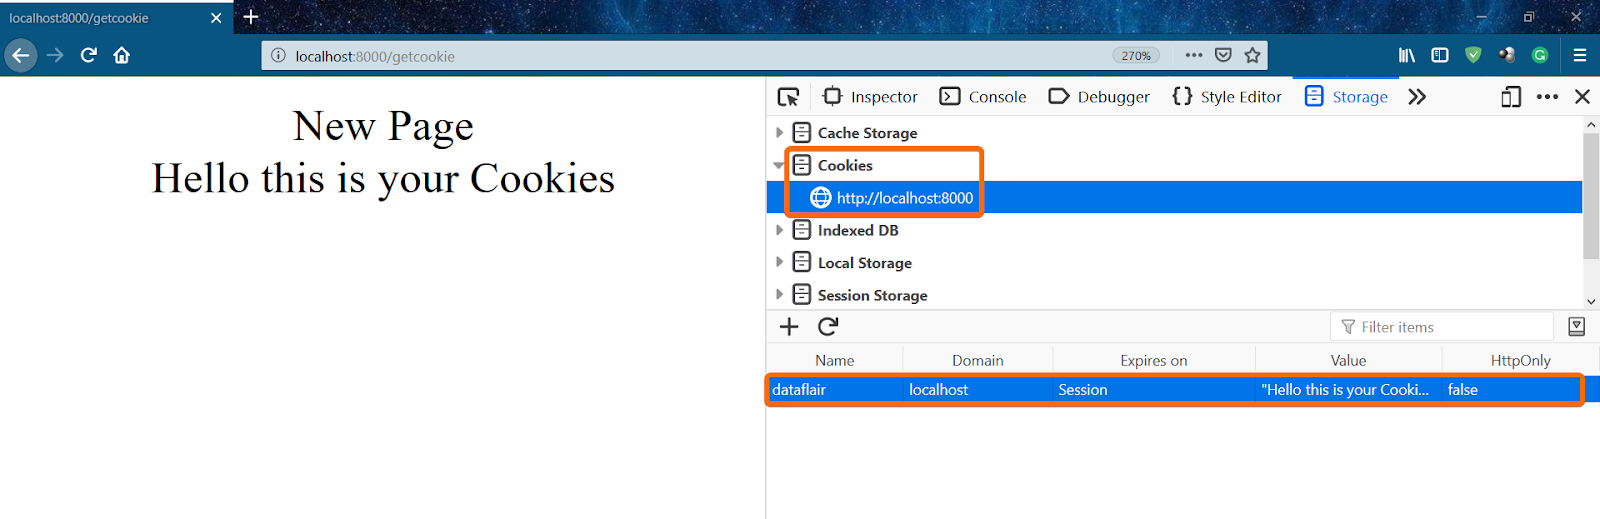
html = "<center> New Page <br>{0}</center>".format(show)
return HttpResponse(html)

This code will read the cookie named dataflair, from the current request received by the browser. Also, we can again generate a new cookie in this function if the values changes.
2. Using request.COOKIES.get()
Django also provides a method to get the desired value from the cookie. You can directly access that value using get method over request object.
The syntax that we will request :
COOKIES.get(‘cookie_name’, ‘value’)
Let’s make some changes in our previous example.
In our views.py write this code
from django.shortcuts import render, redirect
from django.http import HttpResponse

We will need to apply redirect(), so import it.
Code:
def setcookie(request):
    html = HttpResponse("<h1>Dataflair Django Tutorial</h1>")
    if request.COOKIES.get('visits'):
        html.set_cookie('dataflair', 'Welcome Back')
        value = int(request.COOKIES.get('visits'))
        html.set_cookie('visits', value + 1)
    else:
        value = 1
        text = "Welcome for the first time"
        html.set_cookie('visits', value)
        html.set_cookie('dataflair', text)
    return html
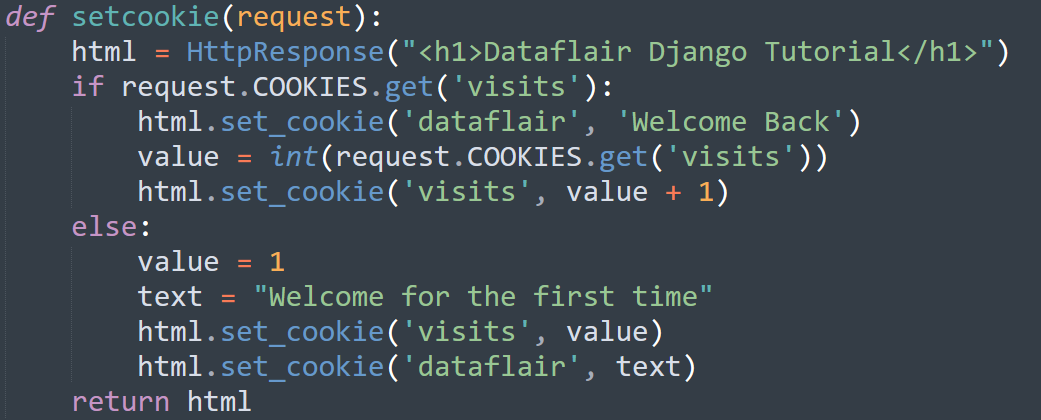
This code will check whether the request has cookies or not, it will then set the cookies according to that.
We will use the COOKIES.get() to achieve that.
Now, make the change to our showcookie()
Code:
def showcookie(request):
    if request.COOKIES.get('visits') is not None:
        value = request.COOKIES.get('visits')
        text = request.COOKIES.get('dataflair')
        html = HttpResponse("<center><h1>{0}<br>You have requested this page {1} times</h1></center>".format(text, value))
        html.set_cookie('visits', int(value) + 1)
        return html
    else:
        return redirect('/setcookie')

This code will check for the cookies, and now we can run the code.
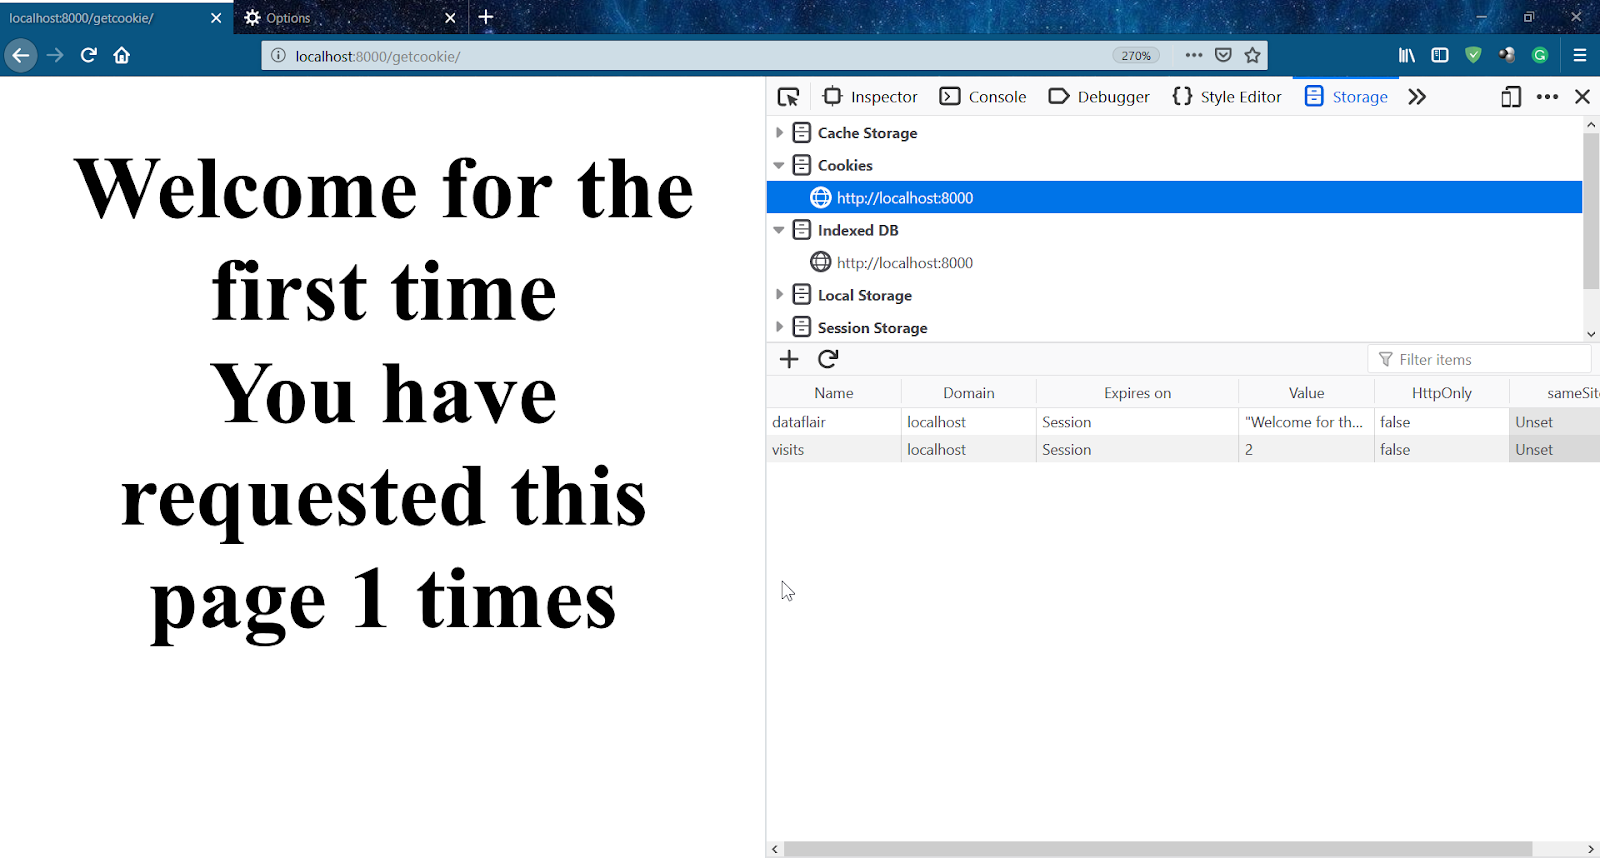
Just start your server and type getcookie/ in the URL bar.
You should see an output like this. Then, the code checks whether the cookie has a value or not and if it doesn’t find anything it will redirect you to the setcookie.
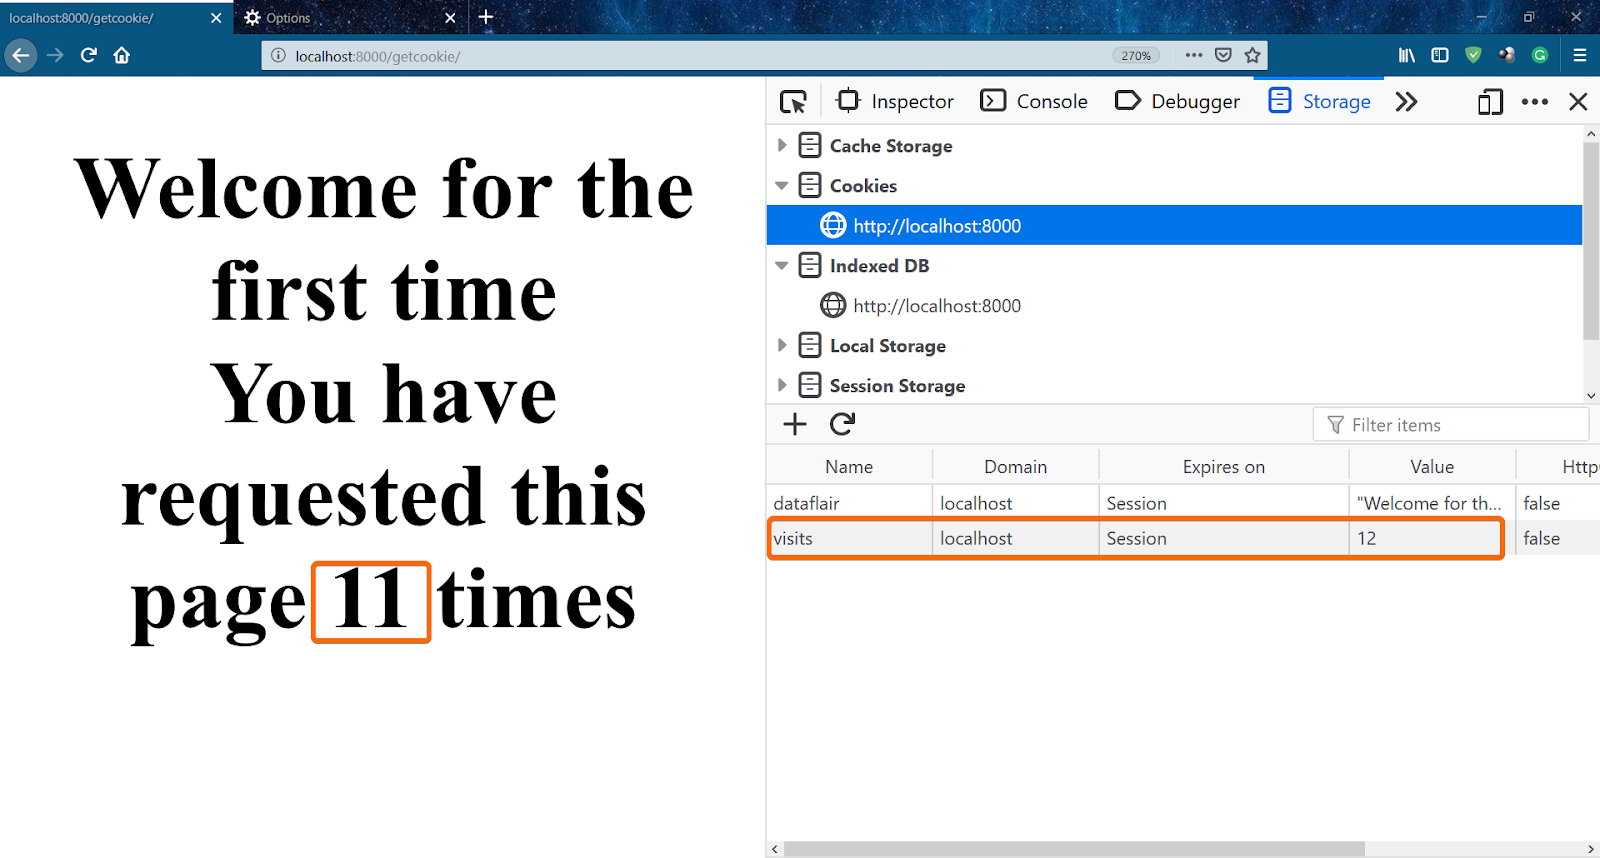
Now again search for getcookie/ in URL bar.
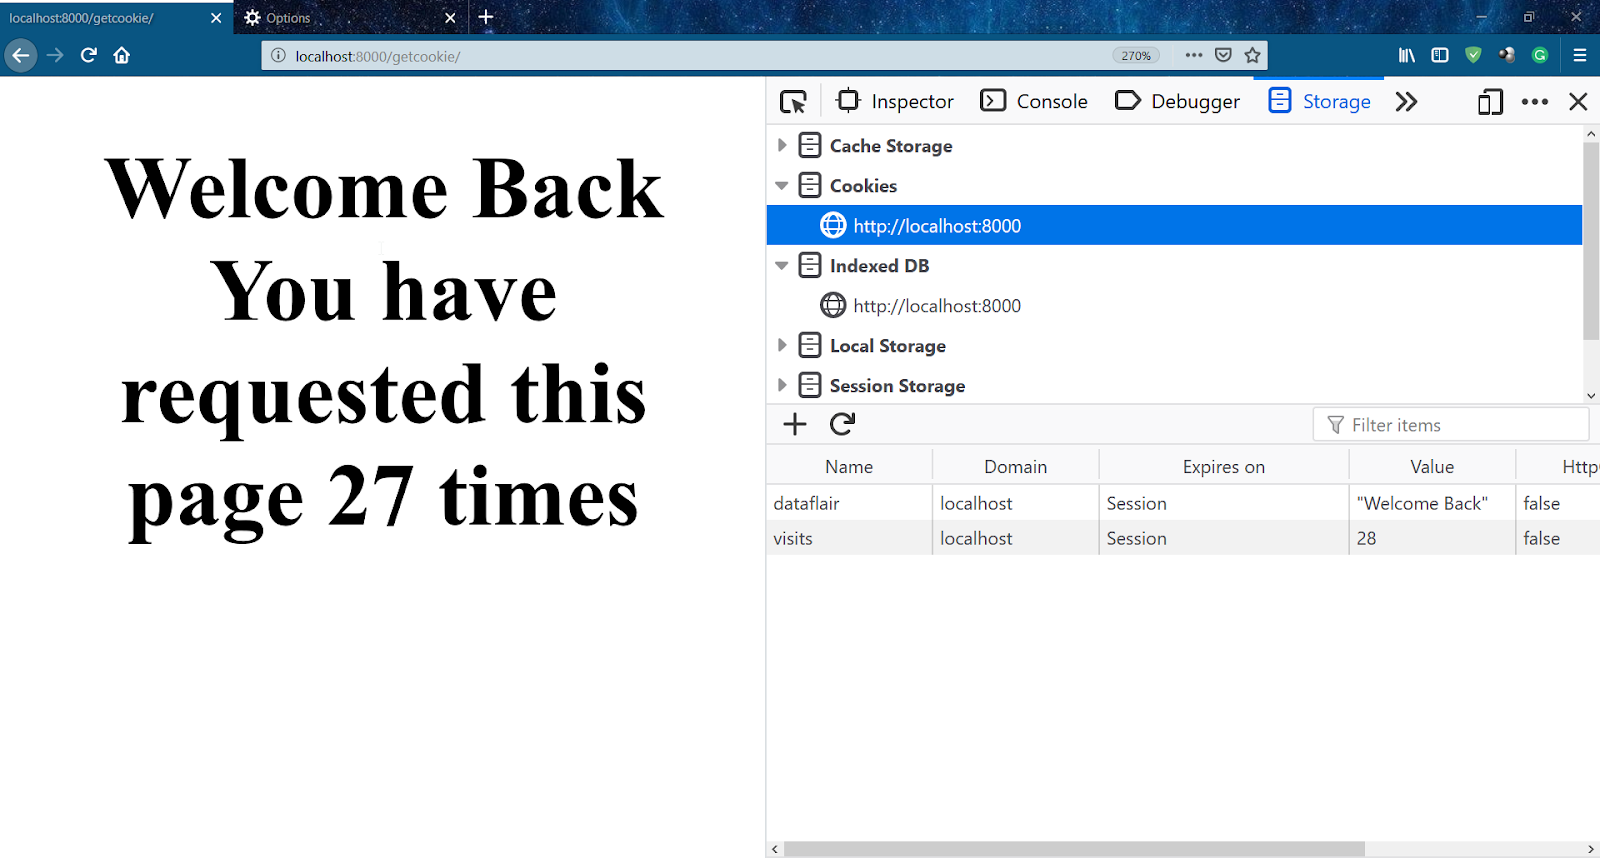
You shall see an output like this. Again, try reloading it a couple of times.
We can still change this code. You will have to visit the setcookie/ url to change the text again.
Deleting a Cookie in Django
Django provides you with easy methods for deleting cookies. As we used set_cookie() to create cookies, we can also delete cookies using a similar function, delete_cookie()
The delete_cookie() takes in the name of the cookie to be deleted, and this method is associated with the response object.
Add this function to your views.py file
Code:
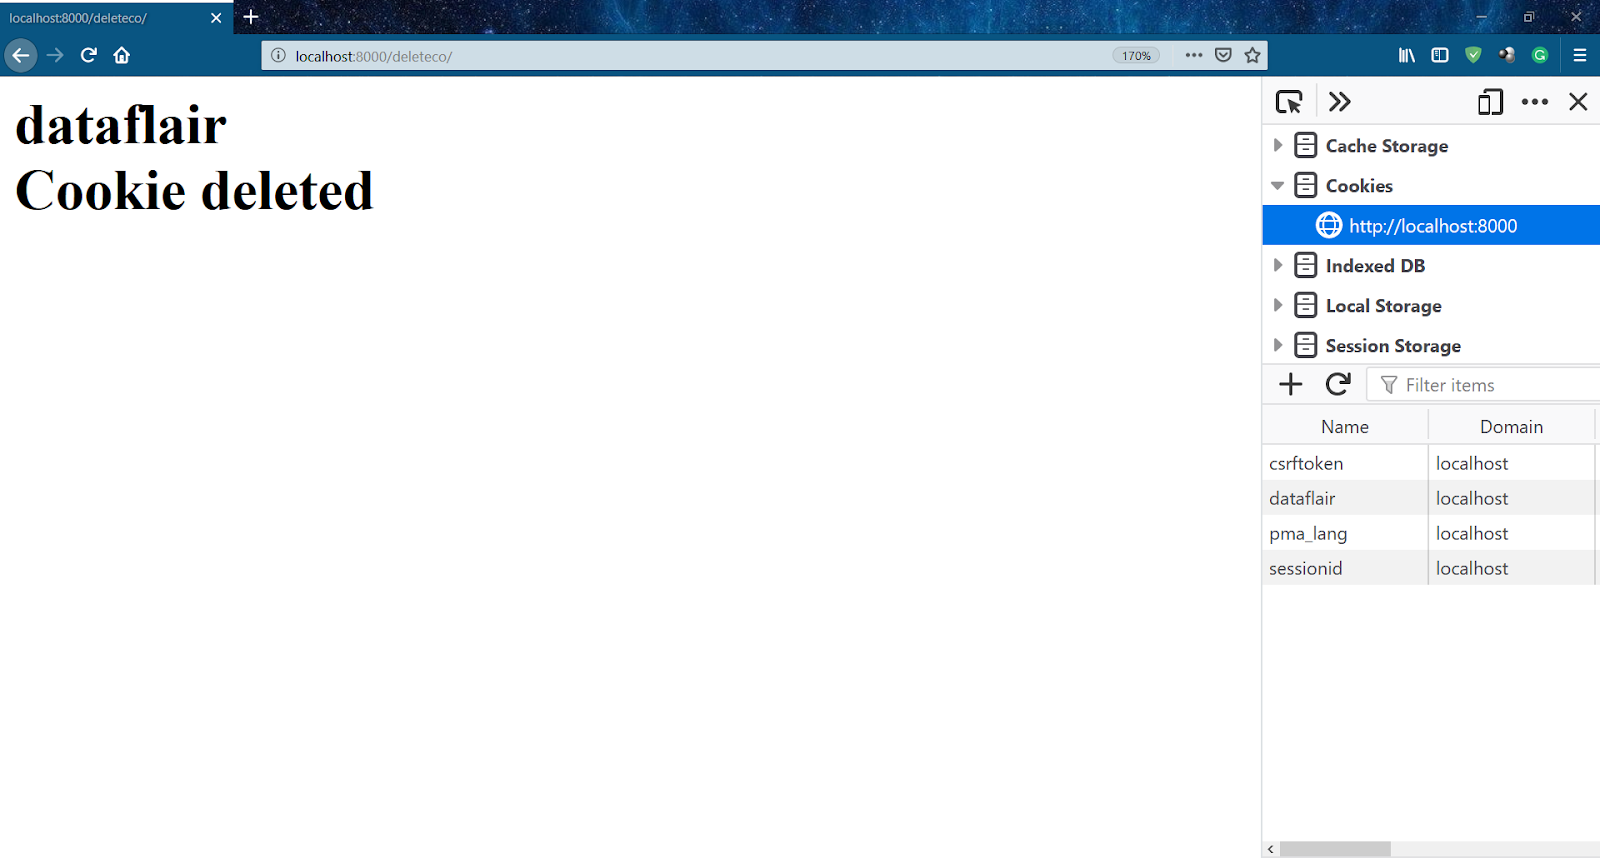
def delete_co(request):
    if request.COOKIES.get('visits'):
       response = HttpResponse("<h1>dataflair<br>Cookie deleted</h1>")
       response.delete_cookie("visits")
    else:
        response = HttpResponse("<h1>dataflair</h1>need to create cookie before deleting")
    return response

This should generate output:
 Summary
Django is very fun to play with, isn’t it? Well, that’s why we like Django and also, it’s quite a great piece of technology. Make some codes and edit this one to be familiar with the topics we have covered until this tutorial.
This tutorial covered most of the basics of cookies and how you can use them on Django. Using some right level of Python, now you are ready to make your cookies and use them as much as you want.
But as a developer, you will need more knowledge of the norms and laws when you are using cookies on a hosted server like the ones where the website asks for your permission for accepting cookies.
Any doubts or feedbacks? Feel free to enter in the comment section.
Did you like our efforts? If Yes, please give DataFlair 5 Stars on Google


Nobody would set cookies using httpresponse in a real app. Use a more realistic example.