Django CMS Tutorial – Complete Installation Process & Benefits
Master Python with 70+ Hands-on Projects and Get Job-ready - Learn Python
Job-ready Online Courses: Knowledge Awaits – Click to Access!
Django is an amazing web-framework in itself. There are various packages and frameworks built around Django to provide more functionality. In this article, we are going to learn about one such software – The Django CMS. It is a framework specializing in content management.
There are various benefits of using Django CMS over Django. A CMS is a system that lets users manage various types of content. We will discuss them one by one. In the last section of this tutorial, we will install Django CMS ourselves. So, let’s get started.
What is a CMS?
A CMS is a Content Management System. This system lets its user add, modify and delete the content as per user’s will. The content we are talking about is digital content. It includes text, images. This article is a perfect example of that kind of content.
The CMS provides an interface that can be easily used by clients to maintain their websites. The client need not be familiar with backend technologies. A CMS, in short, provides the client-user an interface to easily add, modify and remove the content. Also, it provides the tools to publish the content.
Django CMS Tutorial
Before starting, let’s first see the reasons to choose the Django CMS.
Why Django CMS?
It is number 1 in the industry right now. Django CMS is an Enterprise-grade Management System for content. It was awarded the Best Open Source CMS of 2015. Django utilizes all its features. That itself is very powerful. The extra functionality you get for publishing and content management is awesome.
Django CMS is trusted by many popular organizations. You will be surprised but it is used by NASA, National Geographic, etc.
You will be astonished by how much features Django CMS can add to your website. There are many plugins that you can add on top of Django CMS.
Django CMS boasts an awesome marketplace for plugins. Currently, Django-CMS has released its latest version 3.7. We will be working with version 3.6 which is stable at the time.
Okay, now let’s start installing the project. We will discuss various plugins along with the installation.
Installing Django CMS
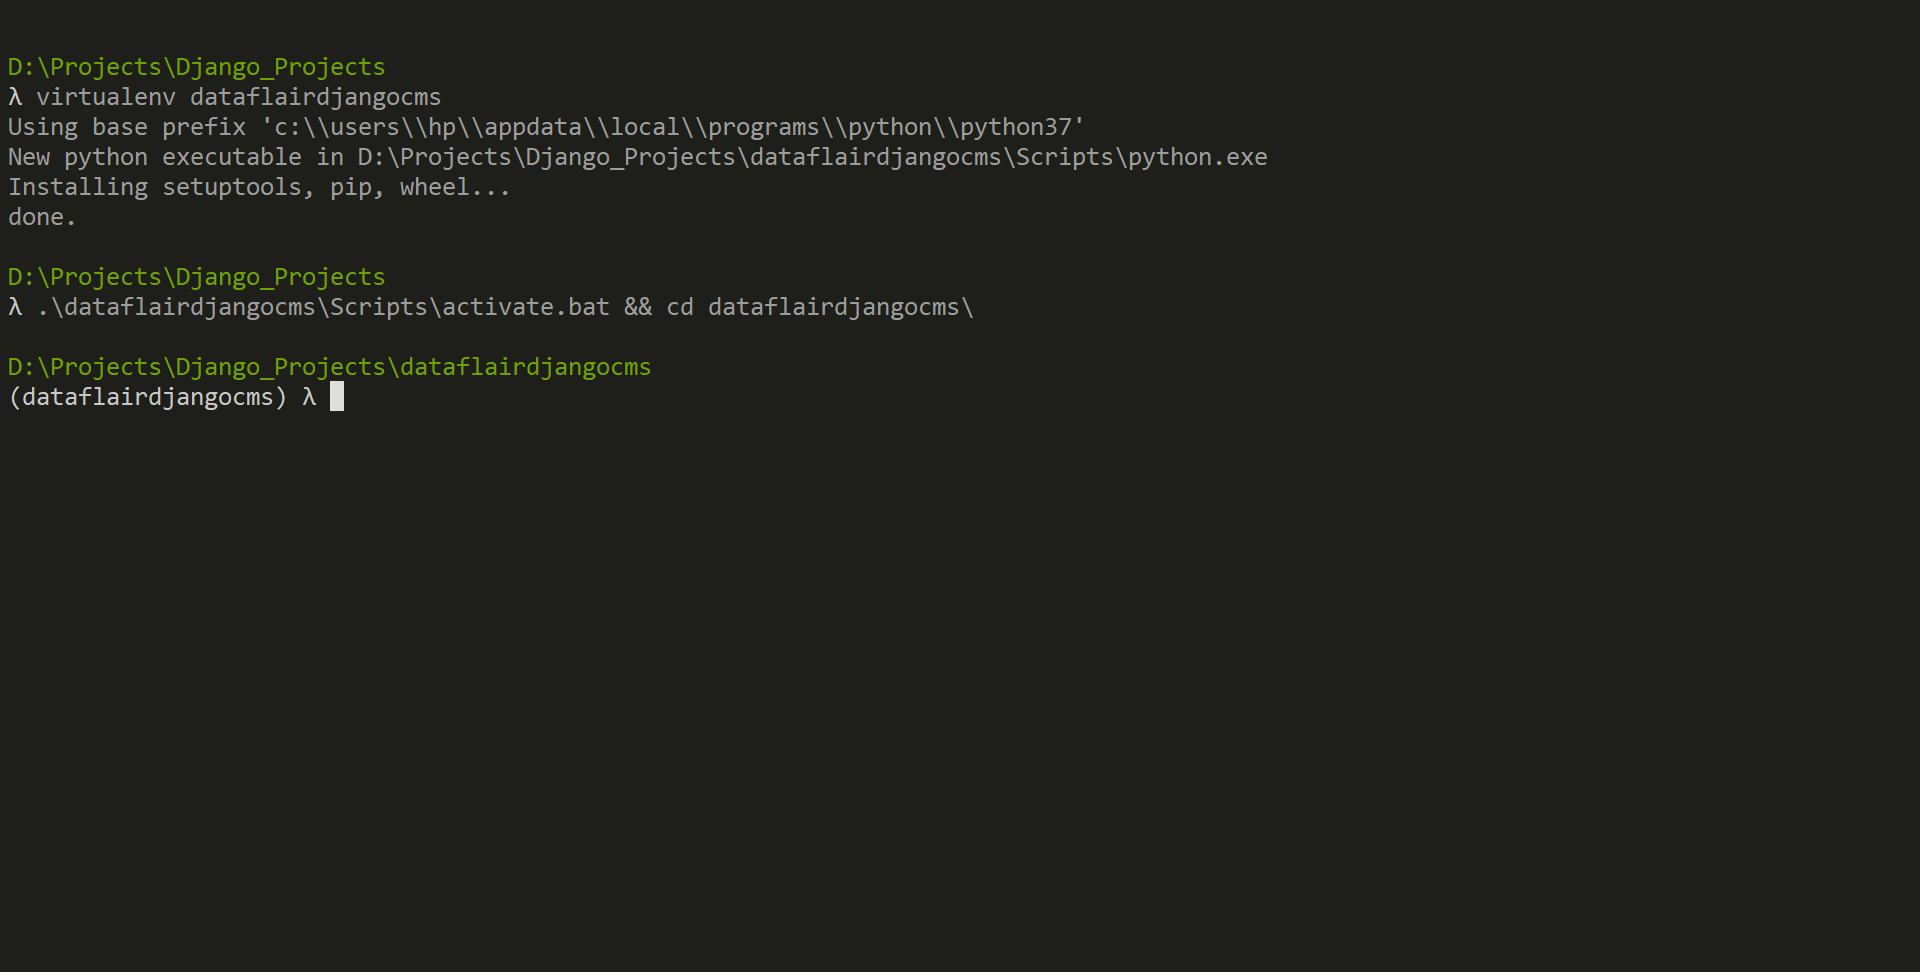
Now, we will make a new virtual environment for this purpose. Execute this command:
$ virtualenv dataflairdjangocms
Then move into that folder and activate the environment.
$ .\dataflairdjangocms\Scripts\activate.bat && cd dataflairdjangocms\
Now, execute this command:
$ pip install django-cms
This command will install Django and other important packages you would require.
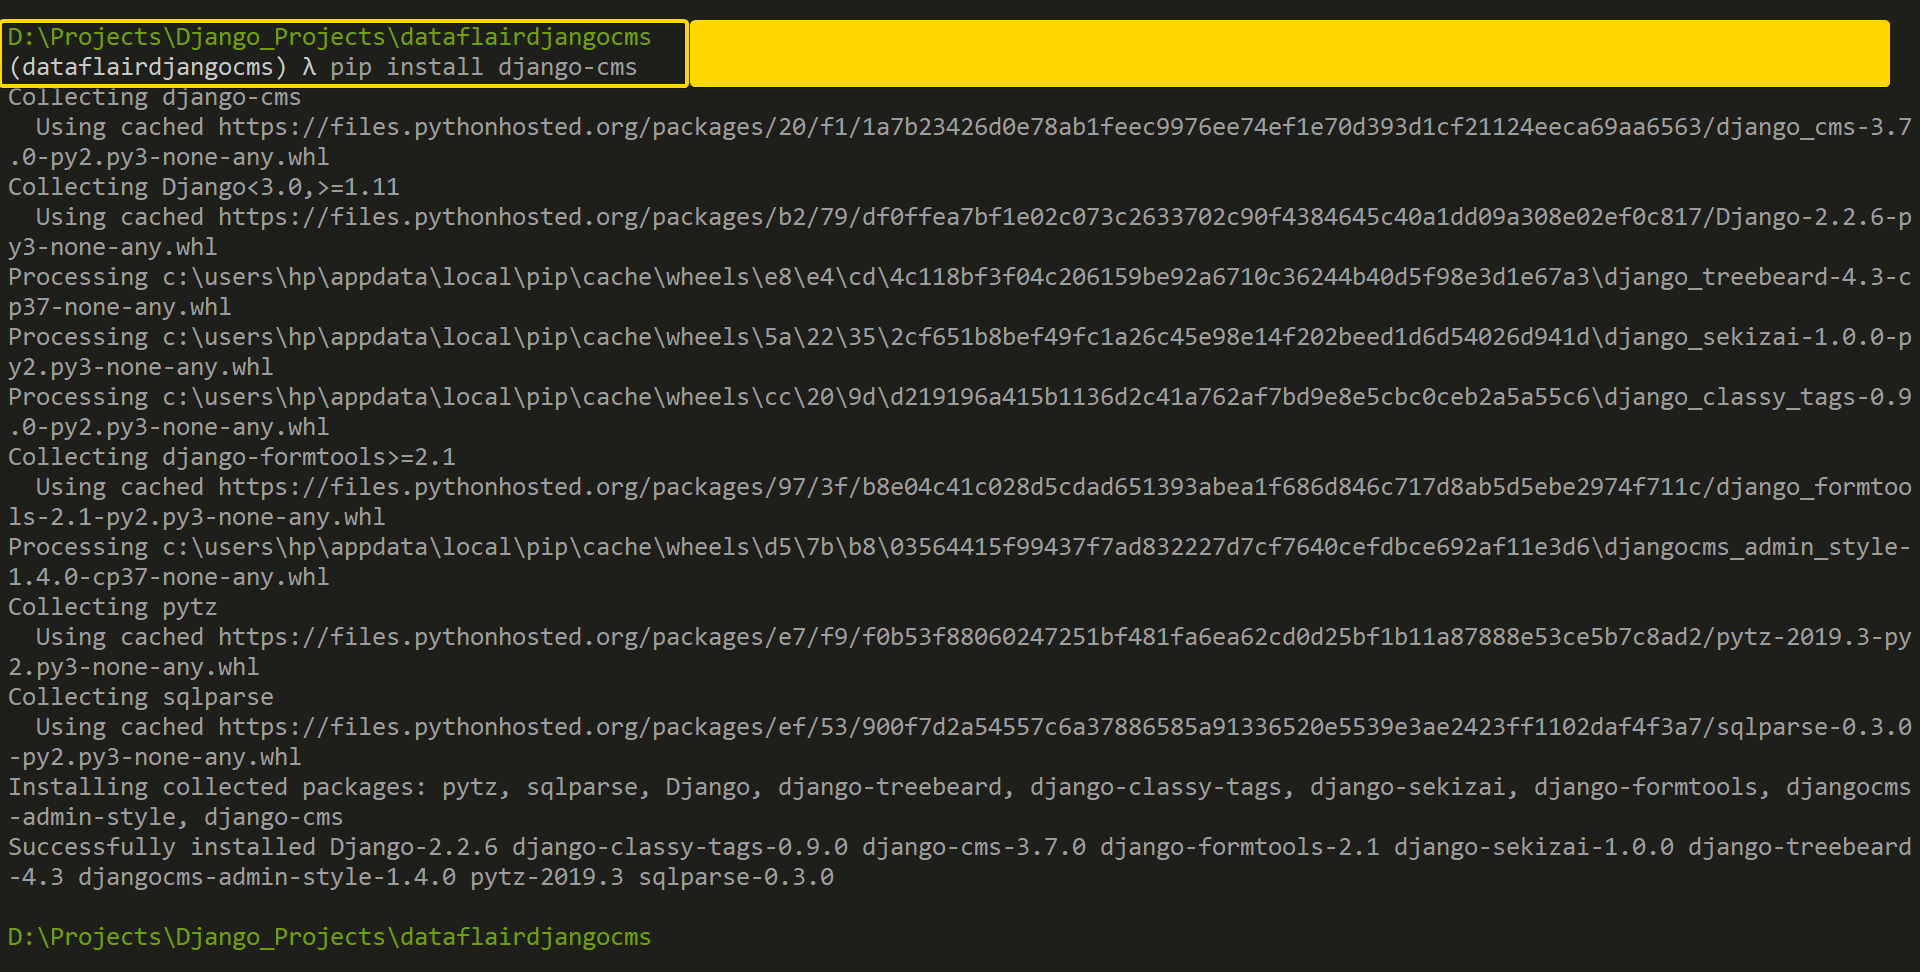
As you can see, we will get these packages installed in our environment.
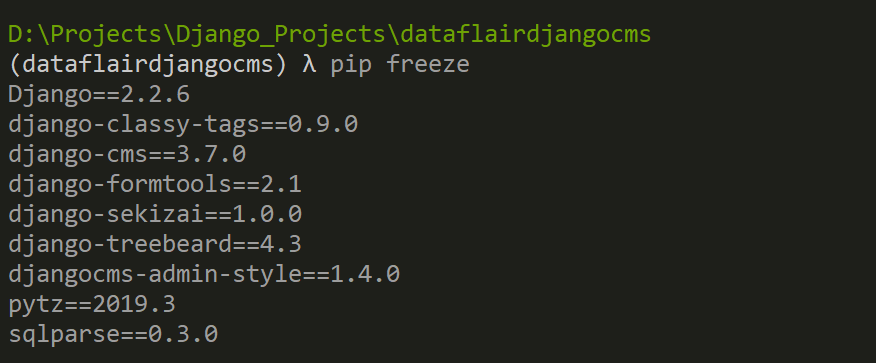
We have a lot of packages here. Now, our traditional Django Codes.
Execute this command in the command line.
$ django-admin startproject dataflaircms
Now, there will be a lot of editing and work involved. We will also look at some of the code we are adding here.
Installing Applications
We need to install some basic applications in our project. These apps are required for Django-cms to work in our project.
Code:
INSTALLED_APPS = [
# At the top before dajngo.contrib.admin
    'djangocms_admin_style',
#
# Other default applications
#
# DataFlair # Django CMS # At last also install these applications
    'django.contrib.sites',
    'cms',
    'menus',
    'treebeard',]
# Site_id Setup
SITE_ID = 1
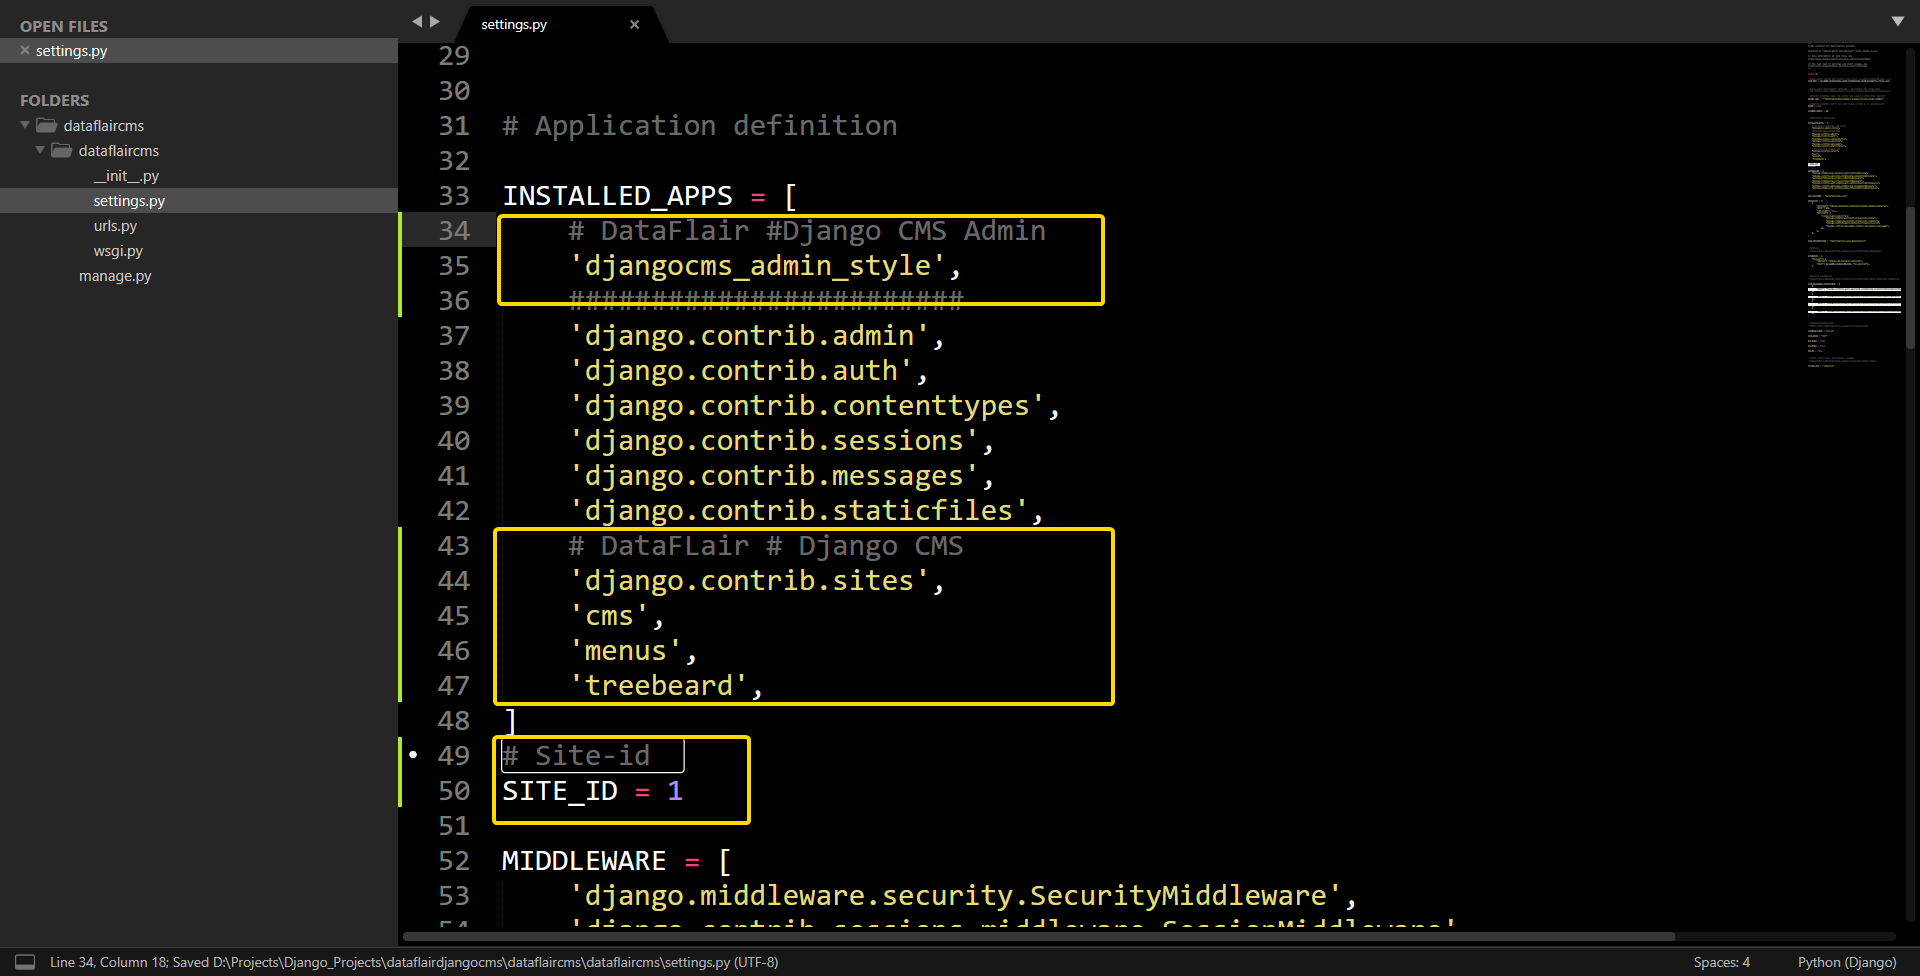
The Django CMS needs django.contrib.sites package. To use that we need another variable SITE_ID. Keeping it 1 will be beneficial for us.
Apps like cms and menus are core Django CMS packages. django-treebeard is an app that manages page and plugin tree structures. The djangocms_admin_style app provides an easier UI for the administration component. It overrides the base_site.html of Django Admin.
Language Settings for Django CMS
Django CMS requires the language setup. We will simply modify the default one and paste some additional code.
Code:
LANGUAGES = [
    ('en', 'English'),
    ('de', 'German'),
]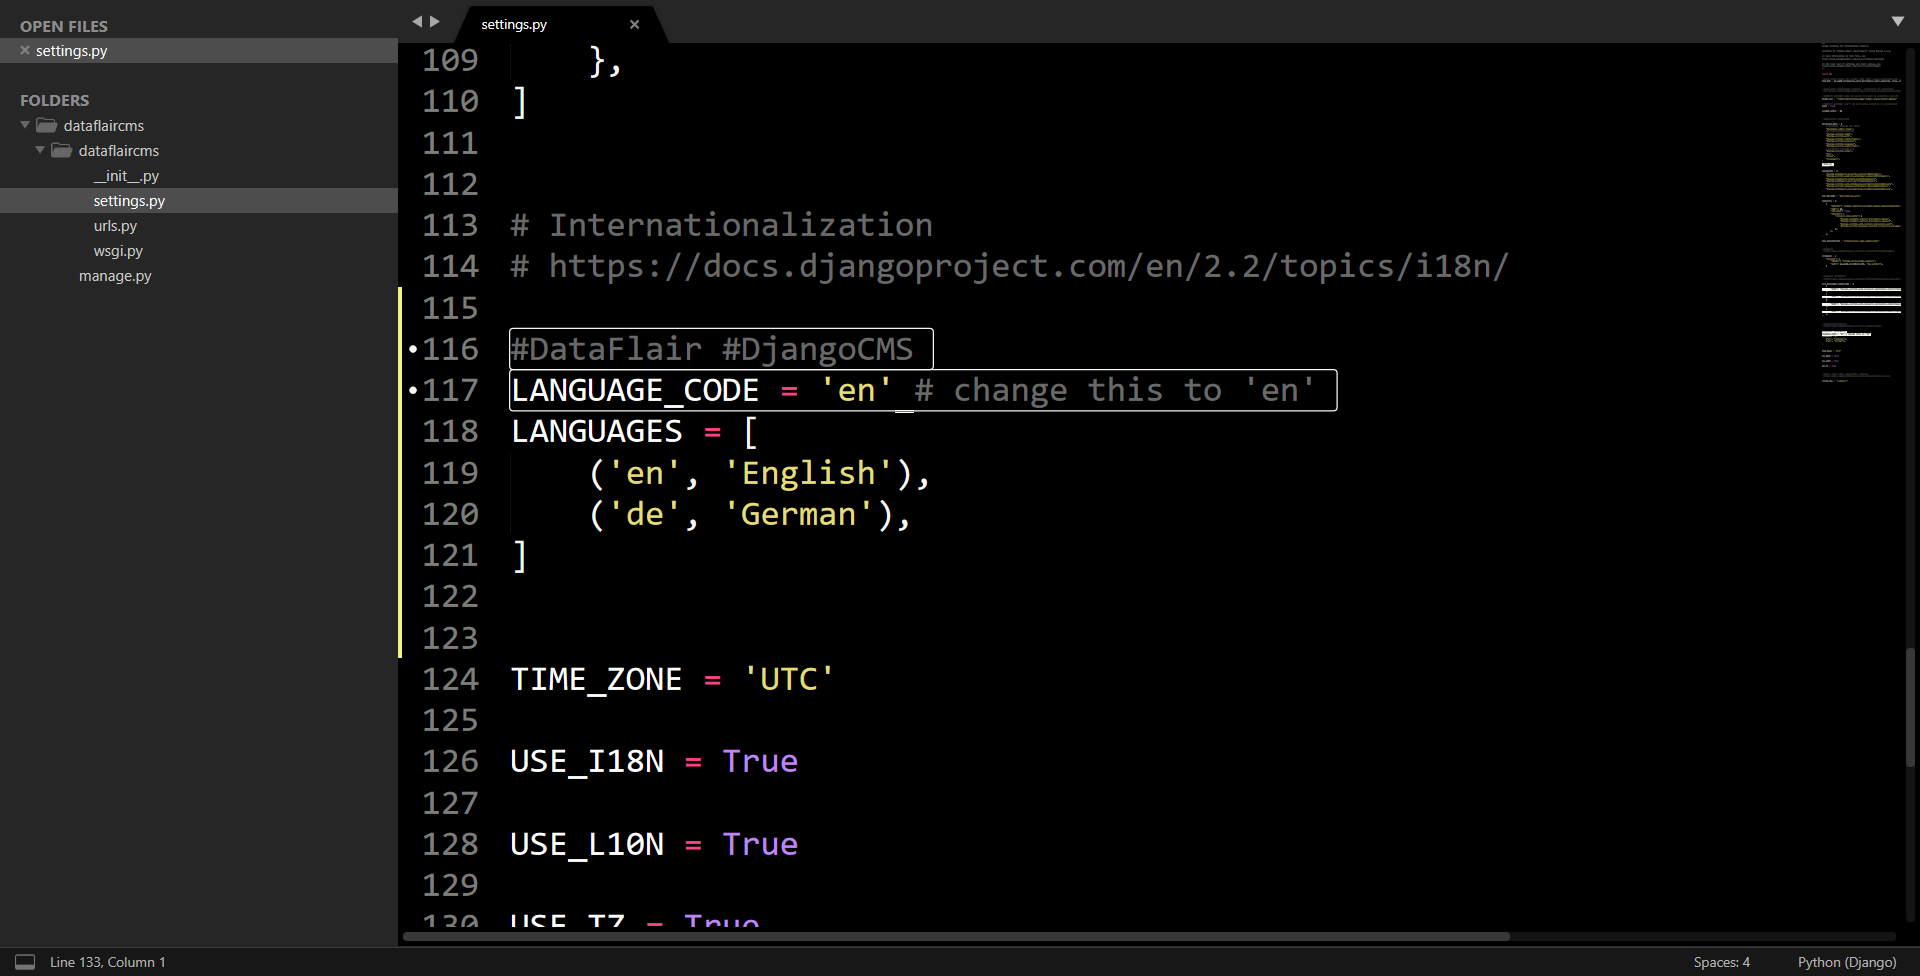
Also, change the Language_Code from ‘en-us’ to ‘en’. This is required to match the code. You will see this come up in urls.
This is one of the strategies of Django CMS to keep the website international. This will help you if your website has multiple languages.
Migrate to Database
This is an important part of the application. We will apply migrations to the Django CMS database. Generally, databases like PostgreSQL, MySQL are preferred. We can test ours with SQLite.
Execute these commands in order:
$ python manage.py migrate
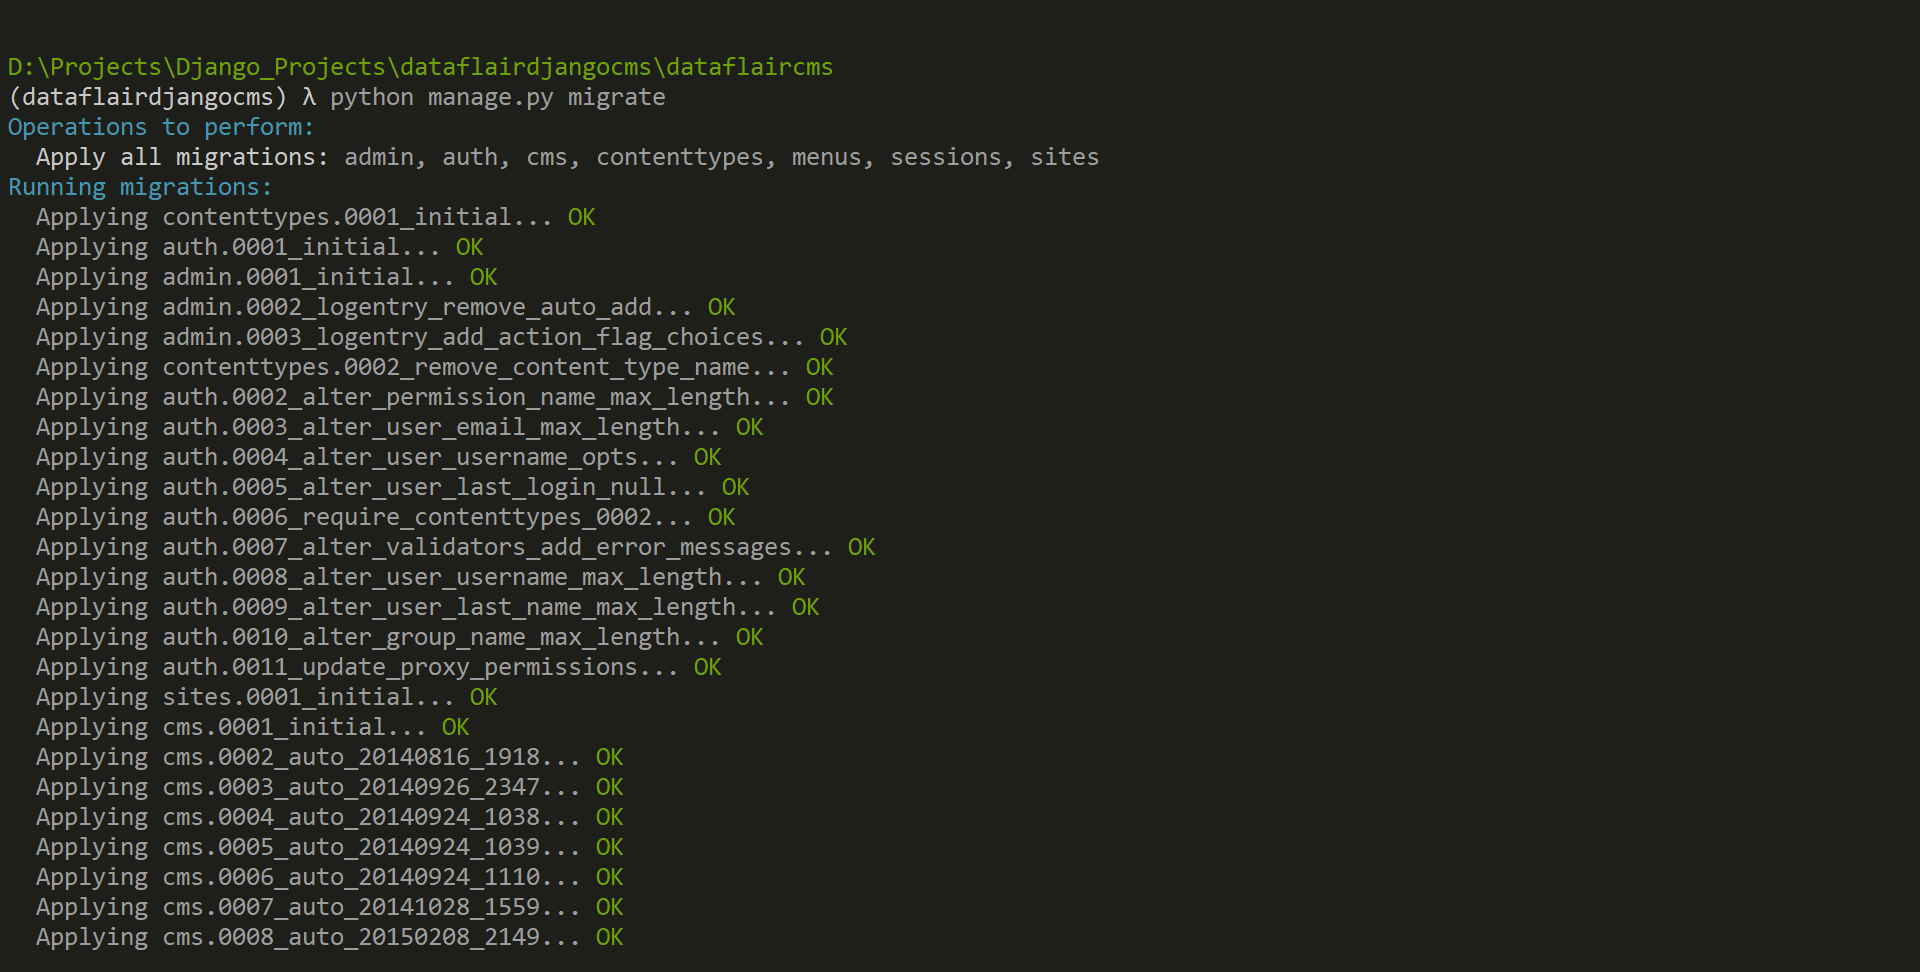
There will be a long list of migrations. The Django Content Management System has some of its own tables.
Create a Superuser
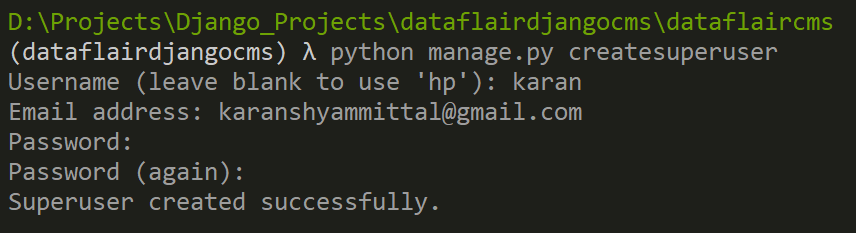
Superuser will be important in the case of Django CMS.
$ python manage.py createsuperuser
Then we can run one more awesome CLI command. This command will look for errors in settings.py file. These errors will be regarding the installation of applications.
Installing Sekizai and other important packages
There are some important packages that are needed by Django CMS. When we execute this command, we get:
$ python manage.py cms check
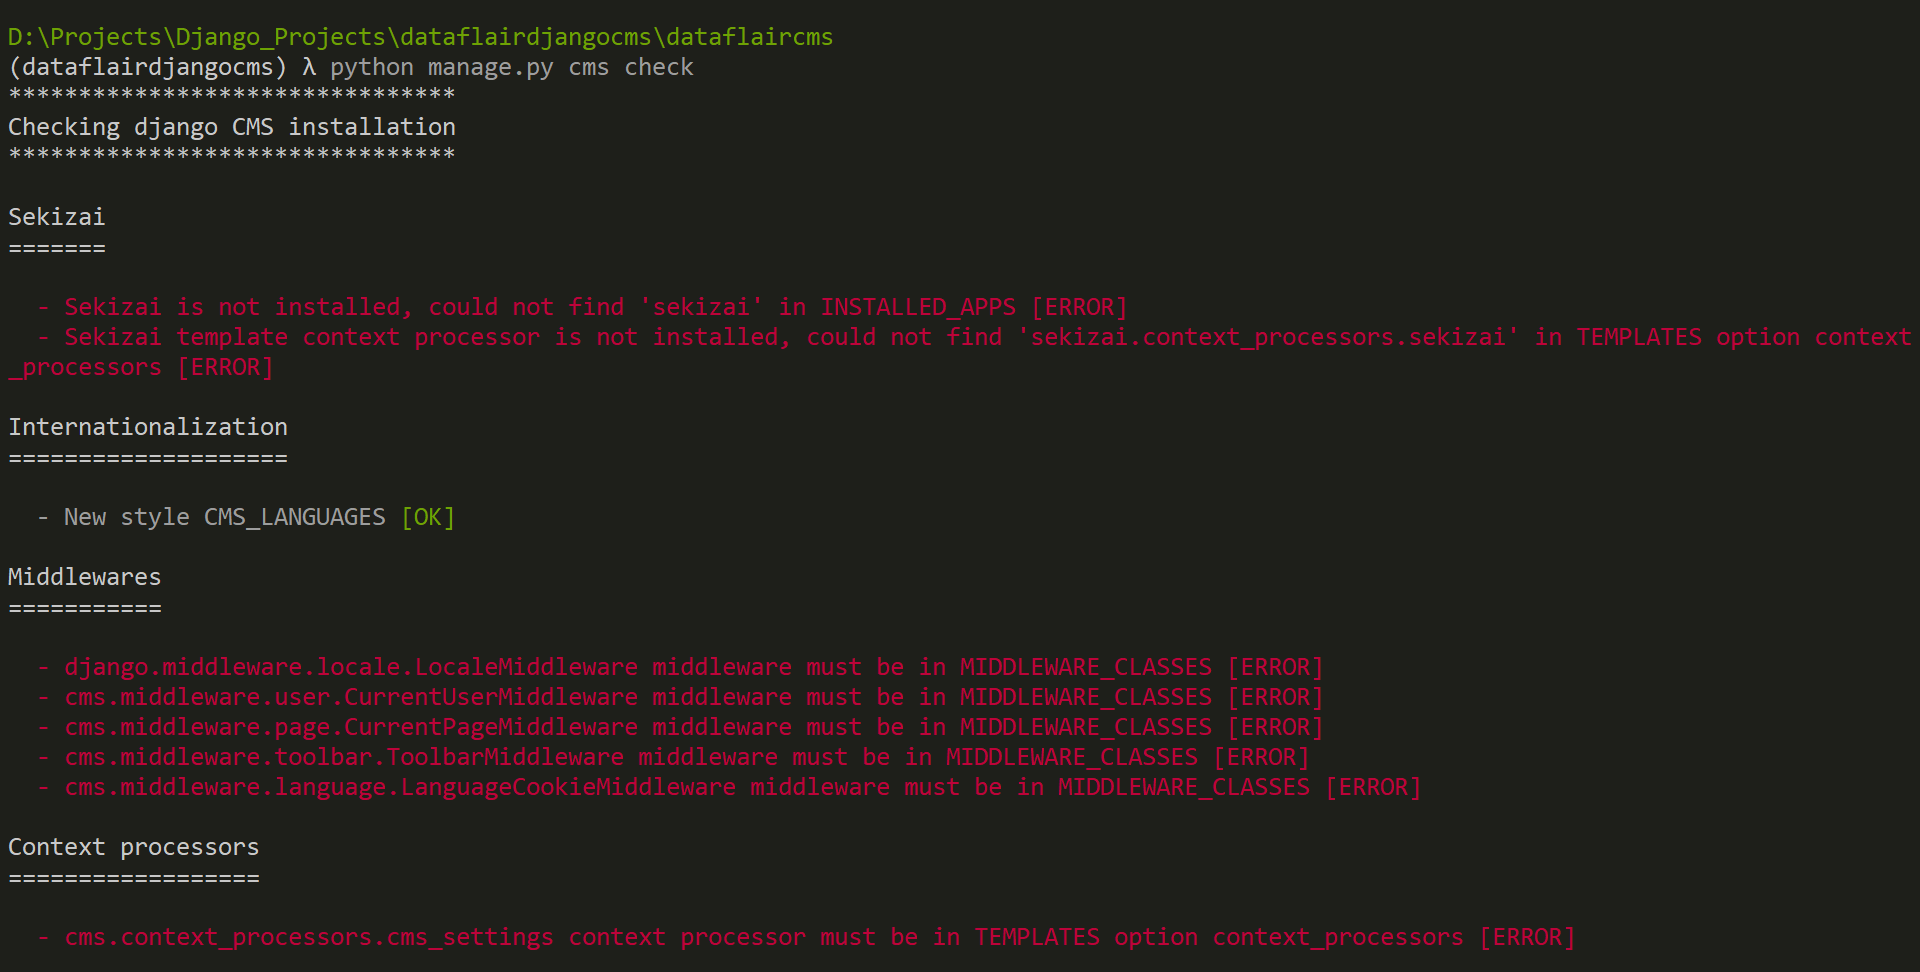
This output is provided by the CLI. There is A list of errors that need to be resolved. So, let’s tackle them one by one.
The first error can be resolved by installing the Sekizai package. Sekizai is a Japanese word. Its literal meaning in Japanese is blocks. It works for the literal meaning of its name. It will provide us with pre-defined tags or blocks of the Django templating language. This package can be used without CMS.
It’s an awesome package for Django developers and you should definitely check it out. It comes pre-installed with Django Content Management System and you just need to install it in the project.
Inside settings.py file, in INSTALLED_APPS, add:
‘sekizai’
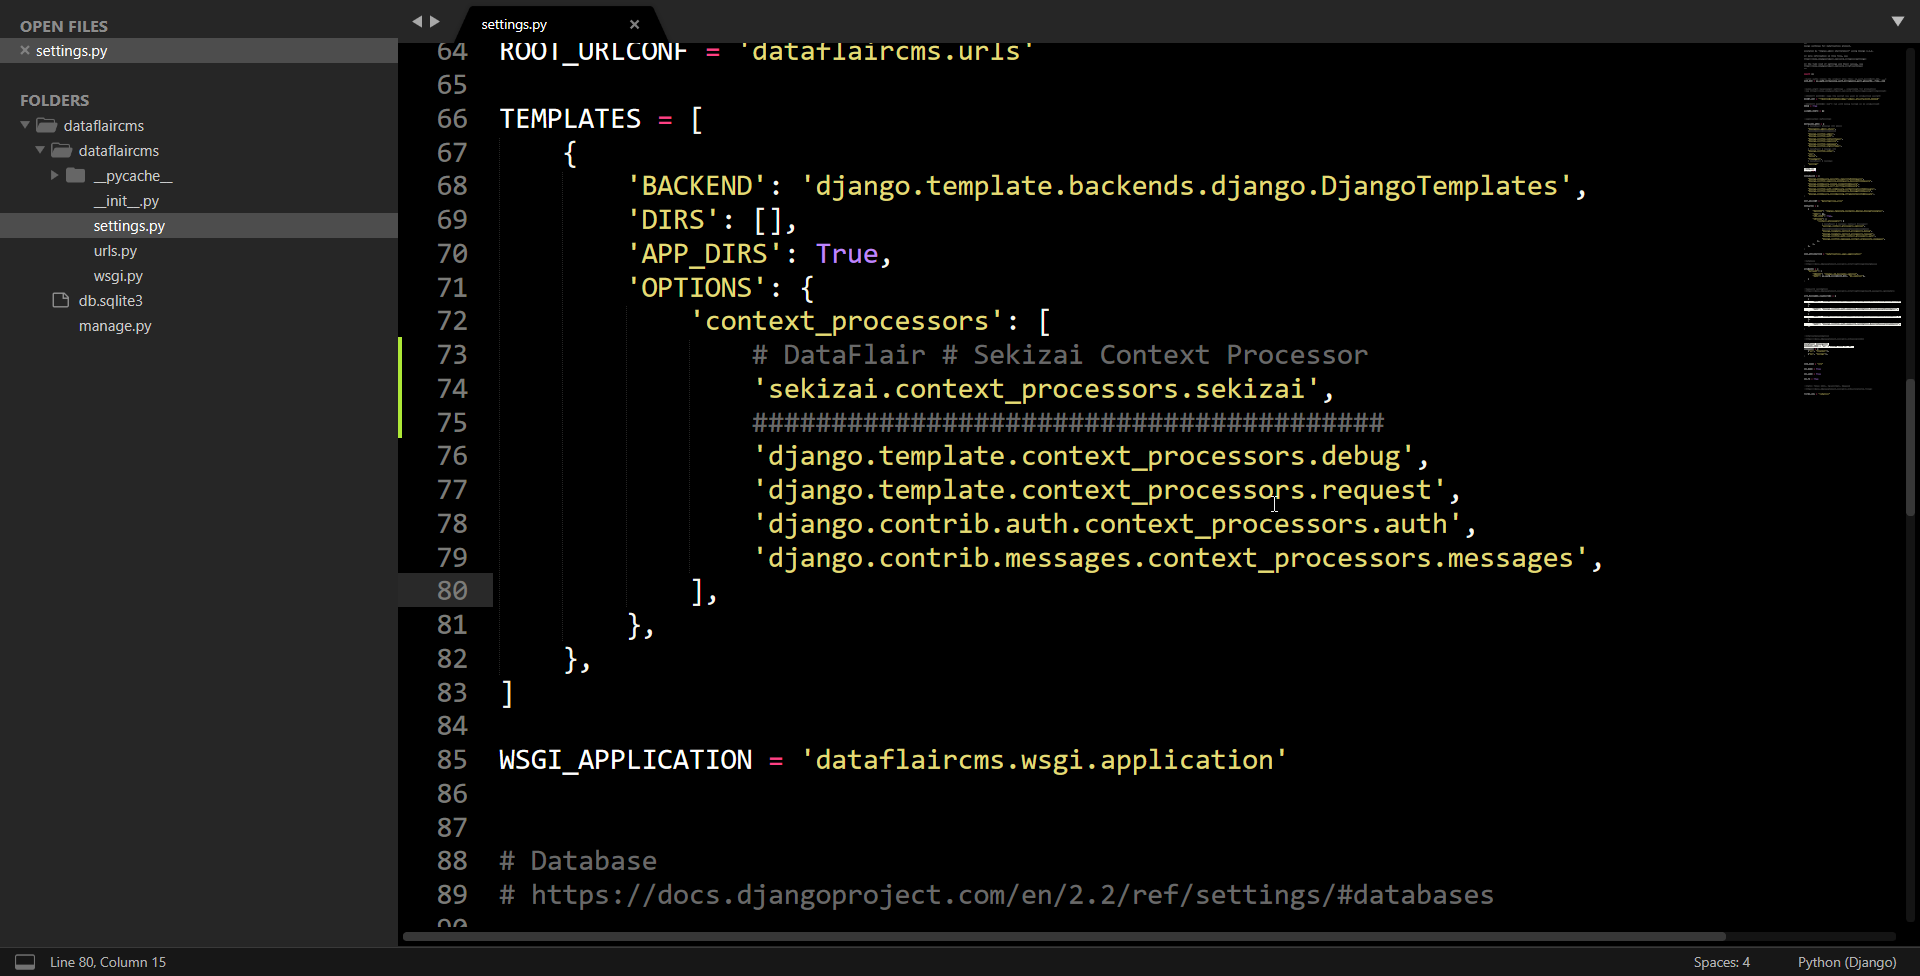
Also, add this line inside the TEMPLATES list.
‘sekizai.context_processors.sekizai’,
The screenshots are like this:

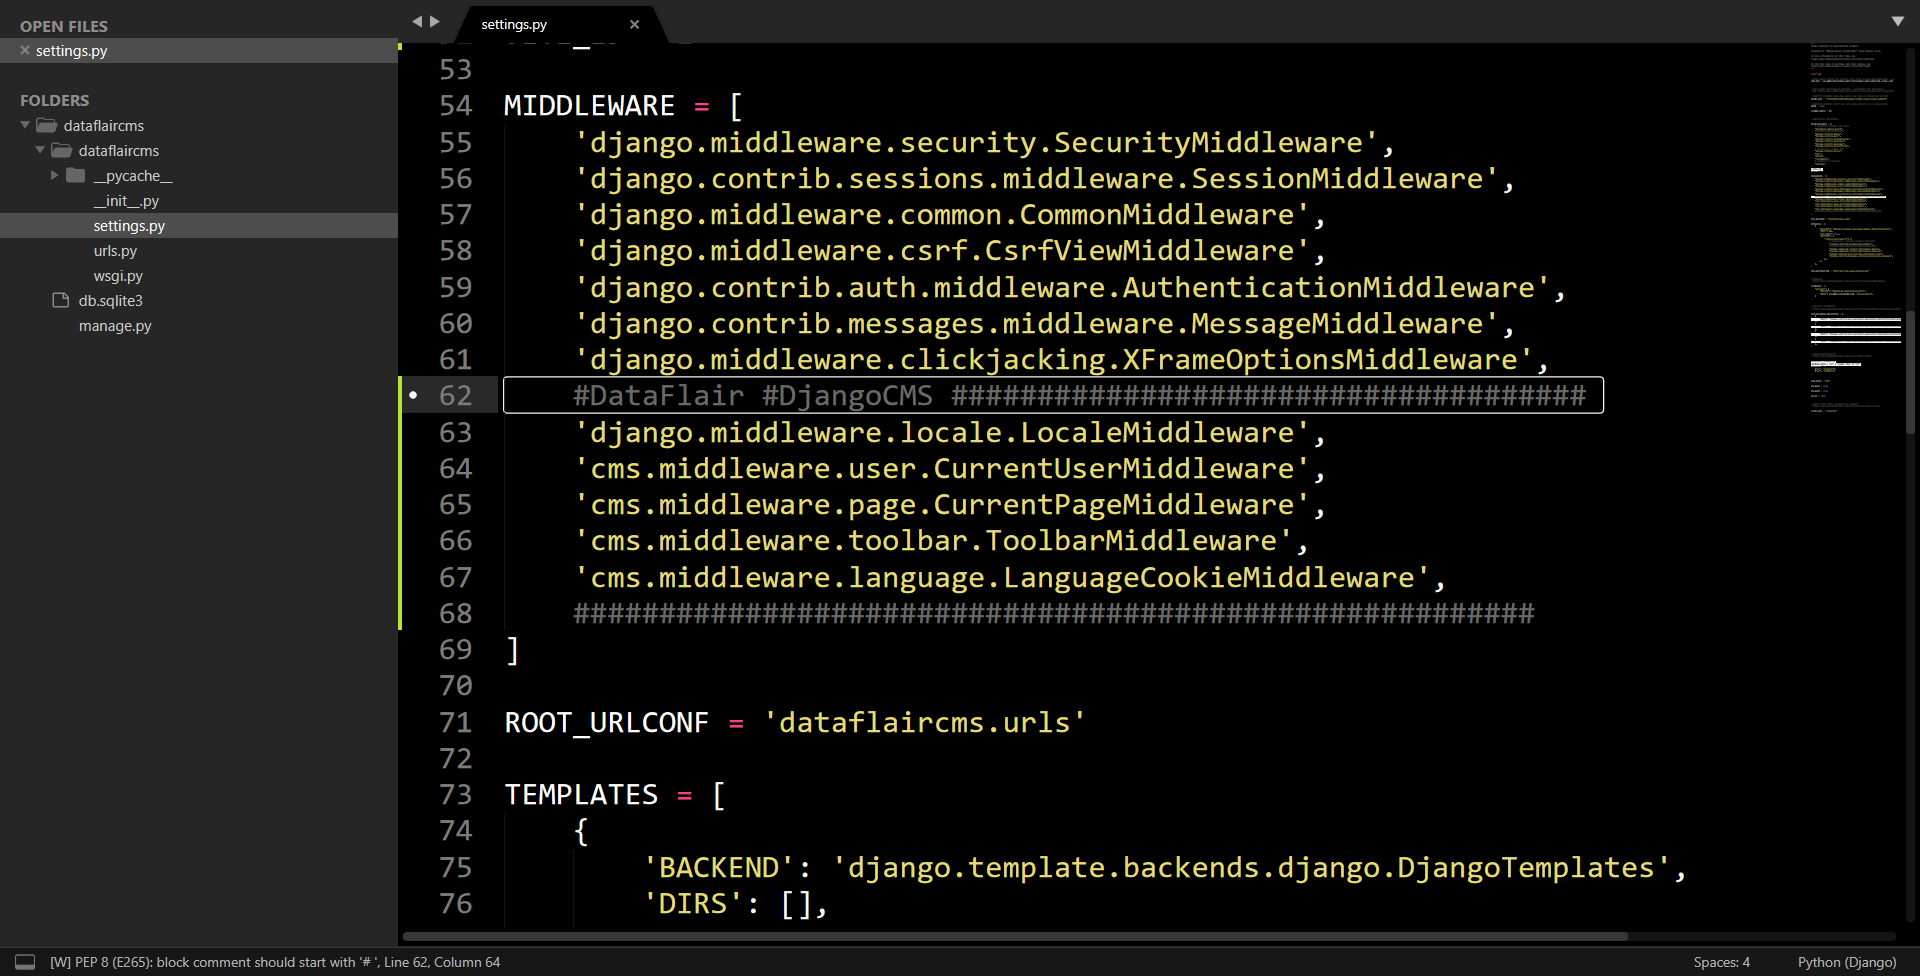
The Sekizai package uses its own template processor. This processor will interpret the template tags correctly. Now, to remove the middleware errors.
Code:
    'django.middleware.locale.LocaleMiddleware',
    'cms.middleware.user.CurrentUserMiddleware',
    'cms.middleware.page.CurrentPageMiddleware',
    'cms.middleware.toolbar.ToolbarMiddleware',
    'cms.middleware.language.LanguageCookieMiddleware',
Now, we need to add two more context processors in templates. Add these processors under
TEMPLATES[0][‘OPTIONS’][‘context_processors’] list.
Code:
'cms.context_processors.cms_settings',
'django.template.context_processors.i18n',

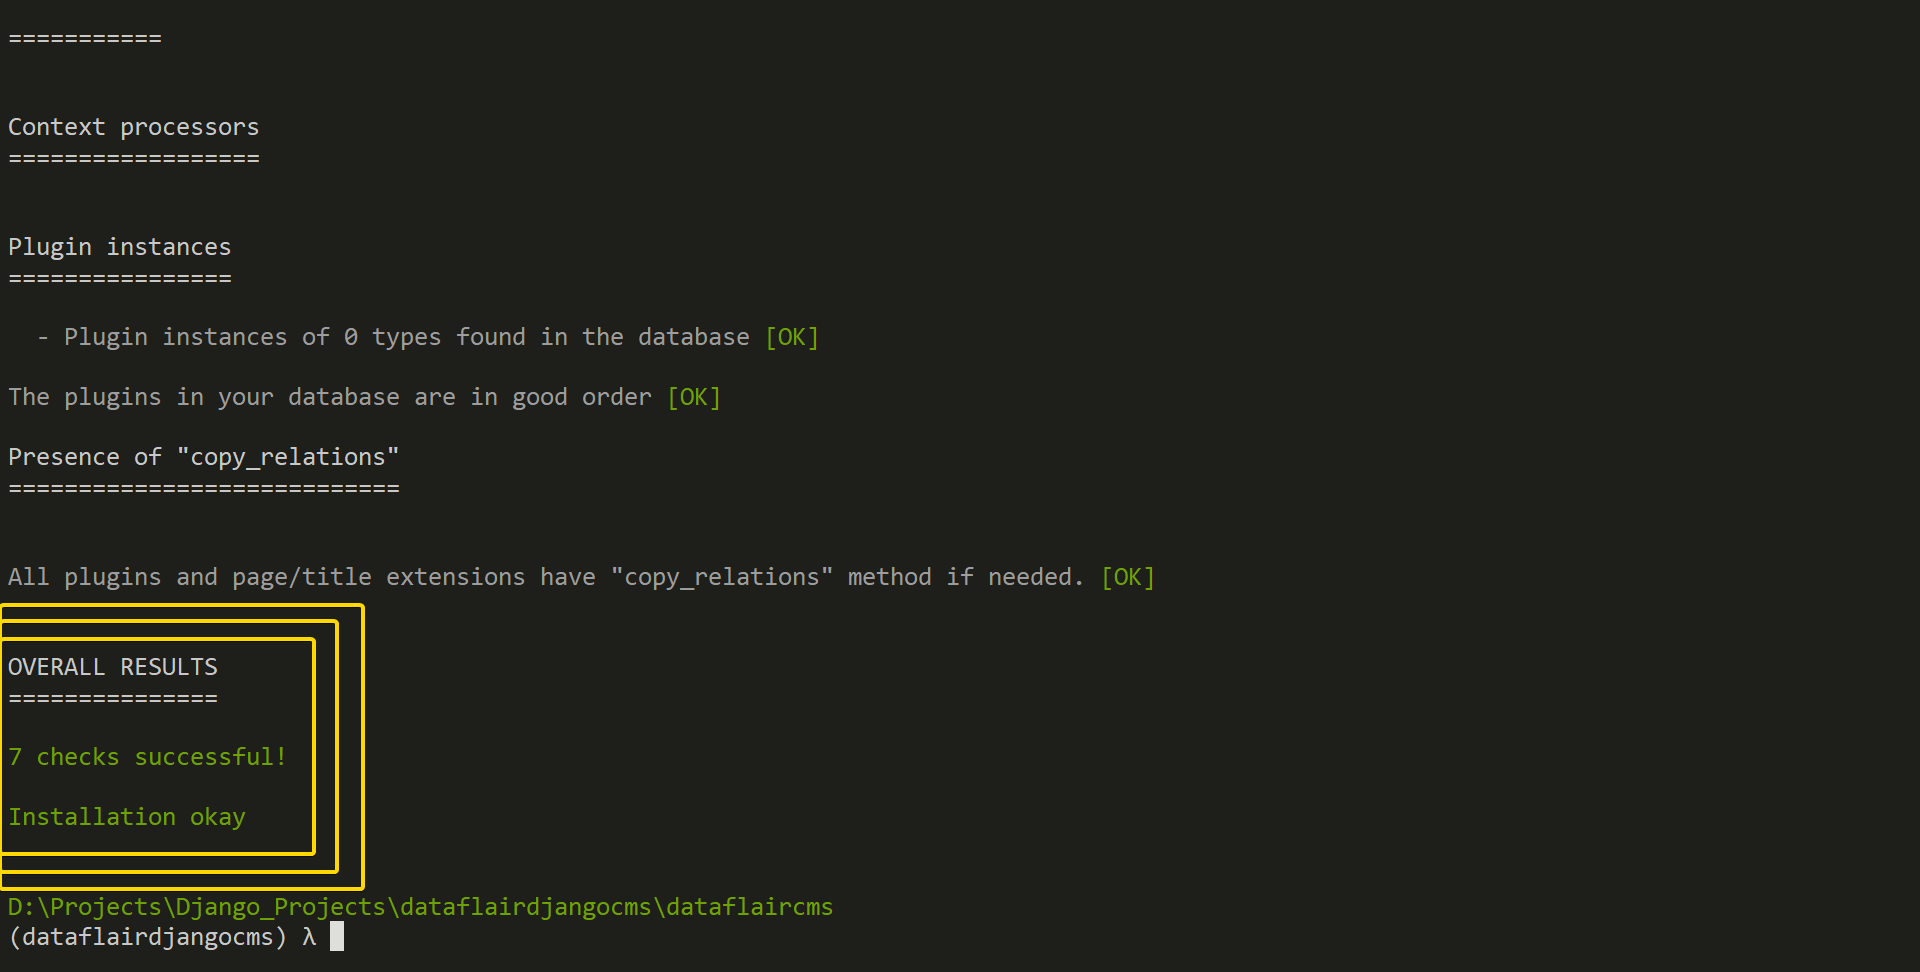
Now, when we again run the command:
$ python manage.py cms check
We get no errors:
Configuring URLs
Now, we will configure URLs of our settings. Open urls.py of the project and paste this code.
Code:
from django.contrib import admin
from django.conf.urls import url, include

urlpatterns = [
    url(r'^admin/', admin.site.urls),
    url(r'^', include('cms.urls')),
]
At this point, you can test the project. I would recommend that you still follow the tutorial. We will be installing some more packages and plugins.
Configuring Media and Static Settings
Our Django project is going to handle two types of files:
- Static Files like CSS
- JavaScript files
These files are sent alongside the Html page to render beautiful web pages. Media files or images, docs are uploaded by users.
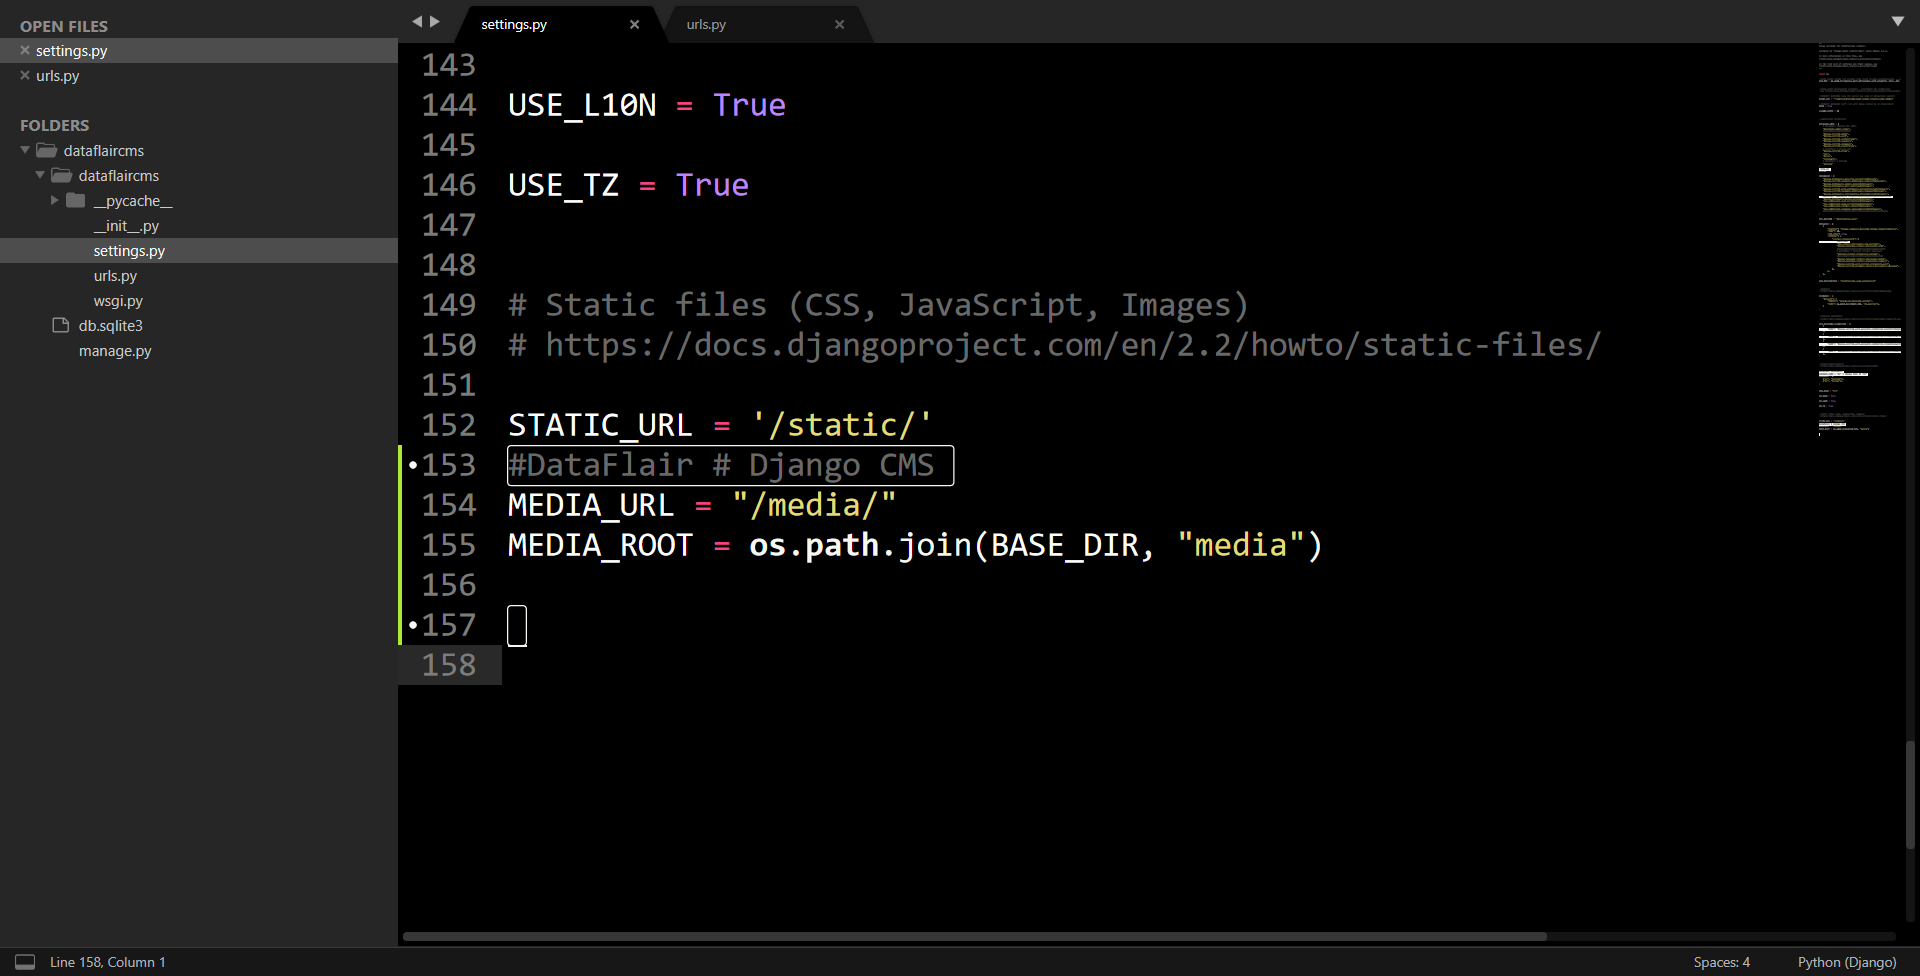
Paste this code in settings.py file to configure media and static settings.
Code:
MEDIA_URL = "/media/"
MEDIA_ROOT = os.path.join(BASE_DIR, "media")
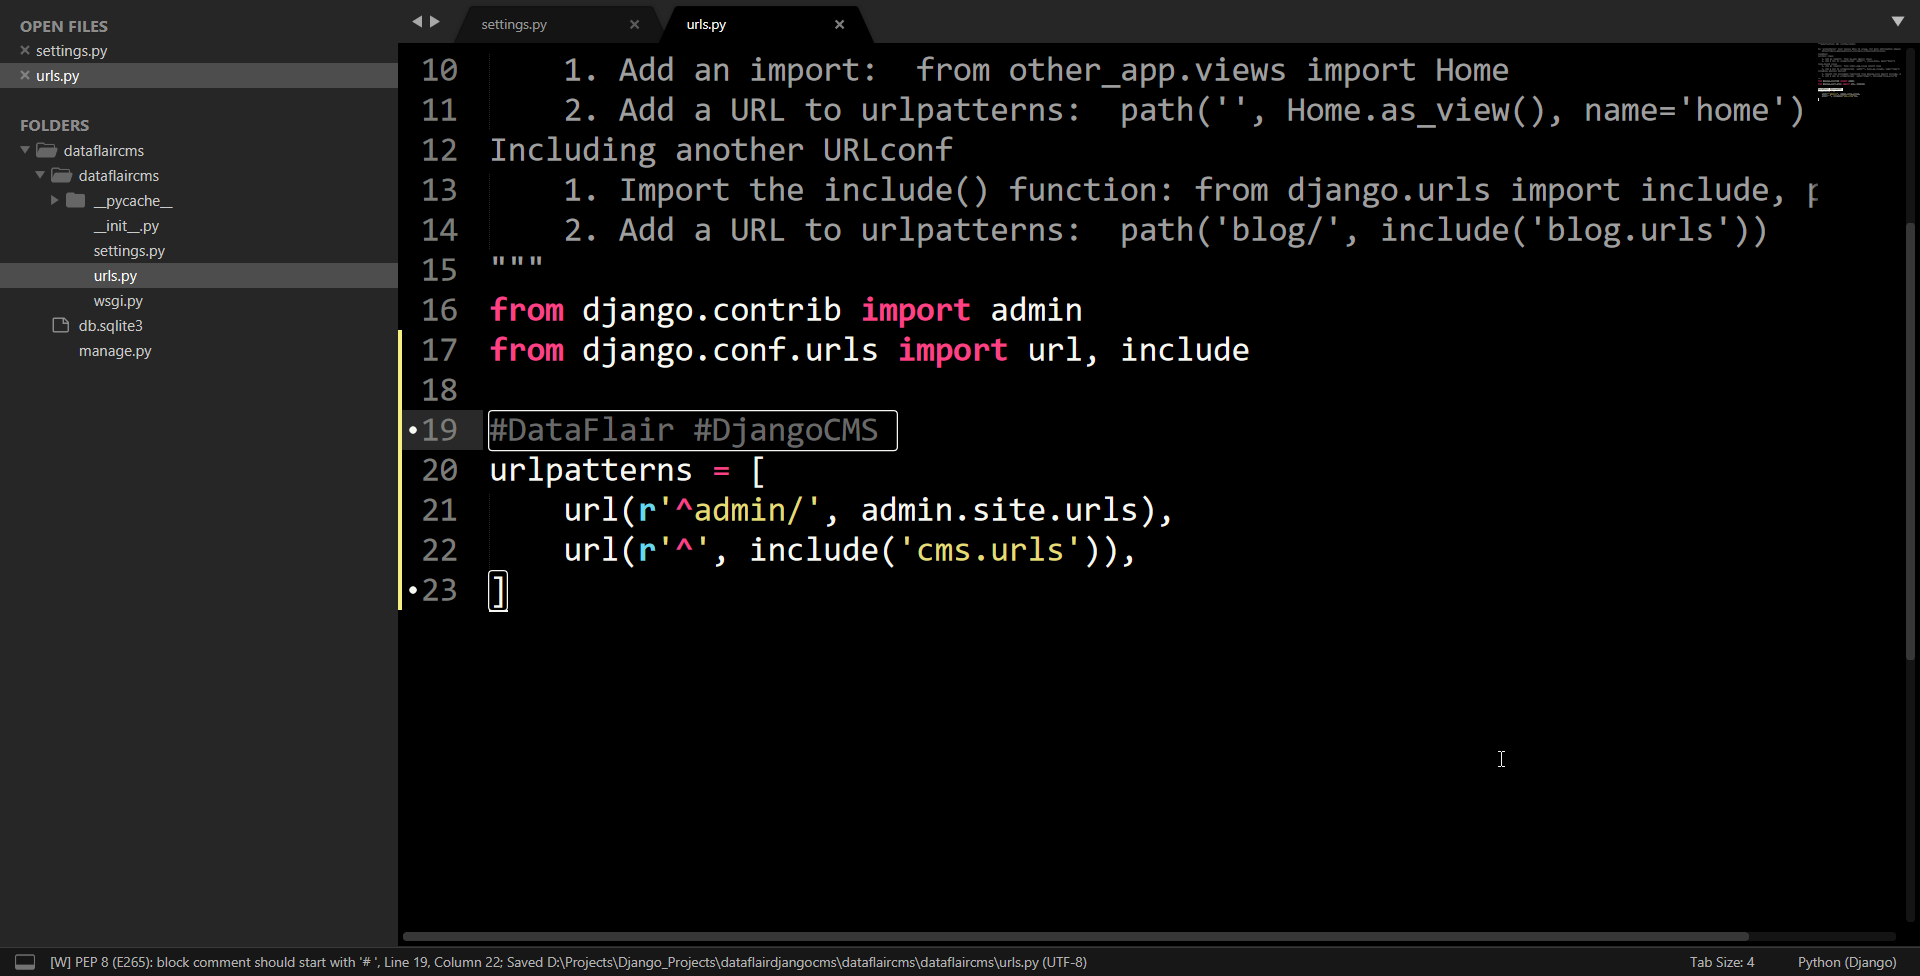
Also, replace the code in urls.py with this one.
Code:
from django.contrib import admin
from django.conf.urls import url, include, static
from django.conf import settings
#DataFlair #DjangoCMS
urlpatterns = [
    url(r'^admin/', admin.site.urls),
    url(r'^', include('cms.urls')),
] + static.static(settings.MEDIA_URL, document_root = settings.MEDIA_ROOT)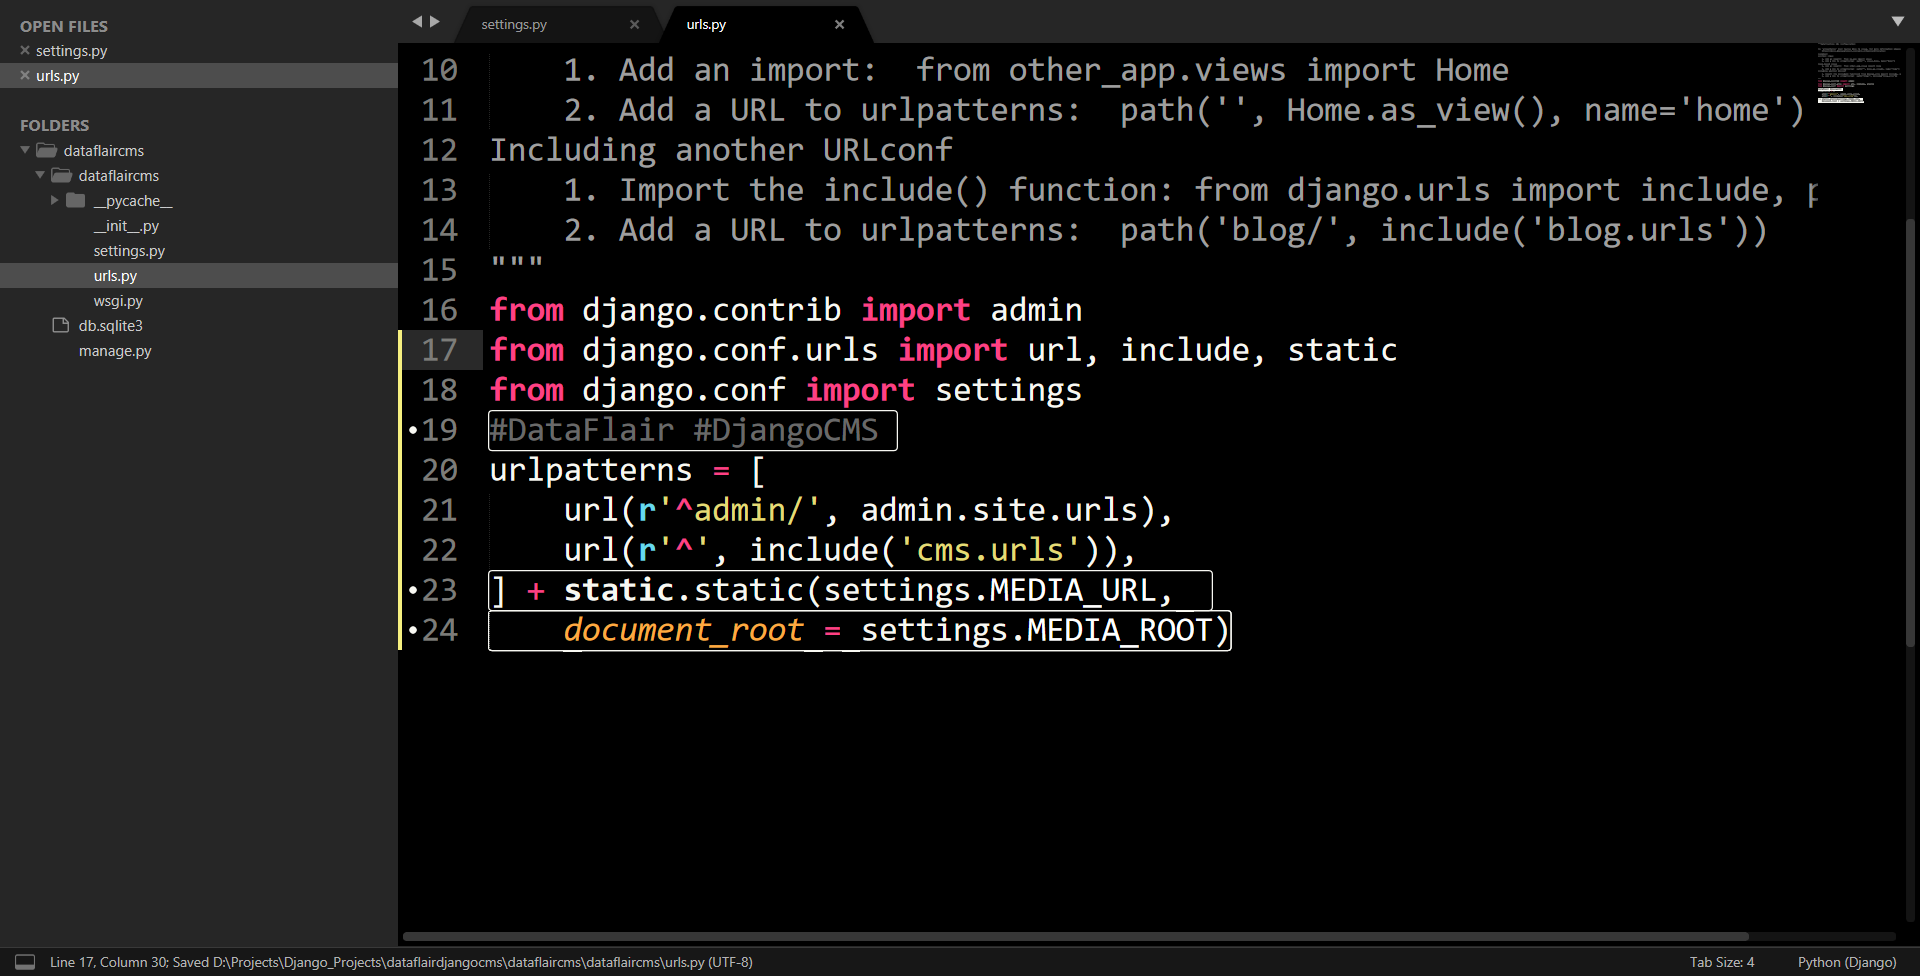
Adding templates
There are elements like pages in Django Content Management System. The pages require at least one template. We will be developing just that.
Open settings.py file and paste this setting above the TEMPLATES list.
Code:
CMS_TEMPLATES = [
    ('home.html', 'Home page template'),
]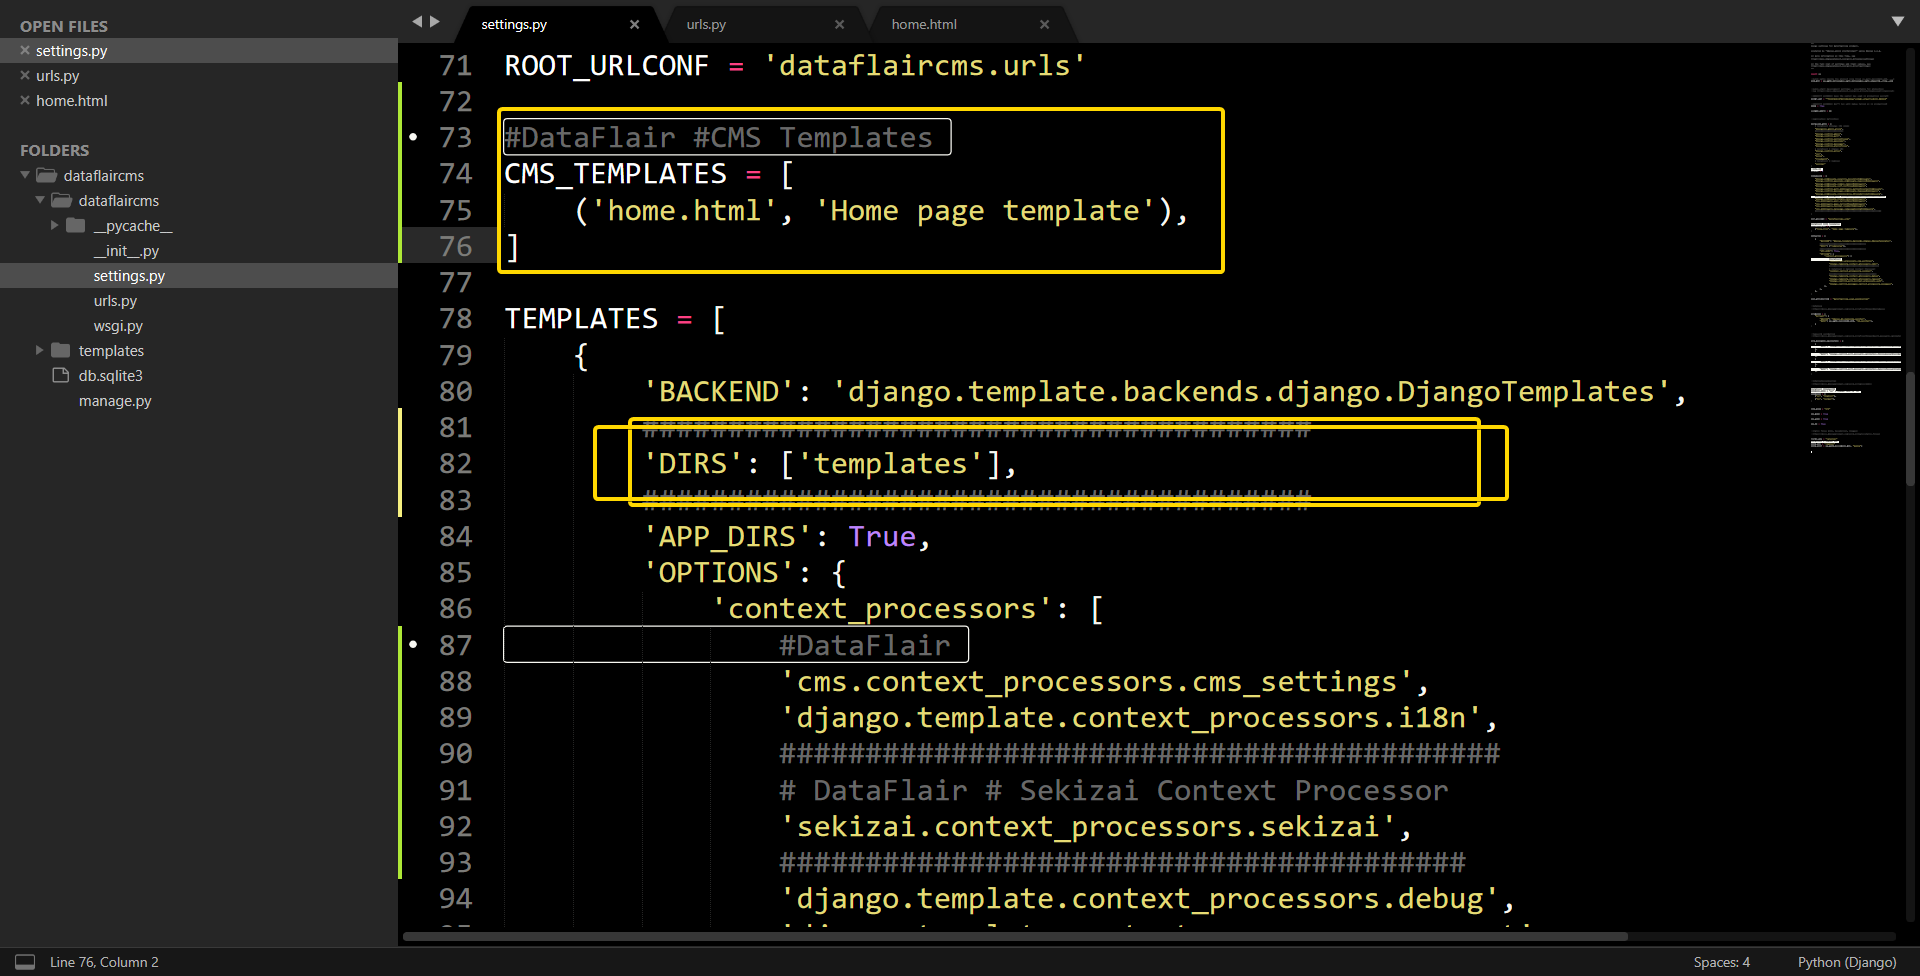
Also, add ‘templates’ in TEMPLATES[‘DIR’] list. Make sure the changes are made according to the image above. We will make the folder templates. Inside templates, folder makes a new file – templates/home.html.
Paste this code in home.html:
{% load cms_tags sekizai_tags %}
<html>
    <head>
        <title>{% page_attribute "page_title" %}</title>
        {% render_block "css" %}
    </head>
    <body>
        {% cms_toolbar %}
        {% placeholder "content" %}
        {% render_block "js" %}
    </body>
</html>

Understanding the Code:
The first line {% load %} will load template libraries of Sekizai and CMS tags. Then there are tags of those libraries used in the HTML. The {% page_attribute “page_title” %} will extract the page title. You will see when we make our pages. The Django CMS has core elements called pages.
These are the webpages or content pages.
{% render_block ‘css’ %} and {% render_block ‘js’ %} are two Sekizai library tags. The rendered block will load the HTML blocks code. The name can change according to the user. Django Content Management System by-default gives CSS and js tags.
It defines these HTML blocks which contain its CSS and JavaScript files. It is recommended that the CSS tag is used just before </head>. Similarly, js tag be used just before </body> tag.
The other {% cms_toolbar %} will load the django cms toolbar. {% placeholder %} tag shall be present in the template to be useful for Django CMS. It will become clearer once we use a Django Content Management System.
Starting the CMS
We have completed the basic setup of our project. Let’s start the server.
$ python manage.py runserver
We get a beautiful admin right at the start.
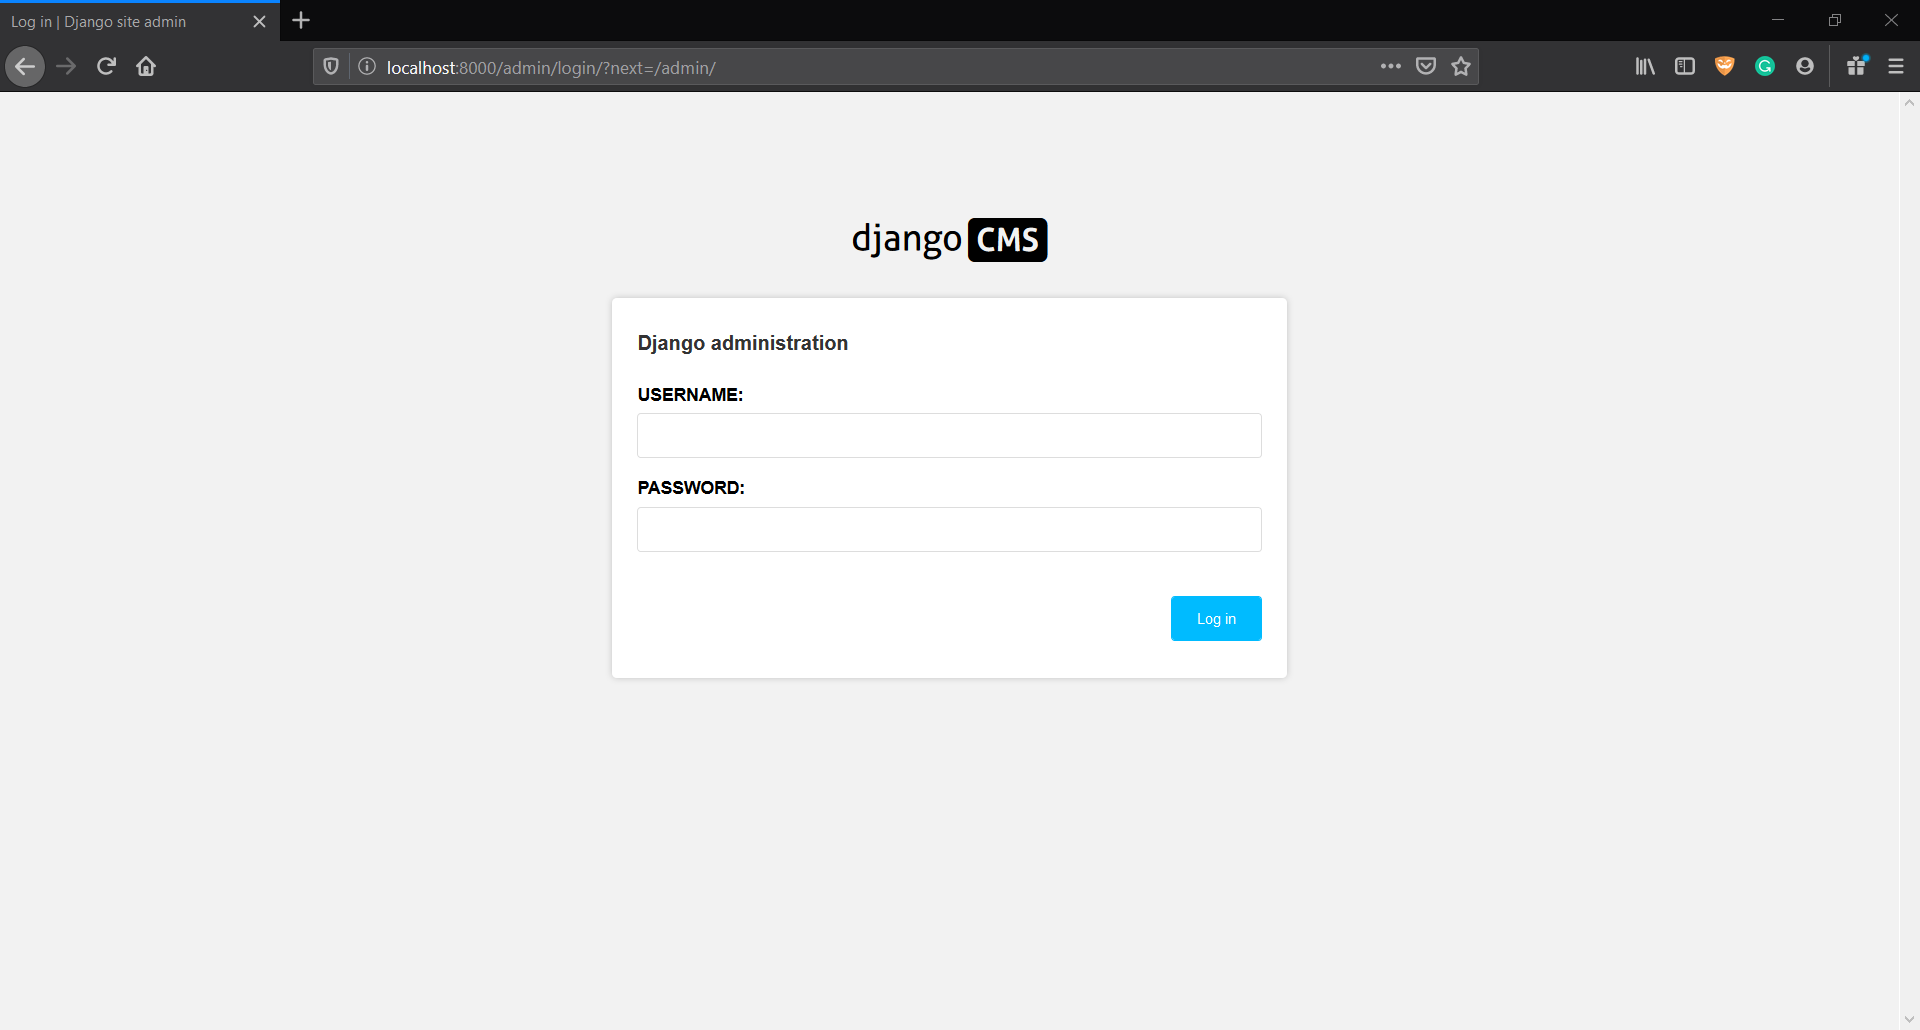
After login, we need to make a new page. We will make a new page by clicking on the Next button.
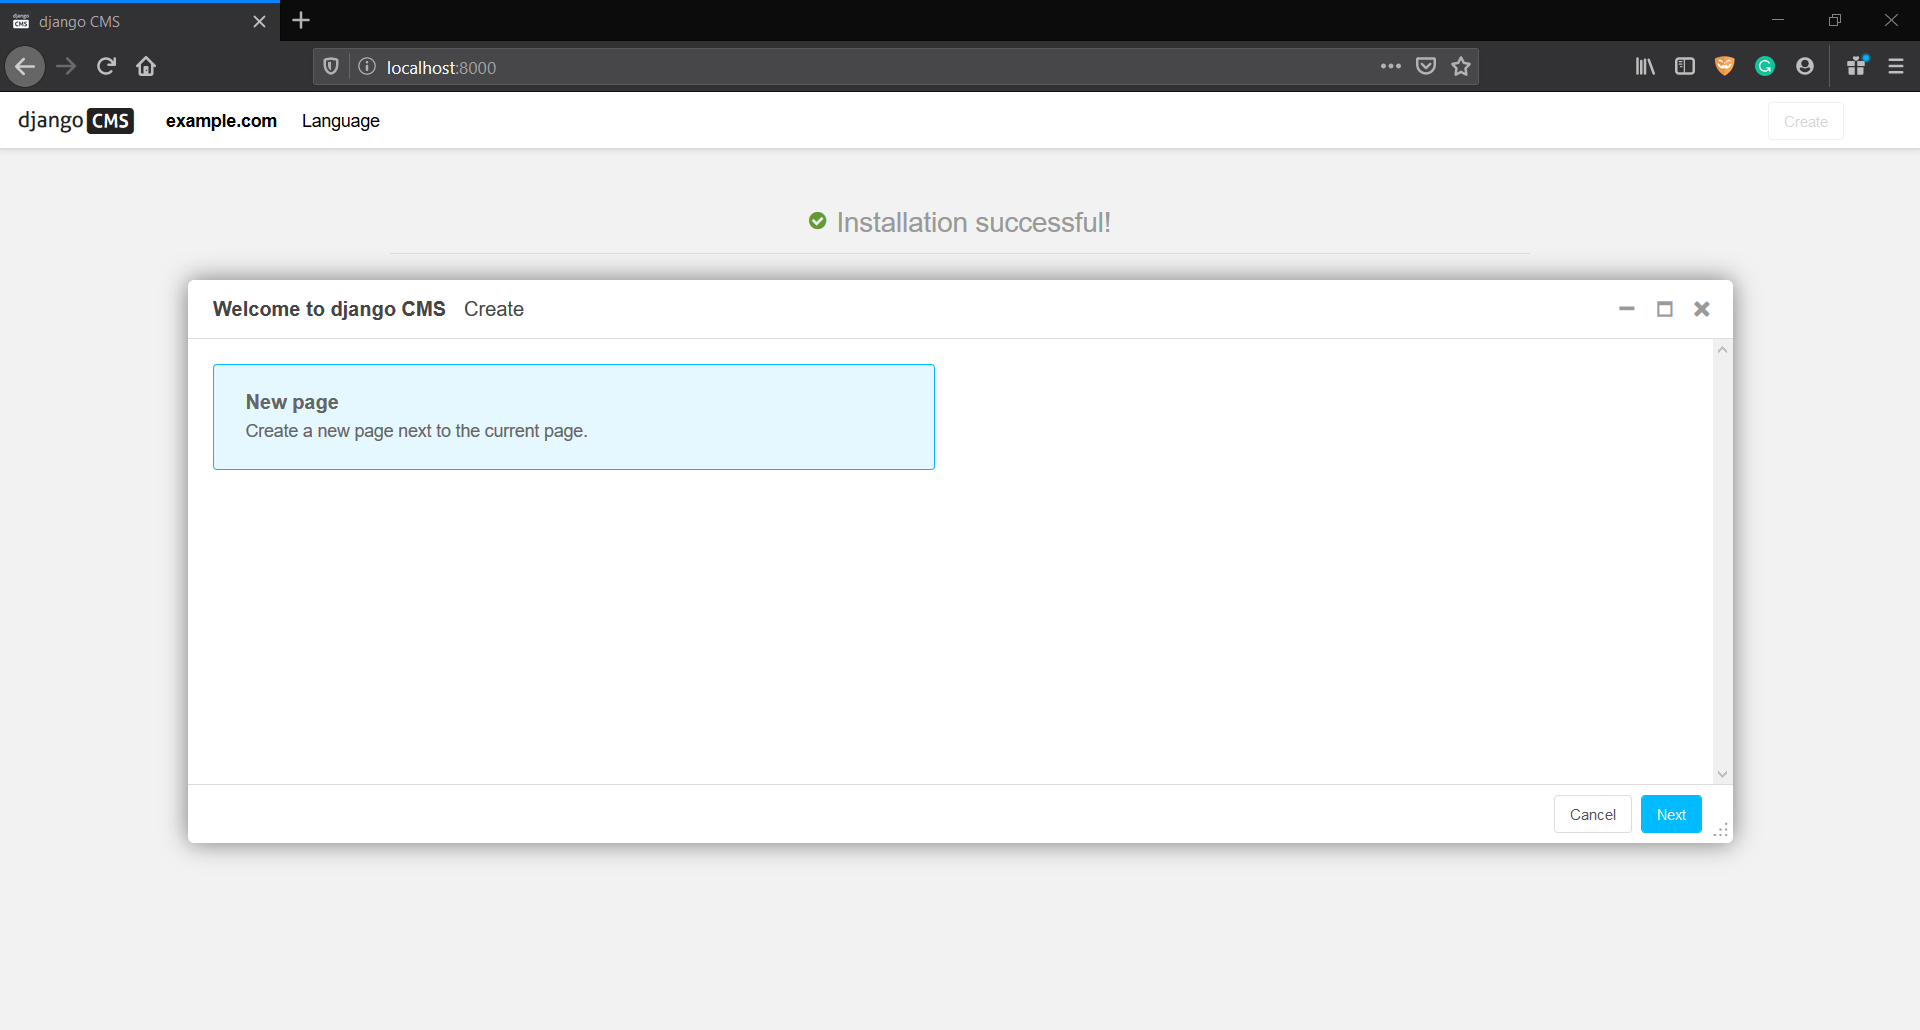
Now, fill the fields as you like. Click on the Create button.

You will see that the page title has been changed. Well, that’s not all the Django CMS can do. The CMS is much more powerful when there are plugins. Its true power comes from its plugins. You can check out here the number of plugins provided by Django CMS.
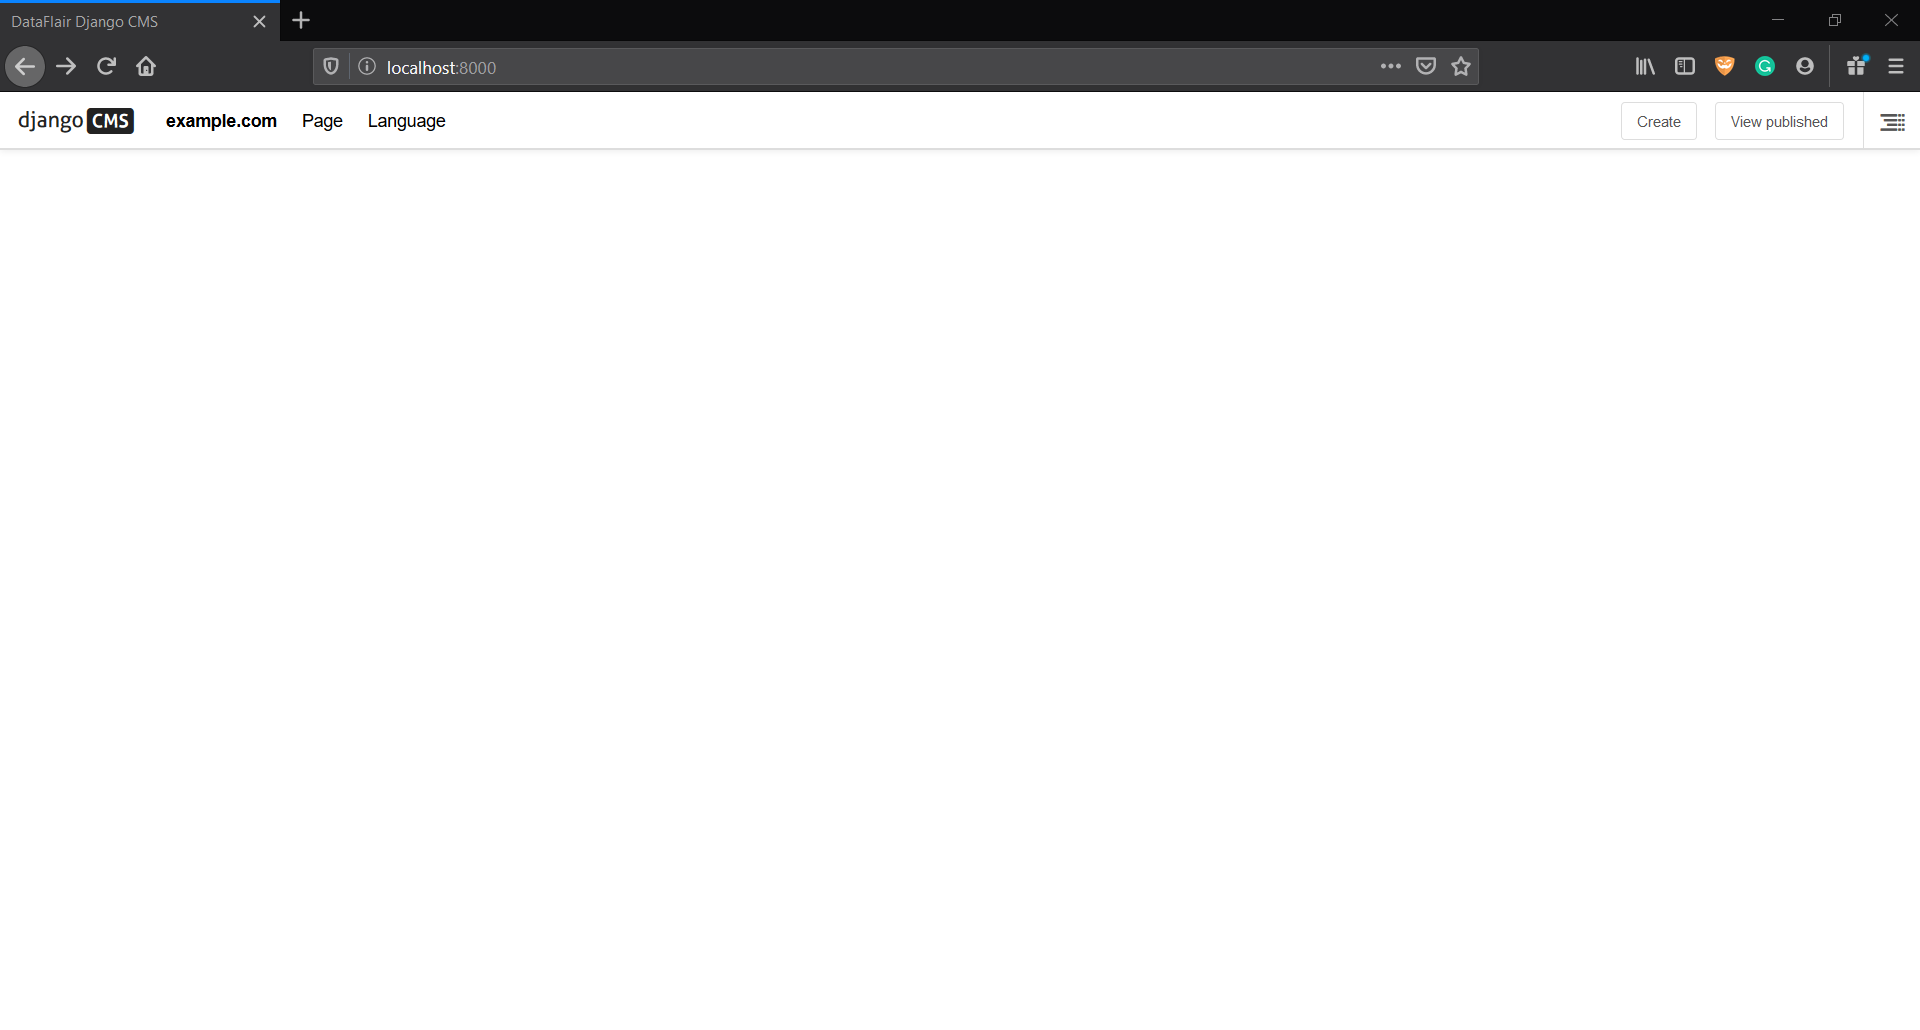
The new page we just created does not contain anything. It can be changed with the installation of various plugins. It’s easy to use. You can get the plugins on the Django CMS website.
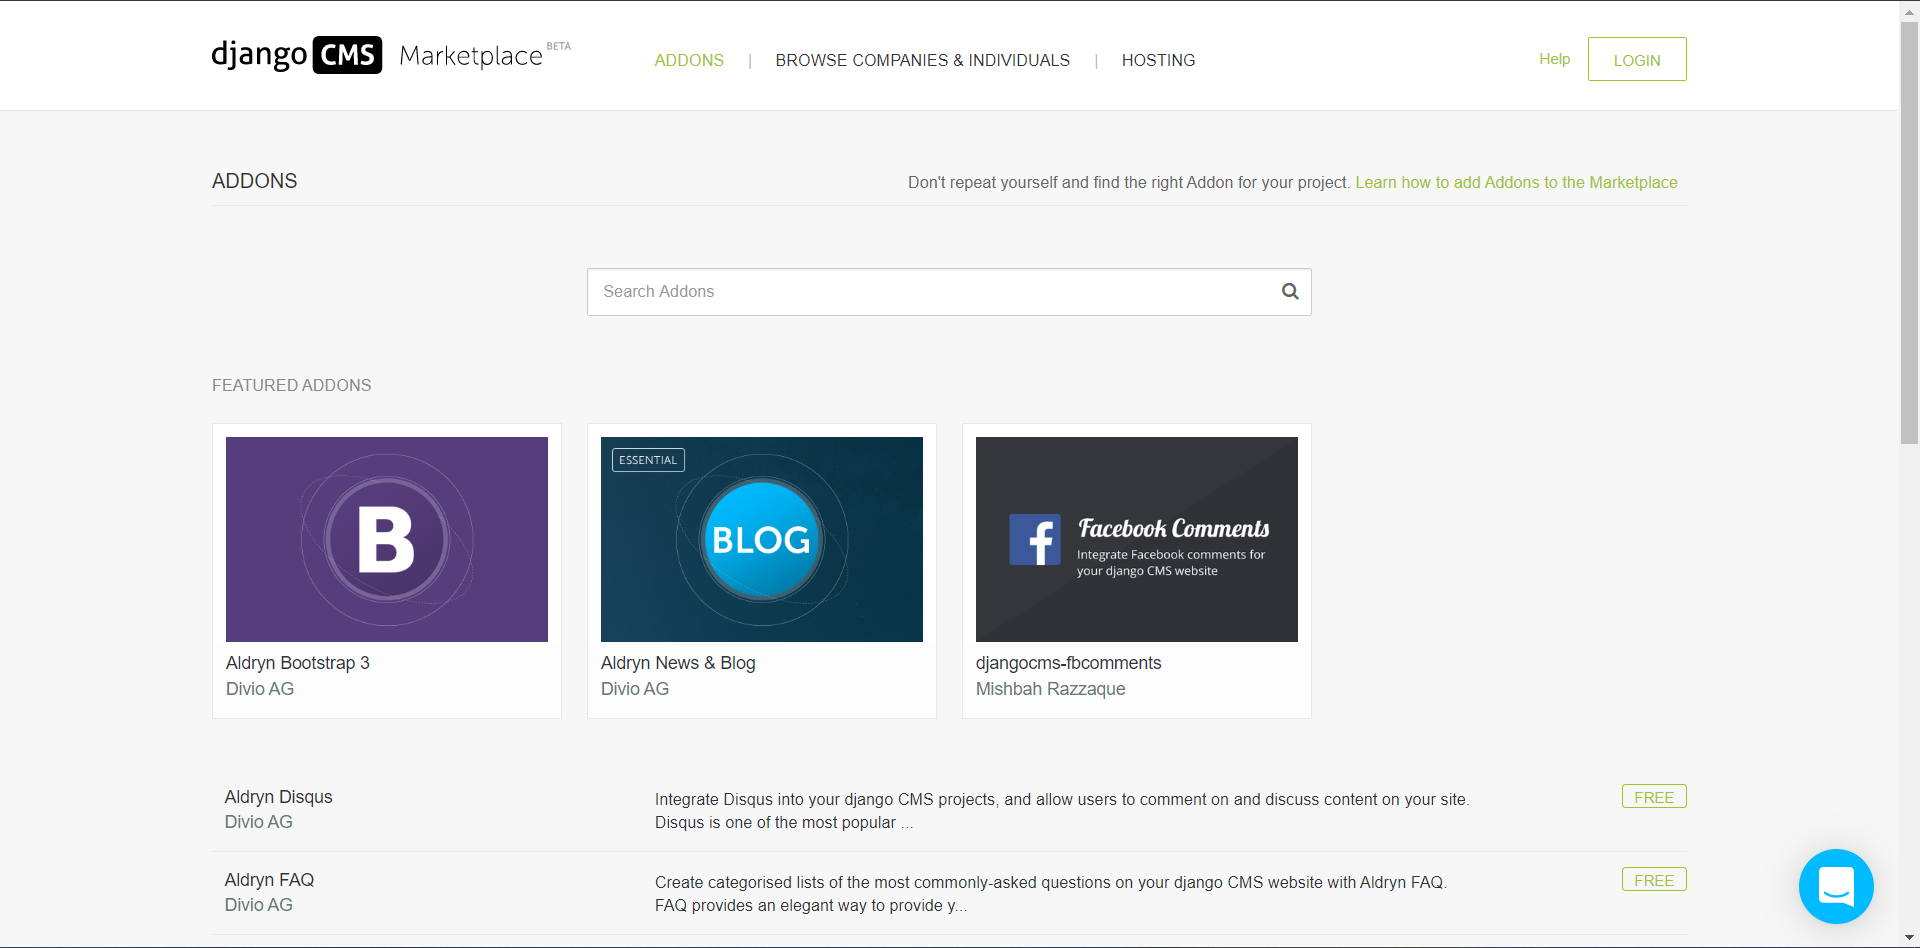
These plugins can be used to maintain various content. It can be images, text even videos and CSS, js, etc. All these plugins are awesome and many popular companies support them. Discord, Bootstrap are some of the popular names amongst them.
These plugins are mostly free. It depends on your use-case whether you want to use CMS or not.
Summary
Django CMS is an awesome system. There are many CMS systems for the same use-case. The CMS like Wagtail is on par with Django CMS and is often preferred. Still, Django CMS is no.1 in industry.
The power of the Django Content Management System is in its plugins. These plugins add various features and specialize in one kind of content.
Django CMS is an awesome framework. An understanding of Django will help you but is not necessary.
Did you know we work 24x7 to provide you best tutorials
Please encourage us - write a review on Google


i have a issue. when i click on add new page, there occur an error “The form could not be loaded. Please check that the server is running correctly”
kindly resolve this
Muhammad, i’ve bypassed this by creating the site from the admin dashboard. It works aswell! 🙂
Just copy and paste into your settings.py in project directory:
X_FRAME_OPTIONS = ‘ALLOWALL’
XS_SHARING_ALLOWED_METHODS = [‘POST’,’GET’,’OPTIONS’, ‘PUT’, ‘DELETE’]
Great tutorial! Thanks a lot.
Two small fixes I had to add to settings.py:
1) import os
2) X_FRAME_OPTIONS = ‘SAMEORIGIN’
You are talking about the basics of Django CMS, do you have any more detailed tutorials to explore the different features inside?
If you do, please give me the direct link for that project.
Thanks for the tip
TemplateDoesNotExist at /cms_wizard/create/
home.html
i am not able to create new page
Hello Er Sanjay! I also was having the same problem with the error ‘TemplateDoesNotExist at /cms_wizard/create/
home.html’.
You have to put your app in the INSTALLED_APPS list, that stays in the settings.py file. In the tutorial case the name of the app is myproject. Than you have to add ‘myproject’ in the list. Also maybe could be possible to change the TEMPLATE_DIRS = [‘templates’] to TEMPLATE_DIRS = [os.path.join(BASE_DIR, ‘templates’)]. This should be solve the problem.