How to Install Django and Set Up a Virtual Environment in 6 Steps
Master Python with 70+ Hands-on Projects and Get Job-ready - Learn Python
Job-ready Online Courses: Knowledge Awaits – Click to Access!
In our previous Django tutorial, we have learned what is Django and important aspects related to Django. Now, we will learn to install Django and how to set up a virtual environment.
Before installing Django, you have to install some other software packages which are necessary or will make your working with Django much easier and productive.
Steps to Install Django and Set Up a Virtual Environment
Here, are the steps to install Django in your system.
Step 1. Installing Python 3
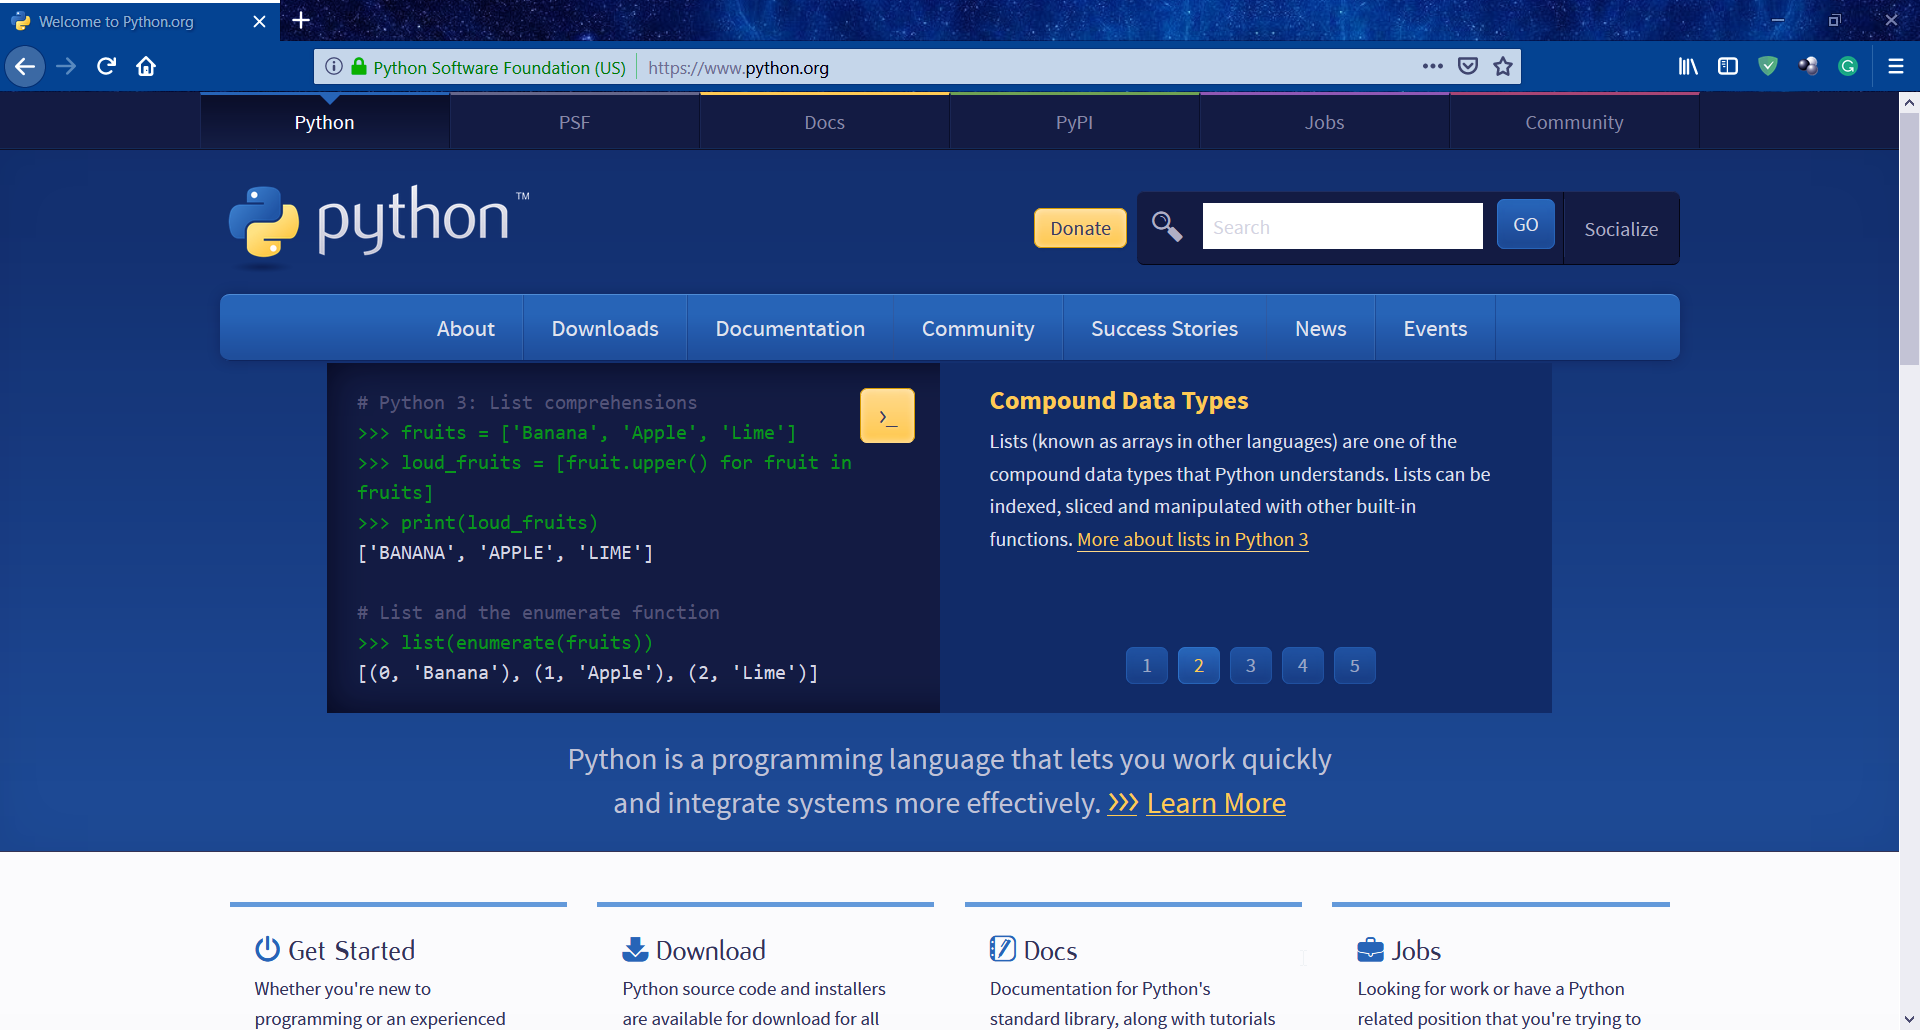
To run the Django Framework on your system you would need Python 3 installed on your system. You just have to download the package from the official website, www.python.org, according to your operating system.
Keep in mind you have to install a Python 3 version, not the version 2, so just download the stable Python 3 version or the version which it recommends you when you hover the cursor on the downloads link from the website.
While installing Python 3 don’t forget to tick the option “Add Python 3 to your path” when the installation prompt opens.
This should also install pip (pip installs packages) which is the Python package manager and we will be using the same to install other software packages.
For Windows PowerShell Users
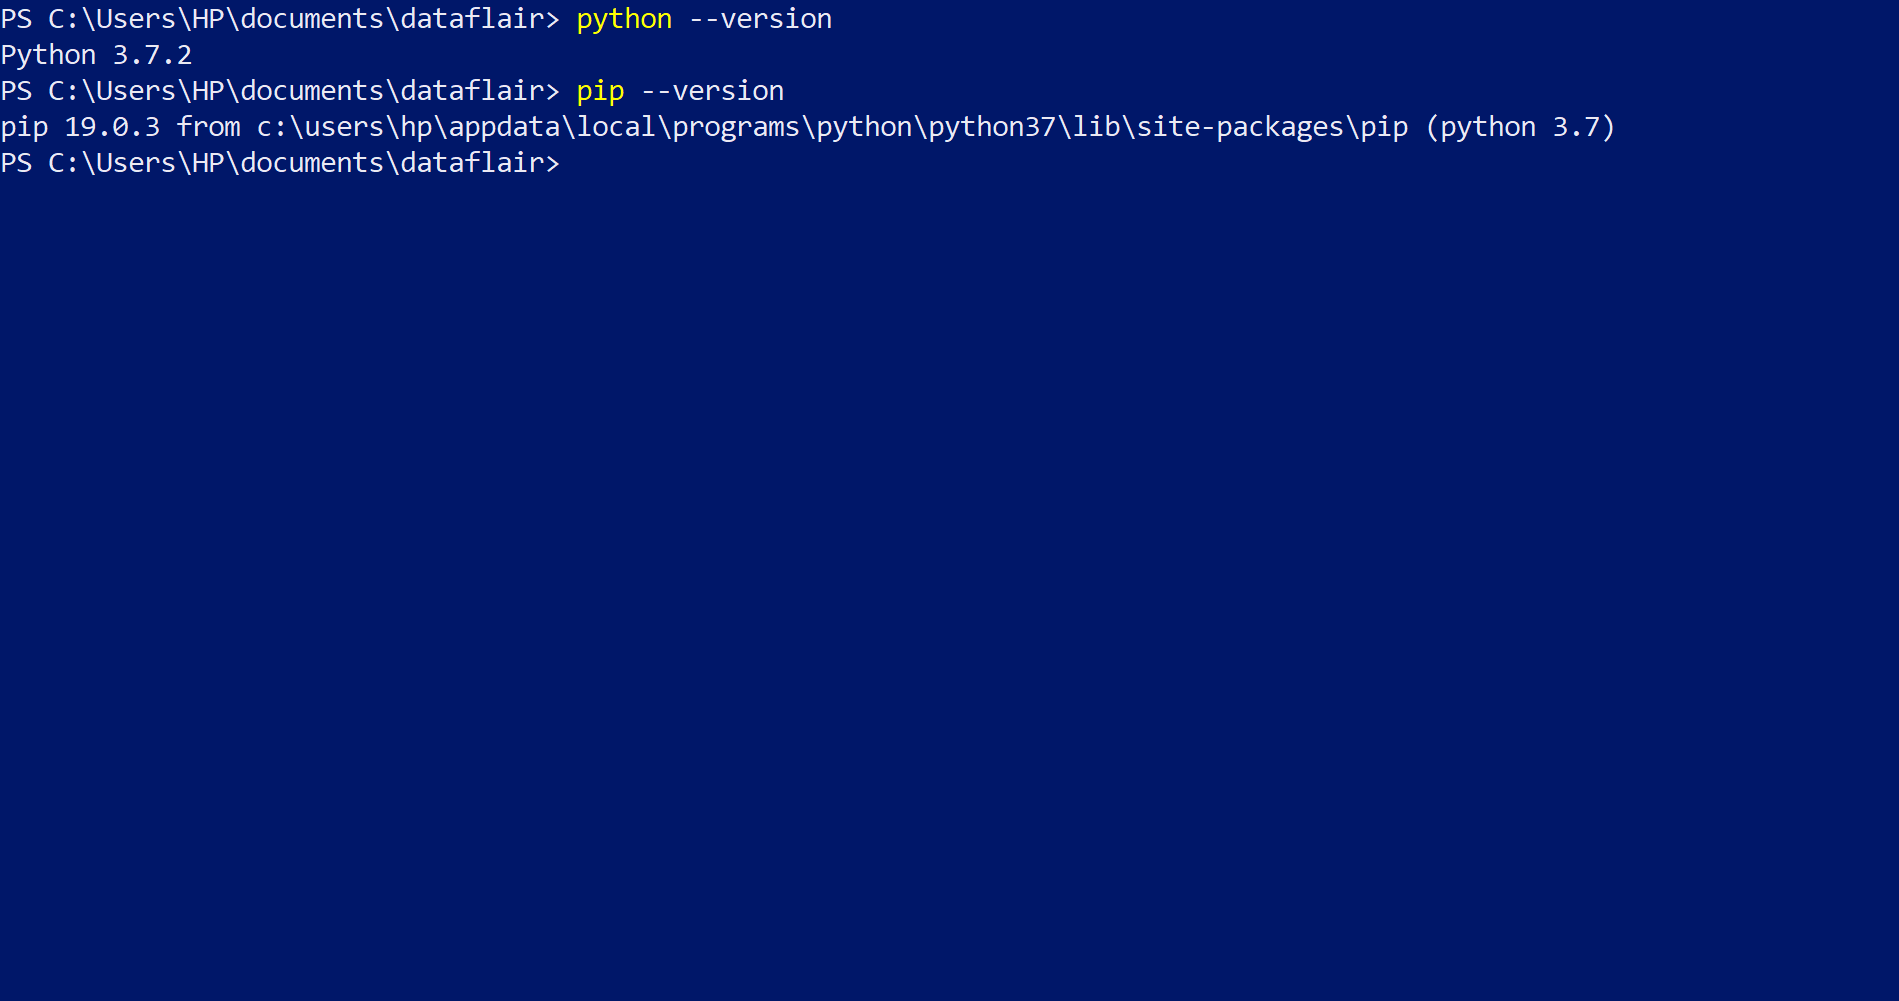
You can check that the Python version is on your system by typing this command in PowerShell:
python –version
pip --version
For Ubuntu Terminal users
You should be the root user to run this command, otherwise, you can check that you have Python 3 installed previously, run the 3rd command.
Type these commands in your terminal:
$ sudo apt-get update && sudo apt-get -y upgrade
This command will upgrade your APT repository.
Then, type in these commands:
$ sudo apt-get install python3
To verify that Python 3 was installed correctly just type in:
$ python3 -V
Now, to install pip:
$ sudo apt-get install -y python3 pip
To check that pip installed correctly:
$ pip3 -V
Step 2. Installing Virtualenv
Virtualenv is a Python package that lets you create different virtual environments for multiple projects requiring different versions of the software.
Its main function is to isolate your project environment with the rest of the system so whatever you install inside this virtual environment will not affect the rest of your system.
For Windows PowerShell Users
In PowerShell type in this command:
pip install virtualenv
This will download and install virtualenv on your system globally and will then let you create or will give this message if it’s installed already.

For Ubuntu Terminal Users
In your terminal window write these commands to install the virtual environment:
$ pip3 install virtualenv
To check the version of virtualenv:
$ virtualenv –-version
Step 3. Installing Django
At last, we can install Django on our system, for that again we will have to just execute some commands on our system.
We will be installing Django globally on your system, after completing this tutorial you may want to install different versions of it and that’s what virtual environment is for.
For Windows PowerShell Users
Type this in PowerShell window:
pip install django
This command will install Django’s latest stable version and we will be working on the same.
For Ubuntu Terminal Users
This command will install Django globally on your system:
$ pip install -e django
This will install Django globally on your system
Step 4. Installing a Python IDE
This is also an important part of any development environment and you can choose whichever IDE you are familiar with (for Python), for this tutorial I will be using the IDLE and PyCharm.
The IDLE comes installed by default when you install Python in your system and if you want you can also install PyCharm or any other text editor.
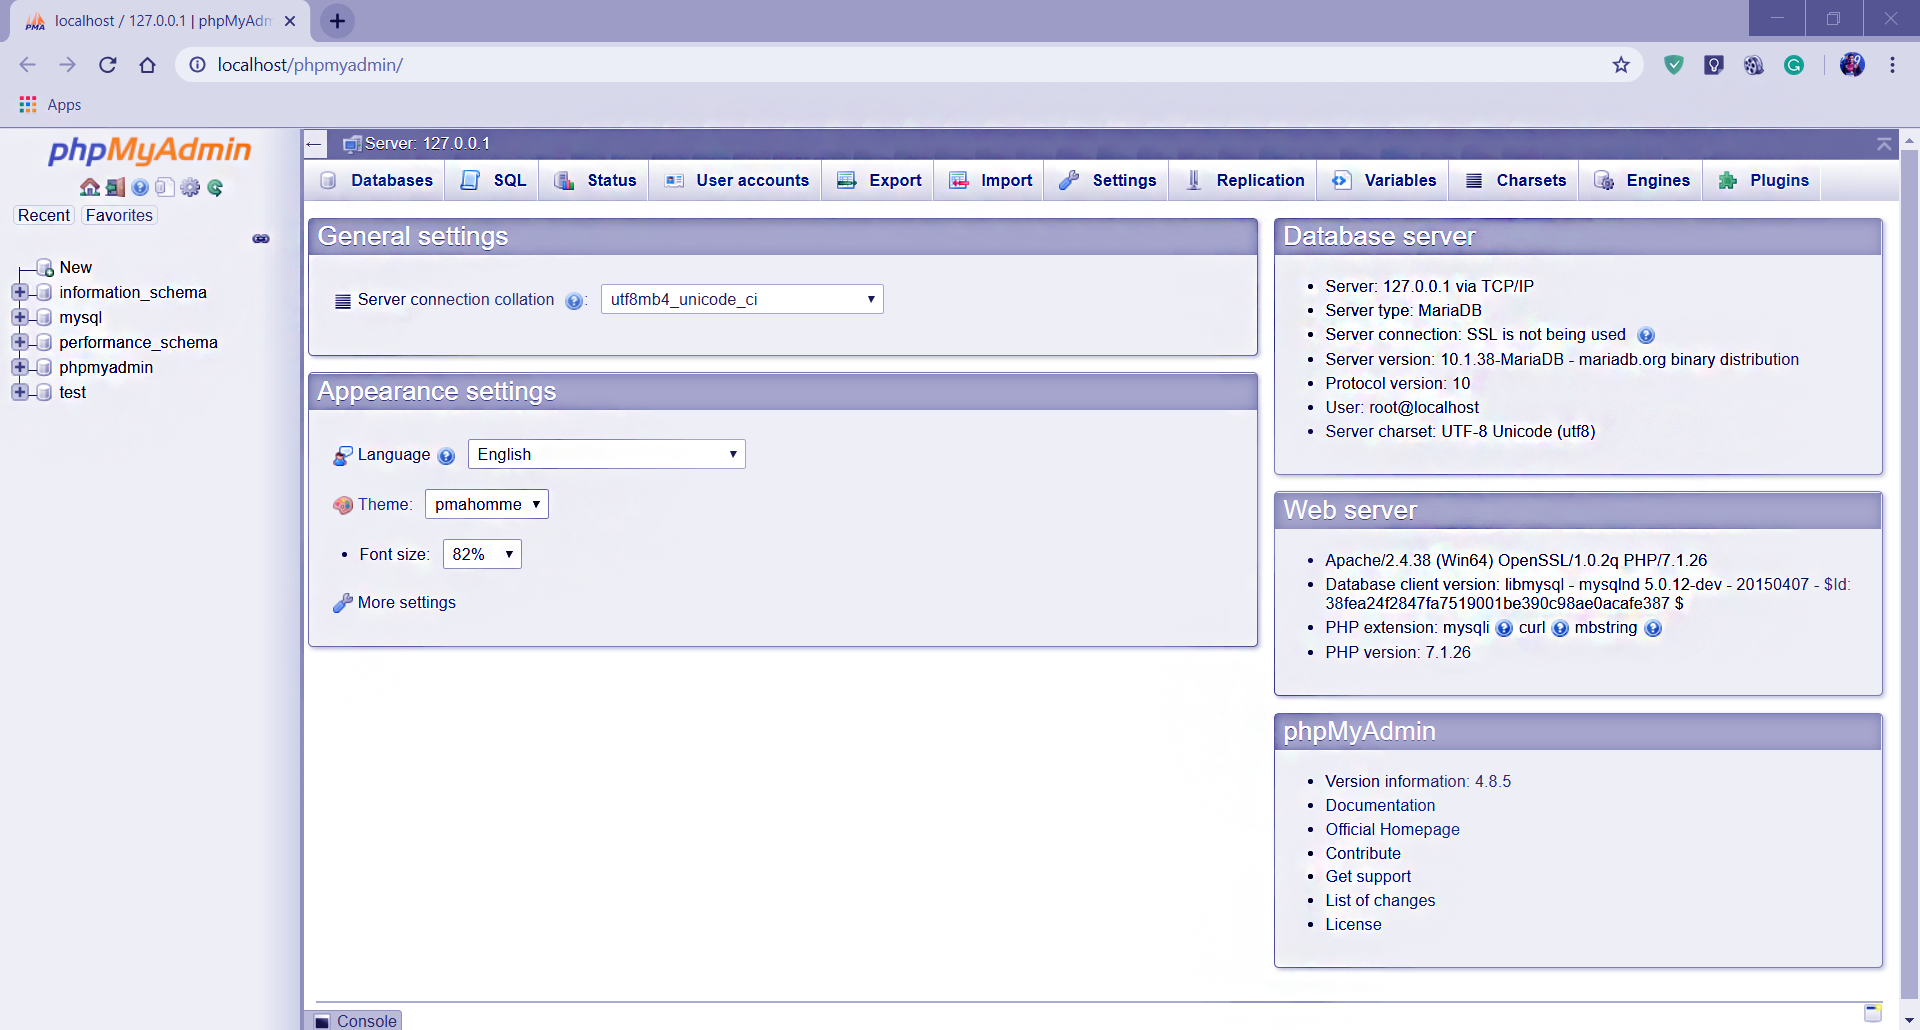
Step 5. Installing Xampp
We will be using databases to make our websites more interactive and functional. The default database in Django is SQLite and we will be using SQL through our project.
You can use any database you are familiar with, Django has connectivity with mostly all of them and you can very easily find the codes for that, this Xampp application will provide us much more interactive SQL experience via phpmyadmin and
thus, will help beginners to utilize the database functionalities with ease.
Step 6. Setting Up a Virtual Environment
All the necessary requirements have been fulfilled and now we can start our project.
Our first step will be to set up a virtual environment for our project.
For Windows PowerShell Users
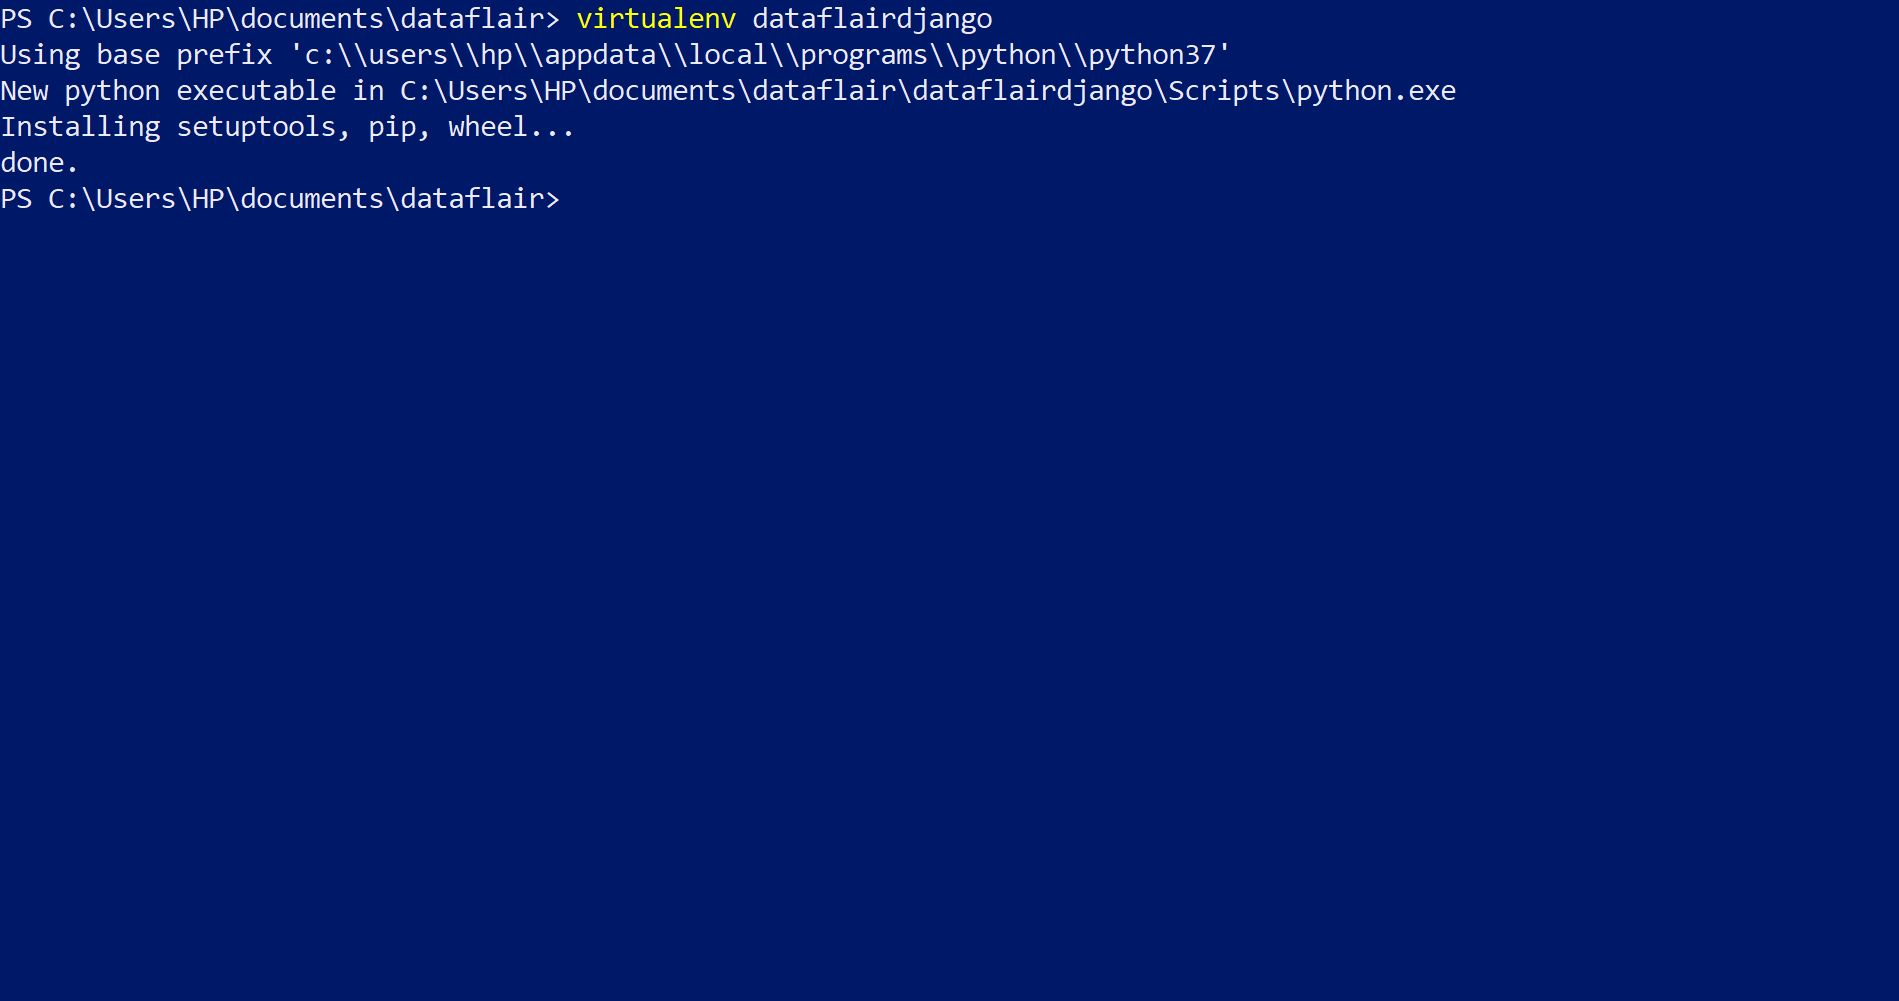
To make a virtual environment, go to the directory of your choice via PowerShell and execute this command:
virtualenv your_project_name
This command will create a directory in the desired location with the name you have given, where it will copy all the default versions and libraries and packages of Python by default and then you can choose whether you want to use those same libraries or change them,
in our case we don’t require any of that now.
After the virtual environment has been created it should look like this.
Now change your directory to the virtual environment. Then execute this command:
./scripts/activate.bat
./scripts/activate
These scripts should give this output to you in the shell.

This means that now whatever libraries you install or downgrade it will all be happening inside this virtual environment. You have activated it via the above commands.
The activate.bat file command is only needed to run once when the environment is created after that you will only need to write the second command every time you start this virtual environment.
For Ubuntu Terminal Users
You have to make the directory of the virtual environment/where you want to make the virtual environment and the rest is almost the same as windows.
Execute this command in terminal:
$ pyvenv environment_name
This will create a virtual environment with the name of your choice.
$ ls environment_name
Look for the bin folder in the environment.
$ source environment_name/bin/activate
This will provide the same output as with the PowerShell users.
Always remember that you will need to activate the virtual environment every time you want to run it, its commands are the same for both the users.
Summary
In this tutorial, we learned how to install Django and set up a virtual environment in both Windows and Ubuntu. As seen, it’s not at all a complex process. You just have to follow the easy steps and then you can start creating applications with Django.
We covered the whole process of installing Django and creating a virtual environment, still, if any queries arise in your mind, feel free to ask in the comment section.
We work very hard to provide you quality material
Could you take 15 seconds and share your happy experience on Google


This was one of the easiest installations of django, it worked perfectly.
Hi Ali,
Thanks for the appreciation, DataFlair started a new series of Django Tutorials. Please check regularly for more Django tutorials for beginners to expert level.
I am using mysql DB,mysql workbench,visual studio code.
While I enter in mysql, I got this error…
The program mysql can be found on the following packages:
* mysql-client-core-5.5
* mariadb-client-core-5.5
* mysql-client-core-5.6
* percona-xtrabd-cluster-client-5.5
Hi Vinoth,
That is a slightly different database and it shall his own instructions. We are integrating django with MySQL or MariaDB which is free version of mysql based on Xampp. You are using MySQL DB Software which may be of different version and therefore may require different configuration than in article. I think the main problem is that you have two different version of Mysql connector. There are two different version installed and it is causing error in django to use which connector. I think stackoverflow answers will be able to help you resolve this issue. While connecting with databases it is utterly important to use the correct version with correct library and python version. That somethimes can cause servious errors if not taken care of.
Hey, I am not able to run the command ./scripts/activate.bat
It says
./scripts/activate.bat : The term ‘./scripts/activate.bat’ is not recognized as the name of a cmdlet, function, script file, or operable program. Check the spelling of the name, or if a path was included, verify that the path is
correct and try again.
At line:1 char:1
+ ./scripts/activate.bat
+ ~~~~~~~~~~~~~~~~~~~~~~
+ CategoryInfo : ObjectNotFound: (./scripts/activate.bat:String) [], CommandNotFoundException
+ FullyQualifiedErrorId : CommandNotFoundException
what do i do?
You should try this
D:\PythonClass\project1>.\Scripts\activate.bat
I did the same mistake as you did —
Try this-
cd “Your_Proj_name” //go in the directory you just created then that command will work .
now try that command.😊
1) virtualenv my_env
2)my_env\Scripts\activate
DjangoTest\Scripts\activate
DjangoTest\Scripts\activate : File C:\Users\NCS\DjangoTest\Scripts\activate.ps1 cannot be loaded because running
scripts is disabled on this system. For more information, see about_Execution_Policies at
https:/go.microsoft.com/fwlink/?LinkID=135170.
At line:1 char:1
+ DjangoTest\Scripts\activate
+ ~~~~~~~~~~~~~~~~~~~~~~~~~~~
+ CategoryInfo : SecurityError: (:) [], PSSecurityException
+ FullyQualifiedErrorId : UnauthorizedAccess
what Do I do?
DjangoTest\Scripts\activate
DjangoTest\Scripts\activate : File C:\Users\NCS\DjangoTest\Scripts\activate.ps1 cannot be loaded because running
scripts is disabled on this system. For more information, see about_Execution_Policies at
https:/go.microsoft.com/fwlink/?LinkID=135170.
At line:1 char:1
+ DjangoTest\Scripts\activate
+ ~~~~~~~~~~~~~~~~~~~~~~~~~~~
+ CategoryInfo : SecurityError: (:) [], PSSecurityException
+ FullyQualifiedErrorId : UnauthorizedAccess
what Do I Do?
i get this error could u help me !!!!
C:\Users\MSI>virtualenv myDjangoProject
FileNotFoundError: [Errno 2] No such file or directory: ‘c:\\users\\msi\\anaconda3\\Lib\\venv\\scripts\\nt\\python.exe’
Hi ICHRAK,
Try this and see, this worked for me.
1. Navigate to your Python installed folder mine is as below:
C:\Users\{myname}\{someFolder}\{somefolder}\Programs\Python\Python39
2. Copy “python”, “pythonw” files
3. Paste the copied files into your below folder
c:\users\msi\anaconda3\Lib\venv\scripts\nt\
4. Now try this again
C:\Users\MSI>virtualenv myDjangoProject
When i run the command
pyvenv environment_name
i get
Command ‘pyvenv’ not found, but can be installed with:
sudo apt install python3-venv
I’m stuck with this. kindly help. I m using UBUNTU 20.04.