Python Django Online Blog CMS Project
Master Python with 70+ Hands-on Projects and Get Job-ready - Learn Python
Job-ready Online Courses: Dive into Knowledge. Learn More!
A blog CMS is like a special software that helps people easily create and manage their blogs without needing to be super technical. It provides tools for organizing and editing content, managing user permissions, and customizing the design and functionality of the blog.
About Python Django Online Blog CMS
The objective of a Python Django online blog CMS is to simplify the process of creating and managing a blog by providing a user-friendly interface and tools for content creation, organization, and publication. It aims to empower individuals or organizations to easily share their ideas, insights, and information through a blog without the need for complex technical skills or coding knowledge.
Prerequisite For Python Django Online Blog CMS
- It’s important to have a good grasp of the Python programming language and the Django web framework.
- A strong understanding of HTML, CSS, and JavaScript is required to develop the project’s user interface.
- Relational Database: You will need to have a good understanding of relational databases, such as SQLite, MySQL, or PostgreSQL, to create and manage the database for the Online voting system project.
Download Python Django Online Blog CMS Project
Please download the source code of Python Django Online Blog CMS Project: Python Django Online Blog CMS Project Code.
Project Setup
Minimum system configuration:
- The operating system requirements include Windows 7 or later, macOS 10.11 or later, or a modern operating system.
- A Linux distribution is like a ready-to-use operating system that comes with different software and settings. To use it, your computer should have an Intel Core i3 or similar processor, at least 4 GB of RAM (or more), and at least 5 GB of available storage space. You can use popular browsers such as Google Chrome, Mozilla Firefox, or Microsoft Edge to browse the web on Linux.
You can get Visual Studio Code by downloading it from the official website.
When you visit the download page, you’ll find different installers available for Windows, macOS, and Linux. You can choose the one that matches your operating system to download Visual Studio Code. After downloading the installer, run it and proceed with the installation instructions to install VS Code on your computer.
Here’s a brief explanation of each step, along with the commands to execute:
1. To use Python, you need to install it on your computer. You can download the latest version of Python from the official website and follow the installation instructions provided for your operating system.
2. Install pip: Download the get-pip.py script and run python get-pip.py to install pip.
3. Create a virtual environment: Run python -m venv myenv to create a new virtual environment named ‘myenv’.
4. Activate the virtual environment: Run source myenv/bin/activate on Linux/Mac or myenv\Scripts\activate on Windows to activate the virtual environment.
5. Install Django: Run pip install django to install the latest stable version of Django.
6. Verify installation: Run python -m django –version to verify that Django is installed correctly.
7. Create a new Django project: Run django-admin startproject project to create a new Django project named ‘project’.
8. Start the development server: Run python manage.py runserver to start the development server.
That’s it! A working installation of Django should now be in place, and you should be ready to start building your web application.
Steps to Create “Online Blog CMS” Project – Let’s Move ahead with this amazing project.
1. Open the terminal from the folder where we want to create the project. Right-click on mouse -> open in terminal -> write “code .” (space is mandatory between code and “.”)
2. Then go to the project folder -> urls.py and inside urls.py of project, do this ->add “include” in import as shown in the code below and add “path(“”,include(“app.urls”))”
3. Create urls.py in app of Online Blog CMS project(urls.py is mandatory in both the project and app).
4. In setting.py, add the ‘app name”.
5. Now, runserver to check if everything is working or not. To runserver, run command in the terminal as follows: “py manage.py runserver”.
6. Now create the models.py using ORM technique as follows.
To create the above field in a database, run the following commands as follows:
- Py manage.py makemigrations
- Py manage.py migrate
The file structure will look like this for our project:
App(main) -> Templates -> app(folder inside app) -> registration.html, login.html, votingpage.html.
Now, execute the project step by step with code as follows:
Steps to Create Online Blog CMS Project – Let’s Move ahead with an amazing project:
1. Open the terminal from the folder where we want to create the project.
Right click on mouse -> open in terminal -> write “code .” (space is mandatory between code and “.”)
2. Open the terminal from the folder where we want to create the project.
Right click on mouse -> open in terminal -> write “code .” (space is mandatory between code and “.”)
3. Then go to the project folder -> urls.py and inside urls.py of project, do this -> add “include” in import as shown in the code below and add “path(“”, include(“app.urls”))”
from django.contrib import admin
from django.urls import path, include

urlpatterns = [
    path('admin/', admin.site.urls),
    path("", include("app.urls"))
]
4. Create urls.py in the app of the wishlist project(urls.py is mandatory in both project and app).
5. In setting.py, add the ‘app name”. In my case, it is an app only, as below.
INSTALLED_APPS = [
'django.contrib.admin',
'django.contrib.auth',
'django.contrib.contenttypes',
'django.contrib.sessions',
'django.contrib.messages',
'django.contrib.staticfiles',
'app'
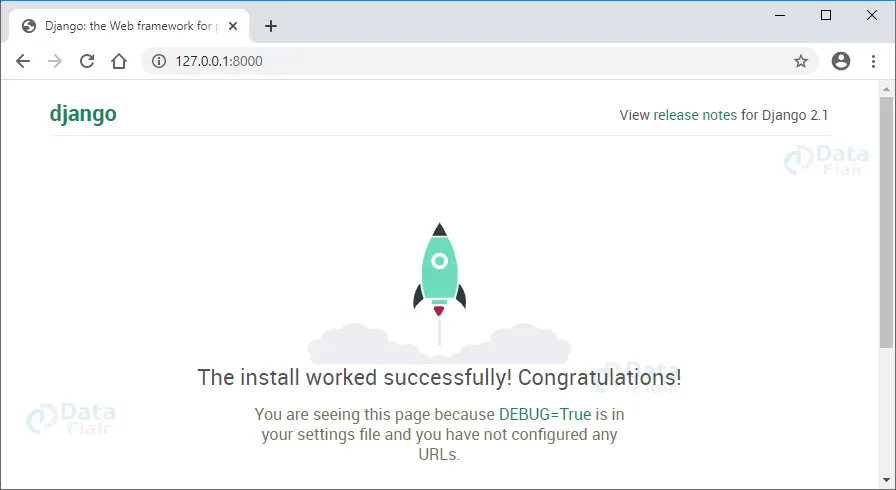
]6. Now, runserver to check if everything is working or not. If you see the image below, then we are done with the installation part. To runserver, run the command in the terminal as follows: “py manage.py runserver”.(if you see the rocket image, then it’s working fine).
7. Now create the models.py using ORM technique as follows.
from django.db import models
from django.contrib.auth.models import User
# Create your models here.
class Blog(models.Model):
title = models.CharField(max_length=100)
content = models.TextField()
author = models.ForeignKey(User, on_delete=models.CASCADE)
image = models.ImageField(upload_to='blog_images/')
created_at = models.DateTimeField(auto_now_add=True)
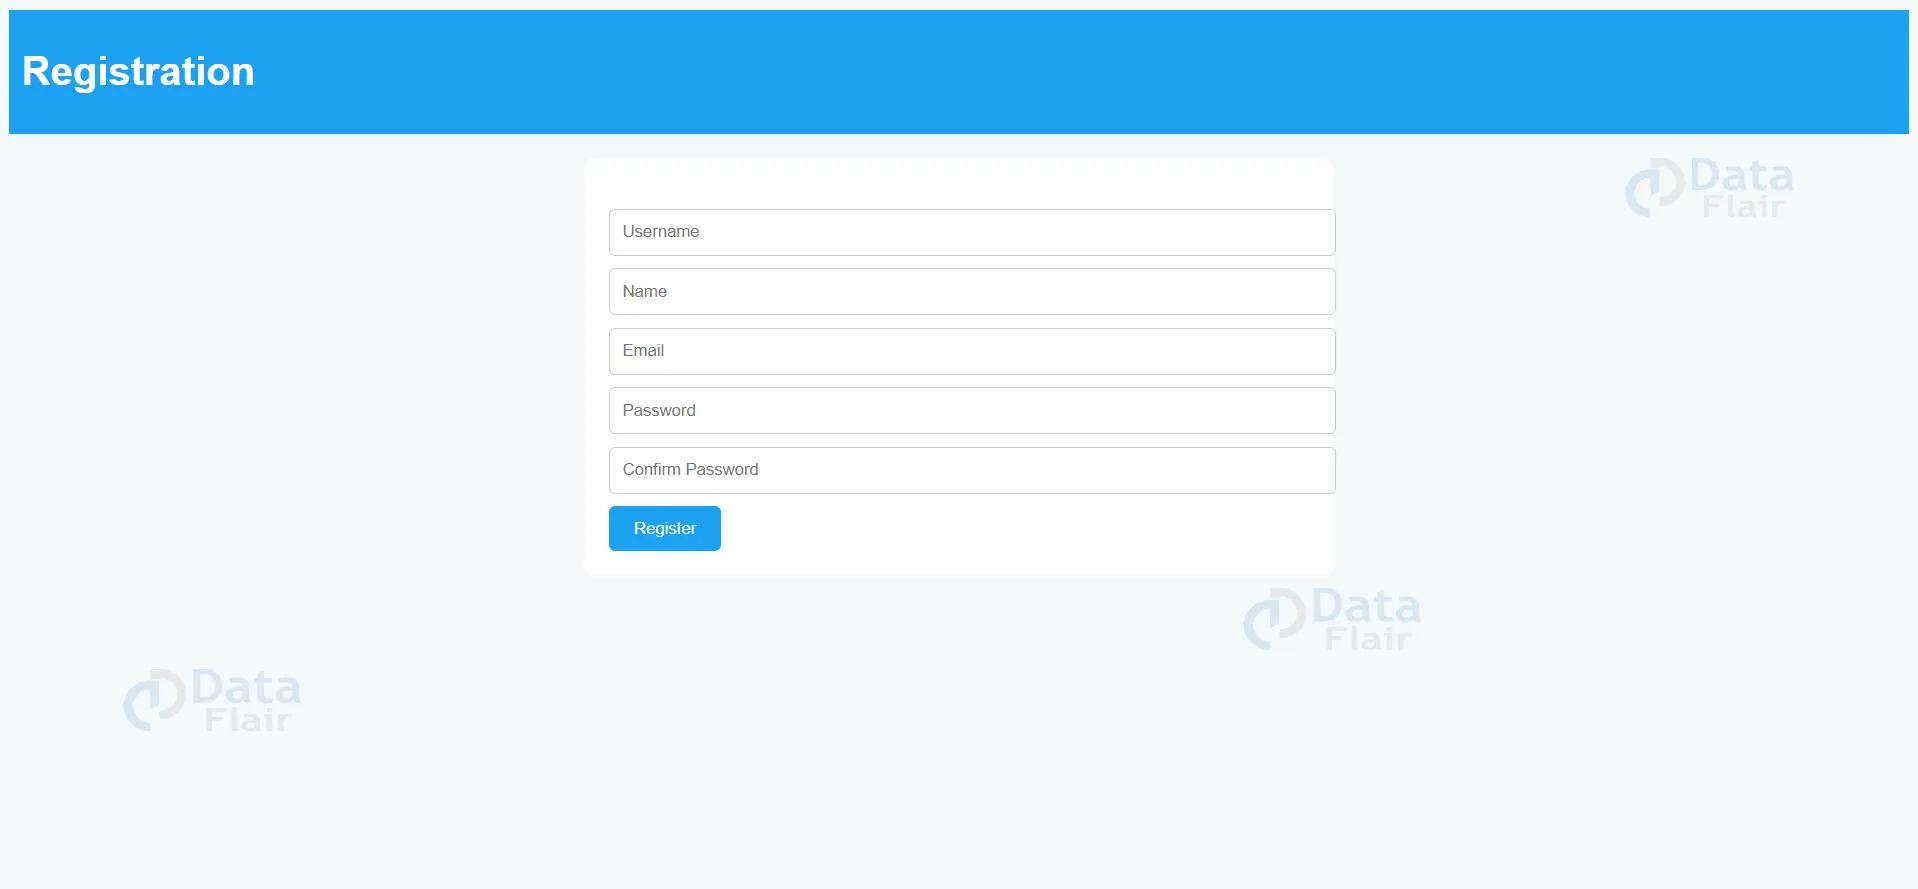
updated_at = models.DateTimeField(auto_now=True)8. Create a Registration system
templates/app -> registration.html
<div class="content">
        <div class="registration-form">
            <form action="{% url 'registration' %}" method="post">
                {% csrf_token %}
                <input type="text" name="username" placeholder="Username" required>
                <input type="text" name="name" placeholder="Name" required>
                <input type="email" name="email" placeholder="Email" required>
                <input type="password" name="password" placeholder="Password" required>
                <input type="password" name="confirm_password" placeholder="Confirm Password" required>
                <button type="submit">Register</button>
            </form>
        </div>
    </div>
Views.py
def register(request):
    return render(request, "app/registration.html")

def Registration(request):
    if request.method == "POST":
        username = request.POST['username']
        name = request.POST['name']
        email = request.POST['email']
        password = request.POST['password']
        cpassword = request.POST['confirm_password']

        if password == cpassword:
            new_data_created = User.objects.create(
                username=username,
                first_name = name,
                email = email,
            )
            new_data_created.set_password(password)
            new_data_created.save()
            return redirect("login")
        else:
            return render(request, "app/registration.html")
    return HttpResponse("error")
Urls.py
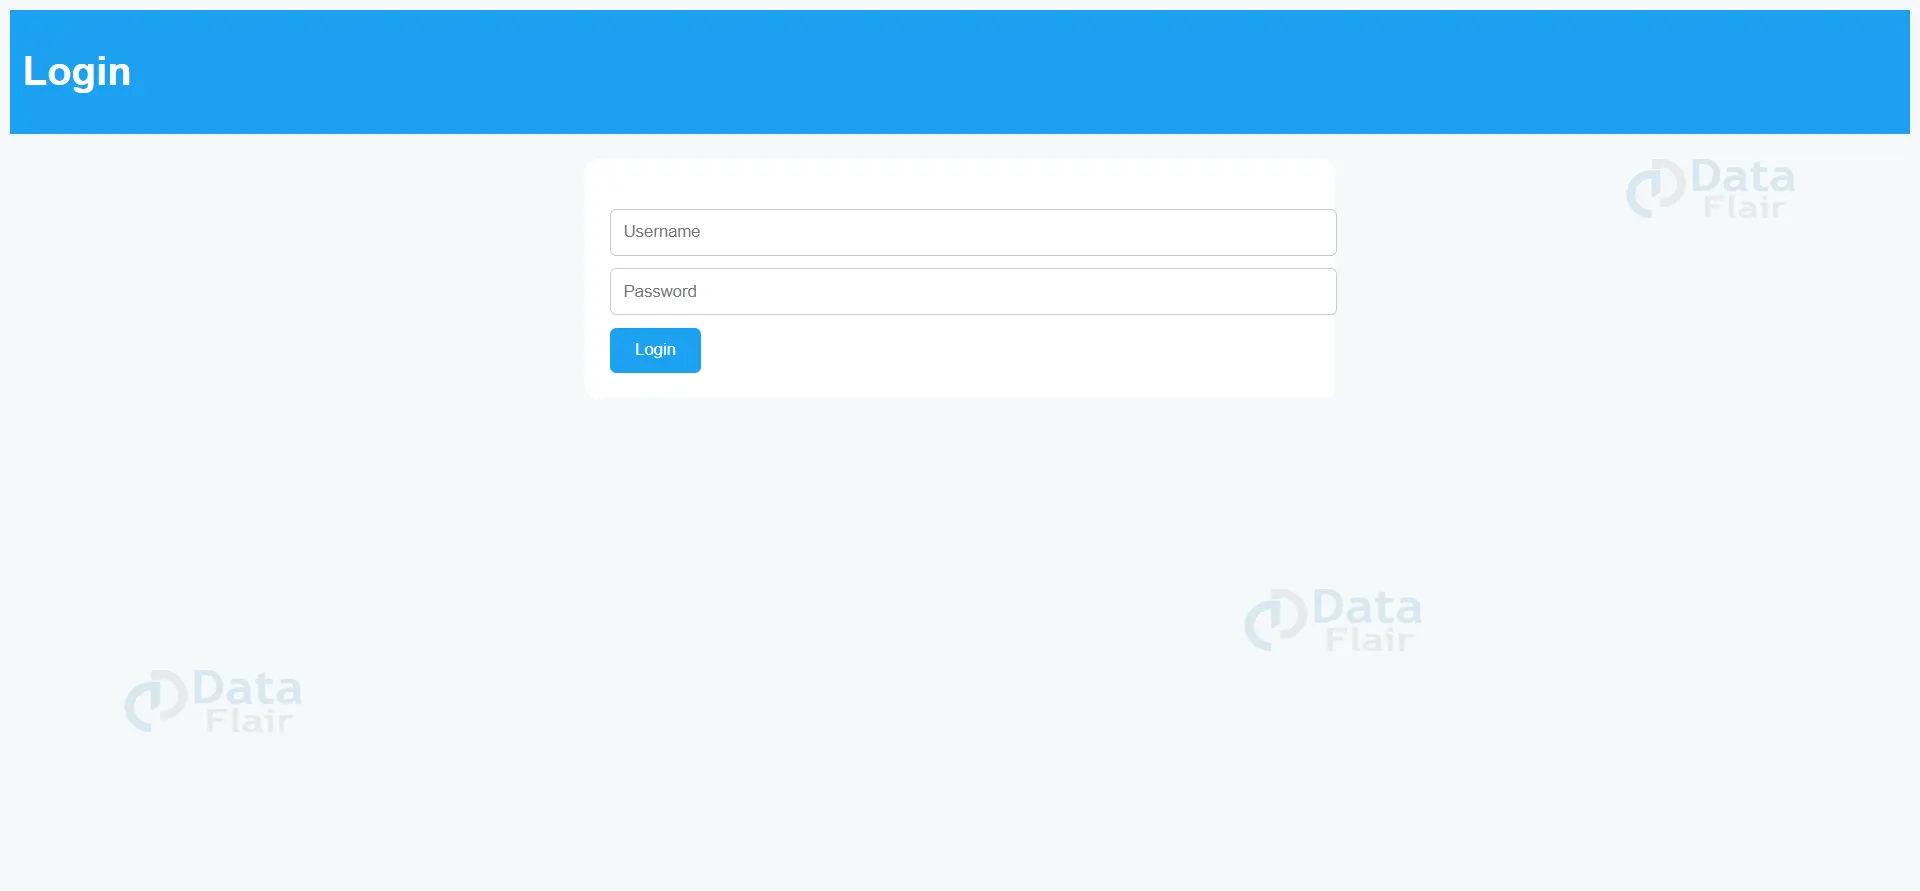
path("register", register, name="register"),9. Create a login system
Templates.html -> login.html
<div class="header">
        <h1>Login</h1>
    </div>

    <div class="content">
        <div class="login-form">
            <form action="{% url 'login' %}" method="post">
                {% csrf_token %}
                <input type="text" name="username" placeholder="Username" required>
                <input type="password" name="password" placeholder="Password" required>
                <button type="submit">Login</button>
            </form>
        </div>
    </div>
Views.py
def Login_view(request):
    if request.user.is_authenticated:
        return redirect("show")
    else:
        if request.method == "POST":
            username = request.POST['username']
            password = request.POST['password']

            user = authenticate(request, username=username, password=password)

            if user is not None:
                login(request, user)
                return redirect("show")
            else:
                pass
        return render(request, "app/login.html")
10. For adding the data in the database.
templates/app -> add.html
<div class="header">
<h1>DataFlair Blog</h1>
</div>
<div class="content">
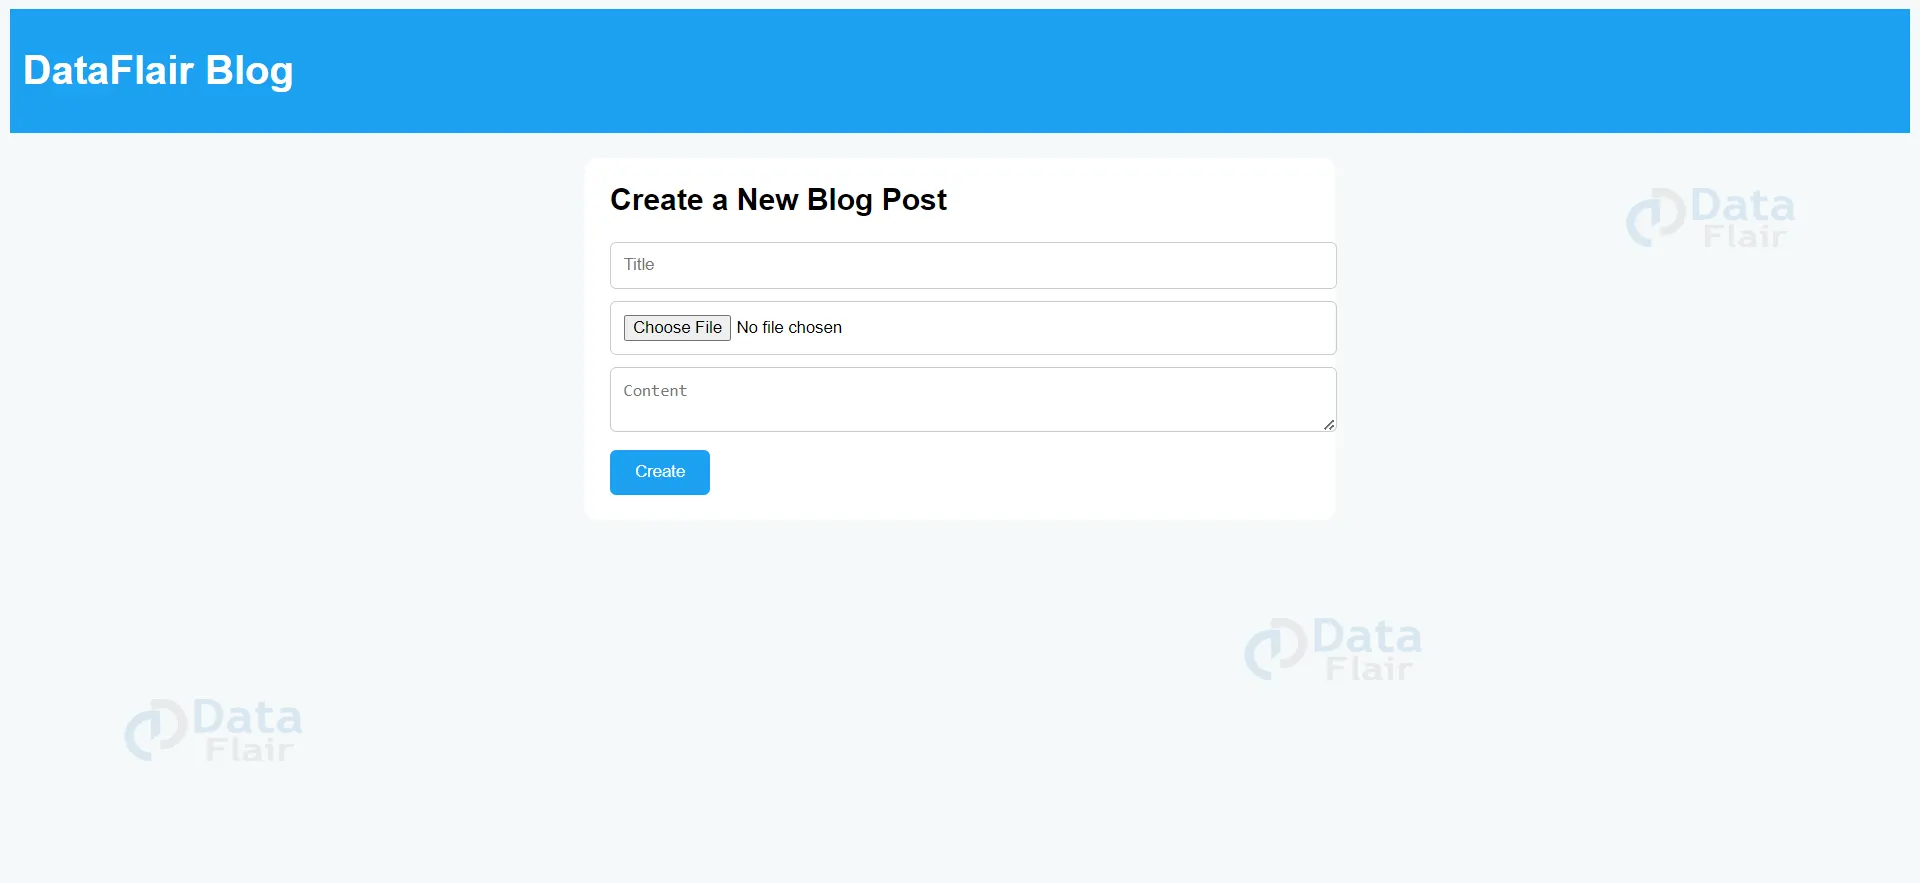
<div class="post">
<h2>Create a New Blog Post</h2>
<form action="{% url 'created' %}" method="post" enctype="multipart/form-data">
{% csrf_token %}
<input type="text" name="title" placeholder="Title" required>
<input type="file" name="image" accept="image/*">
<textarea name="content" placeholder="Content" required></textarea>
<button type="submit">Create</button>
</form>
</div>
</div>Views.py
@login_required(login_url="app/login.html")
def Created(request):
    if request.method == "POST":
        title = request.POST['title']
        content = request.POST['content']
        image = request.FILES.get('image')
        author = request.POST.get('author')

        new_data_created = Blog.objects.create(title=title, content=content, image=image, author=request.user)

        return redirect("show")
    return HttpResponse("Error with post")
12. Show data and update data
templates/app -> home.html
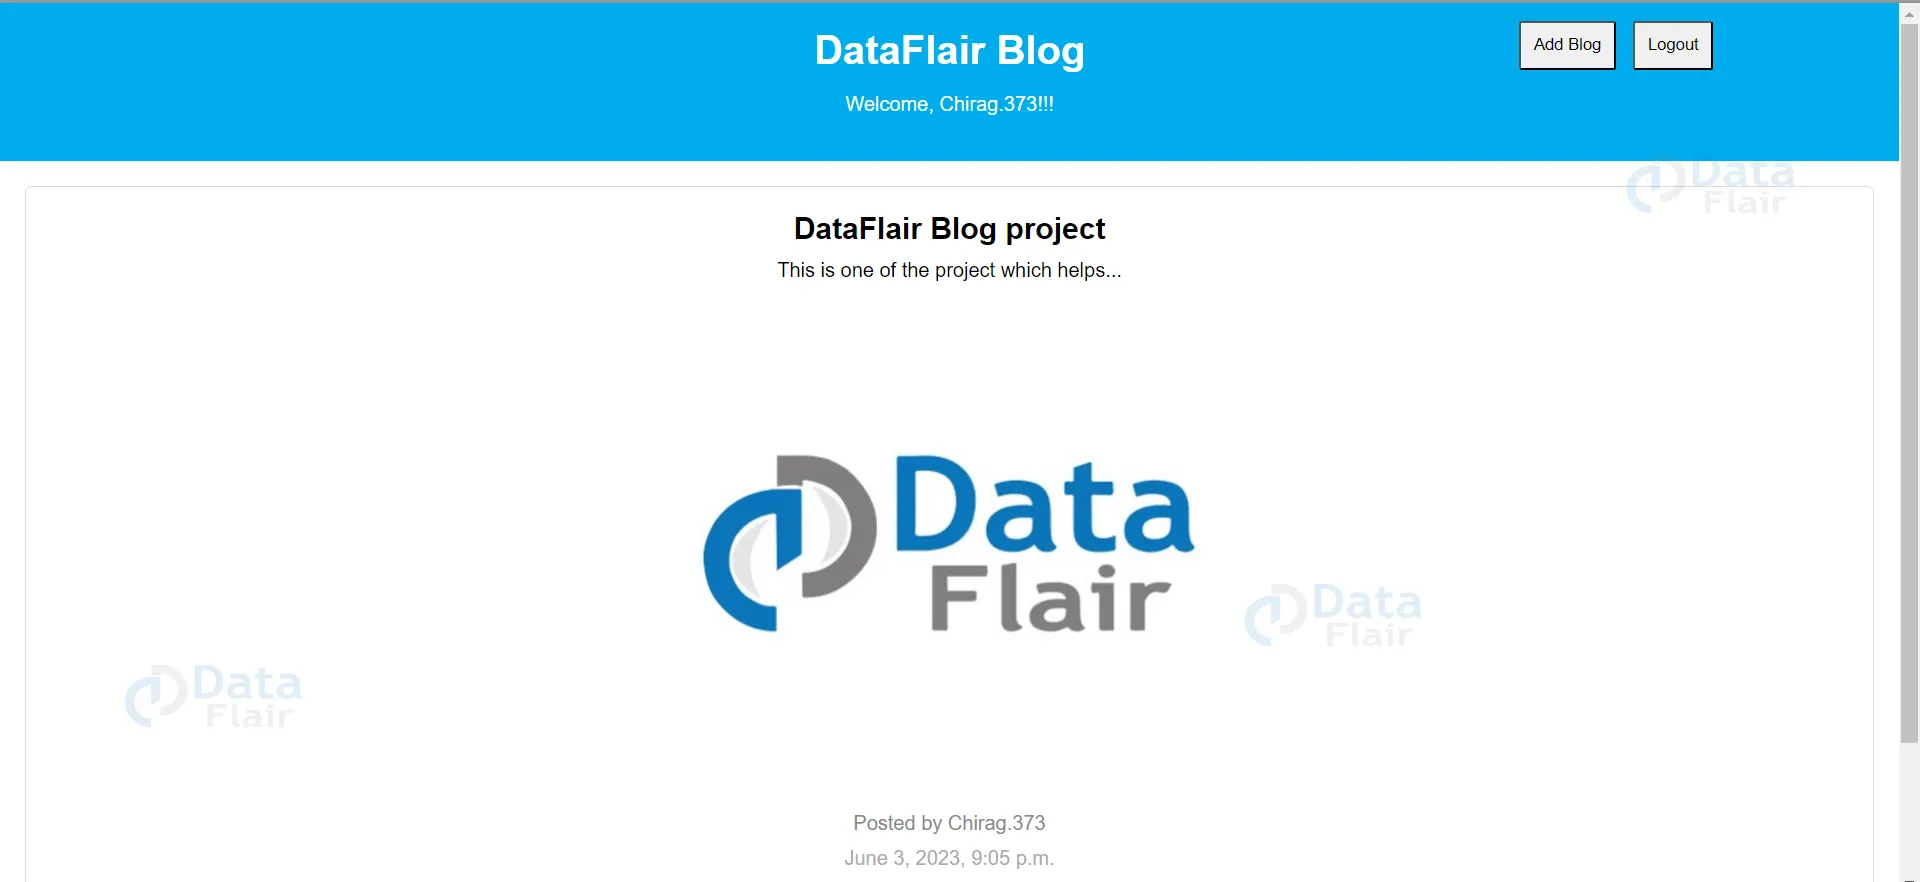
<div id="header">
<h1>DataFlair Blog</h1>
{% if user.is_authenticated %}
<p>Welcome, {{ user.username }}!!!</p><p>{{ blog.author }}</p>
<p><a href="{% url 'addpage' %}"><button type="button" class="add-blog">Add Blog</button></a></p>
<p><a href="{% url 'signout' %}"><button type="button" class="logout-blog">Logout</button></a></p>
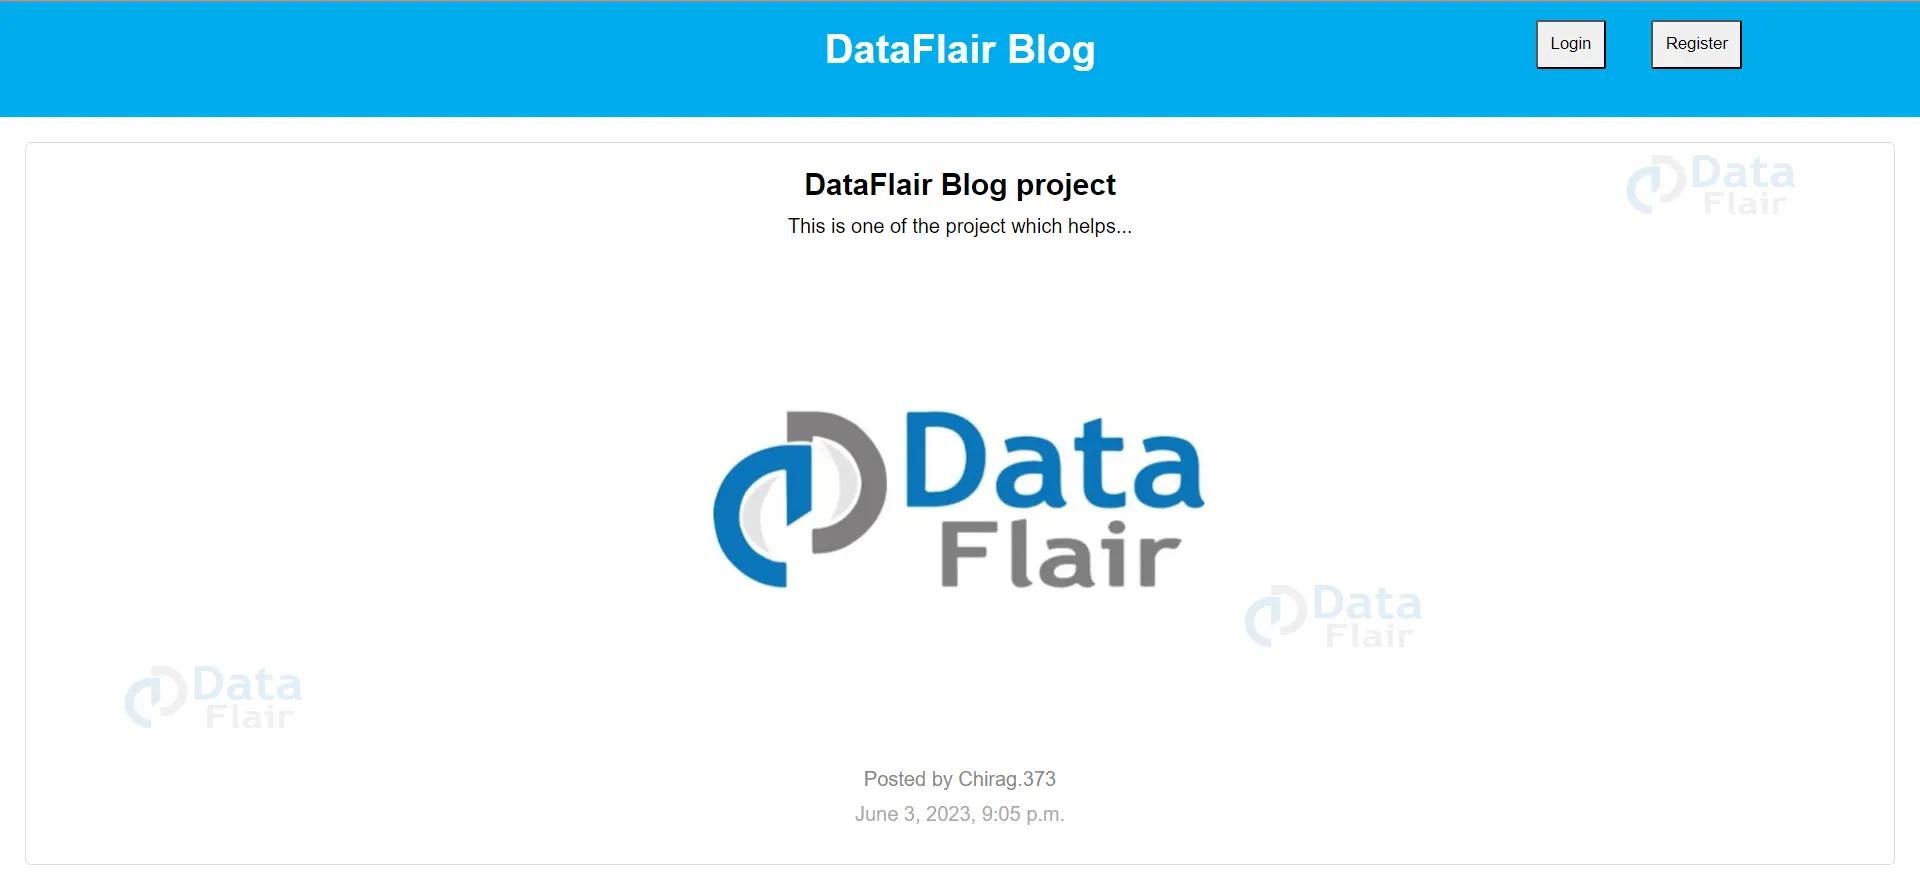
{% else %}
<p><a href="{% url 'login' %}"><button type="button" class="add-blog">Login</button></a></p>
<p><a href="{% url 'register' %}"><button type="button" class="logout-blog">Register</button></a></p>
{% endif %}
</div>
<center>
{% if show_data %}
{% for item in show_data %}
<div id="content">
<div class="post">
<h2>{{ item.title }}</h2>
<p>{{ item.content }}</p>
<img src="{{ item.image.url }}" alt="" style="width: 400px; height: 400px;">
<p class="author">Posted by {{ item.author }}</p>
<p class="date">{{ item.created_at }}</p>
{% if request.user == item.author %}
<p><a href="{% url 'delete' pk=item.pk %}"><button type="button" class="action"
style="background-color: tomato;">Delete</button></a></p>
<p><a href="{% url 'update' pk=item.pk %}"><button type="button" class="action"
style="background-color: palegoldenrod;">Update</button></a></p>
{% endif %}
</div>
</div>
{% endfor %}
{% endif %}
</center>templates/update.html
<div class="header">
        <h1>DataFlair Blog</h1>
    </div>

    <div class="content">
        <div class="post">
            <h2>Edit</h2>
            <form action="{% url 'updated' pk=update_data.pk %}" method="post" enctype="multipart/form-data">
                {% csrf_token %}
                <input type="text" name="title" placeholder="Title" value="{{ update_data.title }}" required>
                <input type="file" name="image" accept="image/*">

                <textarea name="content" placeholder="Content" required>{{ update_data.content }}</textarea>
                <button type="submit">update</button>
            </form>
        </div>
    </div>
Views.py
def show(request):
    show_data = Blog.objects.all()
    return render(request, "app/home.html", {"show_data": show_data})

@login_required
def update(request, pk):
    update_data = get_object_or_404(Blog, pk=pk)
    return render(request, "app/update.html", {"update_data": update_data})

@login_required
def updated(request, pk):
    updated_data = get_object_or_404(Blog, pk=pk)
    if request.method == "POST":
        updated_data.title = request.POST.get("title")
        updated_data.image = request.POST.get("image")
        updated_data.content = request.POST.get("content")
        updated_data.save()
        return redirect("show")
    return HttpResponse("error")
13. For delete
Views.py
@login_required
def delete(request, pk):
    deleted_data = get_object_or_404(Blog, pk=pk)
    deleted_data.delete()
    return redirect("show")
14. For signout
Views.py
@login_required
def signout(request):
    logout(request)
    return redirect("show")
For “urls.py” for the above programs
from django.conf import settings
from django.conf.urls.static import static
from django.urls import path, include
from .views import *

urlpatterns = [
    path("register", register, name="register"),
    path("addpage", addpage, name="addpage"),
    path("registration", Registration, name="registration"),
    path("login", Login_view, name="login"),
    path("created", Created, name="created"),
    path("", show, name="show"),
    path("signout", signout, name="signout"),
    path("update/<int:pk>", update, name="update"),
    path("updated/<int:pk>", updated, name="updated"),
    path("delete/<int:pk>", delete, name="delete")

]
if settings.DEBUG:
        urlpatterns += static(settings.MEDIA_URL,document_root=settings.MEDIA_ROOT)
Explanation for above:
The required imports are made, including Django shortcuts, authentication models, and decorators, as well as the Blog model defined in the same app.
1. The Home view renders the home.html template.
2. The register view renders the registration.html template.
3. The addpage view, decorated with login_required, renders the add.html template, which allows authenticated users to add a new blog post.
4. The Registration view handles the registration process. It retrieves form data (username, name, email, password, and confirm_password) via a POST request. If the passwords match, a new User object is created with the provided information, and the user is redirected to the login page. Otherwise, the registration template is rendered again.
5. The Login_view view handles the login process. If the user is already authenticated, they are redirected to the show view. Otherwise, if the method is POST, the username and password are retrieved and checked against the authentication system. If the user is authenticated successfully, they are logged in and redirected to the show view. Otherwise, they stay on the login page.
6. The Created view handles the creation of a new blog post. It retrieves the title, content, image (if provided), and author from a POST request. A new Blog object is created with this information, and the user is redirected to the show view.
7. The show view retrieves all the Blog objects and renders the home.html template, passing the retrieved data as context.
8. The updated view, decorated with login_required, retrieves a specific Blog object by its primary key (pk) and renders the update.html template, passing the retrieved data as context.
9. The updated view, decorated with login_required, handles the updating of a specific blog post. It retrieves the updated data (title, content, and image) from a POST request and saves it to the corresponding Blog object. After a successful update, the user is redirected to the show view.
10. The delete view, decorated with login_required, handles the deletion of a specific blog post. It retrieves the Blog object by its primary key and deletes it. Then, the user is redirected to the show view.
11. The signout view, decorated with login_required, handles user logout. It logs out the current user and redirects to the show view.
The Entire code of the project is as follows:
Templates -> add.html
<!DOCTYPE html>
<html lang="en">

<head>
    <meta charset="UTF-8">
    <meta http-equiv="X-UA-Compatible" content="IE=edge">
    <meta name="viewport" content="width=device-width, initial-scale=1.0">
    <title>Document</title>
    <style>
        body {
            background-color: #f5f8fa;
            font-family: Arial, sans-serif;
        }

        .header {
            background-color: #1da1f2;
            padding: 10px;
            color: white;
        }

        .content {
            max-width: 600px;
            margin: 0 auto;
            padding: 20px;
        }

        .post {
            background-color: white;
            border-radius: 10px;
            padding: 20px;
            margin-bottom: 20px;
        }

        .post h2 {
            margin-top: 0;
        }

        form {
            margin-top: 20px;
        }

        form input,
        form textarea {
            width: 100%;
            padding: 10px;
            margin-bottom: 10px;
            border-radius: 5px;
            border: 1px solid #ccc;
        }

        form button {
            background-color: #1da1f2;
            color: white;
            padding: 10px 20px;
            border: none;
            border-radius: 5px;
            cursor: pointer;
        }

        form button:hover {
            background-color: #0c8ad6;
        }
    </style>
</head>

<body>
    <div class="header">
        <h1>DataFlair Blog</h1>
    </div>

    <div class="content">
        <div class="post">
            <h2>Create a New Blog Post</h2>
            <form action="{% url 'created' %}" method="post" enctype="multipart/form-data">
                {% csrf_token %}
                <input type="text" name="title" placeholder="Title" required>
                <input type="file" name="image" accept="image/*">
                <textarea name="content" placeholder="Content" required></textarea>
                <button type="submit">Create</button>
            </form>
        </div>
    </div>
</body>

</html>
templates/app -> home.html
<!DOCTYPE html>
<html>

<head>
    <title>DataFlair Blog</title>
    <style>
        body {
            font-family: Arial, sans-serif;
            margin: 0;
            padding: 0;
        }

        #header {
            background-color: #00acee;
            padding: 20px;
            color: #fff;
            text-align: center;
        }

        h1 {
            margin: 0;
        }

        #content {
            margin: 20px;
        }

        .post {
            border: 1px solid #ddd;
            border-radius: 5px;
            padding: 20px;
            margin-bottom: 20px;
        }

        .post h2 {
            margin: 0;
            font-size: 24px;
        }

        .post p {
            margin: 10px 0;
        }

        .post .author {
            color: #888;
        }

        .post .date {
            color: #aaa;
        }

        .post .tags {
            margin-top: 10px;
        }

        .tag {
            display: inline-block;
            padding: 5px;
            background-color: #00acee;
            color: #fff;
            margin-right: 5px;
            border-radius: 3px;
            font-size: 14px;
            text-decoration: none;
        }

        .tag:hover {
            background-color: #0088cc;
        }

        .add-blog {
            padding: 10px;
            border-radius: 2px;
            position: absolute;
            left: 80%;
            top: 2%;
        }

        .logout-blog {
            padding: 10px;
            border-radius: 2px;
            position: absolute;
            left: 86%;
            top: 2%;
        }

        .action {
            padding: 10px;
            width: 10%;
            color: white;
        }
    </style>
</head>

<body>
    <div id="header">
        <h1>DataFlair Blog</h1>
        {% if user.is_authenticated %}
        <p>Welcome, {{ user.username }}!!!</p><p>{{ blog.author }}</p>
        <p><a href="{% url 'addpage' %}"><button type="button" class="add-blog">Add Blog</button></a></p>
        <p><a href="{% url 'signout' %}"><button type="button" class="logout-blog">Logout</button></a></p>
        {% else %}
        <p><a href="{% url 'login' %}"><button type="button" class="add-blog">Login</button></a></p>
        <p><a href="{% url 'register' %}"><button type="button" class="logout-blog">Register</button></a></p>
        {% endif %}
    </div>
    <center>
        {% if show_data %}
        {% for item in show_data %}
        <div id="content">
            <div class="post">
                <h2>{{ item.title }}</h2>
                <p>{{ item.content }}</p>
                <img src="{{ item.image.url }}" alt="" style="width: 400px; height: 400px;">
                <p class="author">Posted by {{ item.author }}</p>
                <p class="date">{{ item.created_at }}</p>
                {% if request.user == item.author %}
                <p><a href="{% url 'delete' pk=item.pk %}"><button type="button" class="action"
                            style="background-color: tomato;">Delete</button></a></p>
                <p><a href="{% url 'update' pk=item.pk %}"><button type="button" class="action"
                            style="background-color: palegoldenrod;">Update</button></a></p>
                {% endif %}
            </div>
        </div>

        {% endfor %}
        {% endif %}
    </center>
</body>
</html>
templates/app -> login.html
<!DOCTYPE html>
<html lang="en">

<head>
    <meta charset="UTF-8">
    <meta http-equiv="X-UA-Compatible" content="IE=edge">
    <meta name="viewport" content="width=device-width, initial-scale=1.0">
    <title>Document</title>
    <style>
        body {
            background-color: #f5f8fa;
            font-family: Arial, sans-serif;
        }

        .header {
            background-color: #1da1f2;
            padding: 10px;
            color: white;
        }

        .content {
            max-width: 600px;
            margin: 0 auto;
            padding: 20px;
        }

        .login-form {

: white;
            border-radius: 10px;
            padding: 20px;
            margin-bottom: 20px;
        }

        .login-form form {
            margin-top: 20px;
        }

        .login-form input {
            width: 100%;
            padding: 10px;
            margin-bottom: 10px;
            border-radius: 5px;
            border: 1px solid #ccc;
        }

        .login-form button {
            background-color: #1da1f2;
            color: white;
            padding: 10px 20px;
            border: none;
            border-radius: 5px;
            cursor: pointer;
        }

        .login-form button:hover {
            background-color: #0c8ad6;
        }
    </style>
</head>

<body>
    <div class="header">
        <h1>Login</h1>
    </div>

    <div class="content">
        <div class="login-form">
            <form action="{% url 'login' %}" method="post">
                {% csrf_token %}
                <input type="text" name="username" placeholder="Username" required>
                <input type="password" name="password" placeholder="Password" required>
                <button type="submit">Login</button>
            </form>
        </div>
    </div>

</body>

</html>
templates/app -> registration.html
<!DOCTYPE html>
<html lang="en">

<head>
    <meta charset="UTF-8">
    <meta http-equiv="X-UA-Compatible" content="IE=edge">
    <meta name="viewport" content="width=device-width, initial-scale=1.0">
    <title>Document</title>
    <style>
        body {
            background-color: #f5f8fa;
            font-family: Arial, sans-serif;
        }

        .header {
            background-color: #1da1f2;
            padding: 10px;
            color: white;
        }

        .content {
            max-width: 600px;
            margin: 0 auto;
            padding: 20px;
        }

        .registration-form {
            background-color: white;
            border-radius: 10px;
            padding: 20px;
            margin-bottom: 20px;
        }

        .registration-form form {
            margin-top: 20px;
        }

        .registration-form input {
            width: 100%;
            padding: 10px;
            margin-bottom: 10px;
            border-radius: 5px;
            border: 1px solid #ccc;
        }

        .registration-form button {
            background-color: #1da1f2;
            color: white;
            padding: 10px 20px;
            border: none;
            border-radius: 5px;
            cursor: pointer;
        }

        .registration-form button:hover {
            background-color: #0c8ad6;
        }
    </style>
</head>

<body>
    <div class="header">
        <h1>Registration</h1>
    </div>

    <div class="content">
        <div class="registration-form">
            <form action="{% url 'registration' %}" method="post">
                {% csrf_token %}
                <input type="text" name="username" placeholder="Username" required>
                <input type="text" name="name" placeholder="Name" required>
                <input type="email" name="email" placeholder="Email" required>
                <input type="password" name="password" placeholder="Password" required>
                <input type="password" name="confirm_password" placeholder="Confirm Password" required>
                <button type="submit">Register</button>
            </form>
        </div>
    </div>

</body>

</html>
templates/app -> update.html
<!DOCTYPE html>
<html lang="en">

<head>
    <meta charset="UTF-8">
    <meta http-equiv="X-UA-Compatible" content="IE=edge">
    <meta name="viewport" content="width=device-width, initial-scale=1.0">
    <title>Document</title>
    <style>
        body {
            background-color: #f5f8fa;
            font-family: Arial, sans-serif;
        }

        .header {
            background-color: #1da1f2;
            padding: 10px;
            color: white;
        }

        .content {
            max-width: 600px;
            margin: 0 auto;
            padding: 20px;
        }

        .post {
            background-color: white;
            border-radius: 10px;
            padding: 20px;
            margin-bottom: 20px;
        }

        .post h2 {
            margin-top: 0;
        }

        form {
            margin-top: 20px;
        }

        form input,
        form textarea {
            width: 100%;
            padding: 10px;
            margin-bottom: 10px;
            border-radius: 5px;
            border: 1px solid #ccc;
        }

        form button {
            background-color: #1da1f2;
            color: white;
            padding: 10px 20px;
            border: none;
            border-radius: 5px;
            cursor: pointer;
        }

        form button:hover {
            background-color: #0c8ad6;
        }
    </style>
</head>

<body>
    <div class="header">
        <h1>DataFlair Blog</h1>
    </div>

    <div class="content">
        <div class="post">
            <h2>Edit</h2>
            <form action="{% url 'updated' pk=update_data.pk %}" method="post" enctype="multipart/form-data">
                {% csrf_token %}
                <input type="text" name="title" placeholder="Title" value="{{ update_data.title }}" required>
                <input type="file" name="image" accept="image/*">

                <textarea name="content" placeholder="Content" required>{{ update_data.content }}</textarea>
                <button type="submit">update</button>
            </form>
        </div>
    </div>
</body>

</html>
Views.py
from django.shortcuts import render, redirect, HttpResponse, get_object_or_404
from django.contrib.auth.models import User
from django.contrib.auth.decorators import login_required
from django.contrib.auth import authenticate, login, logout
from .models import Blog
# Create your views here.
def Home(request):
    return render(request, "app/home.html")

def register(request):
    return render(request, "app/registration.html")

@login_required(login_url="app/login.html")
def addpage(request):
    return render(request, "app/add.html")

def Registration(request):
    if request.method == "POST":
        username = request.POST['username']
        name = request.POST['name']
        email = request.POST['email']
        password = request.POST['password']
        cpassword = request.POST['confirm_password']

        if password == cpassword:
            new_data_created = User.objects.create(
                username=username,
                first_name = name,
                email = email,
            )
            new_data_created.set_password(password)
            new_data_created.save()
            return redirect("login")
        else:
            return render(request, "app/registration.html")
    return HttpResponse("error")

def Login_view(request):
    if request.user.is_authenticated:
        return redirect("show")
    else:
        if request.method == "POST":
            username = request.POST['username']
            password = request.POST['password']

            user = authenticate(request, username=username, password=password)

            if user is not None:
                login(request, user)
                return redirect("show")
            else:
                pass
        return render(request, "app/login.html")

@login_required(login_url="app/login.html")
def Created(request):
    if request.method == "POST":
        title = request.POST['title']
        content = request.POST['content']
        image = request.FILES.get('image')
        author = request.POST.get('author')

        new_data_created = Blog.objects.create(title=title, content=content, image=image, author=request.user)

        return redirect("show")
    return HttpResponse("Error with post")

def show(request):
    show_data = Blog.objects.all()
    return render(request, "app/home.html", {"show_data": show_data})

@login_required
def update(request, pk):
    update_data = get_object_or_404(Blog, pk=pk)
    return render(request, "app/update.html", {"update_data": update_data})

@login_required
def updated(request, pk):
    updated_data = get_object_or_404(Blog, pk=pk)
    if request.method == "POST":
        updated_data.title = request.POST.get("title")
        updated_data.image = request.POST.get("image")
        updated_data.content = request.POST.get("content")
        updated_data.save()
        return redirect("show")
    return HttpResponse("error")

@login_required
def delete(request, pk):
    deleted_data = get_object_or_404(Blog, pk=pk)
    deleted_data.delete()
    return redirect("show")

@login_required
def signout(request):
    logout(request)
    return redirect("show")
Urls.py
from django.conf import settings
from django.conf.urls.static import static
from django.urls import path, include
from .views import *

urlpatterns = [
    path("register", register, name="register"),
    path("addpage", addpage, name="addpage"),
    path("registration", Registration, name="registration"),
    path("login", Login_view, name="login"),
    path("created", Created, name="created"),
    path("", show, name="show"),
    path("signout", signout, name="signout"),
    path("update/<int:pk>", update, name="update"),
    path("updated/<int:pk>", updated, name="updated"),
    path("delete/<int:pk>", delete, name="delete")

]
if settings.DEBUG:
        urlpatterns += static(settings.MEDIA_URL,document_root=settings.MEDIA_ROOT)
Models.py
from django.db import models
from django.contrib.auth.models import User

# Create your models here.
class Blog(models.Model):
    title = models.CharField(max_length=100)
    content = models.TextField()
    author = models.ForeignKey(User, on_delete=models.CASCADE)
    image = models.ImageField(upload_to='blog_images/')
    created_at = models.DateTimeField(auto_now_add=True)
    updated_at = models.DateTimeField(auto_now=True)
Python Django Online Blog CMS Output
Summary:
The provided Django code implements a basic blog application with user registration, login, and CRUD (Create, Read, Update, Delete) functionality for blog posts. It allows users to register, log in, add new posts, view all posts, update existing posts, and delete posts. The application utilizes Django’s authentication system and models for user management and blog post storage.
Did you like this article? If Yes, please give DataFlair 5 Stars on Google


