Python Django Project – Online Electronic Store
Master Python with 70+ Hands-on Projects and Get Job-ready - Learn Python
Job-ready Online Courses: Click, Learn, Succeed, Start Now!
The Electronic Store is a web-based application built using Django, designed to showcase and manage electronic products. This system enables users to view products as cards, add items to a cart, and proceed to checkout, thereby enhancing the efficiency and ease of managing online shopping for electronics.
About Django Online Electronic Store Project
The Electronic Store aims to simplify the process of managing and purchasing electronic products online. The application includes features for viewing products, adding products to a cart, and proceeding to checkout. It emphasizes usability, data security, and a responsive user interface.
Objectives of Django Online Electronic Store
- Develop a user-friendly interface for browsing electronic products.
- Implement functionality for adding products to a cart.
- Provide users with the ability to proceed to checkout.
- Ensure data security and privacy in handling product and user information.
Project Setup
Required Libraries
The project requires the following Python libraries:
- Django: For a web framework and ORM.
- SQLite: For database management.
- Bootstrap: For responsive design and styling.
Technology Stack
- Python
- Django
- SQLite (default database)
- HTML/CSS
- JavaScript
- Bootstrap
Project Prerequisites
- Basic understanding of Python programming.
- Familiarity with Django framework.
- Knowledge of HTML/CSS for template design.
Download the Python Django Online Electronic Store Project
Please download the source code of the Python Django Online Electronic Store Project: Python Django Online Electronic Store Project Code.
Step-by-Step Code Implementation of Django Online Electronic Store
1. Project Initialization
- The first command initializes a new Django project named electronic_store.
- Second command changes the directory to the project folder.
- The third command initializes a new Django app named store in the same directory. It sets up the basic structure for the project.
django-admin startproject electronic_store
cd electronic_store
python manage.py startapp store
2. Setting Up Models
- The Category model has a name field with a maximum length of 255 characters.
- The Product model includes the following fields: name, description, price, image, and category. The category field associates each product with a specific category.
- The Cart model is linked to the User model and contains a many-to-many relationship with the Product model.
from django.db import models
from django.contrib.auth.models import User


class Category(models.Model):
   name = models.CharField(max_length=255)


   def __str__(self):
       return self.name


class Product(models.Model):
   name = models.CharField(max_length=255)
   description = models.TextField()
   price = models.DecimalField(max_digits=10, decimal_places=2)
   image = models.ImageField(upload_to='products/')
   category = models.ForeignKey(Category, on_delete=models.CASCADE)


   def __str__(self):
       return self.name


class Cart(models.Model):
   user = models.ForeignKey(User, on_delete=models.CASCADE)
   products = models.ManyToManyField(Product, through='CartItem')


class CartItem(models.Model):
   cart = models.ForeignKey(Cart, on_delete=models.CASCADE)
   product = models.ForeignKey(Product, on_delete=models.CASCADE)
   quantity = models.PositiveIntegerField(default=1)
3. Making Migrations
- makemigrations: Makes migrations based on the changes detected in the models. Migrations are how Django stores changes to the models.
- migrate: This command applies the migrations to the database, creating the tables and columns.
python3 manage.py makemigrations store
python3 manage.py migrate
4. Defining Views
- The home_view function retrieves all products from the Product model and renders them on the ‘home.html’ template.
- The add_to_cart function requires the user to be logged in and handles adding products to the cart. It retrieves the specified product.
- The cart_view function also requires a login and retrieves the current user’s cart and its items. It calculates the total cost of items in the cart and renders the ‘cart.html’ template.
- The checkout_view function renders the ‘checkout.html’ template.
from django.shortcuts import render, redirect, get_object_or_404
from .models import Product, Cart, CartItem
from django.contrib.auth.decorators import login_required


def home_view(request):
   products = Product.objects.all()
   return render(request, 'home.html', {'products': products})


@login_required
def add_to_cart(request, product_id):
   product = get_object_or_404(Product, id=product_id)
   cart, created = Cart.objects.get_or_create(user=request.user)
   cart_item, created = CartItem.objects.get_or_create(cart=cart, product=product)
   if not created:
       cart_item.quantity += 1
   cart_item.save()
   return redirect('cart')


@login_required
def cart_view(request):
   cart = Cart.objects.get(user=request.user)
   cart_items = cart.cartitem_set.all()
   total = sum(item.product.price * item.quantity for item in cart_items)
   return render(request, 'cart.html', {'cart': cart_items, 'total': total})


def checkout_view(request):
   return render(request, 'checkout.html')
5. Setting URLs
- The path(‘ ‘, home_view, name=’home’) pattern routes the root URL to the home_view function. This is the homepage of the store, displaying all products.
- The path add_to_cart maps the ‘add_to_cart’ URL with a product ID to the add_to_cart function. This handles adding products to the user’s cart.
- The path cart pattern routes the ‘cart’ URL to the cart_view function, displaying the user’s cart.
from django.urls import path
from .views import checkout_view, home_view, add_to_cart, cart_view


urlpatterns = [
   path('', home_view, name='home'),
   path('add_to_cart/<int:product_id>/', add_to_cart, name='add_to_cart'),
   path('cart/', cart_view, name='cart'),
   path('checkout/', checkout_view, name='checkout'),
]
6. Creating Templates
base.html:
- The {% block title %} and {% block extra_head %} template tags allow child templates to insert their own title and additional head content, ensuring flexibility.
- The navigation bar includes links to the home and cart pages, using the {% url ‘home’ %} and {% url ‘cart’ %} template tags to dynamically generate URLs.
- The main content area is wrapped in a Bootstrap container class. The {% block content %} template tag allows child templates to insert their own main content within this structure.
<!DOCTYPE html>
<html lang="en">
<head>
   <meta charset="UTF-8">
   <meta name="viewport" content="width=device-width, initial-scale=1.0">
   <title>{% block title %}Electronic Store{% endblock %}</title>
   <link href="https://maxcdn.bootstrapcdn.com/bootstrap/4.5.2/css/bootstrap.min.css" rel="stylesheet">
   <style>
       body {
           padding-top: 56px;
       }
       .product-card {
           display: flex;
           flex-direction: column;
           height: 100%;
       }
       .product-card img {
           height: 200px;
           object-fit: cover;
       }
       .product-card .card-body {
           flex: 1;
           display: flex;
           flex-direction: column;
           justify-content: space-between;
       }
   </style>
   {% block extra_head %}{% endblock %}
</head>
<body>
   <nav class="navbar navbar-expand-lg navbar-dark bg-dark fixed-top">
       <a class="navbar-brand" href="{% url 'home' %}">Dataflair@Electronic Store</a>
       <button class="navbar-toggler" type="button" data-toggle="collapse" data-target="#navbarResponsive" aria-controls="navbarResponsive" aria-expanded="false" aria-label="Toggle navigation">
           <span class="navbar-toggler-icon"></span>
       </button>
       <div class="collapse navbar-collapse" id="navbarResponsive">
           <ul class="navbar-nav ml-auto">
               <li class="nav-item">
                   <a class="nav-link" href="{% url 'home' %}">Home</a>
               </li>
               <li class="nav-item">
                   <a class="nav-link" href="{% url 'cart' %}">Cart</a>
               </li>
           </ul>
       </div>
   </nav>


   <div class="container">
       {% block content %}{% endblock %}
   </div>


   <script src="https://code.jquery.com/jquery-3.5.1.slim.min.js"></script>
   <script src="https://cdn.jsdelivr.net/npm/@popperjs/[email protected]/dist/umd/popper.min.js"></script>
   <script src="https://maxcdn.bootstrapcdn.com/bootstrap/4.5.2/js/bootstrap.min.js"></script>
</body>
</html>
home.html:
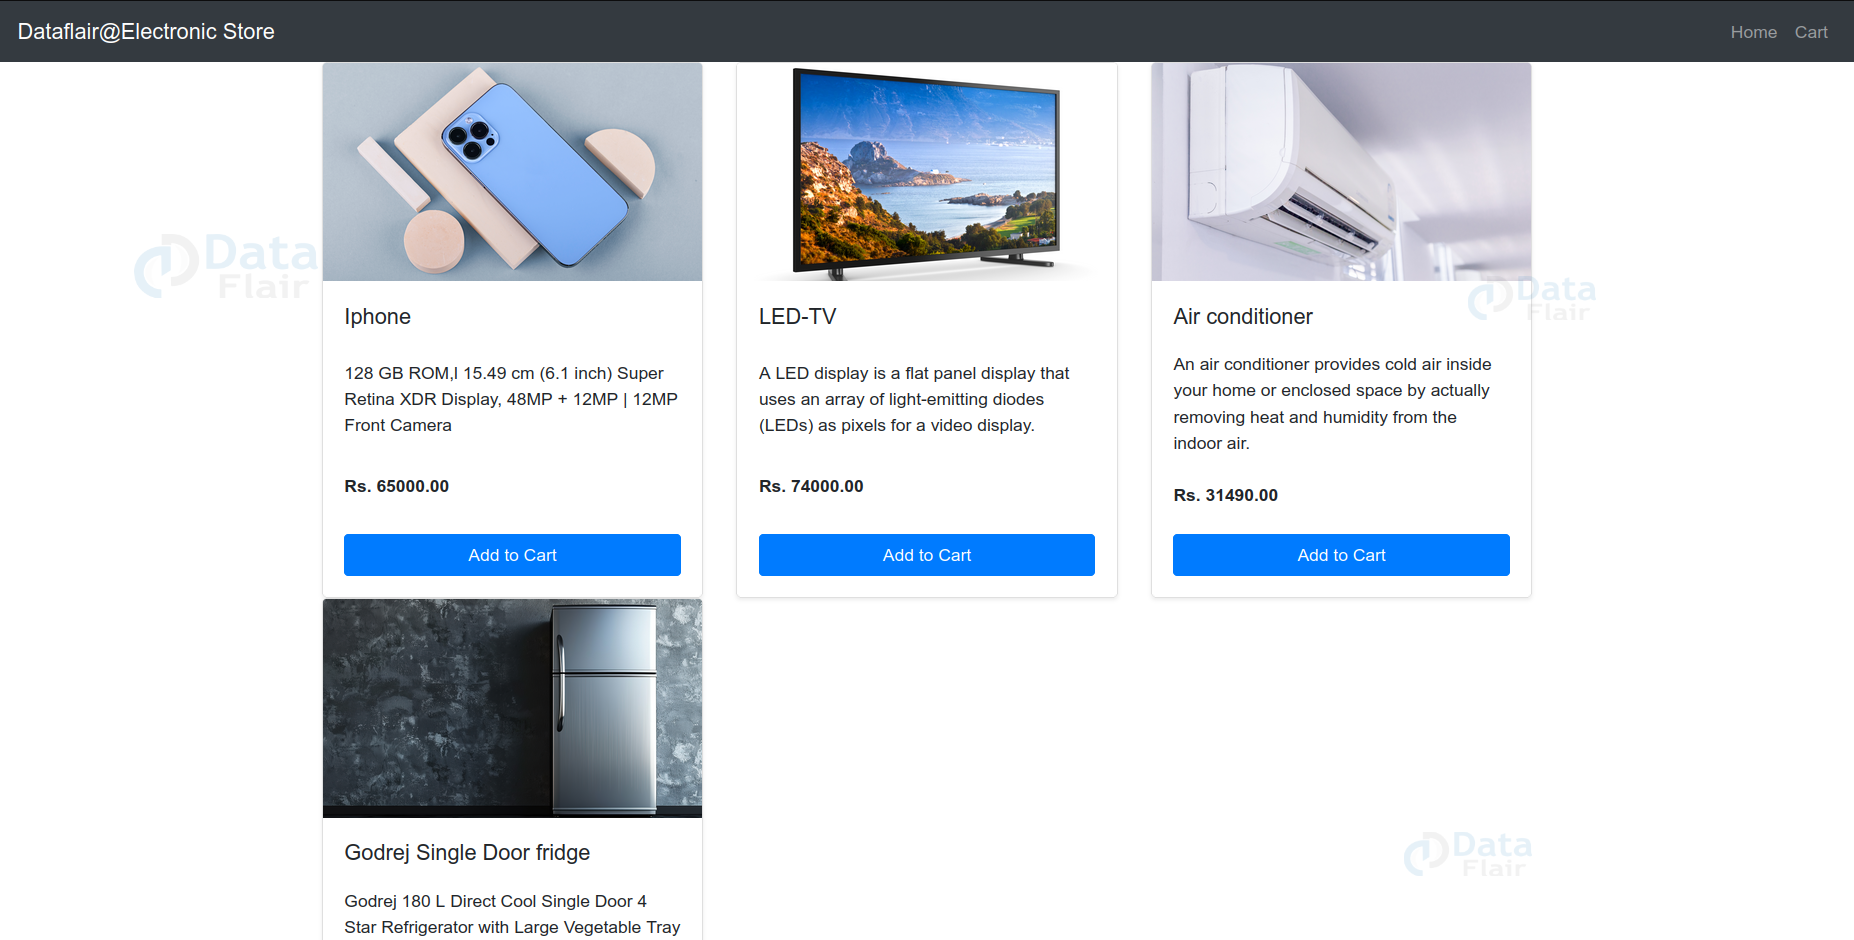
- The {% block content %} uses a Bootstrap grid system to display products in a row.
- Each product is displayed as a Bootstrap card, featuring an image, title, description, and price. The product.image.url dynamically fetches the product image.
- An Add to Cart button is included for each product, linking to the add_to_cart view using {% url ‘add_to_cart’ product.id %} to handle adding products.
{% extends 'base.html' %}
{% block title %}Home{% endblock %}
{% block content %}
<div class="row">
   {% for product in products %}
       <div class="col-md-4">
           <div class="card mb-4 shadow-sm product-card">
               <img src="{{ product.image.url }}" class="card-img-top" alt="{{ product.name }}">
               <div class="card-body">
                   <h5 class="card-title">{{ product.name }}</h5>
                   <p class="card-text">{{ product.description }}</p>
                   <p class="card-text"><strong>Rs. {{ product.price }}</strong></p>
                   <a href="{% url 'add_to_cart' product.id %}" class="btn btn-primary">Add to Cart</a>
               </div>
           </div>
       </div>
   {% endfor %}
</div>
{% endblock %}
cart.html:
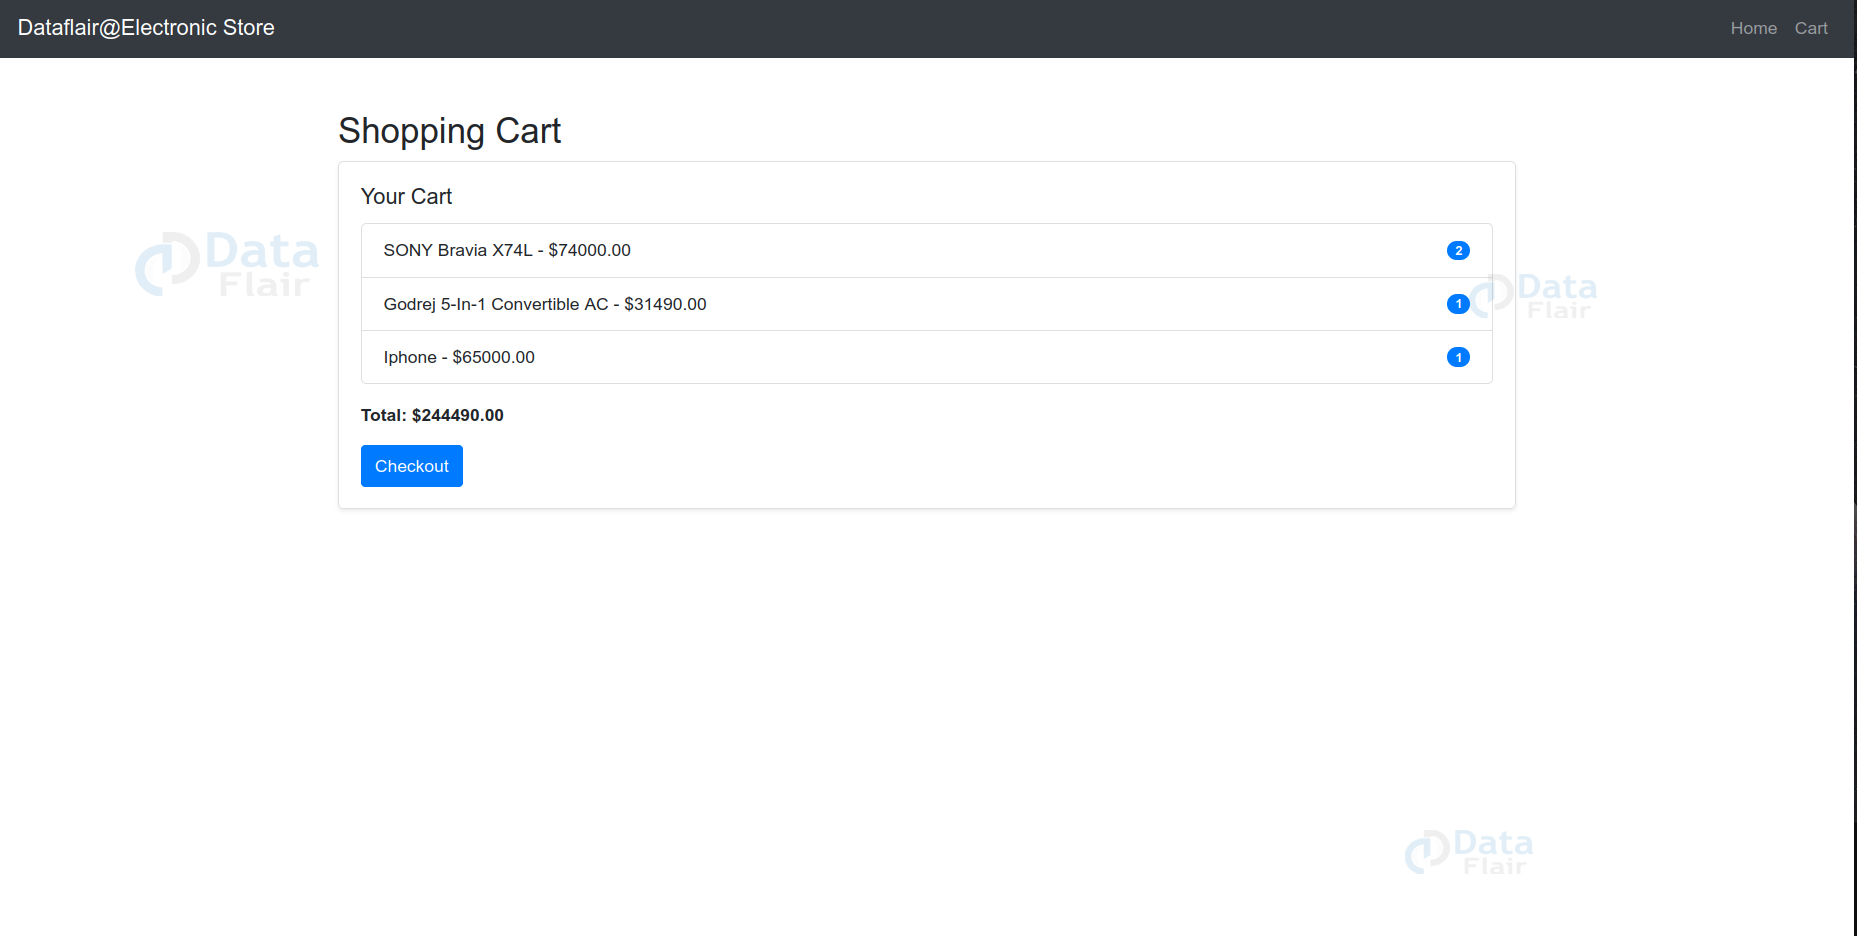
- The {% block content %} displays the shopping cart within a Bootstrap container. If the cart is not empty, it shows a card with a list of items.
- Each cart item is listed with the product’s name, price, and quantity. The total cost is calculated and displayed at the bottom.
- A Checkout button is provided, linking to the checkout view using the {% url ‘checkout’ %} template tag.
{% extends 'base.html' %}


{% block title %}Cart{% endblock %}


{% block content %}
<div class="container mt-5">
   <h2>Shopping Cart</h2>
   <div class="row">
       <div class="col-md-12">
           {% if cart %}
               <div class="card mb-4 shadow-sm">
                   <div class="card-body">
                       <h5 class="card-title">Your Cart</h5>
                       <ul class="list-group">
                           {% for item in cart %}
                               <li class="list-group-item d-flex justify-content-between align-items-center">
                                   <div>{{ item.product.name }} - ${{ item.product.price }}</div>
                                   <span class="badge badge-primary badge-pill">{{ item.quantity }}</span>
                               </li>
                           {% endfor %}
                       </ul>
                       <div class="mt-3">
                           <strong>Total: ${{ total }}</strong>
                       </div>
                       <a href="{% url 'checkout' %}" class="btn btn-primary mt-3">Checkout</a>
                   </div>
               </div>
           {% else %}
               <p>Your cart is empty.</p>
           {% endif %}
       </div>
   </div>
</div>
{% endblock %}
checkout.html:
- The {% block content %} displays a container with a heading “Checkout” and a placeholder paragraph for the checkout process.
- The design follows the layout established in base.html, ensuring consistency across the site’s pages.
{% extends 'base.html' %}


{% block title %}Checkout{% endblock %}


{% block content %}
<div class="container mt-5">
   <h2>Checkout</h2>
   <p>This is a placeholder for the checkout process.</p>
</div>
{% endblock %}
Django Online Electronic Store Output
1. Application Interface
2. Shopping Cart Page
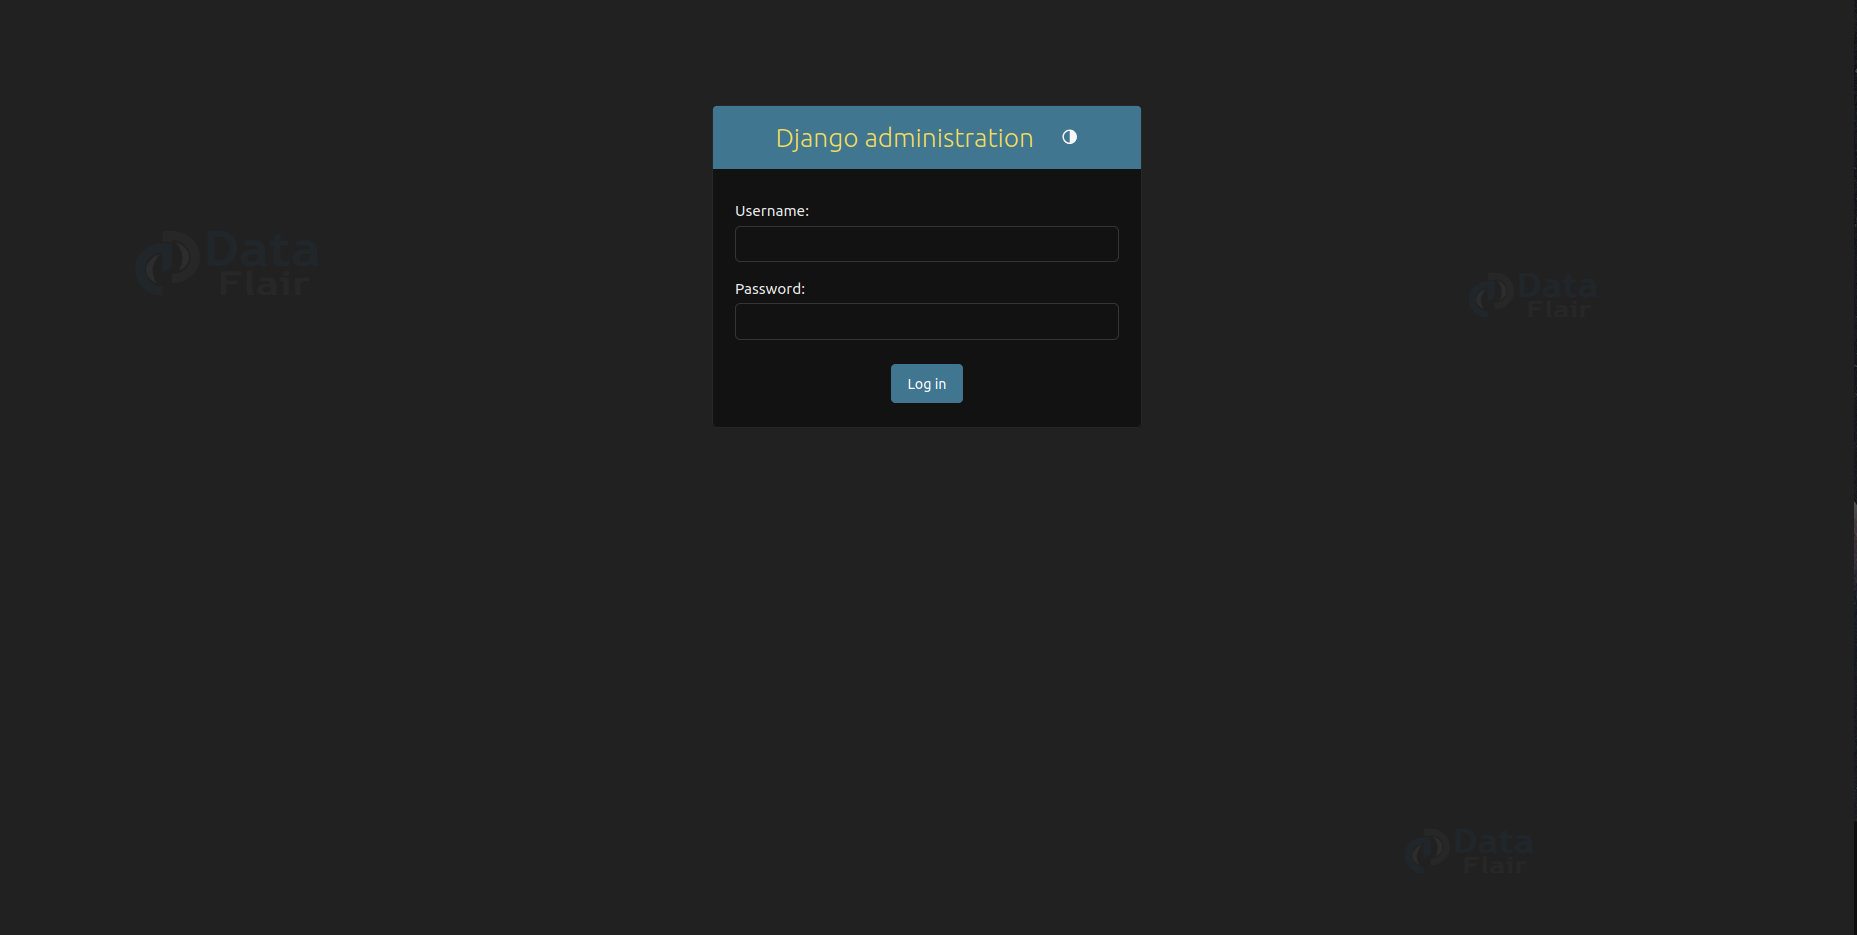
3. Admin Login Page
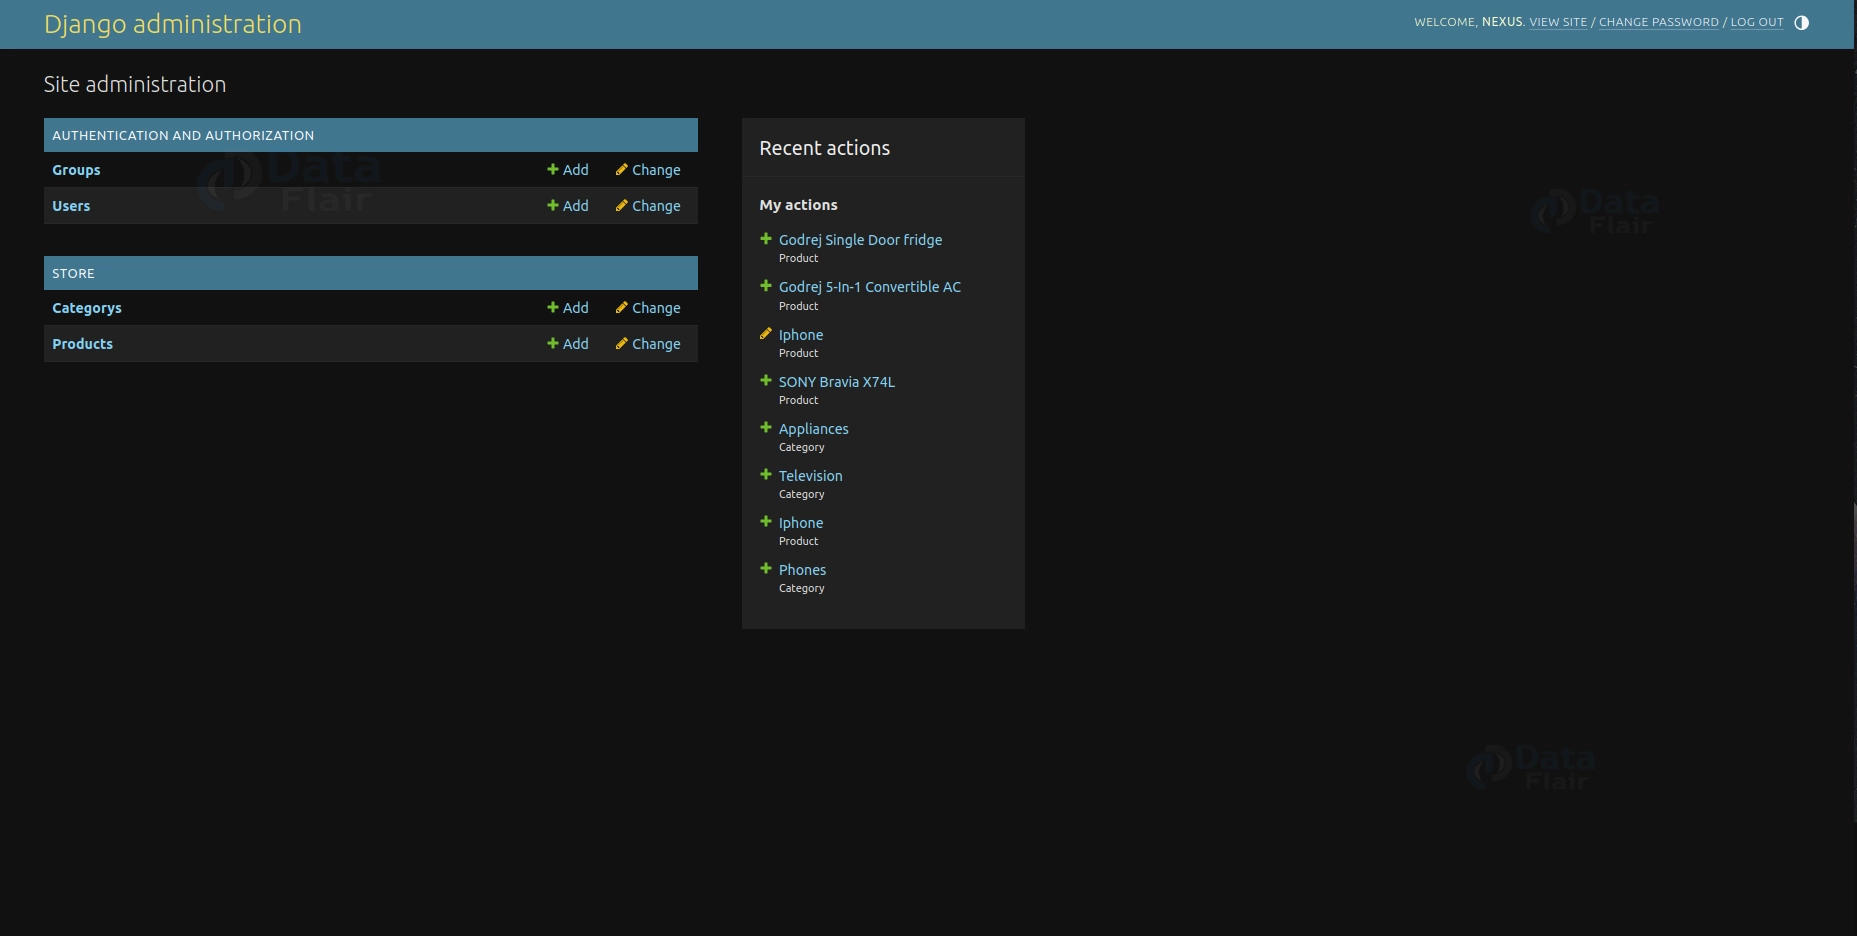
4. Administrative Page
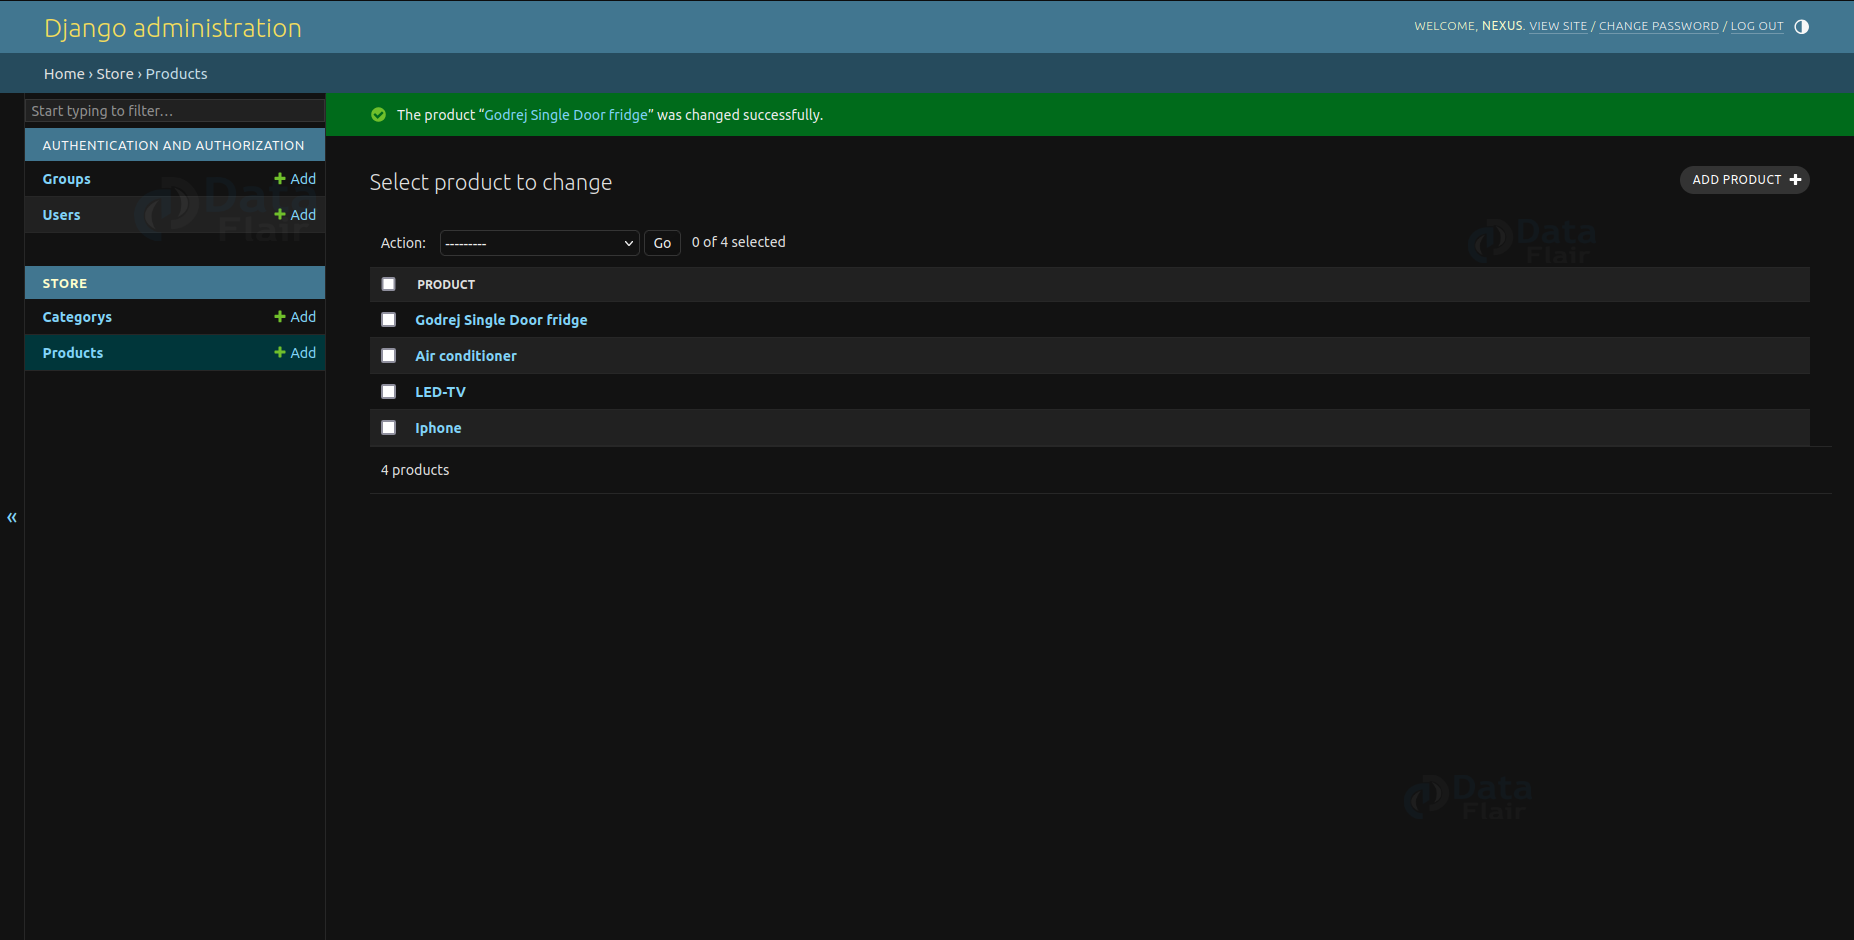
5. Admin Product Page
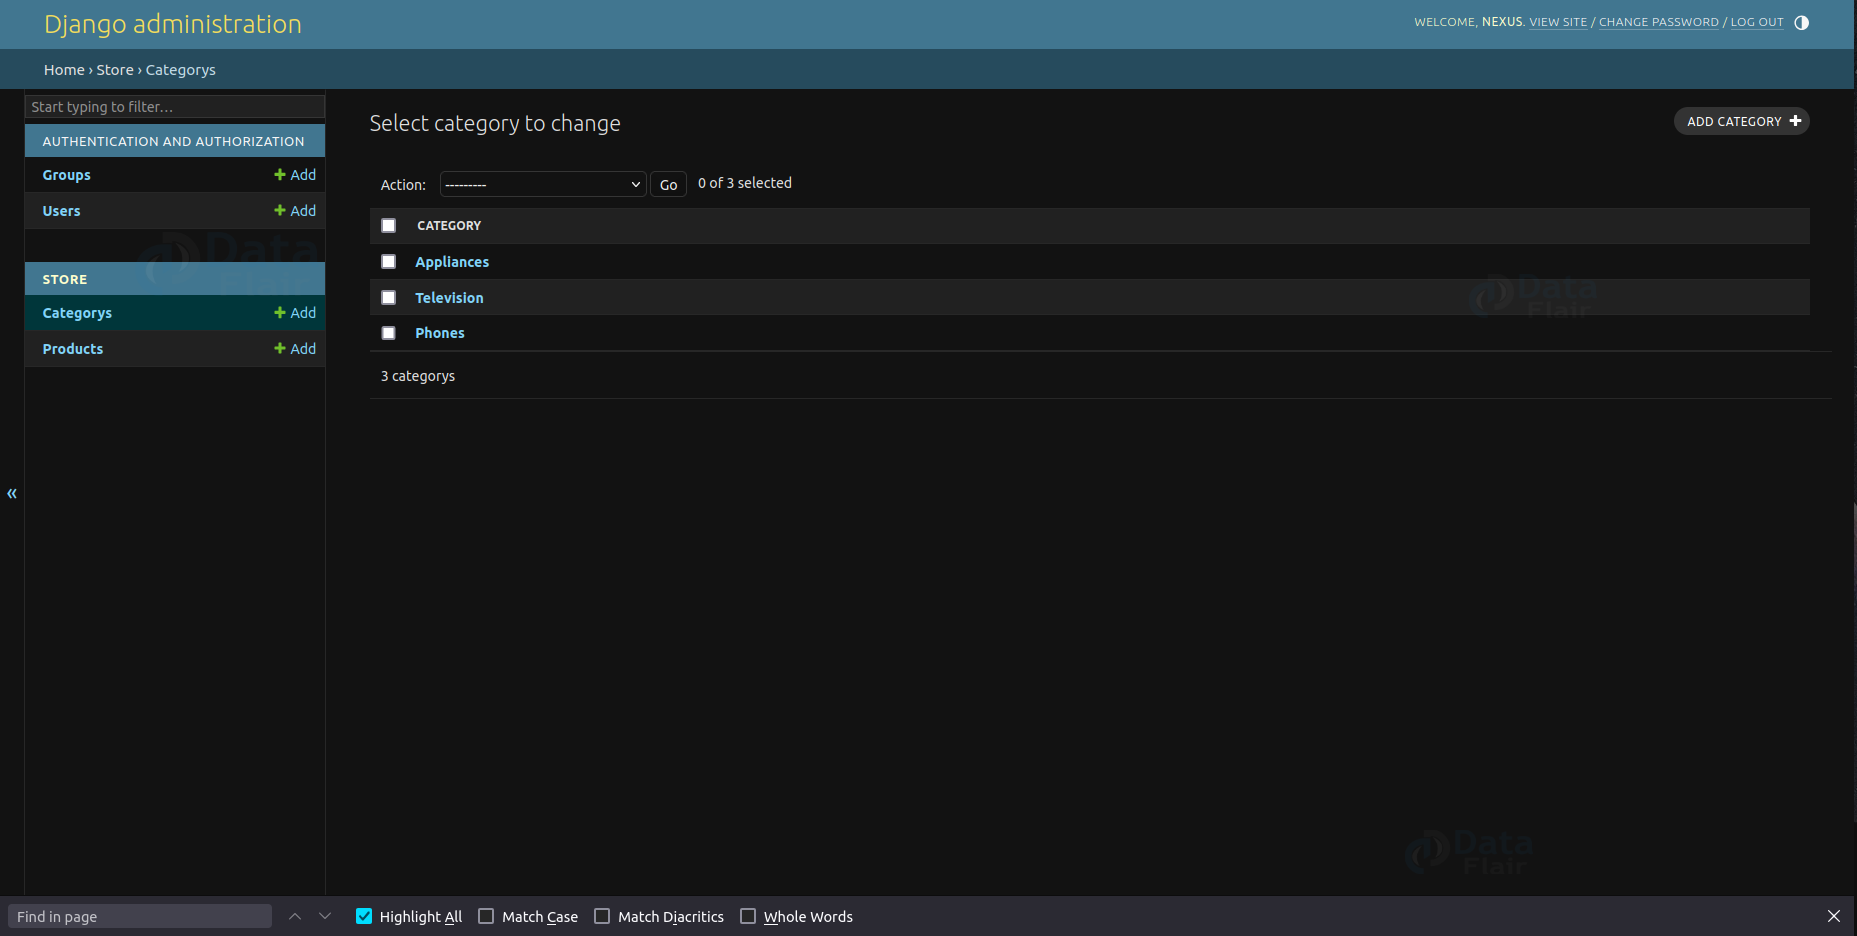
6. Admin Category Page
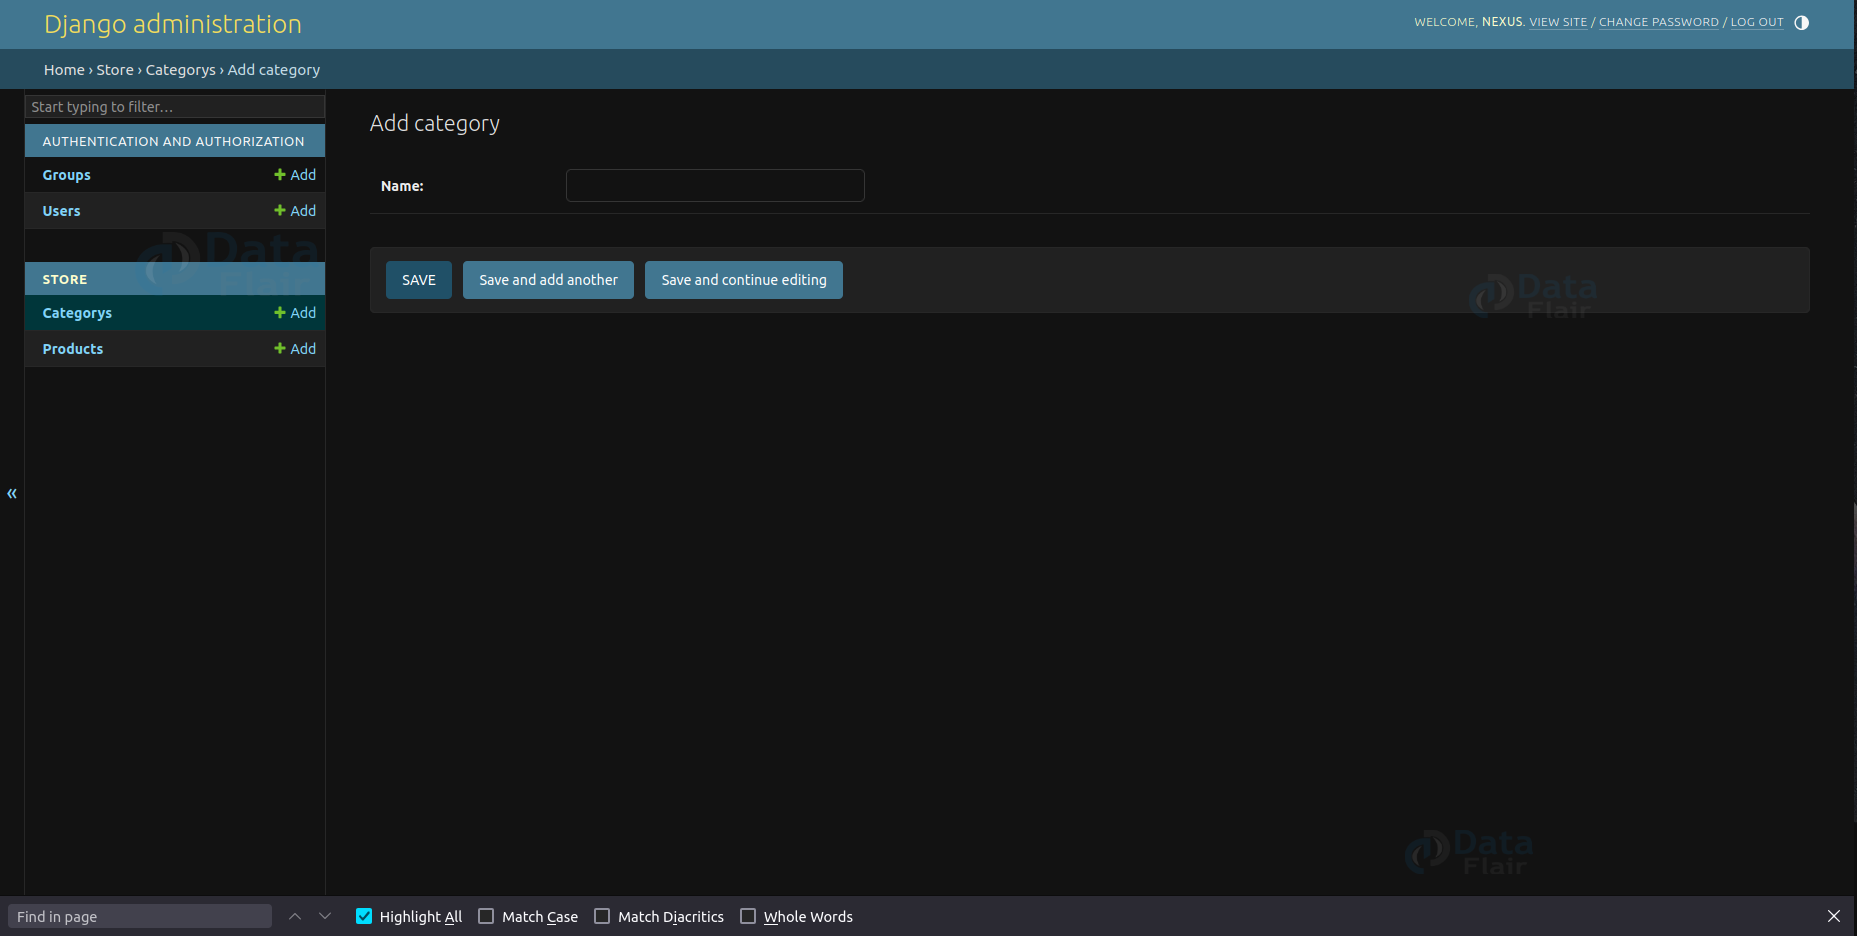
7. Add Category
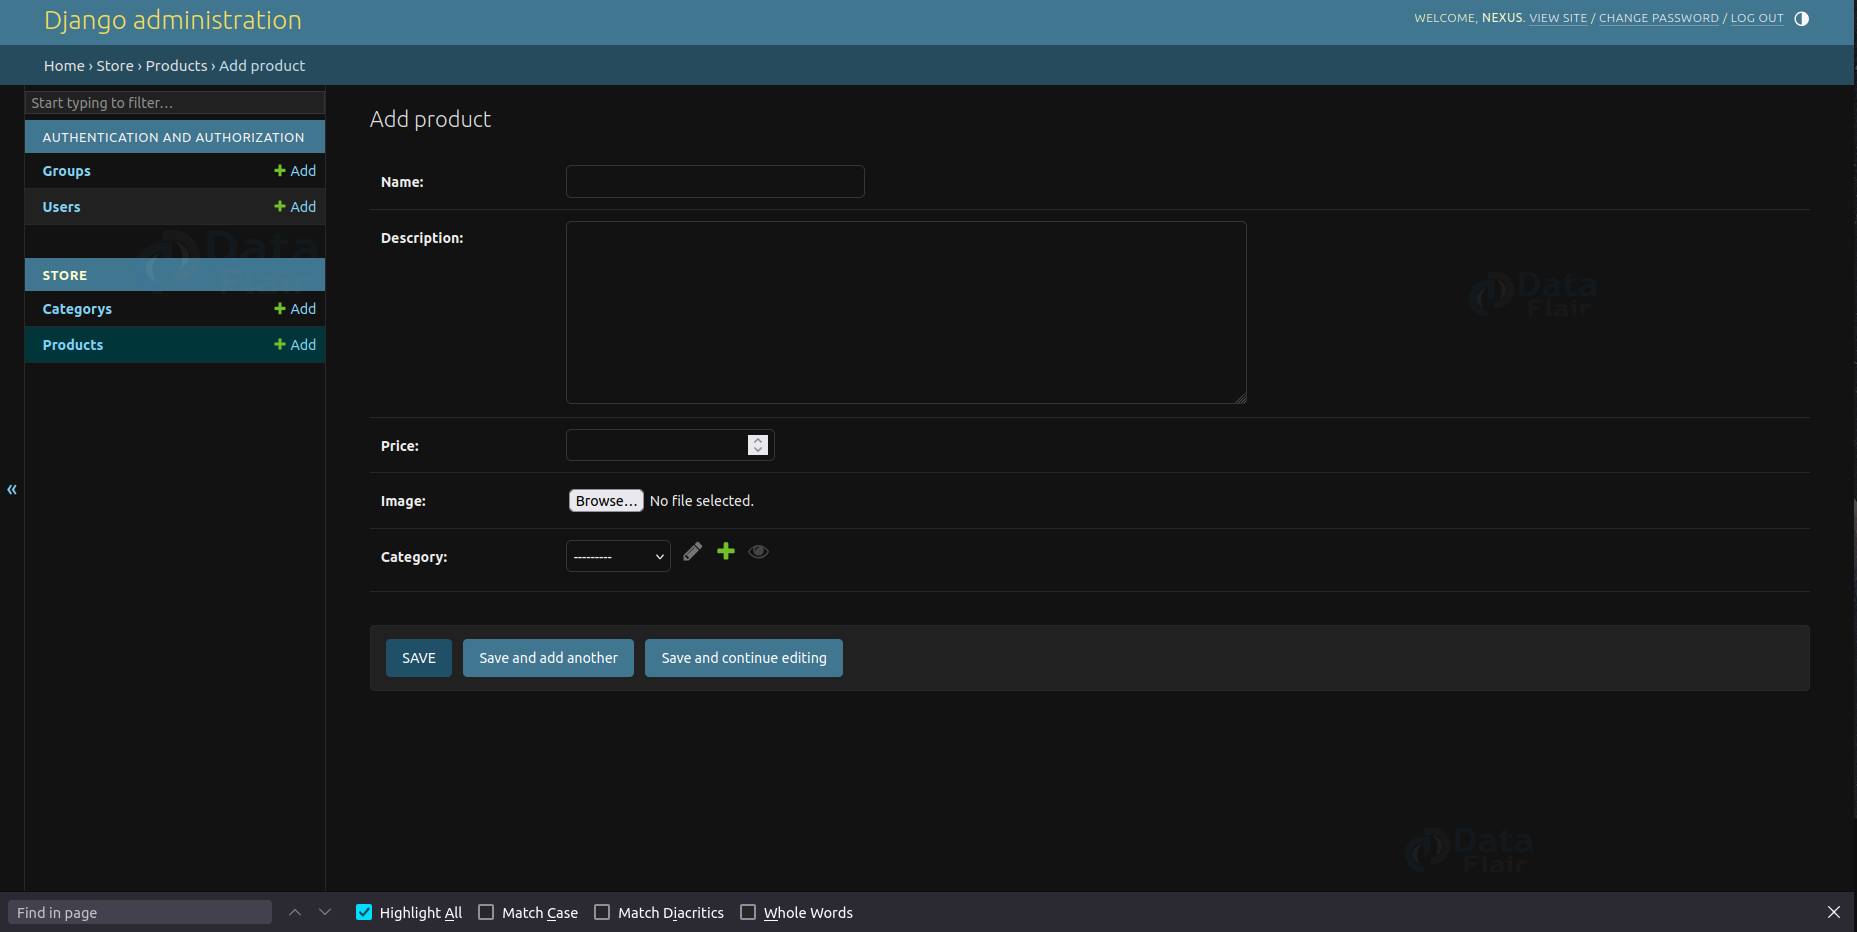
8. Add Product
Conclusion
The Electronic Store shows Django’s capability to build robust web applications for managing online shopping. It offers essential features for browsing products, adding them to a cart, and proceeding to checkout, with potential for future enhancements such as user authentication, payment integration, and order tracking functionalities.
You give me 15 seconds I promise you best tutorials
Please share your happy experience on Google