Install Hadoop on Single Machine
1. Objective
The Agenda for this tutorial is to describe how to Deploy / Setup Hadoop on the Single node. The tutorial is very simple so that you can install Hadoop on single machine in 10 Min. Alternatively, you can watch the video tutorial which shows end to end steps to configure Hadoop. Single Node Hadoop cluster is also called as Hadoop Pseudo-Distributed Mode. Once Hadoop is installed you can use Hadoop MapReduce and the Hadoop Distributed File System (HDFS).
Looking to Install the latest version of Hadoop, follow these tutorials: Install Cloudera Hadoop CDH5 on Ubuntu and Install & Configure Apache Hadoop 2.7.x on Ubuntu
Install Hadoop on Single Machine
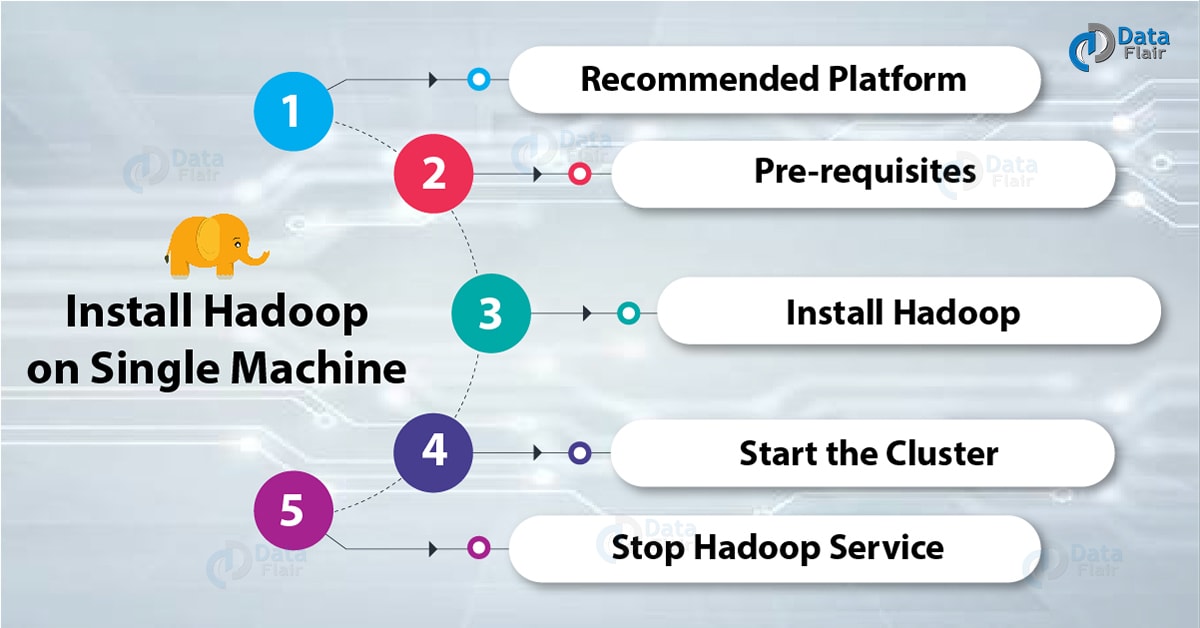
2. Install Hadoop on Single Machine
2.1. Recommended Platform
- OS: Ubuntu 12.04 or later (you can use other OS (centOS, Redhat, etc))
- Hadoop: Cloudera distribution for Apache Hadoop CDH3U6 (you can use Apache Hadoop 1.X)
I. Setup Platform
If you are using Windows/Mac OS you can create a virtual machine and install Ubuntu using VMWare Player, alternatively you can create virtual machine and install Ubuntu using Oracle Virtual Box.
2.2. Prerequisites
- Java (oracle java is recommended for production)
- Password-less SSH setup (Hadoop need passwordless ssh from master to all the slaves, this is required for remote script invocations)
I. Install Java
Install Java 8 or later (either oracle / open jdk)
Update the source list:
[php]sudo apt-get update[/php]
Install Open jdk:
[php]sudo apt-get install openjdk-8-jdk[/php]
II. Configure Password-less SSH
Install Open SSH Server-Client:
[php]sudo apt-get install openssh-server openssh-client[/php]
Generate key-value pairs:
[php]ssh-keygen -t rsa -P “”[/php]
Configure password-less SSH:
[php]cat $HOME/.ssh/id_rsa.pub>>$HOME/.ssh/authorized_keys[/php]
Check by SSH to localhost:
[php]ssh localhost[/php]
2.3. Install Hadoop
I. Download Hadoop:
http://archive.cloudera.com/cdh/3/hadoop-0.20.2-cdh3u6.tar.gz
II. Deploy Hadoop
Untar Tarball:
[php]tar xzf hadoop-0.20.2-cdh3u5.tar.gz[/php]
Go to HADOOP_HOME DIR, All the commands will be run from Hadoop_Home Directory
[php]cd hadoop-0.20.2-cdh3u5/[/php]
III. Setup Configuration
a. Edit hadoop-env.sh:
Edit configuration file conf/hadoop-env.sh and set JAVA_HOME
[php]export JAVA_HOME=path to be the root of your Java installation(eg: /usr/lib/jvm/java-8-sun)[/php]
b. Edit core-site.xml:
Edit configuration file conf/core-site.xml and add following entries:
[php]<configuration>
<property>
<name>fs.default.name</name> <value>hdfs://localhost:9000</value>
</property>
<property>
<name>hadoop.tmp.dir</name>
<value><PATH-WHERE-YOU-HAVE-READ-WRITE-PRIVILEGES></value>
</property>
</configuration>[/php]
c. Edit hdfs-site.xml:
Edit configuration file conf/hdfs-site.xml and add following entries:
[php]<configuration>
<property>
<name>dfs.replication</name>
<value>1</value>
</property>
</configuration>[/php]
d. Edit mapred-site.xml:
Edit configuration file conf/mapred-site.xml and add following entries:
[php]<configuration>
<property>
<name>mapred.job.tracker</name>
<value>localhost:9001</value>
</property>
</configuration>[/php]
IV. Start The Cluster
a. Format the name node:
[php]bin/hadoop namenode -format[/php]
This activity should be done once when you install hadoop, else It will delete all your data from HDFS
b. Start Hadoop Services:
[php]bin/start-all.sh[/php]
c. Check whether services have been started:
[php]jps
NameNode
SecondaryNameNode
DataNode
JobTracker
TaskTracker[/php]
2.4. Stop Hadoop Services
Once your work has been done, You can stop the services
[php]bin/stop-all.sh[/php]
3. Related Links
- Next Gen Lightning Fast Big Data Tool – Apache Spark
- Deep Dive into Hadoop YARN Node Manager
- World’s Most Reliable Storage System – HDFS. Learn how to work with HDFS
You give me 15 seconds I promise you best tutorials
Please share your happy experience on Google


