How to Install Hadoop 3 on Ubuntu – A Step-by step Installation Process
With this tutorial, we will learn the complete process to install Hadoop 3 on ubuntu. The process involves some easy-to-follow steps including commands and instructions. Each step is attached with screen images which will guide you throughout the process of Hadoop installation.
Let’s begin the process.
Steps to Install Hadoop 3 on Ubuntu
Prerequisites
First, download the Hadoop 3.1.2 from the below link:
Here are the steps for installing Hadoop 3 on ubuntu for your system:
Step 1: Install ssh on your system using the below command:
sudo apt-get install ssh
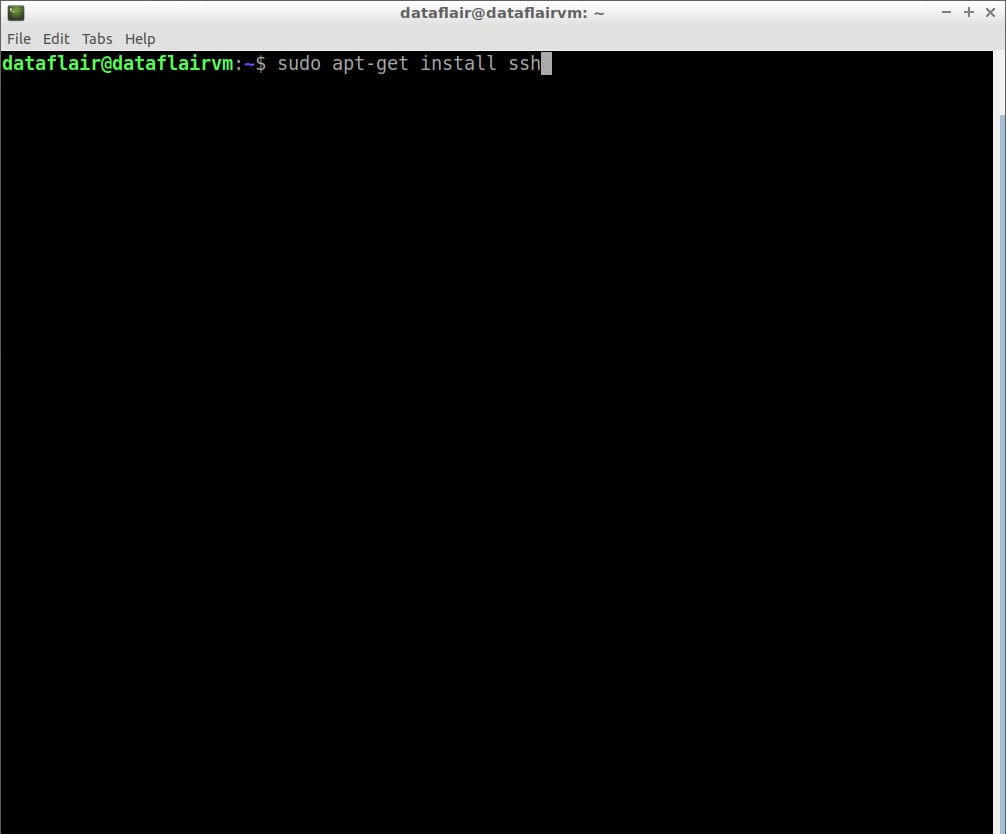
Type the password for the sudo user and then press Enter.
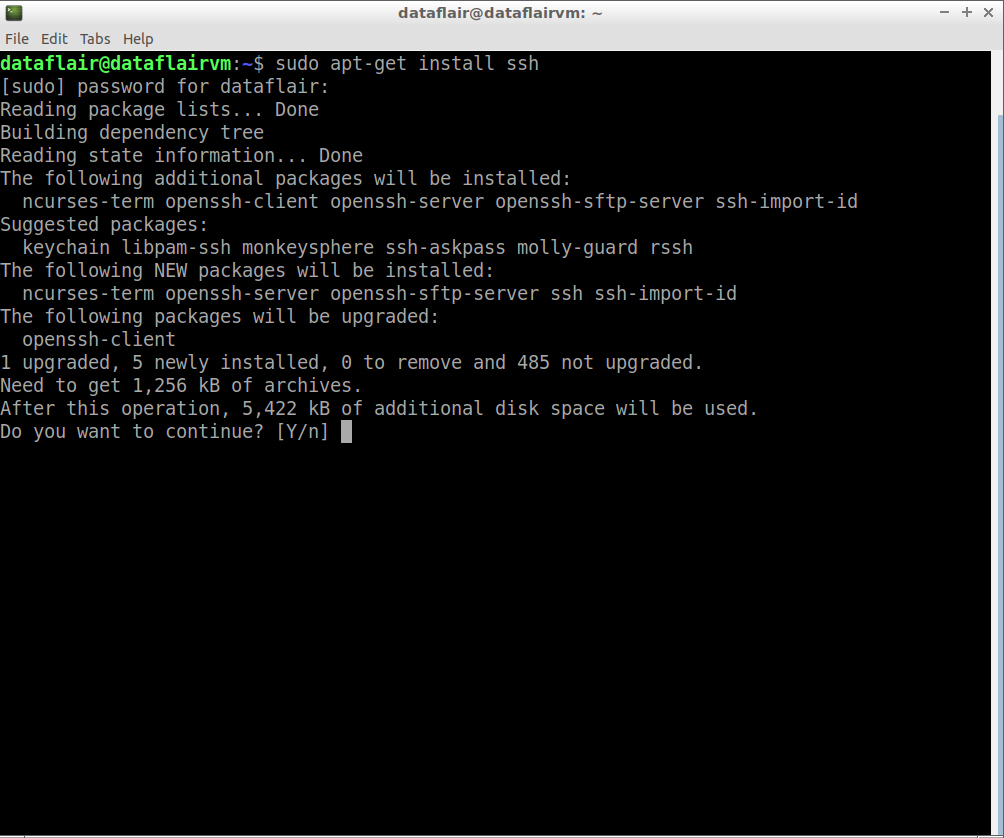
Type ‘Y’ and then press Enter to continue with the installation process.
Step 2: Install pdsh on your system using the below command:
sudo apt-get install pdsh

Install pdsh command
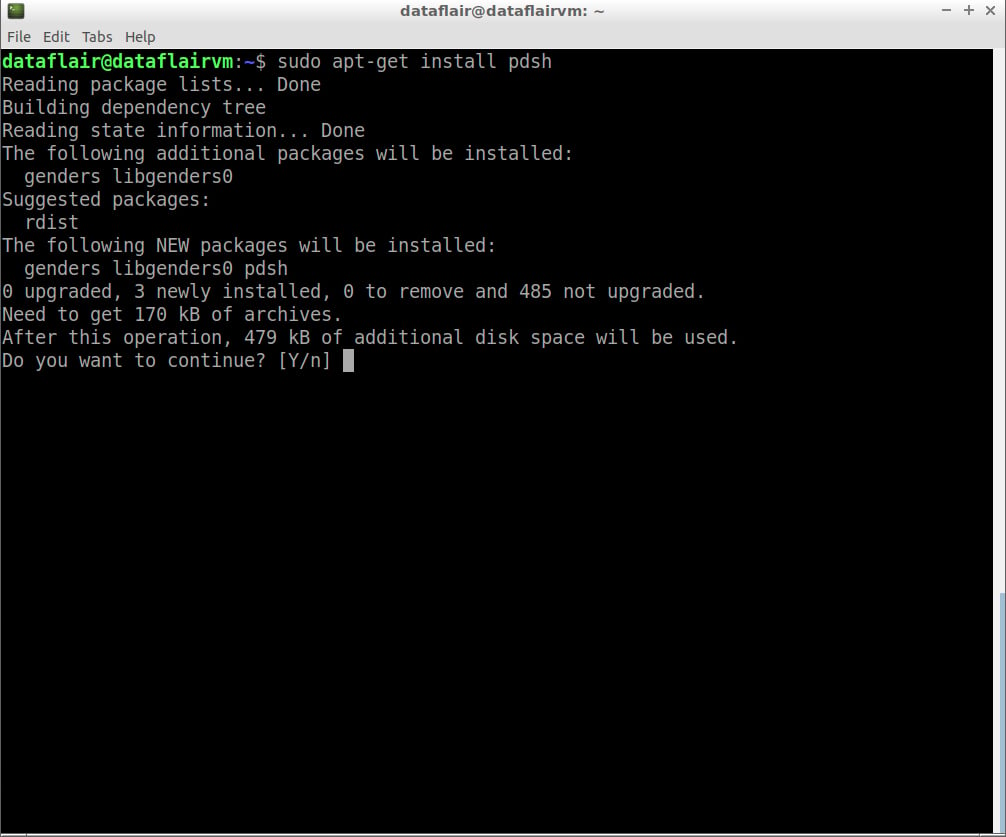
pdsh installation
Type ‘Y’ and then press Enter to continue with the installation process.
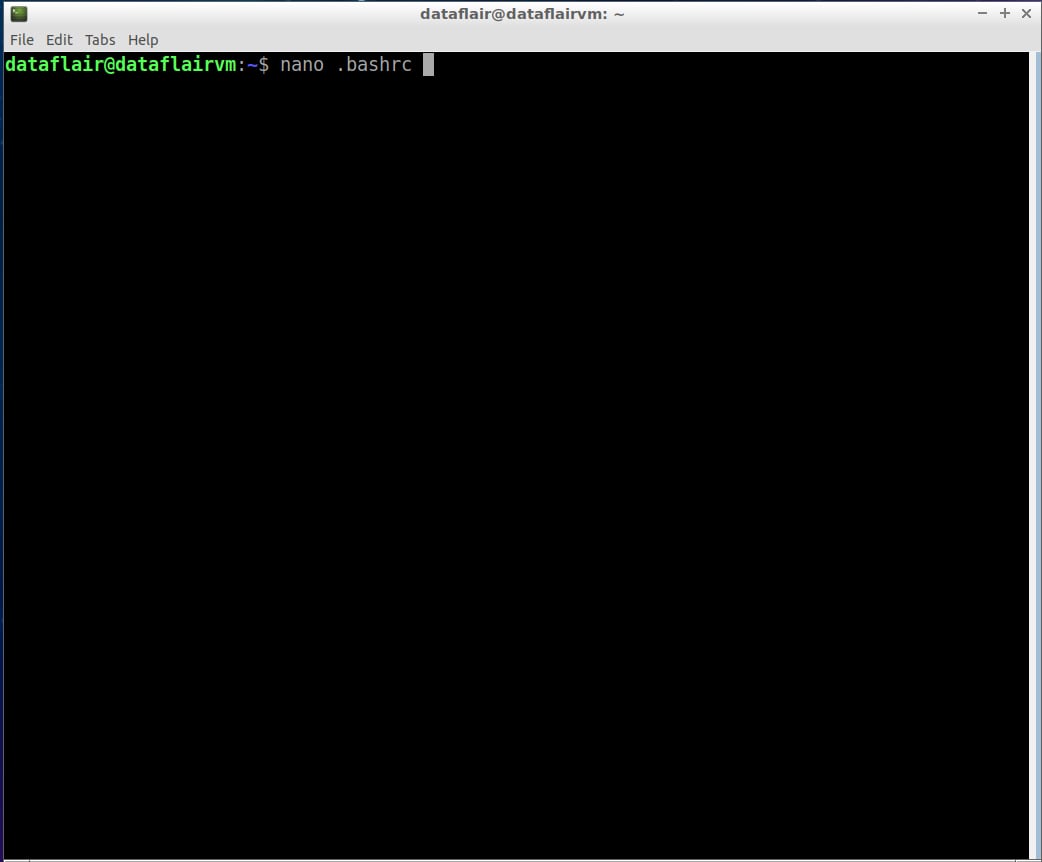
Step 3: Open the .bashrc file in the nano editor using the following command:
nano .bashrc
Now set the PDSH_RCMD_TYPE environment variable to ssh
export PDSH_RCMD_TYPE=ssh

To save the changes you’ve made, press Ctrl+O. To exit the nano editor, press Ctrl+X and then press ‘Y’ to exit the editor.
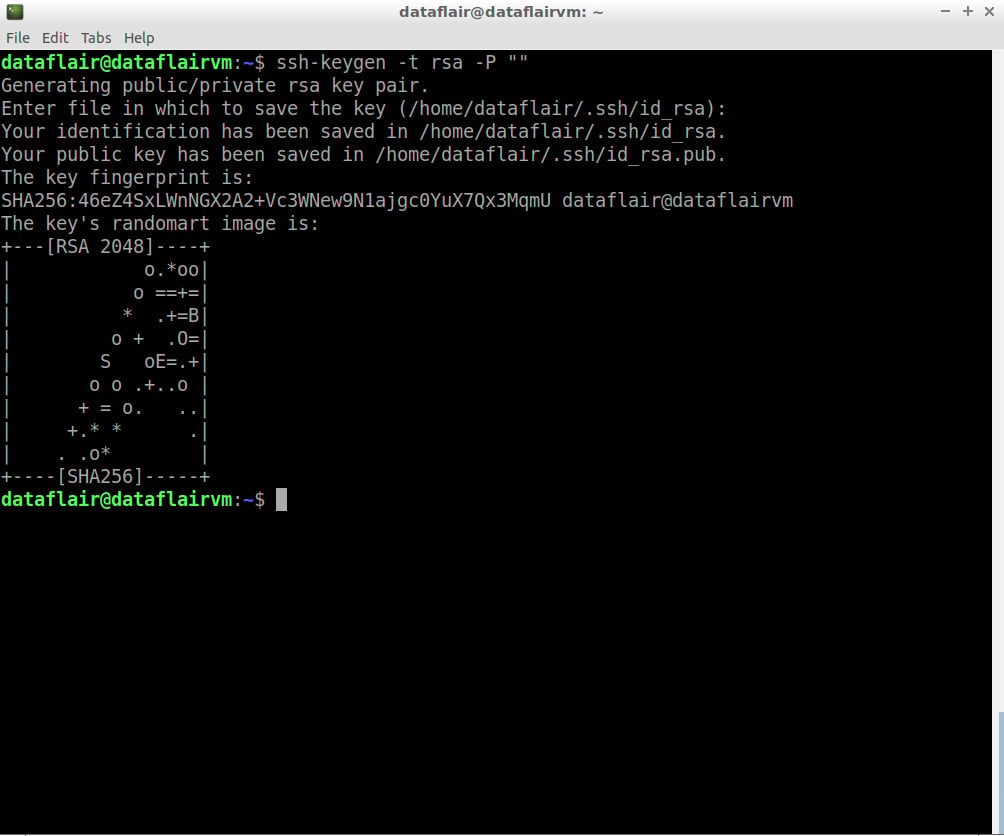
Step 4: Now configure ssh. To do so, create a new key with the help of the following command (don’t copy-paste following command, rather type):
ssh-keygen -t rsa -P ""
Press Enter when asked the file name.
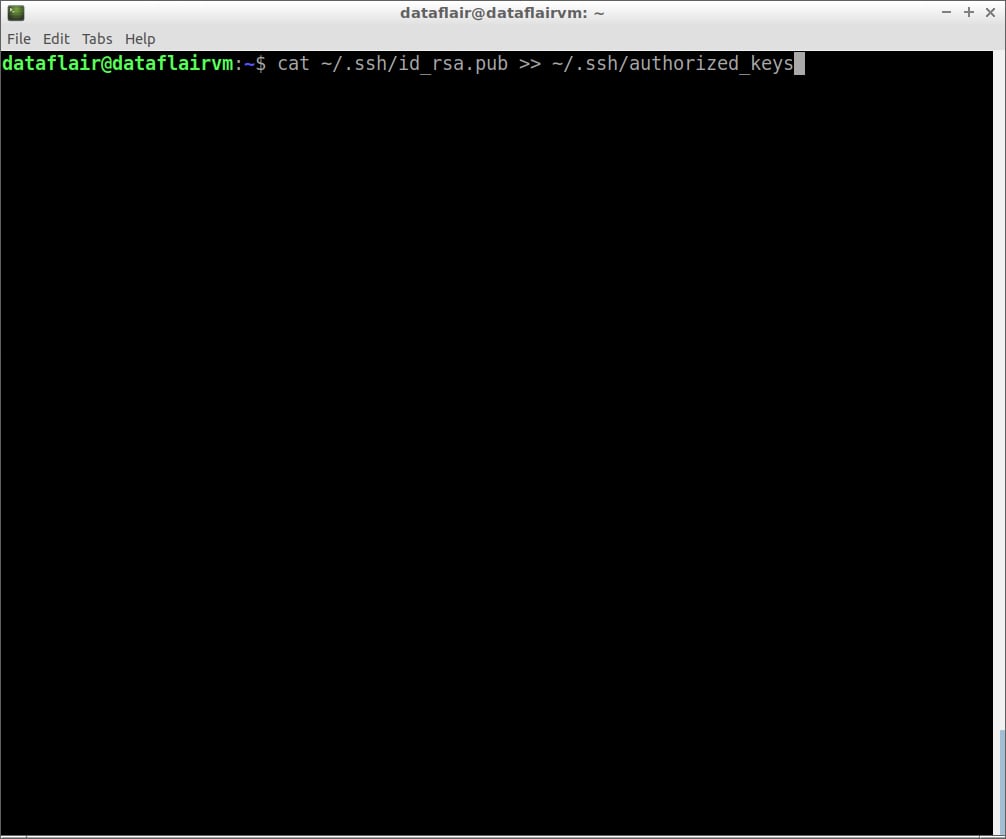
Step 5: Copy the content of the public key to authorized_keys.
cat ~/.ssh/id_rsa.pub >> ~/.ssh/authorized_keys
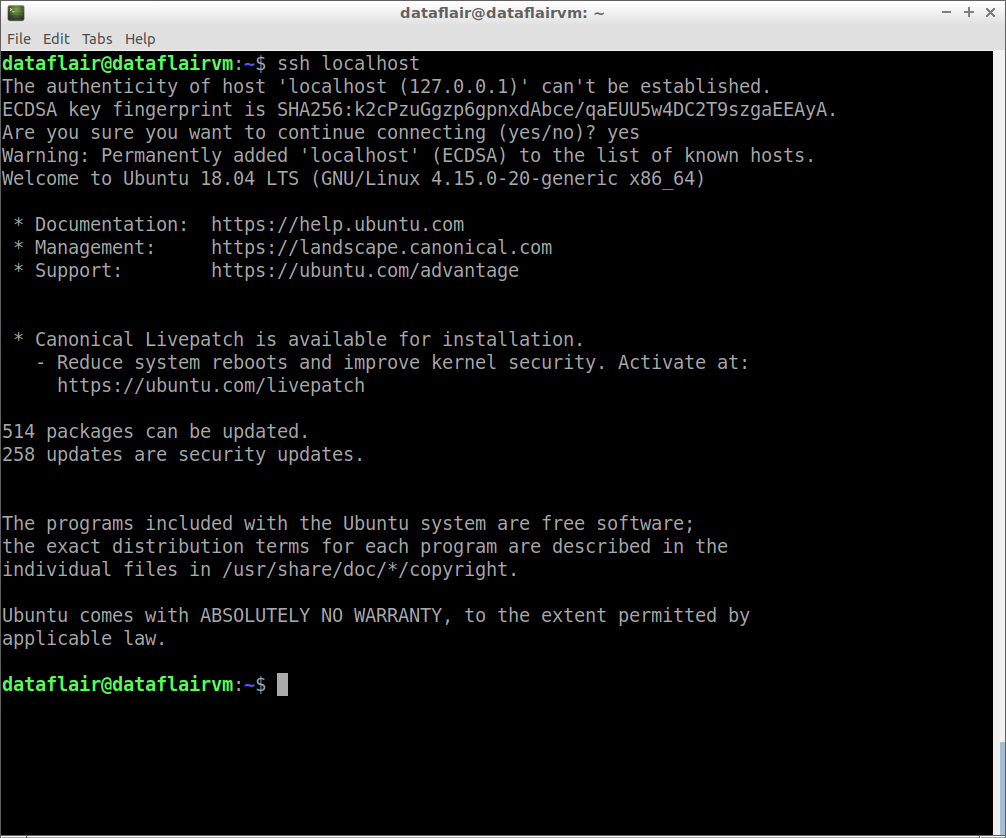
Step 6: Now examine the SSH setup by connecting to the localhost.
ssh localhost
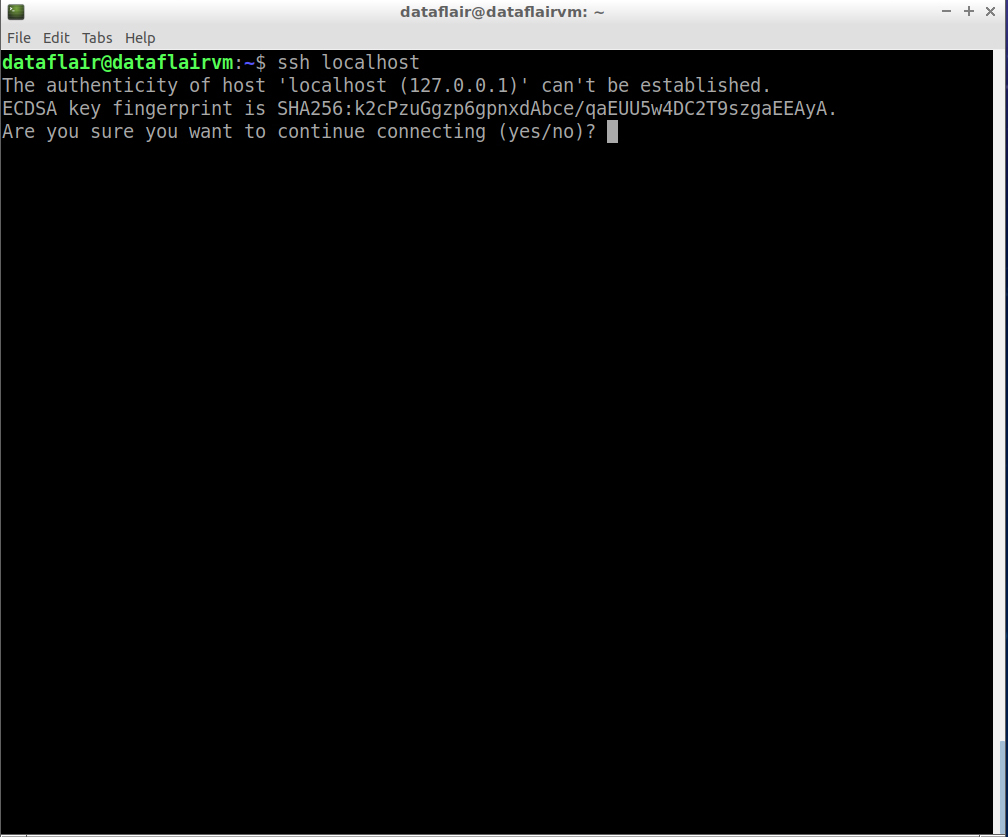
connection check of ssh
Type ‘Y’ and then press Enter to continue with the connection.
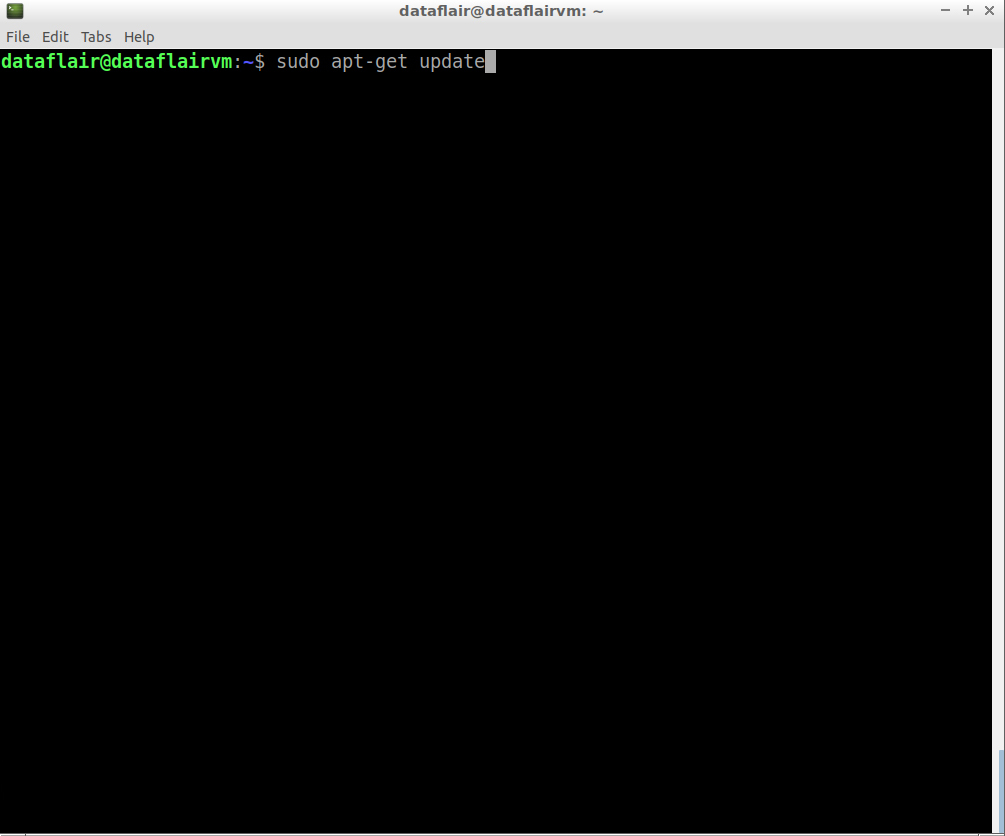
Step 7: Update the source lists.
sudo apt-get update
command to update packages
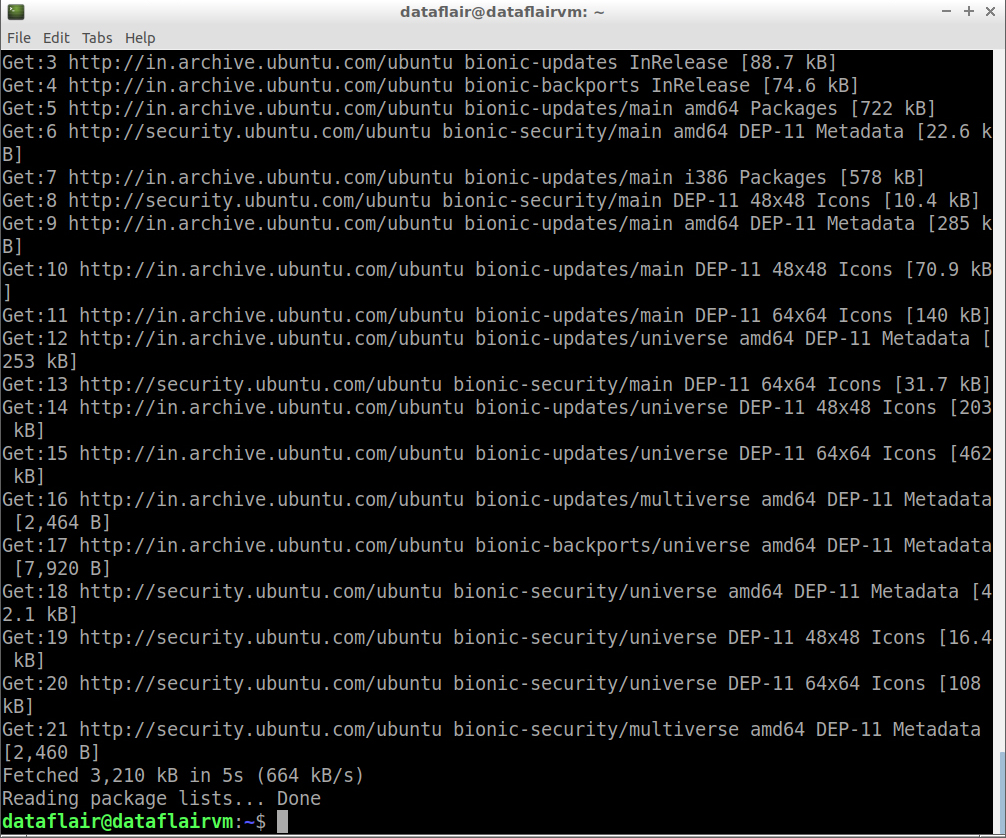
updating packages
Step 8: Now install Java 8 using the following command:
sudo apt-get install openjdk-8-jdk
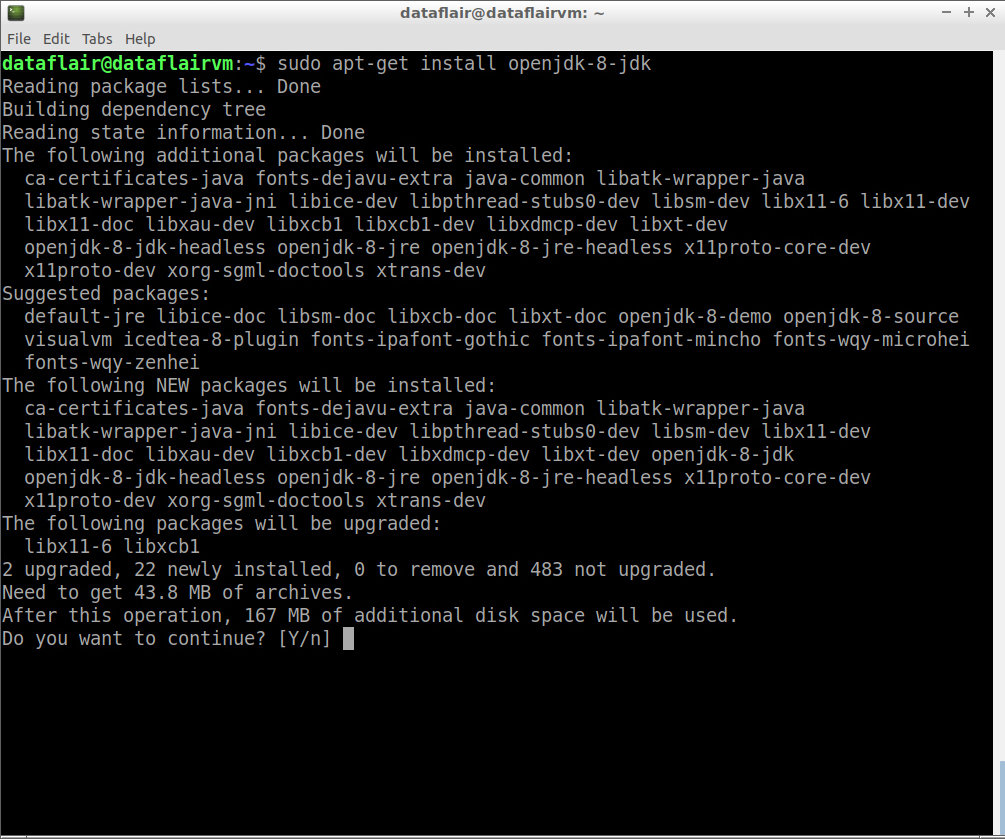
java installation
Type ‘Y’ and then press Enter to finish with the installation process.
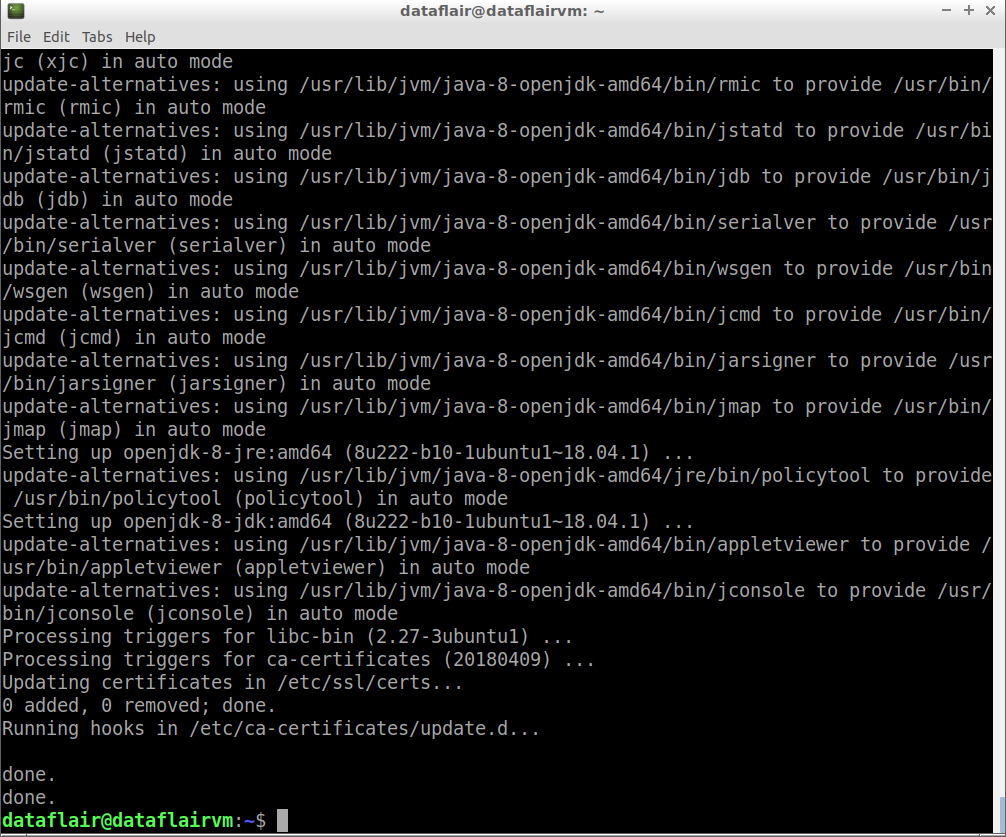
java installation completion
Step 9: To cross-check whether you have successfully installed Java on your machine or not, run the below command:
java -version

520+ FREE Hadoop Tutorials to become a Hadoop Expert
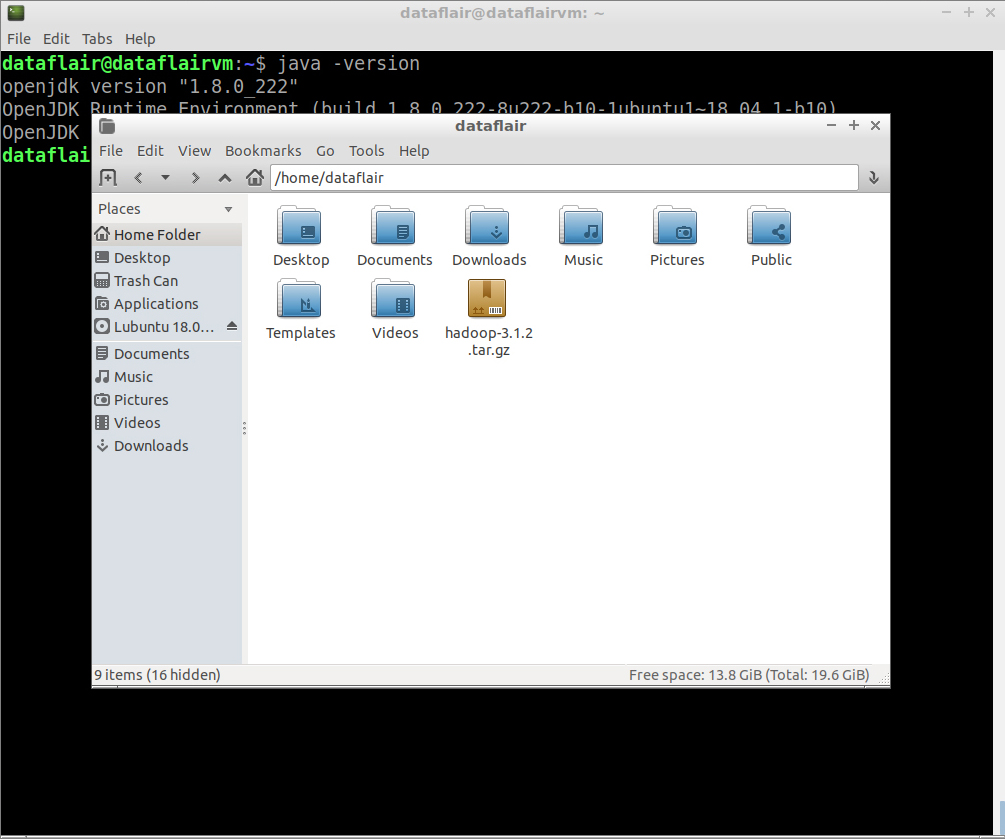
Please Download Hadoop from the link given in the first section and copy the setup in your home directory (/home/USER-NAME)
Hadoop Installation on Ubuntu
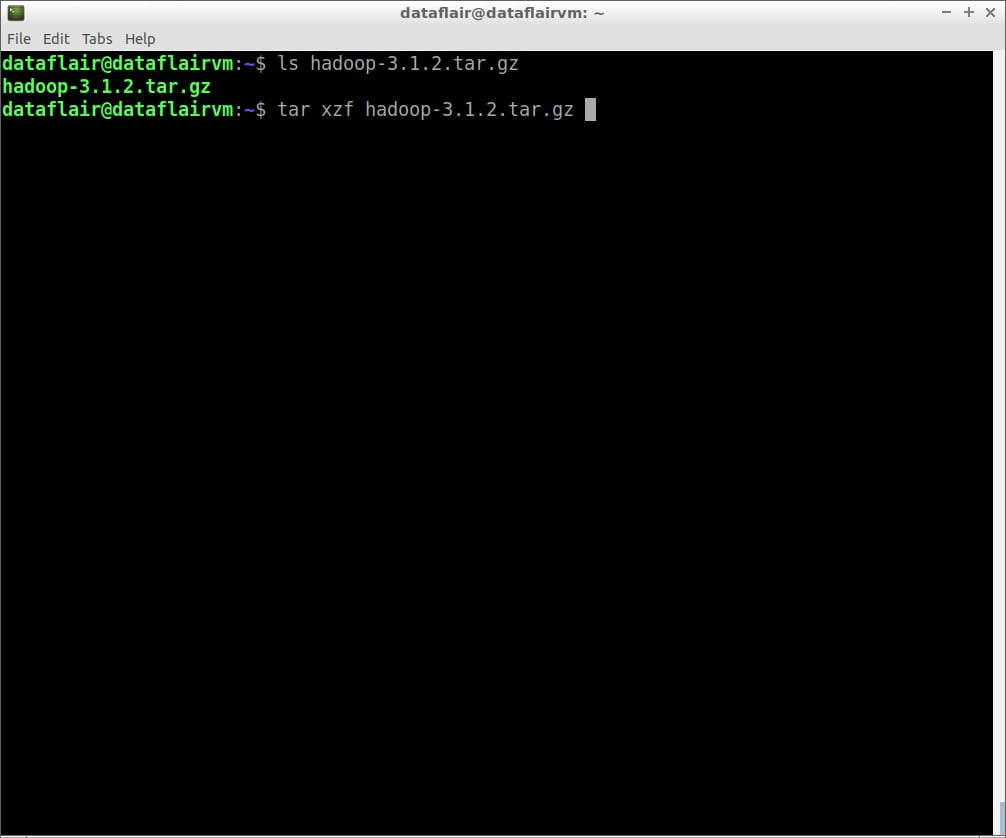
Step 10: Now locate the Hadoop tar file in your system.
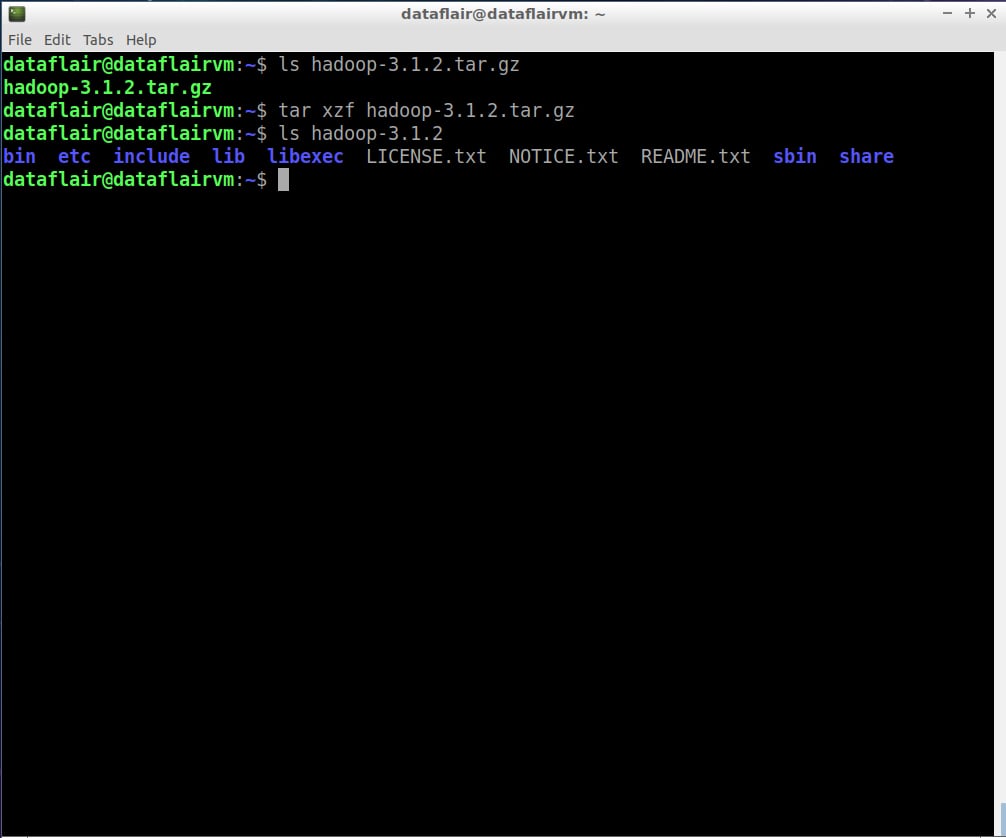
Step 11: Extract the hadoop-3.1.2.tar.gz file using the below command:
tar xzf hadoop-3.1.2.tar.gz
extract hadoop files
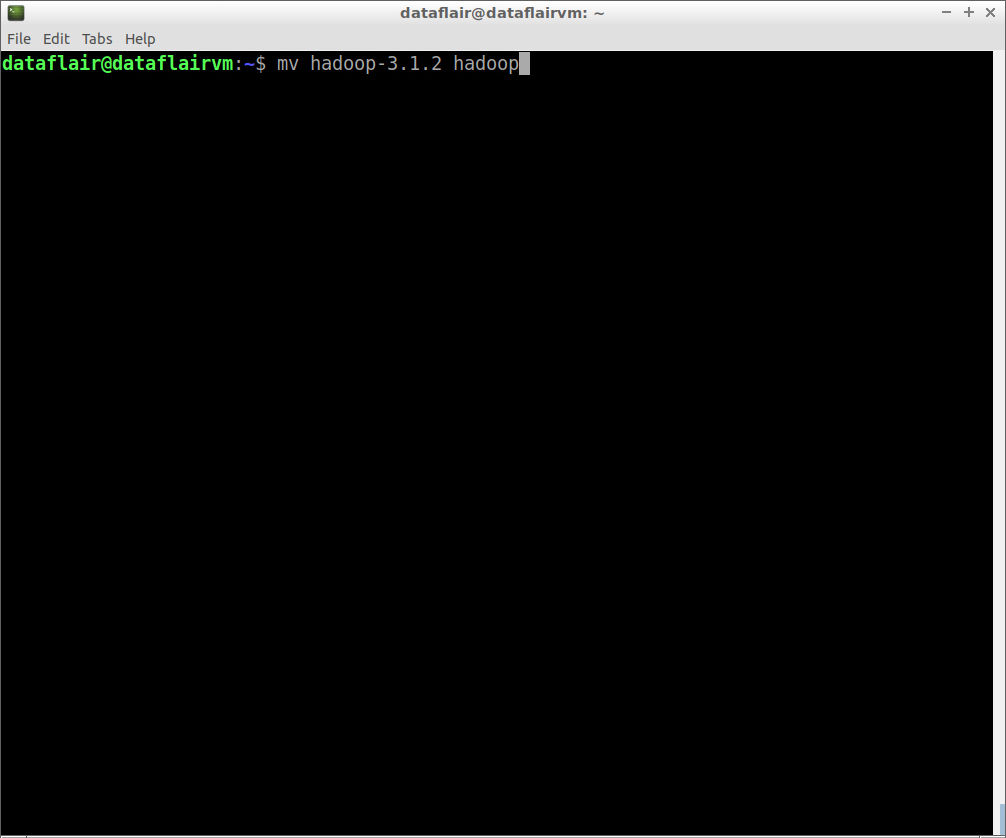
Step 12: Rename hadoop-3.1.2 as hadoop for ease of use.
mv hadoop-3.1.2 hadoop
Any doubts in the process to install Hadoop 3.1.2 till now? Share them in the comment section.
Step 14: Now check the Java home path
ls /usr/lib/jvm/java-8-openjdk-amd64/

Step 15: Open the hadoop-env.sh file in the nano editor. This file is located in ~/hadoop/etc/hadoop (Hadoop configuration directory).
nano hadoop-env.sh
Now, Set JAVA_HOME path:
export JAVA_HOME=<path-to-the-root-of-your-Java-installation> (eg: /usr/lib/jvm/java-8-openjdk-amd64/)
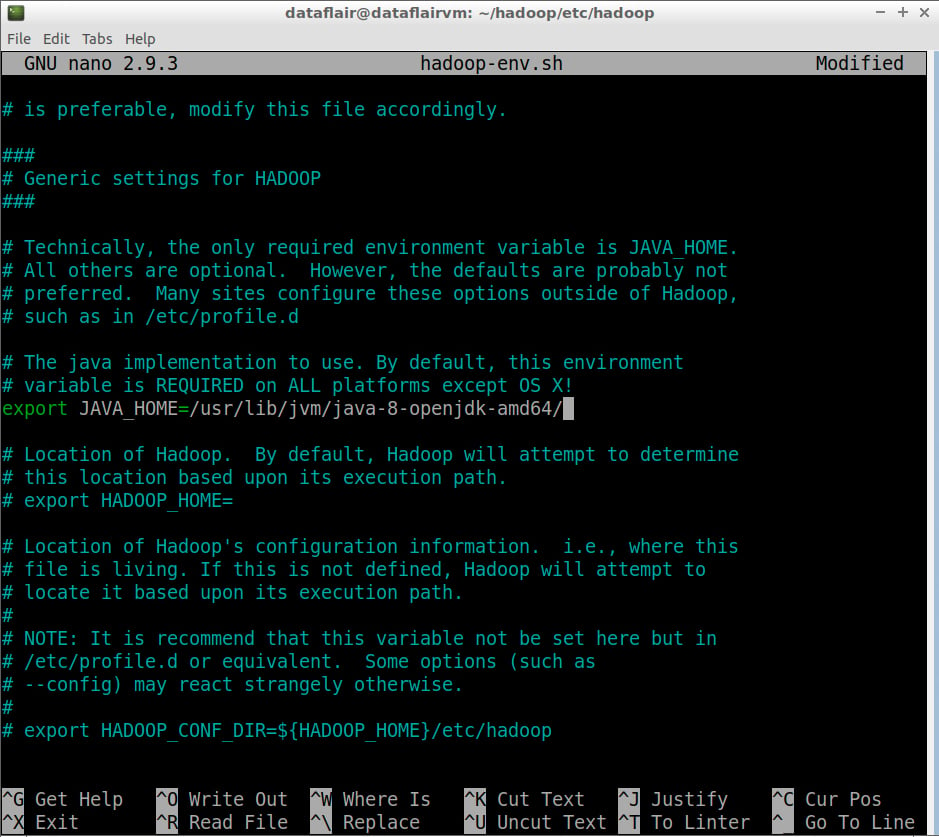
To save the changes you’ve made, press Ctrl+O. To exit the nano editor, press Ctrl+X and then press ‘Y’ to exit the editor.
Step 16: Open the core-site.xml file in the nano editor. This file is also located in the ~/hadoop/etc/hadoop (Hadoop configuration directory).
nano core-site.xml
Add the following configuration properties:
<configuration>
    <property>
        <name>fs.defaultFS</name>
        <value>hdfs://localhost:9000</value>
    </property>
    <property>
        <name>hadoop.tmp.dir</name>
        <value>/home/dataflair/hdata</value>
    </property>
</configuration>
Note: /home/dataflair/hdata is a sample location; please specify a location where you have Read Write privileges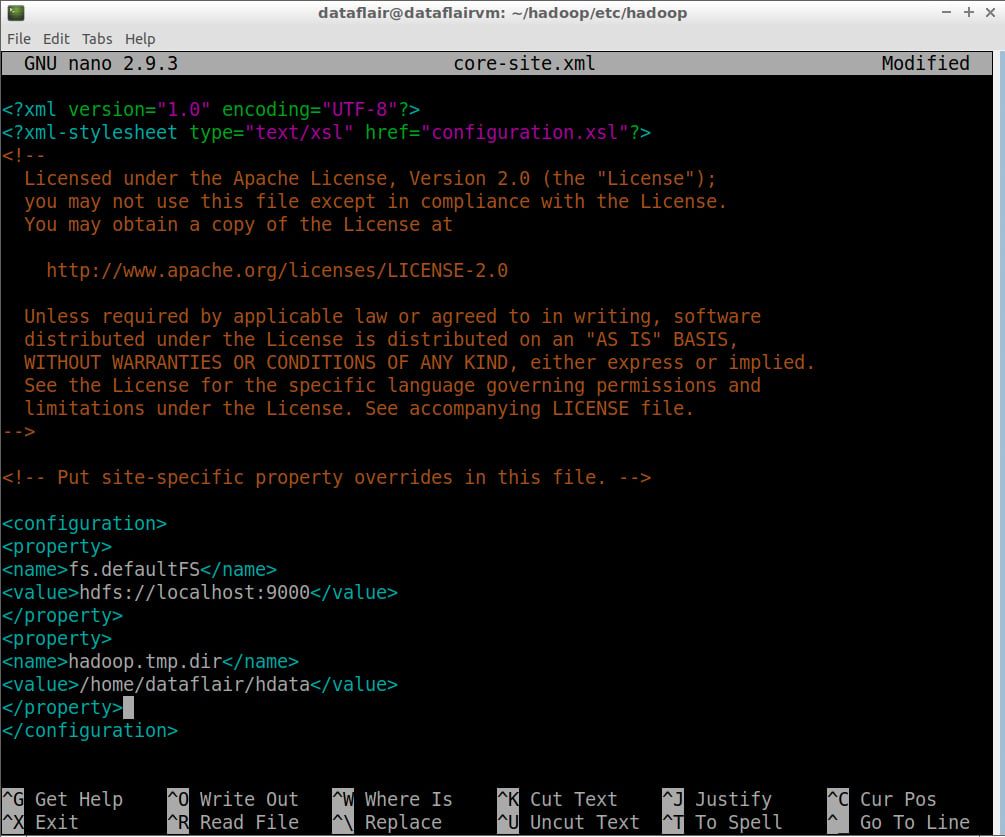
Step 17: Open the hdfs-site.xml file in the nano editor. This file is also located in ~/hadoop/etc/hadoop (Hadoop configuration directory):
nano hdfs-site.xml
Add the following entries in core-site.xml:
<configuration>
    <property>
        <name>dfs.replication</name>
        <value>1</value>
    </property>
</configuration>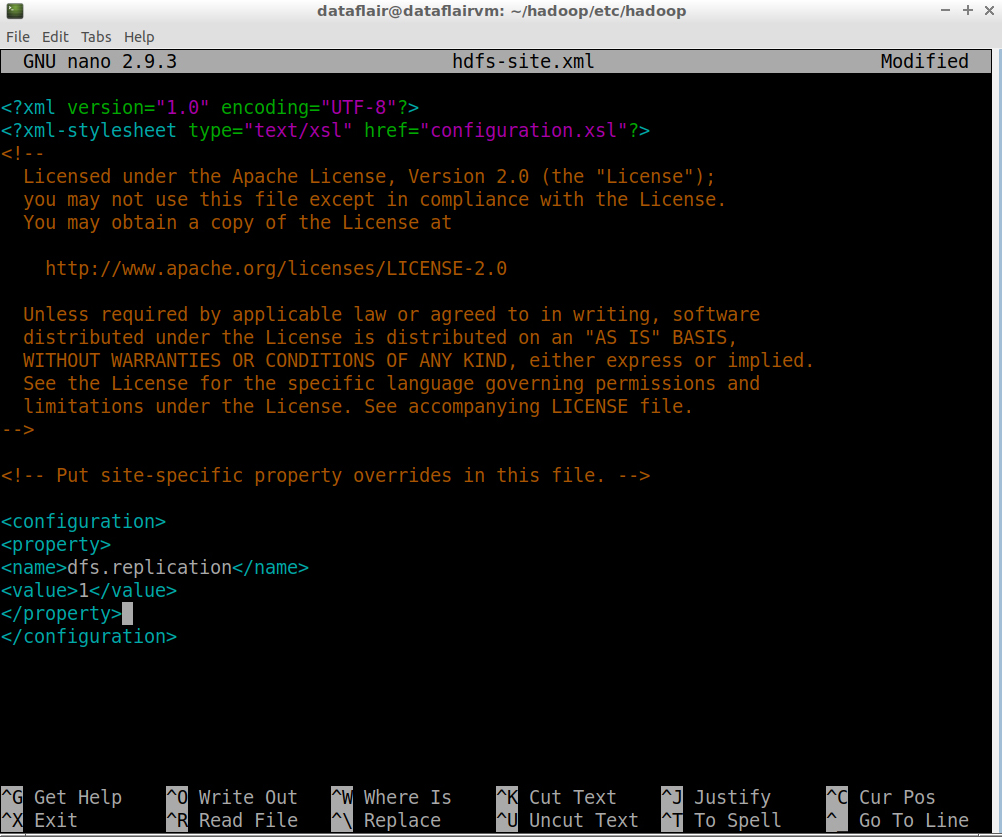
Step 18: Open the mapred-site.xml file in the nano editor. This file is also located in ~/hadoop/etc/hadoop (Hadoop configuration directory).
nano mapred-site.xml
Add the following entries in core-site.html:
<configuration>
    <property>
        <name>mapreduce.framework.name</name>
        <value>yarn</value>
    </property>
    <property>
        <name>yarn.app.mapreduce.am.env</name>
        <value>HADOOP_MAPRED_HOME=/home/dataflair/hadoop</value>
    </property>
    <property>
        <name>mapreduce.map.env</name>
        <value>HADOOP_MAPRED_HOME=/home/dataflair/hadoop</value>
    </property>
    <property>
        <name>mapreduce.reduce.env</name>
        <value>HADOOP_MAPRED_HOME=/home/dataflair/hadoop</value>
    </property>
</configuration>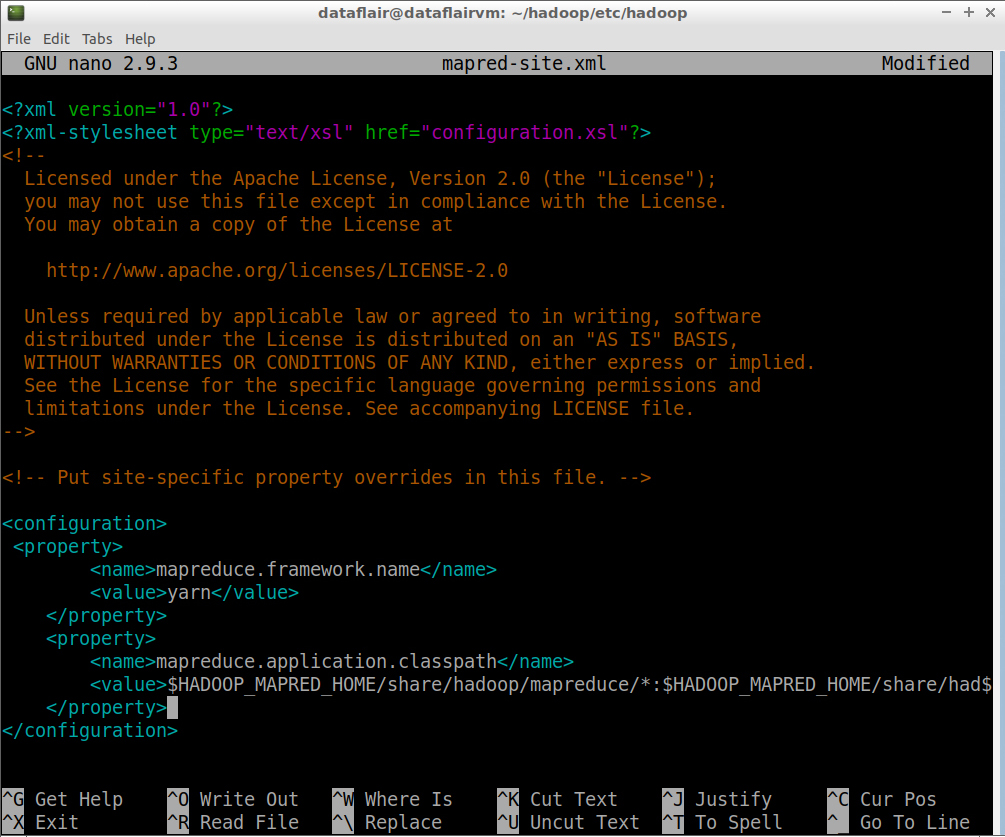
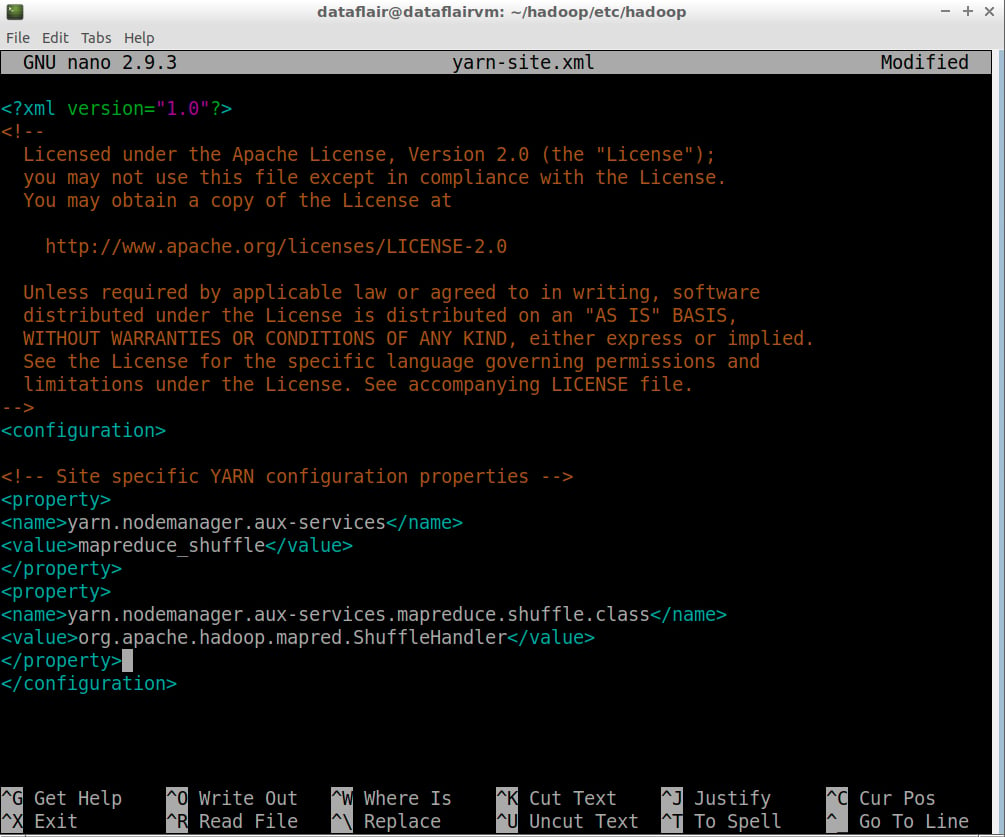
Step 19: Open the yarn-site.xml file in the nano editor. This file is also located in ~/hadoop/etc/hadoop (Hadoop configuration directory).
nano yarn-site.xml
Add the following entries in the yarn-site.xml:
<configuration>
    <property>
        <name>yarn.nodemanager.aux-services</name>
        <value>mapreduce_shuffle</value>
    </property>
    <property>
        <name>yarn.nodemanager.aux-services.mapreduce.shuffle.class</name>
        <value>org.apache.hadoop.mapred.ShuffleHandler</value>
    </property>
</configuration>
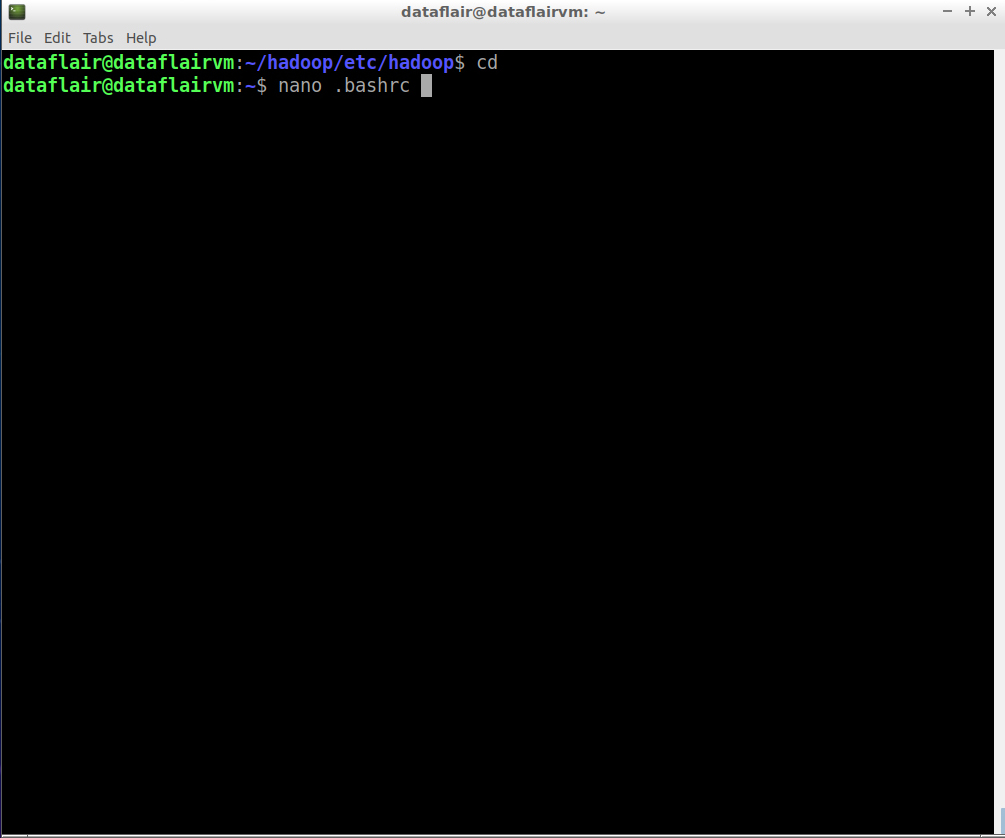
Step 20: Open the bashrc files in the nano editor using the following command:
nano .bashrc
Edit .bashrc file located in the user’s home directory and add the following parameters:
export HADOOP_HOME="/home/dataflair/hadoop"
export PATH=$PATH:$HADOOP_HOME/bin
export PATH=$PATH:$HADOOP_HOME/sbin
export HADOOP_MAPRED_HOME=${HADOOP_HOME}
export HADOOP_COMMON_HOME=${HADOOP_HOME}
export HADOOP_HDFS_HOME=${HADOOP_HOME}
export YARN_HOME=${HADOOP_HOME}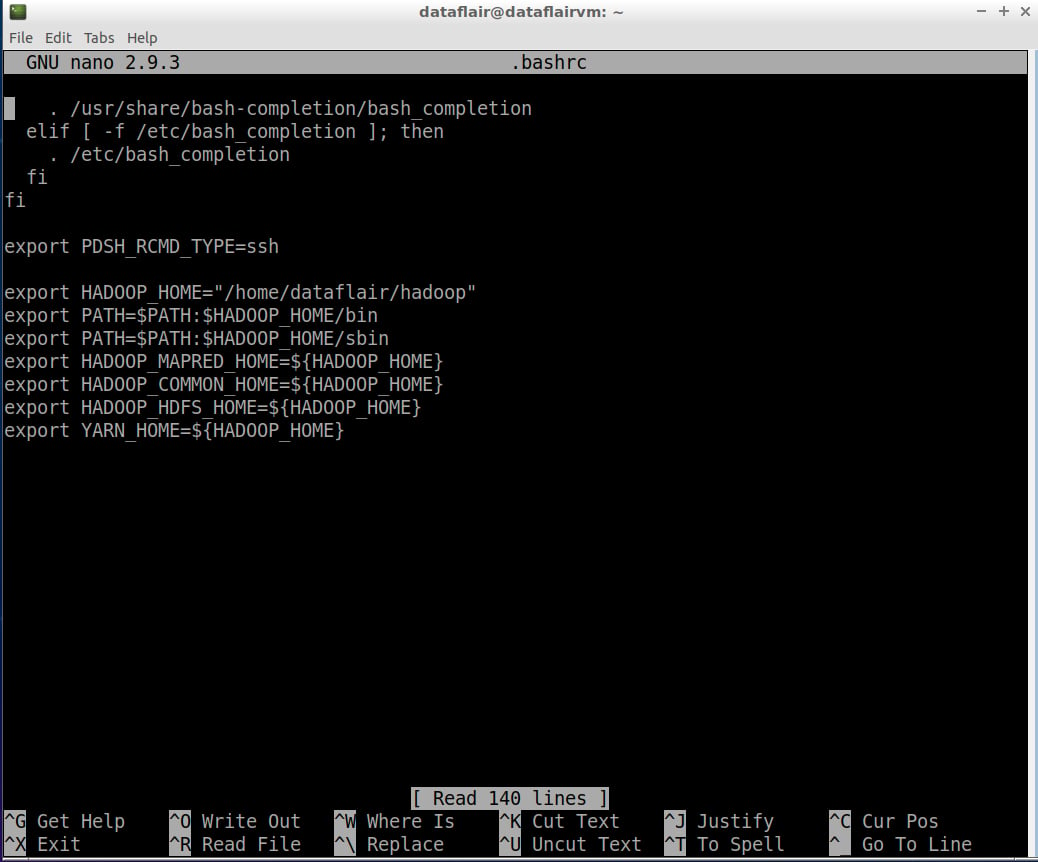
To save the changes you’ve made, press Ctrl+O. To exit the nano editor, press Ctrl+X and then press ‘Y’ to exit the editor.
Now, source the bashrc file so that the changes will come into effect:
source ~/.bashrc
Step 21: Before starting Hadoop, we need to format HDFS, which can be done using the below command:
hdfs namenode -format

namenode format command
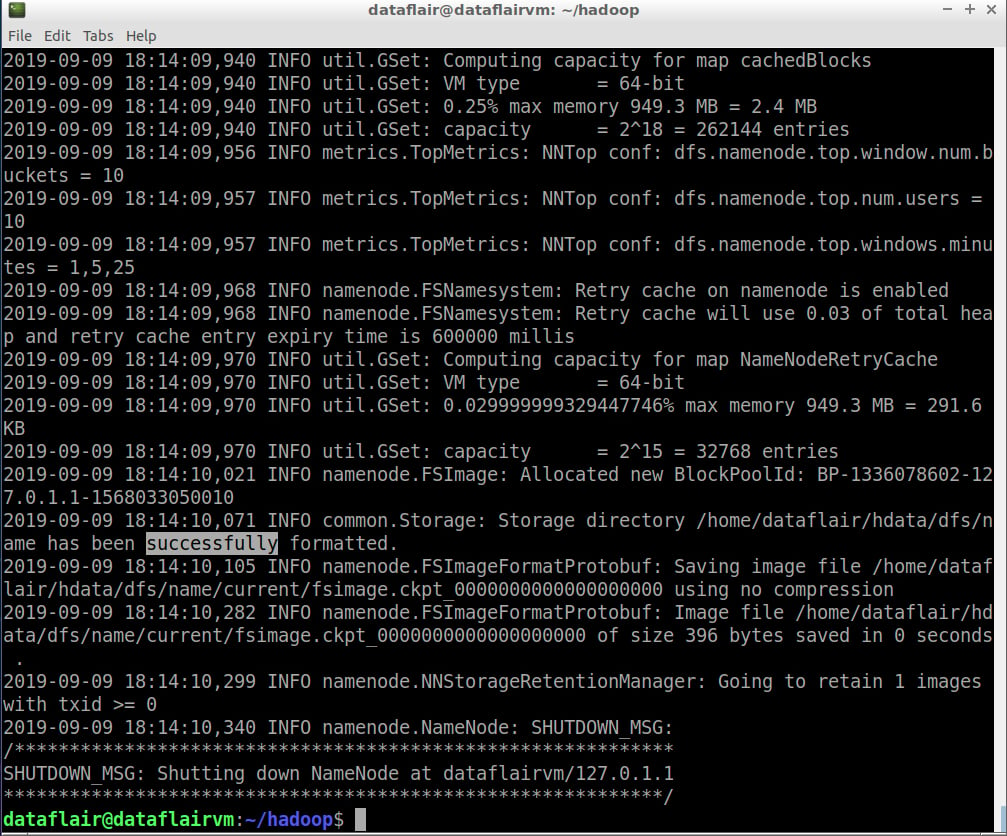
namenode format
Step 22: Start the HDFS services:
sbin/start-dfs.sh
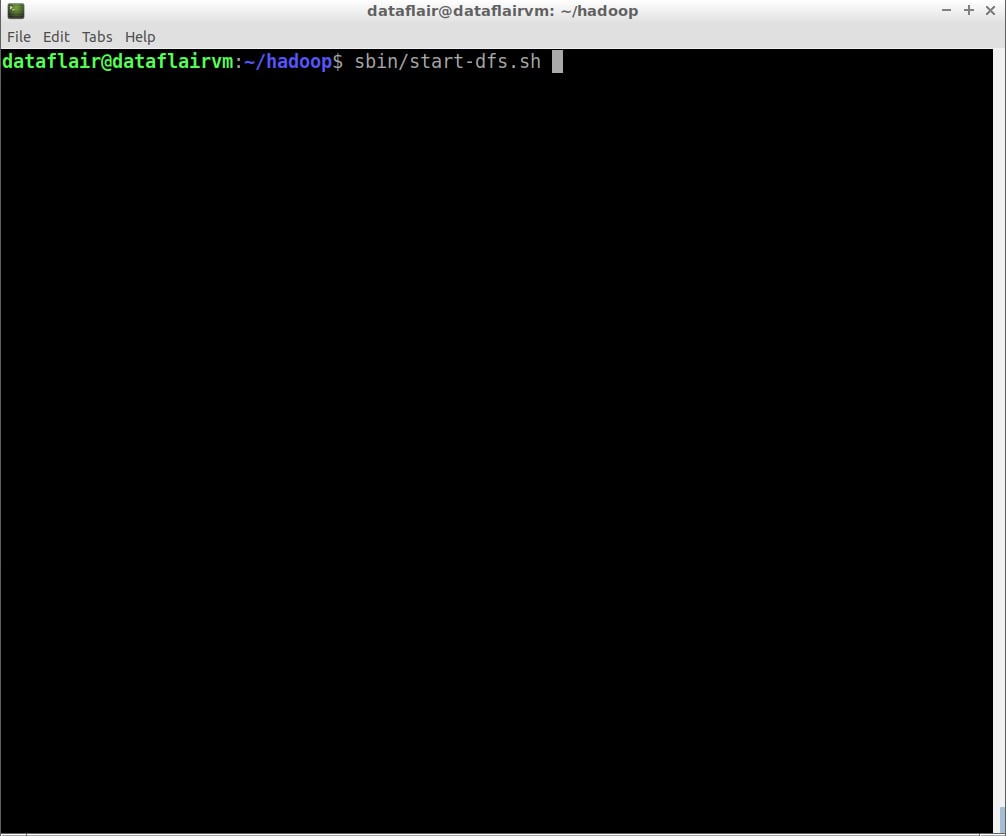
command to start hadoop cluster

hadoop cluster started
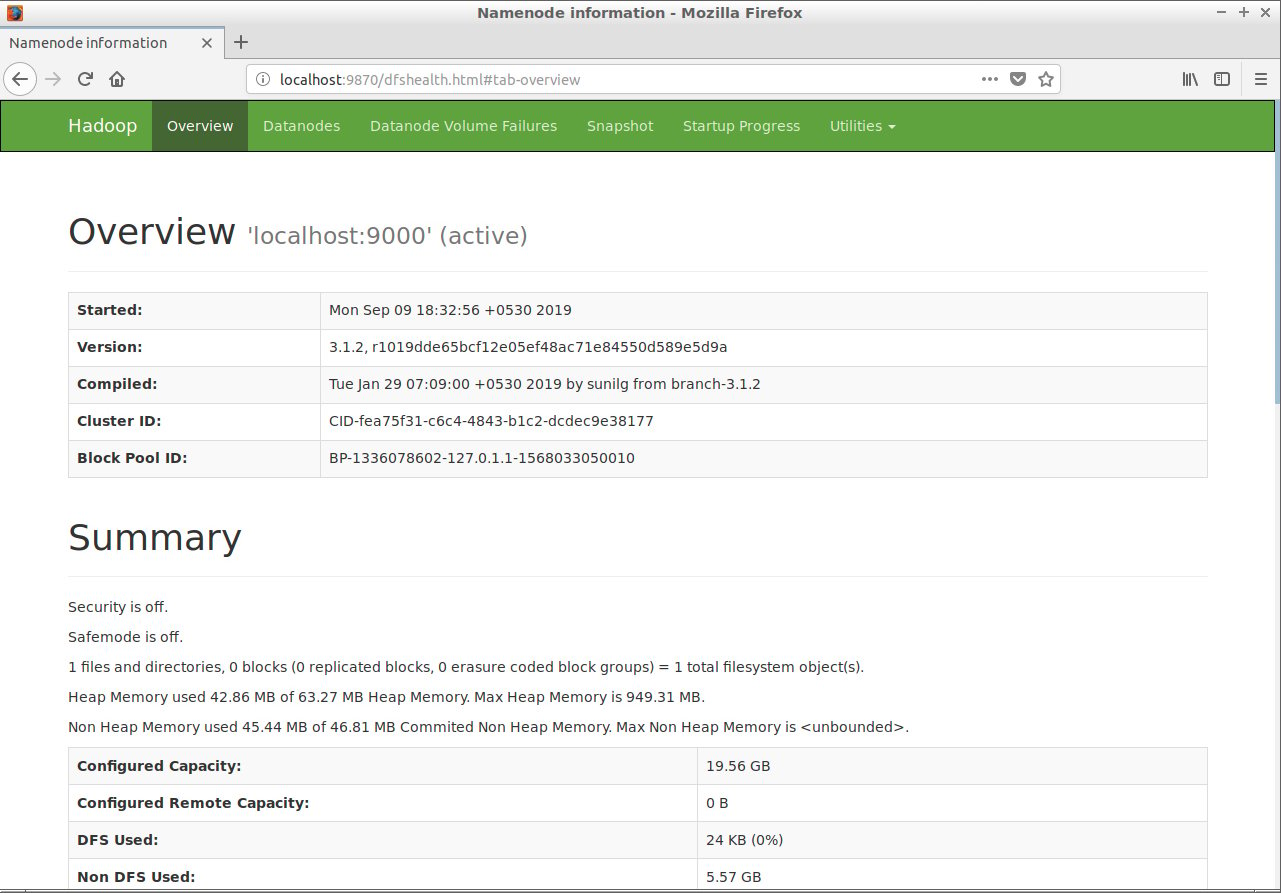
Step 23: Open the HDFS web console:
localhost:9870
Step 24: Now start the yarn services:
sbin/start-yarn.sh
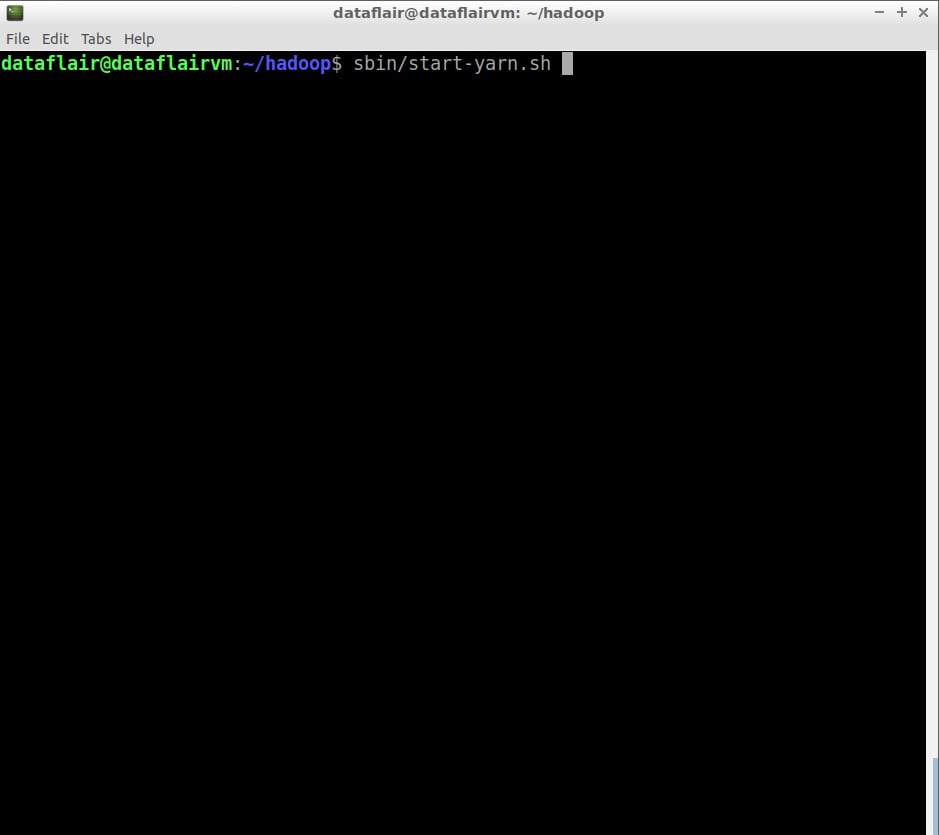
command to start yarn
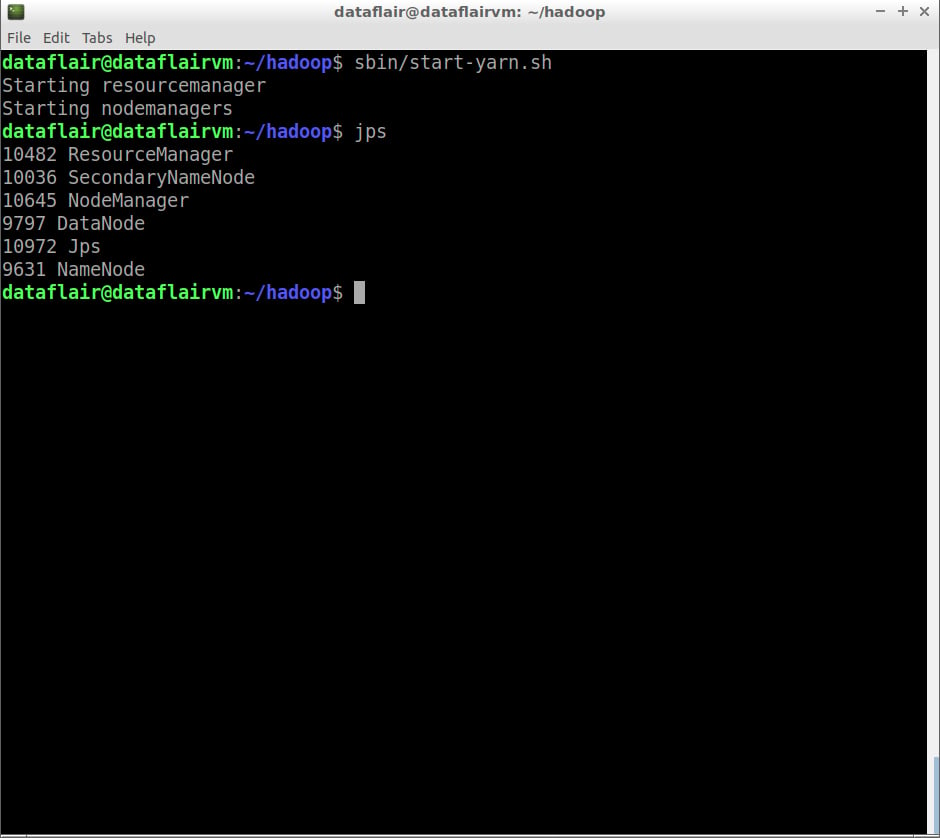
yarn started
$jps
NameNode
DataNode
ResourceManager
NodeManager
SecondaryNameNode
The ‘jps’ command is used to check whether all the Hadoop processes are running or not.
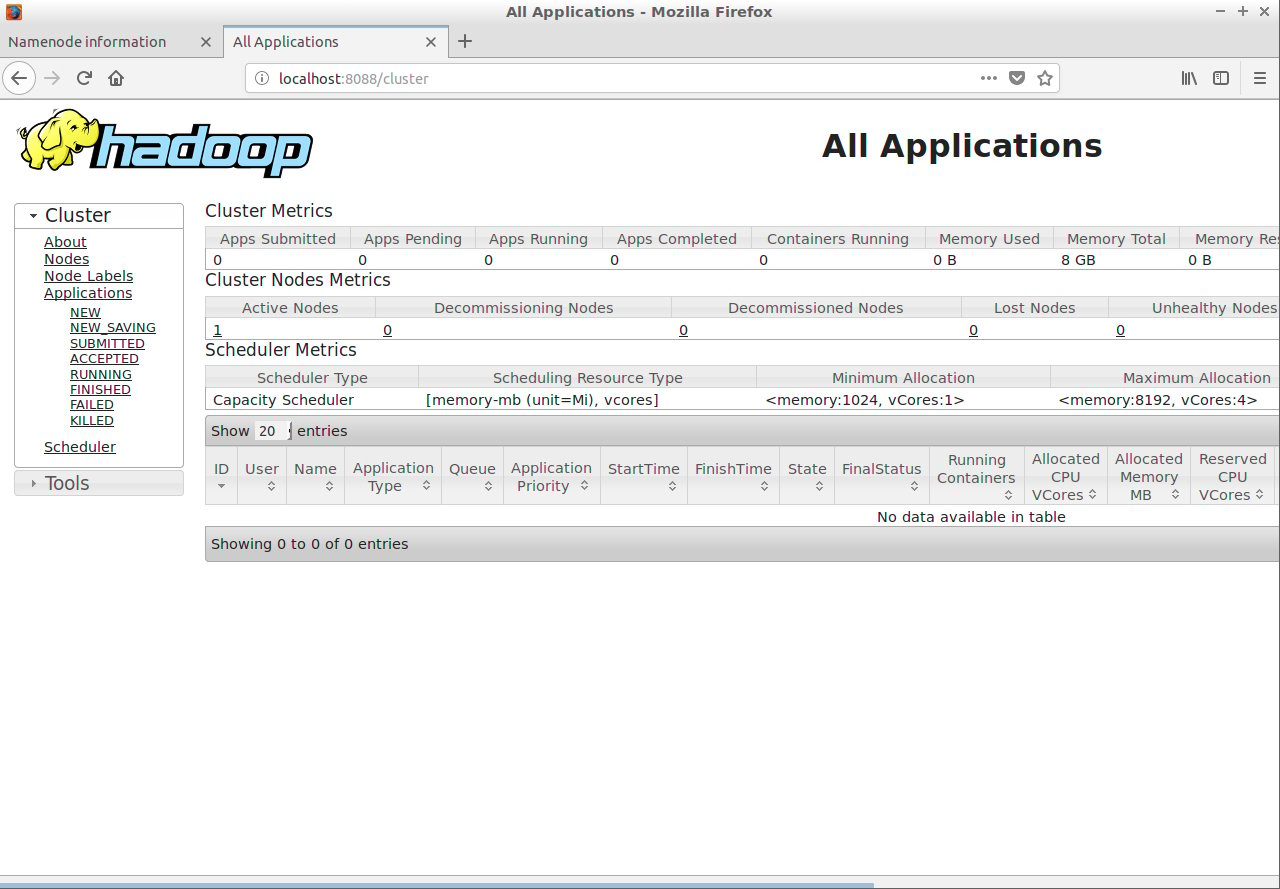
Step 25: Open the yarn web console:
localhost:8088
We have successfully installed Hadoop 3 on ubuntu. I hope you found the article useful.
What Next?
Start working on Hadoop Hadoop HDFS Commands Tutorial
Did you like this article? If Yes, please give DataFlair 5 Stars on Google


Hey the web interface for namenode is not working.
Please run jps command and check whether all the daemons are running
NameNode is not working still its very very helpfull artical for fresher who want to work with hadoop 3.x
Take the reference to hadoop.tmp.dir as /home/dataflair/hdata out of core-site.xml. Mine was working before that addition and stopped – even though I had it in HADOOP_HOME and the hdata directory was there with the correct permissions. As soon as I removed that reference, the NameNode begain working again. Overall it was a good, well detailed article on Installation of Hadoop 3.x on Ubuntu on single node cluster.
One of the reasons I could not get the NameNode to start was that after I added the
hadoop.tmp.dir
/home//hdata
to my core-site.xml file, I forgot to format the HDFS file system. Once I did that, it worked.
It is better to use a ‘hdata’ or some data directory under your HADOOP_HOME since by default the HDFS directory will be built under /tmp and be removed during system reboot.
Please check all the paths: path provided in core-site.xml, mapred-site.xml and .bashrc files and supply correct values
Error while formatting the namenode
Cannot create directory /home/dataflair/hdata/dfs/name/current
Please help with detailed settings in any of the files while configuration
Thanks
-Sachin
Please supply correct path in core-site.xml for property: hadoop.tmp.dir
you should have write privileges on the path you provide, if you are new to linux please provide the path of your home directory: /home/USER-NAME/hdata
I am getting error when running the command hdfs namenode -format as below:
Error: Invalid HADOOP_YARN_HOME
I am running Hadoop 3.2.1 on Ubuntu 20.1
Read somewhere that env variable needn’t be declared in version 3.0
Tried that as well but still same error
Please post the complete stacktrace, will look into the issue
Pretty good but this tutorial needs some work to be user-friendly for people like me who knew nothing about hadoop and rusty on Unix commands.
Here’s what I needed to change to the steps:
Step 17: “Add the following entries in core-site.xml”
should read: “Add the following entries in hdfs-site.xml”
Also need to create teh hdata directory with:
mkdir hdata
These properties need to be added to the xml
dfs.namenode.name.dir
file:/home/dataflair/hdata/dfs/namenode
dfs.datanode.data.dir
file:/home/dataflair/hdata/dfs/datanode
Step 18: “Add the following entries in core-site.html:”
should read: “Add the following entries in mapred-site.html:”
Step 19: “Add the following entries in core-site.html:”
should read: “Add the following entries in yarn-site.html:”
Step 20: The list isn’t complete, this is what I used:
#version 3.2.1 requires pdsh package and then this allows hadoop to run start-dfs.sh properly
export PDSH_RCMD_TYPE=ssh
export JAVA_HOME=/usr/lib/jvm/java-8-openjdk-amd64
export HADOOP_HOME=/home/jeff/hadoop
export HADOOP_MAPRED_HOME=$HADOOP_HOME
export HADOOP_COMMON_HOME=$HADOOP_HOME
export HADOOP_HDFS_HOME=$HADOOP_HOME
export YARN_HOME=$HADOOP_HOME
#used by log4j you will see a warning at the top of the output when running hdfs namenode -format
export HADOOP_CONF_DIR=$HADOOP_HOME/etc/hadoop
export PATH=$PATH:$HADOOP_HOME/sbin:$HADOOP_HOME/bin
After changing .bashrc run the line below to update the settings:
source ~/.bashrc
Step 21: This will run after running making the change to step 20
hdfs namenode -format
Thanks for helping the community 🙂
Keep learning
the datanodes didn’t work when we used master to connect multi slaves
Do you have any idea how to solve ? thank you
P.S. hadoop 3.1.4 and ubuntu 18.0.4 are used
Please scan the logs and post the stacktrace, we will look into the issues
It worked perfectly , but when i restart my VM, and i start-dfs it give me this error : “ERROR: Cannot execute /home/hadoop/libexec/hdfs-config.sh.”
Any idea ?
Please check the hadoop_home path which you setup in .bashrc
same error, please help. I stored hadoop in /home/files/hadoop/hadoop
when I checked echo $HADOOP_HOME it gives me /home/files/hadoop/hadoop
I configured correctly, but unable to run
My yarn web console is not working when typing — localhost:8088 but namenode is working but hdfs web console is working – localhost:9870
My yarn is not working when typing localhost:8088.
here my commands:
user@user-VirtualBox:~/hadoop-3.1.2$ sbin/start-yarn.sh
Starting resourcemanager
Starting nodemanagers
user@user-VirtualBox:~/hadoop-3.1.2$ jps
7200 SecondaryNameNode
6995 DataNode
6872 NameNode
7982 Jps
p.s. jps doesn’t show
ResourceManager
NodeManager
why?
sbin/start-dfs.sh comamnd not working , getting error localhost rcmd socket permission denied
ERROR: JAVA_HOME is not set and could not be found.
while running sbin/start-dfs.sh command
Also note that I have set JAVA_HOME path still I am getting this error
I was facing the hadoop_yarn_home issue . dont know why .. I downloaded hadoop.3.3.5(hadoop-3.3.5-aarch64.tar.gz )..i turned out This is a 64 bit hadoop and the article is valid for 32 bit . this was confirmed the moment i installed the 32 bit installation tar file (hadoop-3.3.5-src.tar.gz ) can you please confirm if my understanding is correct on this ?
Learned a lot on Hadoop installation. Thank you DataFlair for liberalizing education.