Spring JDBC Framework – JDBCTemplate with Eclipse IDE
Placement-ready Online Courses: Your Passport to Excellence - Start Now
1. Objective
In our last tutorial, we saw Spring MVC Framework. In this Spring JDBC Tutorial, we are going to discuss Spring JDBCTemplate with Eclipse IDE. Using plain old JDBC for working with a database, it becomes complicated to use an unnecessary code for opening/closing database or handle exceptions etc.
So, let’s start Spring JDBC Framework Tutorial.
Spring JDBC Framework – JDBCTemplate with Eclipse IDE
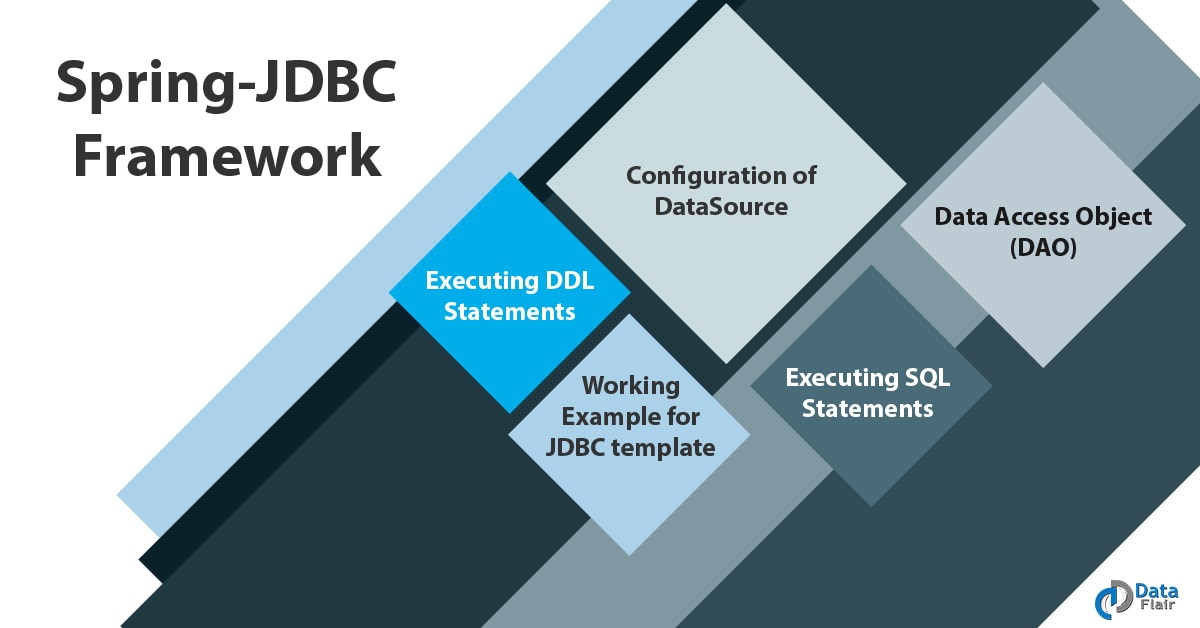
2. Spring JDBC Framework
Spring JDBC gives several approaches and different classes to use it with the database. So, you just have to define the connection parameters. Also, specify the SQL statement along with doing required work for each iteration while fetching the data.
Here in this Spring JDBC tutorial, you will be seeing the most popular approach which uses JDBC Template class. It is a central framework class which manages all database communication such as executing SQL, updating statements etc. Also, it catches exceptions of JDBC and translates them to generic exception hierarchy defined in package org.framework.dao.
Lets Explore Spring Framework Architecture with 4 Modules
The instances of JdbcTemplate are threaded safe once they are configured. Therefore, you can configure a single instance and then safely inject his into multiple DAOs. A common practice that is done while using Jdbctemplate class is to configure DataSource in Spring config file. Then dependency-inject that into your DAO classes and the JdbcTemplate is created in setter for DataSource.
a. Configuration of DataSource
You will now see how to configure the DataSource with an example. Assuming that you are able to work with MySQL database or any database in which you can change DLL and SQL queries accordingly. Create a database TEST having table STUDENT inside it.
CREATE TABLE Student(
   ID   INT NOT NULL AUTO_INCREMENT,
   NAME VARCHAR(20) NOT NULL,
   AGE  INT NOT NULL,
   PRIMARY KEY (ID)
);
The next step is to supply DataSource to JdbcTemplate class so it can configure itself for database access. You can do that in XML file with the following code:
<bean id = "dataSource"
class = "org.springframework.jdbc.datasource.DriverManagerDataSource">
<property name = "driverClassName" value = "com.mysql.jdbc.Driver"/>
<property name = "url" value = "jdbc:mysql://localhost:3306/TEST"/>
<property name = "username" value = "root"/>
<property name = "password" value = "password"/>
</bean>
This will configure your DataSource.
Read About Spring Framework Environment Setup
b. Data Access Object (DAO)
Data Access Object also called DAO is commonly used for database interaction. It provides a means to read/write data to a database. They should use this functionality through an interface using which rest of application will access them.
This DAO support in Spring makes it easy to work with technologies like JDBC, Hibernate etc which are used for data access.
c. Executing SQL Statements
Now you will see how to perform Create, Read, Update and Delete operations on database tables using SQL and JdbcTemplate object.
- Query for Integer
String SQL = "select count(*) from Student";
int rowCount = jdbcTemplateObject.queryForInt( SQL );
- Query for String
String SQL = "select name from Student where id = ?";
String name = jdbcTemplateObject.queryForObject(SQL, new object[]{10}, String.class);- Query for Long
String SQL = "select count(*) from Student";
long rowCount = jdbcTemplateObject.queryForLong( SQL );
- Querying and returning an object
String SQL = "select * from Student where id = ?";
Student student = jdbcTemplateObject.queryForObject(
SQL, new Object[]{10}, new StudentMapper());
public class StudentMapper implements RowMapper<Student> {
public Student mapRow(ResultSet rs, int rowNum) throws SQLException {
Student student = new Student();
student.setID(rs.getInt("id"));
student.setName(rs.getString("name"));
student.setAge(rs.getInt("age"));
return student;
}
}- Querying and returning multiple objects
String SQL = "select * from Student";
List<Student> students = jdbcTemplateObject.query(
SQL, new StudentMapper());
public class StudentMapper implements RowMapper<Student> {
public Student mapRow(ResultSet rs, int rowNum) throws SQLException {
Student student = new Student();
student.setID(rs.getInt("id"));
student.setName(rs.getString("name"));
student.setAge(rs.getInt("age"));
return student;
}
}- Inserting of a row into a table
String SQL = "insert into Student (name, age) values (?, ?)";
jdbcTemplateObject.update( SQL, new Object[]{"ABC", 41} );- Updating a row into a table
String SQL = "update Student set name = ? where id = ?";
jdbcTemplateObject.update( SQL, new Object[]{"ABC", 41} );- Deleting a row from a table
String SQL = "delete Student where id = ?";
jdbcTemplateObject.update( SQL, new Object[]{10} );
Read About Integration of Spring Logging with log4j – Eclipse IDE Coding
d. Executing DDL Statements
You can use execute() from JdbcTemplate to execute any SQL or DDL statements. See the below example to use CREATE statement for table creation:
String SQL = "CREATE TABLE Student( " +
"ID INT NOT NULL AUTO_INCREMENT, " +
"NAME VARCHAR(20) NOT NULL, " +
"AGE INT NOT NULL, " +
"PRIMARY KEY (ID));"
jdbcTemplateObject.execute( SQL );
e. Working Example for JDBC Template
Here let’s define an example for getting a better understanding of Spring JDBC framework. Eclipse IDE is used for coding.
Before defining let’s see the steps that are required:
- Create your project with name SpringEx and a package com.example. This should be under the src folder of your created project.
- Add the Spring Libraries that are required using the Add External JARs options.
- Add JDBC libraries mysql-connector-java.jar, org.springframework.jdbc.jar and org.springframework.transaction.jar in your project.
- List down all the methods for DAO interface StudentDAO.
- Create other classes Student.java, StudentMapper.java, StudentJDBCTemplate.java and MainApp.java.
- Create bean config file Beans.xml under src.
- Finally, write code for all Java files and Bean config file and run the application as described.
The Student table which was created above will be used for explanation.
Following is code for StudentDAO.java file:
package com.example;
import java.util.List;
import javax.sql.DataSource;
public interface StudentDAO {
/**
* This is to be used to initialize
* databaseconnection.
*/
public void setDataSource(DataSource ds);
/**
* This is to be used to create
* a record in Student table.
*/
public void create(String name, Integer age);
/**
* This is to be used to list down
* a record from the Student table corresponding
* to a passed student id.
*/
public Student getStudent(Integer id);
/**
* This is to be used to list down
* all the records from the Student table.
*/
public List<Student> listStudents();
/**
* This is to be used to delete
* a record from the Student table corresponding
* to a passed student id.
*/
public void delete(Integer id);
/**
* This is to be used to update
* a record into the Student table.
*/
public void update(Integer id, Integer age);
}
i. Now write the below Student.Java:
package com.example;
public class Student {
private Integer age;
private String name;
private Integer id;
public void setAge(Integer age) {
this.age = age;
}
public Integer getAge() {
return age;
}
public void setName(String name) {
this.name = name;
}
public String getName() {
return name;
}
public void setId(Integer id) {
this.id = id;
}
public Integer getId() {
return id;
}
}
Let’s Learn Integration of MVC with Spring Framework
ii. Following is the code for StudentMapper.Java:
package com.example;
import java.sql.ResultSet;
import java.sql.SQLException;
import org.springframework.jdbc.core.RowMapper;
public class StudentMapper implements RowMapper<Student> {
public Student mapRow(ResultSet rs, int rowNum) throws SQLException {
Student student = new Student();
student.setId(rs.getInt("id"));
student.setName(rs.getString("name"));
student.setAge(rs.getInt("age"));
return student;
}
}
iii. Implement this class file
For the DAO interface StudentDAO use the following implementation class file StudentJDBCTemplate.java:
package com.example;
import java.util.List;
import javax.sql.DataSource;
import org.springframework.jdbc.core.JdbcTemplate;
public class StudentJDBCTemplate implements StudentDAO {
private DataSource dataSource;
private JdbcTemplate jdbcTemplateObject;
public void setDataSource(DataSource dataSource) {
this.dataSource = dataSource;
this.jdbcTemplateObject = new JdbcTemplate(dataSource);
}
public void create(String name, Integer age) {
String SQL = "insert into Student (name, age) values (?, ?)";
jdbcTemplateObject.update( SQL, name, age);
System.out.println("Created Record Name = " + name + " Age = " + age);
return;
}
public Student getStudent(Integer id) {
String SQL = "select * from Student where id = ?";
Student student = jdbcTemplateObject.queryForObject(SQL,
new Object[]{id}, new StudentMapper());
return student;
}
public List<Student> listStudents() {
String SQL = "select * from Student";
List <Student> students = jdbcTemplateObject.query(SQL, new StudentMapper());
return students;
}
public void delete(Integer id) {
String SQL = "delete from Student where id = ?";
jdbcTemplateObject.update(SQL, id);
System.out.println("Deleted Record with ID = " + id );
return;
}
public void update(Integer id, Integer age){
String SQL = "update Student set age = ? where id = ?";
jdbcTemplateObject.update(SQL, age, id);
System.out.println("Updated Record with ID = " + id );
return;
}
}
iv. Now the code for MainApp.java is as shown:
package com.example;
import java.util.List;
import org.springframework.context.ApplicationContext;
import org.springframework.context.support.ClassPathXmlApplicationContext;
import com.example.StudentJDBCTemplate;
public class MainApp {
public static void main(String[] args) {
ApplicationContext context = new ClassPathXmlApplicationContext("Beans.xml");
StudentJDBCTemplate studentJDBCTemplate =
(StudentJDBCTemplate)context.getBean("studentJDBCTemplate");
System.out.println("------Records Creation--------" );
studentJDBCTemplate.create("Hari", 11);
studentJDBCTemplate.create("Nuha", 2);
studentJDBCTemplate.create("Ayan", 15);
System.out.println("------Listing Multiple Records--------" );
List<Student> students = studentJDBCTemplate.listStudents();
for (Student record: students) {
System.out.print("ID : " + record.getId() );
System.out.print(", Name : " + record.getName() );
System.out.println(", Age : " + record.getAge());
}
System.out.println("----Updating Record with ID = 2 -----" );
studentJDBCTemplate.update(2, 20);
System.out.println("----Listing Record with ID = 2 -----" );
Student student = studentJDBCTemplate.getStudent(2);
System.out.print("ID : " + student.getId() );
System.out.print(", Name : " + student.getName() );
System.out.println(", Age : " + student.getAge());
}
}
v. Now you will write the Beans.xml:
<?xml version = "1.0" encoding = "UTF-8"?>
<beans xmlns = "http://www.springframework.org/schema/beans"
xmlns:xsi = "http://www.w3.org/2001/XMLSchema-instance"
xsi:schemaLocation = "http://www.springframework.org/schema/beans
http://www.springframework.org/schema/beans/spring-beans-3.0.xsd ">
<!-- Initialization for data source -->
<bean id="dataSource"
class = "org.springframework.jdbc.datasource.DriverManagerDataSource">
<property name = "driverClassName" value = "com.mysql.jdbc.Driver"/>
<property name = "url" value = "jdbc:mysql://localhost:3306/TEST"/>
<property name = "username" value = "root"/>
<property name = "password" value = "password"/>
</bean>
<!-- Definition for studentJDBCTemplate bean -->
<bean id = "studentJDBCTemplate"
class = "com.example.StudentJDBCTemplate">
<property name = "dataSource" ref = "dataSource" />
</bean>
</beans>
Finally, if you get all the things correctly then you will get the following as your output:
——Records Creation——–
Created Record Name = Hari Age = 11
Created Record Name = Nuha Age = 2
Created Record Name = Ayan Age = 15
——Listing Multiple Records——–
ID : 1, Name : Hari, Age : 11
ID : 2, Name : Nuha, Age : 2
ID : 3, Name: Ayan, Age: 15
—-Updating Record with ID = 2 —–
Updated Record with ID = 2
—-Listing Record with ID = 2 —–
ID : 2, Name : Nuha, Age : 20
So, this was all about Spring JDBC Framework Tutorial. Hope you like our explanation.
3. Conclusion
Hence, in this Spring JDBC Tutorial, you learned about the Spring JDBC Framework and how it takes care of all the details. You saw a working example using Eclipse IDE with details for every step. You also saw how Spring JDBC gives several approaches and different classes to use it with the database. If you have any query, feel free to ask in the comment section.
Related Topic- How to Configure Spring Beans
For reference
Did you like our efforts? If Yes, please give DataFlair 5 Stars on Google


