Install Java on Windows & Linux – Discover Java Environment Setup
Get Job-ready: Java Course with 45+ Real-time Projects! - Learn Java
Struggling to install Java on Windows or Linux?
You have landed on the right page. Here, we will provide you with a complete Java installation for Windows and Linux.
So, what are you waiting for?
Java Environment Setup
Java is an object-oriented programming language. It uses classes as a base for programming. Java applications are compiled into bytecode, which runs on the Runtime Environment.
The following are environment settings for both Linux and Windows. JVM, JRE, and JDK are all platform-dependent since the design of each Operating System is different. But Java is platform-independent.
How to Install Java on Windows?
Follow these steps to install Java on Windows (32 or 64 Bits)
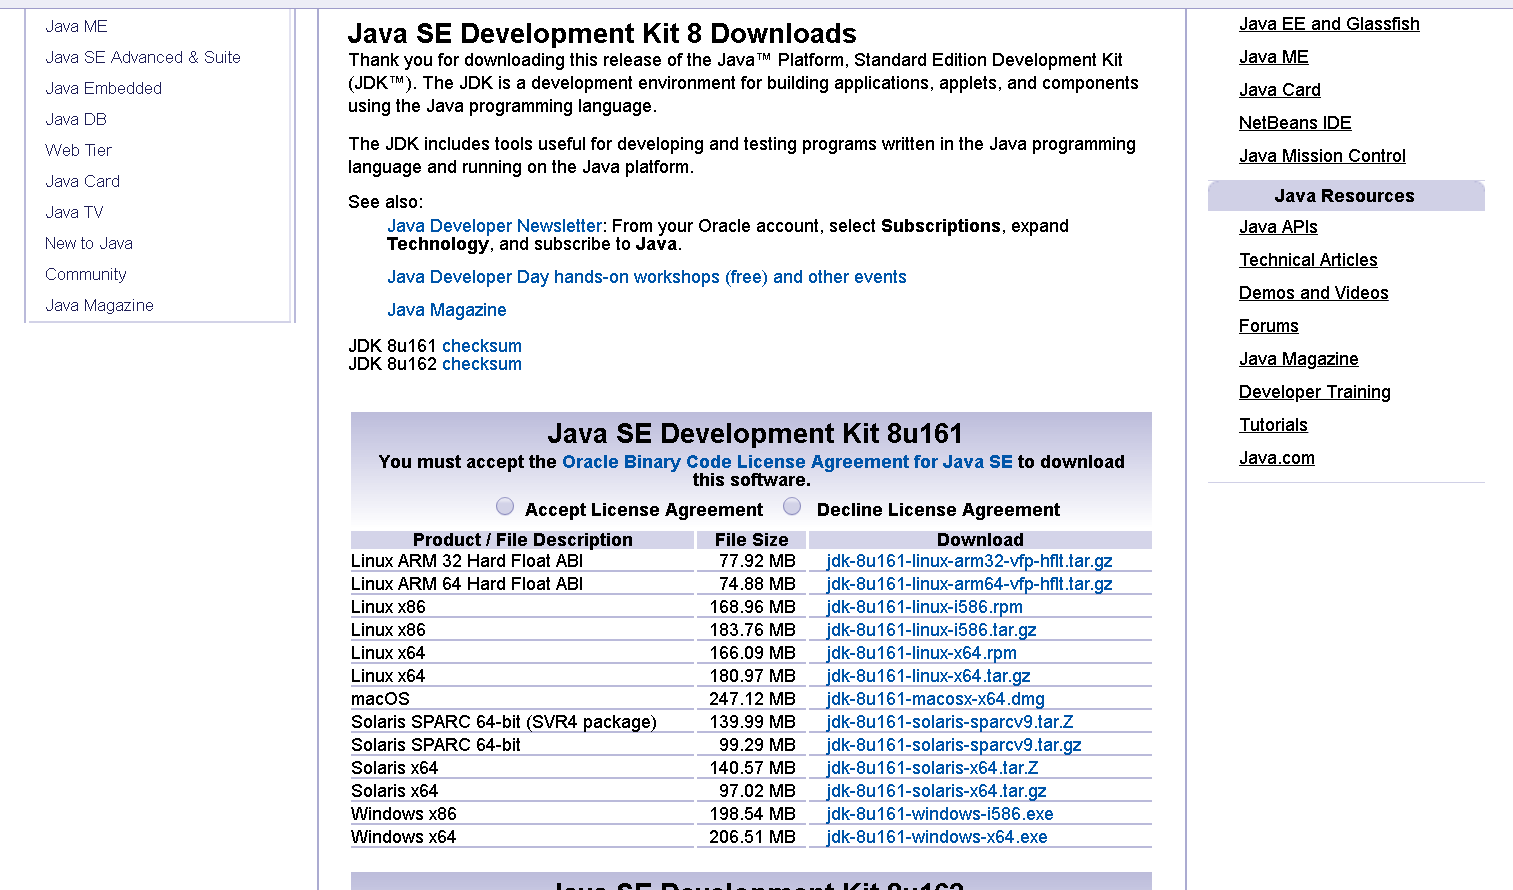
- Step 1 – Download the JDK Java 8 from
http://www.oracle.com/technetwork/java/javase/downloads/jdk8-downloads-2133151.html
Click on the links for Windows 32 Bit or Windows 64 Bit as required.
- Step 2 – Click on .exe file, and run it. Then, follow the instructions to download it. Once it is installed, you will have to do the setup for the environment variable.
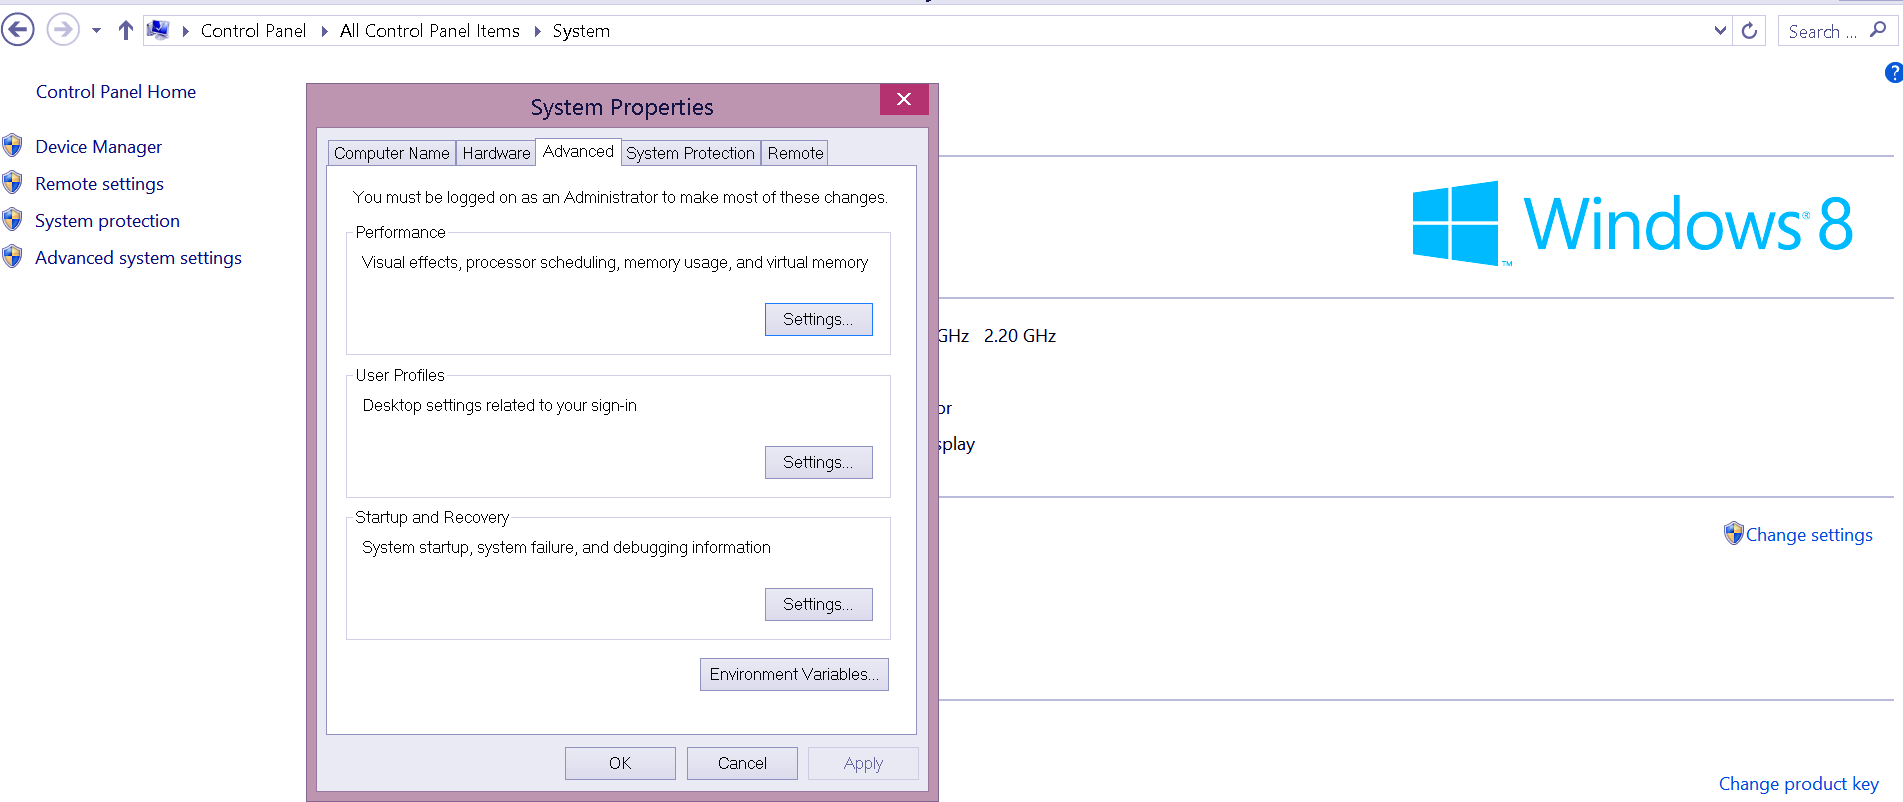
- Step 3 – After this, you need to go to the Control Panel > System and Security > System. Under the option Advanced System Settings, we need to click on Environment variables.
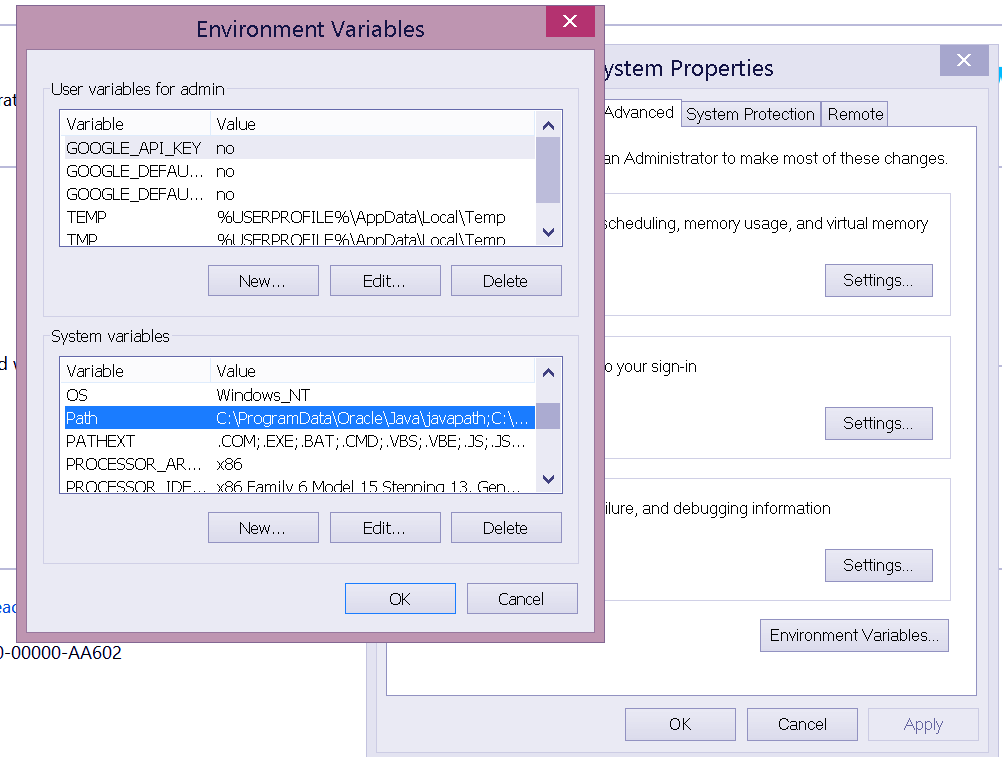
- Step 4 – Now, under the System variables, we need to alter the “path” so that the path for Java is also added to it, and click on the Edit button.
- Step 5 – You will need to add a path where the downloaded file is stored and then click ‘ok’.
Do you know what the career opportunities of Java developers are?
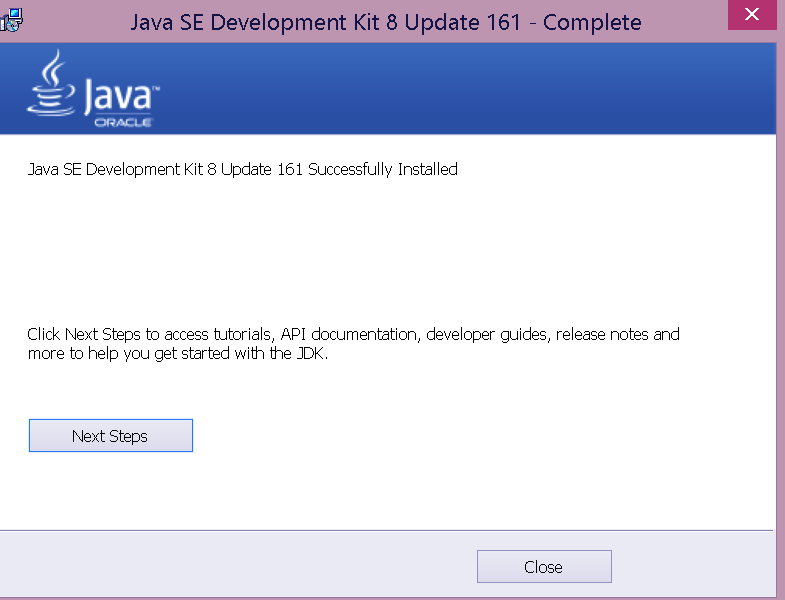
- Step 6 – Save the settings, and you are done.
- Step 7 – To learn more about it, click on the option ‘Next Steps,’ and it will take you to the website.
Troubleshooting Advice for Installing Windows
1. Internet connectivity: Throughout the download process, make sure to have a stable and reliable internet connection when the Java installation process is being carried out to avoid interruptions.
2. User Account Control (UAC): Consider executing the Java installer as an administrator if permission problems arise.
3. Antivirus Software: Antivirus software may occasionally cause installation issues. Try turning off your antivirus program for a short while to see if that fixes the problem.
How to Install Java on Linux?
There are many ways to install Java on Linux, but we will go with the easiest way, which is by using the terminal. OpenJDK is a free and open-source implementation of Java.
These are the steps to install Java-
1. We need to install OpenJDK.
2. In the second step, we will go to Application > Accessories > Terminal.
3. Then we will need to type the command- sudo apt-get install openjdk-8-jdk
4. In case of “JAVA_HOME” (Environment Variable), type this command in the terminal – export JAVA_HOME = /usr/lib/jvm/java-8-openjdk
5. In the case of “PATH” (Environment Value), type this command – export PATH = $PATH:/usr/lib/jvm/java-8-openjdk/bin
6. You are done
Summary
Congratulations, you have successfully installed Java on your Windows/Linux machine. Hope you followed this step-by-step guide to install Java 8 on a Windows/ Linux machine. Also, follow the given troubleshooting advice if you face any problems during installation.
12 Astonishing Features of Java, which will blow your mind.
If you find any difficulties in downloading or installing Java on your system, please share them with us through the comment section.
Did you like this article? If Yes, please give DataFlair 5 Stars on Google


how to install java in windows
I have installed java in linux through JDK:sudo apt-get install oracle-java8-installer
do i need to install above specified java JDK:sudo apt-get install openjdk-8-jdk in linux again?
If you have already installed oracle Java, no need to install open jdk again. Just check whether java is installed using following command:
java -version