Spring Boot CLI – Features, Installation, Example
Placement-ready Courses: Enroll Now, Thank us Later!
1. Objective
In our Spring Boot tutorial, we studied Spring Transaction Management. Here in this article, you will be getting to know about the Spring Boot CLI. Moreover, we will help you understand more about Spring Boot CLI: Features, Installation, and Example. It is useful for any Java developers from beginners to experts. For this article, you should have knowledge of Spring Framework along with Java programming.
So, let’s start Spring CLI Tutorial.
Spring Boot CLI – Features, Installation, Example
2. What is Spring Boot CLI?
This Boot CLI in Spring Framework is a command line tool which gives you to run Groovy scripts. It allows you to quickly develop Spring Framework applications. As you know Spring Boot CLI uses Groovy scripts which is similar to Java but without boilerplate code. This helps you to bootstrap new project along with writing custom command for it. Spring Boot CLI is the fastest way to create a Spring framework application.
Do you Why Spring Framework is Popular
a. Spring Boot CLI Features
Before we start, some of the features of Spring Boot CLI are:
- Spring Boot CLI gives you an interface to run your Spring Boot application along with testing from the command prompt.
- It has Groovy compiler and Grape dependency manager.
- It uses Spring Boot Starter and AutoConfigurate components to resolve the dependencies and executes the application.
- Supports Groovy Scripts without its external installation.
b. Spring Boot Installation
As you know Spring is the Java-based framework so you have to install the JDK first. Also, if you are going through this tutorial you would have downloaded it. Therefore, you can download the Spring Boot CLI from this link https://repo.spring.io/release/org/springframework/boot/spring-boot-cli/ . After this download installs it by unpacking the zip. Along with this set your CLASSPATH variable as it is very important without which your applications won’t run.
Read about Difference Between JDK vs JRE vs JVM
At last very your installation by running the command on your command prompt:
Your directory:/Test/> spring –version
On successful installation, the following will get printed:
Spring CLI v1.5.8.RELEASE
Let’s Explore How to Configure Spring Beans (Spring Java Based Configuration)
c. Spring Boot CLI Example
After the installation of Spring Boot CLI, you will get to understand it little more by seeing a working example. In this example, you will be seeing a Spring Boot + MVC + Rest based web application.
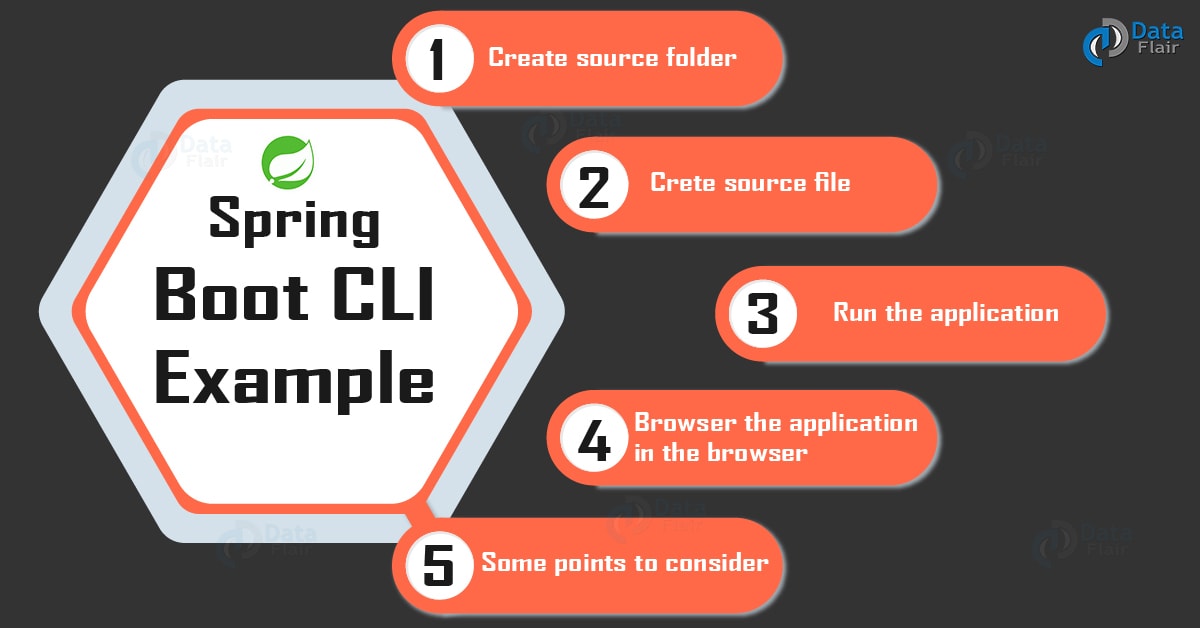
Some of the steps you need for creating this web application are:
Spring Boot CLI Example
i. Create the source folder
Create the folder in your desktop. For this example, create folder FirstApplication in E:\Test folder.
Let’s discuss Spring MVC Framework
ii. Create source file
Create the FirstApplication.groovy file in the folder mentioned above with the following code:
@RestController
class FirstApplication {
@RequestMapping("/")
String welcome() {
"Hello world"
}
}
iii. Run your application
Now run your application. Type the following command:
E:/Test/> spring run FirstApplication.groovy
By typing the above command, the Spring Boot CLI will download the required dependency and run the embedded tomcat. Also, it will deploy your application and start it.
iv. Open the application in Browser
The Spring-based web application is ready. Open the URL as “http://localhost:8080/” and you will see the following message as your output:
Hello World
v. Some points to consider
Some of the things you should know about the Spring CLI are:
- All the dependency JARs get downloaded for the first time after that it gets loaded.
- The Spring CLI detects automatically the dependency JARs which should be downloaded. It decides based on the classes and the annotations present inside the application code.
- It complies with the code finally by deploying embedded tomcat and starting the embedded tomcat server. The server default port is 8080.
d. Another Example of Spring Boot CLI
For more understanding of the Spring Boot CLI capabilities another working sample example Thymeleaf project. The steps required for the creating example are:
- Create a folder TestApplication in the directory. Also, create two subfolders templates and static.
- Create groovy file message.groovy along with message.html and index.html in subfolders templates and static.
- Compile and run your application.
Message.groovy code is as follow:
@Controller
@Grab('spring-boot-starter-thymeleaf')
class MessageController {
@RequestMapping("/message")
String getMessage(Model model) {
String message = "Welcome";
model.addAttribute("message", message);
return "message";
}
}
Code for html files message and index are as follows:
Message.html
<!DOCTYPE HTML>
<html xmlns:th = "http://www.thymeleaf.org">
<head>
<title>Spring Boot CLI Example</title>
<meta http-equiv = "Content-Type" content = "text/html; charset = UTF-8" />
</head>
<body>
<p th:text = "'Message: ' + ${message}" />
</body>
</html>
Index.html
<!DOCTYPE HTML>
<html>
<head>
<title>Spring Boot CLI Example</title>
<meta http-equiv = "Content-Type" content = "text/html; charset = UTF-8" />
</head>
<body>
<p>Go to <a href = "/msg">Message</a></p>
</body>
</html>
Now run type the below command:
E:/Test/TestApplication/> spring run *.groovy
After this, your Spring-based web application is ready for execution. Open the URL http://localhost:8080/ you will see the following link as output:
Go to Message
If you click the following link it will print the message:
Message: Welcome
Read About Spring JDBC Framework – JDBC Template with Eclipse IDE
So, this was all about Spring Framework Boot CLI. Hope you like our explanation.
3. Conclusion
Hence, in this session, we have studied about the Spring framework Boot CLI and its applications. Also, you studied the features of Spring Boot CLI along with its installation. You also got to know more it by a working web application examples and how it can help in developing quick Spring Framework applications. Still, if any doubt, comment below.
Related Topic- Spring Event Handling
For reference
We work very hard to provide you quality material
Could you take 15 seconds and share your happy experience on Google


