Spring Bean Life Cycle – Initialization and Destruction
Interactive Online Courses: Elevate Skills & Succeed Enroll Now!
1. Objective
In our previous tutorial, we learned Spring Beans Autowiring. Here, in this article, we will learn about the Spring Bean life cycle. The life cycle of Spring Beans is very easy to understand. You will get the detailed analysis of Spring Bean Life cycle using Eclipse IDE example. The two important things that will be taught are bean lifecycle callback methods which are required during initialization and destruction.
So, let’s start Spring Bean Life Cycle.
Spring Bean Life Cycle – Initialization and Destruction
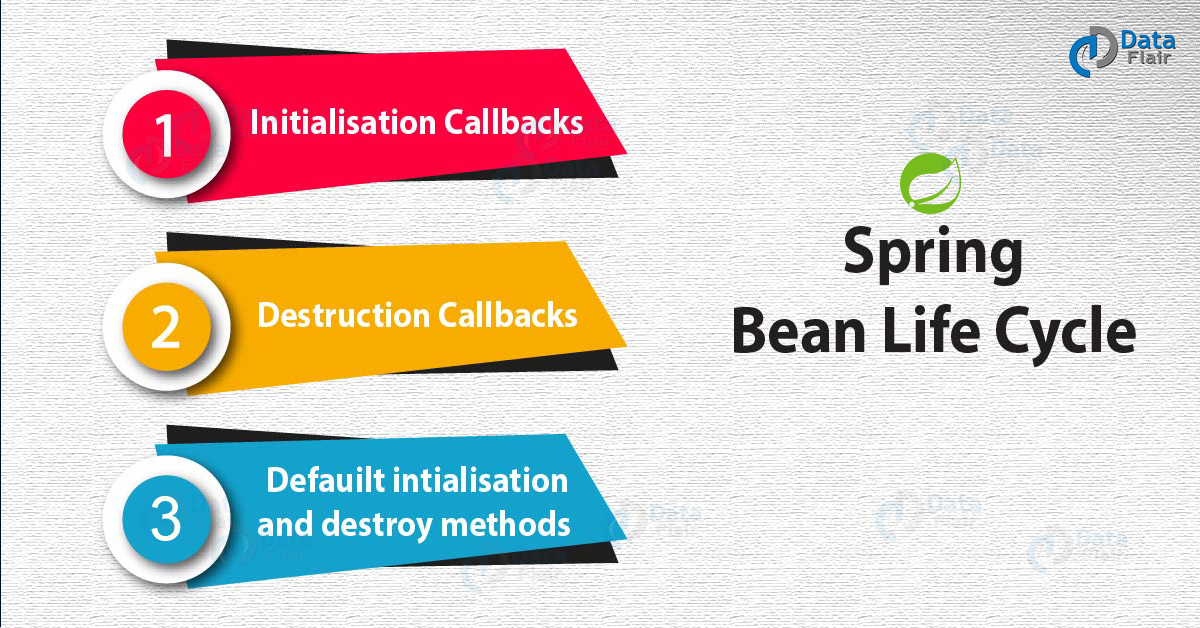
2. Spring Bean Life Cycle
When the beans get instantiated it is required to perform some initialization to get it to an unstable state. Also, when the bean is no longer required and gets removed from the IoC container some clean up is required. There are lists of things that take place behind during the time of initialization of bean and its destruction. You will declare the bean using <bean> with init method and destroy-method for defining the setup and tear down of the bean.
Read About Spring Event Handling – 5 Standard of Event Handlers
The init method attribute will get specified when the bean needs to get initialized. Similarly, as the init the destroy-method will get called just before the bean is removed from the container.
a. Initialisation Callbacks
Inside the method afterPropertiesSet() implement the interface org.springframework,beans.factory.InitializingBean and do the initialization work as below:
public class ExampleBean implements InitializingBean {
   public void afterPropertiesSet() {
      // do some initialization work
   }
}
If you are using XML based configuration metadata use the attribute init method to give the name of the non-argument void method.
<bean id = "exampleBean" class = "examples.ExampleBean" init-method = "init"/>
Following is the definition of a class using init():
public class ExampleBean {
   public void init() {
      // do some initialization work
   }
}
Let’s Revise Integration of MVC with Spring
b. Destruction Callbacks
Inside the method destroy() implement the interface org.springframework,beans.factory.InitializingBean and do the initialization work as below
public class ExampleBean implements DisposableBean {
   public void destroy() {
      // do some destruction work
   }
}
If you are using XML based configuration metadata use the attribute destroy-method to give the name of the non-argument void method.
<bean id = "exampleBean" class = "examples.ExampleBean" destroy-method = "destroy"/>
Following is the definition of the class using destroy():
public class ExampleBean {
   public void destroy() {
      // do some destruction work
   }
}
If you are using the Spring Framework container for non-web application environment you need to register a shutdown hook with JVM using the method called registerShutdownHook(). So doing that ensures a graceful shutdown along with the call to the relevant destroys methods on singleton beans.
It is needed that you don’t use the callback method as the XML configuration provides the flexibility in naming your method.
Follow this link to know about Spring Transaction Management
Let’s define a working example using Eclipse IDE having the following steps:
- Create your project with name SpringEx and a package com.example. This should be under the src folder of your created project.
- Add the Spring Libraries that are required using the Add External JARs options.
- Create HelloWorld.java and MainApp.java under the above-made package.
- Write the Beans.xml configuration file under the src folder.
- Finally, write code for all Java files and Bean config file and run the application as described.
The code for HelloWorld.java is as follow:
package com.example;
public class HelloWorld {
   private String message;
   public void setMessage(String message){
      this.message = message;
   }
   public void getMessage(){
      System.out.println("Your Message : " + message);
   }
   public void init(){
      System.out.println("Bean is going through init.");
   }
   public void destroy() {
      System.out.println("Bean will destroy now.");
   }
}
In MainApp.java file you have to register a shutdown hook method called registerShutdownHook() declared in class AbstractApplicationContext. This method will make sure the shutdown using the relevant destroy methods.
package com.example;
import org.springframework.context.support.AbstractApplicationContext;
import org.springframework.context.support.ClassPathXmlApplicationContext;
public class MainApp {
public static void main(String[] args) {
AbstractApplicationContext context = new ClassPathXmlApplicationContext("Beans.xml");
HelloWorld obj = (HelloWorld) context.getBean("helloWorld");
obj.getMessage();
context.registerShutdownHook();
}
}
Following is the Beans.xml configuration file which is required for the methods init and destroy:
<?xml version = "1.0" encoding = "UTF-8"?>
<beans xmlns = "http://www.springframework.org/schema/beans"
xmlns:xsi = "http://www.w3.org/2001/XMLSchema-instance"
xsi:schemaLocation = "http://www.springframework.org/schema/beans
http://www.springframework.org/schema/beans/spring-beans-3.0.xsd">
<bean id = "helloWorld" class = "com.example.HelloWorld" init-method = "init"
destroy-method = "destroy">
<property name = "message" value = "Hello World!"/>
</bean>
</beans>
Let’s discuss Spring Batch Tutorial
After you are writing the codes and configuration files now run the application. If everything is right you will see the following message as output:
Bean is going through init.
Your Message: Hello World!
Bean will destroy now.
c. Default Initialization and Destroy Methods
You don’t need the declaration of the methods in it and destroy if there are many beans with initialization and destroy methods having same names. Instead, you have default init and destroy methods as follows:
<beans xmlns = "http://www.springframework.org/schema/beans"
xmlns:xsi = "http://www.w3.org/2001/XMLSchema-instance"
xsi:schemaLocation = "http://www.springframework.org/schema/beans
http://www.springframework.org/schema/beans/spring-beans-3.0.xsd"
default-init-method = "init"
default-destroy-method = "destroy">
<bean id = "..." class = "...">
<!-- collaborators and configuration for this bean go here -->
</bean>
</beans>
So, this was all about Spring Bean Life cycle. Hope you like our explanation.
3. Conclusion
Hence, in this Spring Bean Life Cycle tutorial, we learned about the life cycle of the Spring beans which includes the two important methods init and destroy. These are used during the initialization and destruction of the Spring Beans. You saw the analysis using the working example Eclipse IDE. The next article brings you more analysis of the Spring Beans. Still, if you have any query regarding Spring Life Cycle, feel free to ask in the comment section.
Related Topic- Spring Java Based Configuration
For reference
You give me 15 seconds I promise you best tutorials
Please share your happy experience on Google


the information is useful thank you