Spring Java Based Configuration – How to Configure Spring Beans
Job-ready Online Courses: Knowledge Awaits – Click to Access!
1. Objective
In our last tutorial, we studied Integration of MVC with Spring. Today, we are going to talk about Spring Java based configuration. Till now you have seen configuring Spring Beans with XML config file. The same results can be achieved using a Java-based configuration in Spring Framework.
So, let’s start Spring Java Based Configuration.
Spring Java Based Configuration – How to Configure Spring Beans
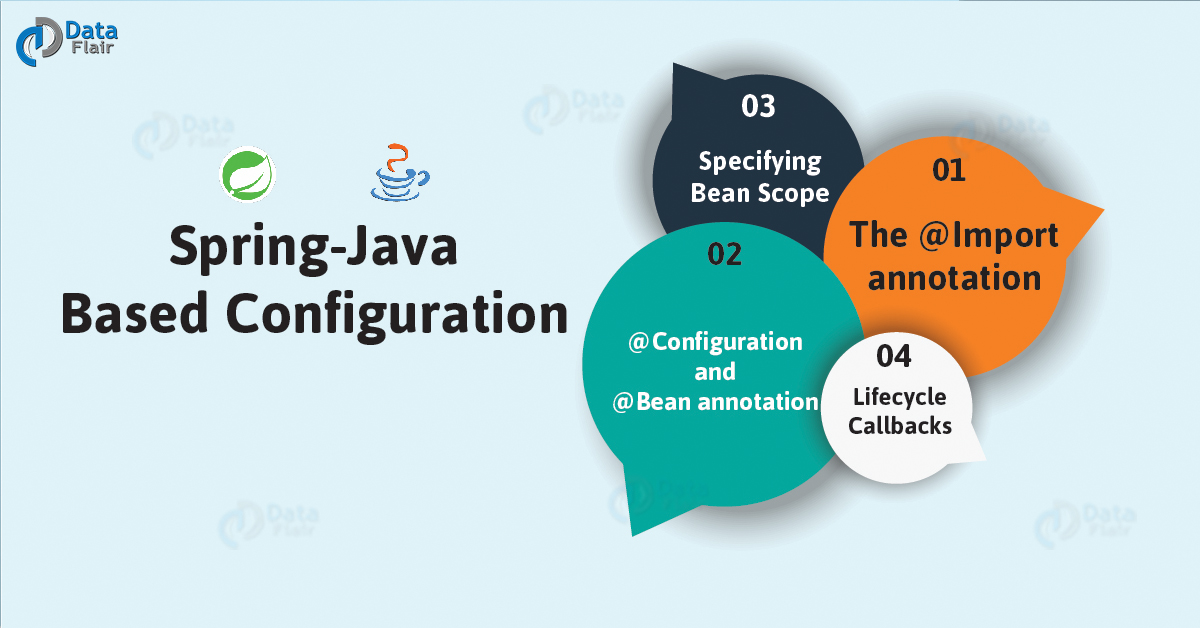
2. Spring Java Based Configuration
In this Spring Java Based Configuration, you will be learning about some Java-based annotations which will help you configure Spring Beans. Using Java based configuration allows you to write your Spring configuration without using XML. These annotations will be explained to you with working example using Eclipse IDE. Some of these annotations are:
- @Configuration and @Bean annotations.
- @Import annotations.
a. @Configuration and @Bean annotation
Using @Configuration annotation indicates that Spring IoC container can use it as a source of Beans definitions. Using the @Bean tells Spring that method will return an object which should be registered as a bean in Spring application context. You can define @Configuration as below.
package com.example;
import org.springframework.context.annotation.*;
@Configuration
public class HelloWorldConfig {
@Bean
public HelloWorld helloWorld(){
return new HelloWorld();
}
}
It is similar to following XML configuration:
<beans>
<bean id = "helloWorld" class = "com.example.HelloWorld" />
</beans>
The method name is annotated with @Bean which works as bean ID and return actual bean. The below example illustrates that.
public static void main(String[] args) {
ApplicationContext ctx = new AnnotationConfigApplicationContext(HelloWorldConfig.class);
HelloWorld helloWorld = ctx.getBean(HelloWorld.class);
helloWorld.setMessage("Hello World!");
helloWorld.getMessage();
}
Also, you can load several configuration classes as below:
public static void main(String[] args) {
AnnotationConfigApplicationContext ctx = new AnnotationConfigApplicationContext();
ctx.register(AppConfig.class, OtherConfig.class);
ctx.register(AdditionalConfig.class);
ctx.refresh();
MyService myService = ctx.getBean(MyService.class);
myService.doStuff();
}
Now let’s define a complete working example with Eclipse IDE with steps as follow:
- Create your project with name SpringEx and a package com.example. This should be under the src folder of your created project.
- Add the Spring Libraries that are required using the Add External JARs options.
- Add CGLIB.jar from Java installation library and ASM.jar library since you are using Java-based annotations.
- Create HelloWorldConfig.java, HelloWorld.java, and MainApp.java under the above-made package.
- Finally, write code for all Java files and Bean config file and run the application as described.
Do you How to Design Customised Events in Spring Framework
The code for HelloWorldConfig.java is as defined:
package com.example;
import org.springframework.context.annotation.*;
@Configuration
public class HelloWorldConfig {
@Bean
public HelloWorld helloWorld(){
return new HelloWorld();
}
}
The code for HelloWorld.java is as follows:
package com.example;
public class HelloWorld {
private String message;
public void setMessage(String message){
this.message = message;
}
public void getMessage(){
System.out.println("Your Message : " + message);
}
}
The MainApp.java is defined as:
package com.example;
import org.springframework.context.ApplicationContext;
import org.springframework.context.annotation.*;
public class MainApp {
public static void main(String[] args) {
ApplicationContext ctx =
new AnnotationConfigApplicationContext(HelloWorldConfig.class);
HelloWorld helloWorld = ctx.getBean(HelloWorld.class);
helloWorld.setMessage("Hello World!");
helloWorld.getMessage();
}
}
If you now run the application after creating source files and additional libraries it will print the following as output:
Your Message: Hello World!
Read About Spring JDBC Framework – JDBC Template with Eclipse IDE
You can also inject bean dependencies on one another using @Bean. See the below example:
package com.example;
import org.springframework.context.annotation.*;
@Configuration
public class AppConfig {
@Bean
public Foo foo() {
return new Foo(bar());
}
@Bean
public Bar bar() {
return new Bar();
}
}
The foo bean receives a reference to bar using constructor injection.
b. The @Import Annotation
The @Import allows you to load @Bean definitions from another configuration class. See the below ConfigJ class:
@Configuration
public class ConfigJ {
@Bean
public J a() {
return new J();
}
}
You can import the above Bean declaration with another Bean as follows:
@Configuration
@Import(ConfigJ.class)
public class ConfigB {
@Bean
public B a() {
return new J();
}
}
Only ConfigB class needs to be supplied for instantiating instead of specifying both ConfigJ.class and ConfigB.class.
public static void main(String[] args) {
ApplicationContext ctx = new AnnotationConfigApplicationContext(ConfigB.class);
// now both beans J and B will be available...
J a = ctx.getBean(J.class);
B b = ctx.getBean(B.class);
}
c. Lifecycle Callbacks
The @Bean specifies initialization destruction callback methods. It is similar to that of Spring XML’s init and destroy method attributes on bean:
public class Foo {
public void init() {
//logic
}
public void cleanup() {
// logic
}
}
@Configuration
public class AppConfig {
@Bean(initMethod = "init", destroyMethod = "cleanup" )
public Foo foo() {
return new Foo();
}
}
Let’s revise the Integration of Spring Logging with log4j – Eclipse IDE Coding
d. Specifying Bean Scope
You can override the default scope using @Scope annotations as follows:
@Configuration
public class AppConfig {
@Bean
@Scope("prototype")
public Foo foo() {
return new Foo();
}
}
The default scope of a bean is singleton which is overridden by using above method.
So, this was all about Spring Java Based Configuration. Hope you like our explanation.
3.Conclusion
Hence, in this session, you learned about the use of Java annotations in configuring Spring Beans. This can also have done using XML configurations too. Here with working example on Eclipse IDE. Furthermore, if have any doubt on Spring Java Based Configuration, feel free to ask in the comment section.
Related Topic-Spring Framework Environment Setup
For reference
We work very hard to provide you quality material
Could you take 15 seconds and share your happy experience on Google


How to write in config class if have two classes as below….. Thank you in advance
class Player {
private String playerId;
private String playerName;
private Set country;
}
and
class Country {
private String countryId;
private String countryName;
}