Java Project – Compression and Decompression [Source Code Included]
Get Job-ready: Java Course with 45+ Real-time Projects! - Learn Java
Java Project – Compression and Decompression
This is a Java project for beginners, implement your learnings on real-time projects. Just theoretical knowledge is not sufficient, you have to work on real-time projects. In this article, DataFlair is providing you a live project with complete implementation along with the source code, so that you can easily master Java
Project Objective
We sometimes face problems related to memory issues while saving or transferring any document or a file. Hence, there is a need to compress it so that it is reduced in size and can be transferred and processed easily. Data Compression and Decompression provide users to store data in less space and also easier for the user to transfer over the network. The Compression reduces the file of the size so that we can share it easily over any network even at a slow speed. This project aims at compressing and decompressing different types of files stored in our computer system at a particular destination location. There are four different algorithms that can be chosen to compress or decompress the files.
Data Compression and Decompression
Compression is the process of encoding information using fewer bits than the original representation of the data. Compression of data is useful as it reduces the resources required to store the data and transmit it over the network. When we talk about data transmission, it is called source encoding. Before transmitting the data, encoding is done for security purposes. The reverse process of compression is called decompression which is used to get the original data from the compressed data.
Need to develop this system
In the present system, there are so many problems while transferring or sharing a file of large size. These files cannot be sent over a network if they are above certain size limits. Even if the size of the file is small but if the internet connection speed is slow, then too it is difficult to send them. These limitations create a lot of problems when we need to share an urgent file and we just can’t due to the size limit of the file. Therefore, there is a need to build a system that can compress and decompress the files easily so they can be shared efficiently without any constraint.
Some important reasons for developing this project are:
- The intention of file compression is to significantly reduce the space to store a file and transmit it
- File compression also increases data transfer speed. It is obvious that the longer file would take more time to be transferred and there is a maximum possibility of interruption between the file transfer process
- There is also a chance of the file being corrupted and the user gets a file which is of no use
- Compression also reduces the disk space required on the internet servers along with the time taken by the Internet servers to find the file stored on the hard drive
- File Compression also provides file security by hiding information. This is useful when we do not want information to be available to the public. This can be done by compressing a file that can’t be decompressed by a commonly used computer software.
Data Compression and Decompression project in Java
The project “Data Compression and Decompression” System is totally built on Java technology and provides an interface to the users so that they can easily store and transfer large files. This java project also provides encoding techniques in compression so as to ensure the security of the data. Using this project, the users can compress the data according to the requirement at any point and for any number of times.
The layout of the project is built using the swing and AWT packages of Java using their predefined classes, interfaces, and methods. The io(Input Output) and util packages of Java provide the predefined classes to compress and decompress the files directly by passing the filename and location.
Technology and IDE used to run the project:
- Java 1.8 or above
- Eclipse or Netbeans or IntelliJ
Algorithms used to compress and decompress
We have used 4 algorithms for compression and decompression in this project. They are:
- LZW
- GZIP
- HUFFMAN
- RUNLENGTH
1. LZW Algorithm:
The LZW algorithm stands for Lempel-Ziv-Welch. These three were the inventors of these algorithms. It is a compression algorithm that compresses a file into a smaller one using a table-based lookup. This algorithm is mainly used to compress GIF files and optionally to compress and PDF and TIFF files. The files compressed using this algorithm are saved with .lzw extension.
2. GZIP Algorithm:
The GZIP stands for the GNU Zip algorithm and is used to compress the files into a gzip file format. This file format must not be confused with the ZIP archive file format as the gzip works on a single file. The GZIP is based on the Deflate algorithm.
3. HUFFMAN Algorithm
Huffman coding algorithm is a data compression algorithm that works by creating a binary tree of nodes. All nodes contain the character itself and priority queue is applied to build a binary tree.
4. RUNLENGTH Algorithm
Run length compression or Run Length Encoding(RLE) works by reducing the physical size of a repeating string of characters. This repeating string is called ‘run’ and the size is called ‘length’. This type of compression is mainly used for file formats such as TIFF, BMP, and PCX.
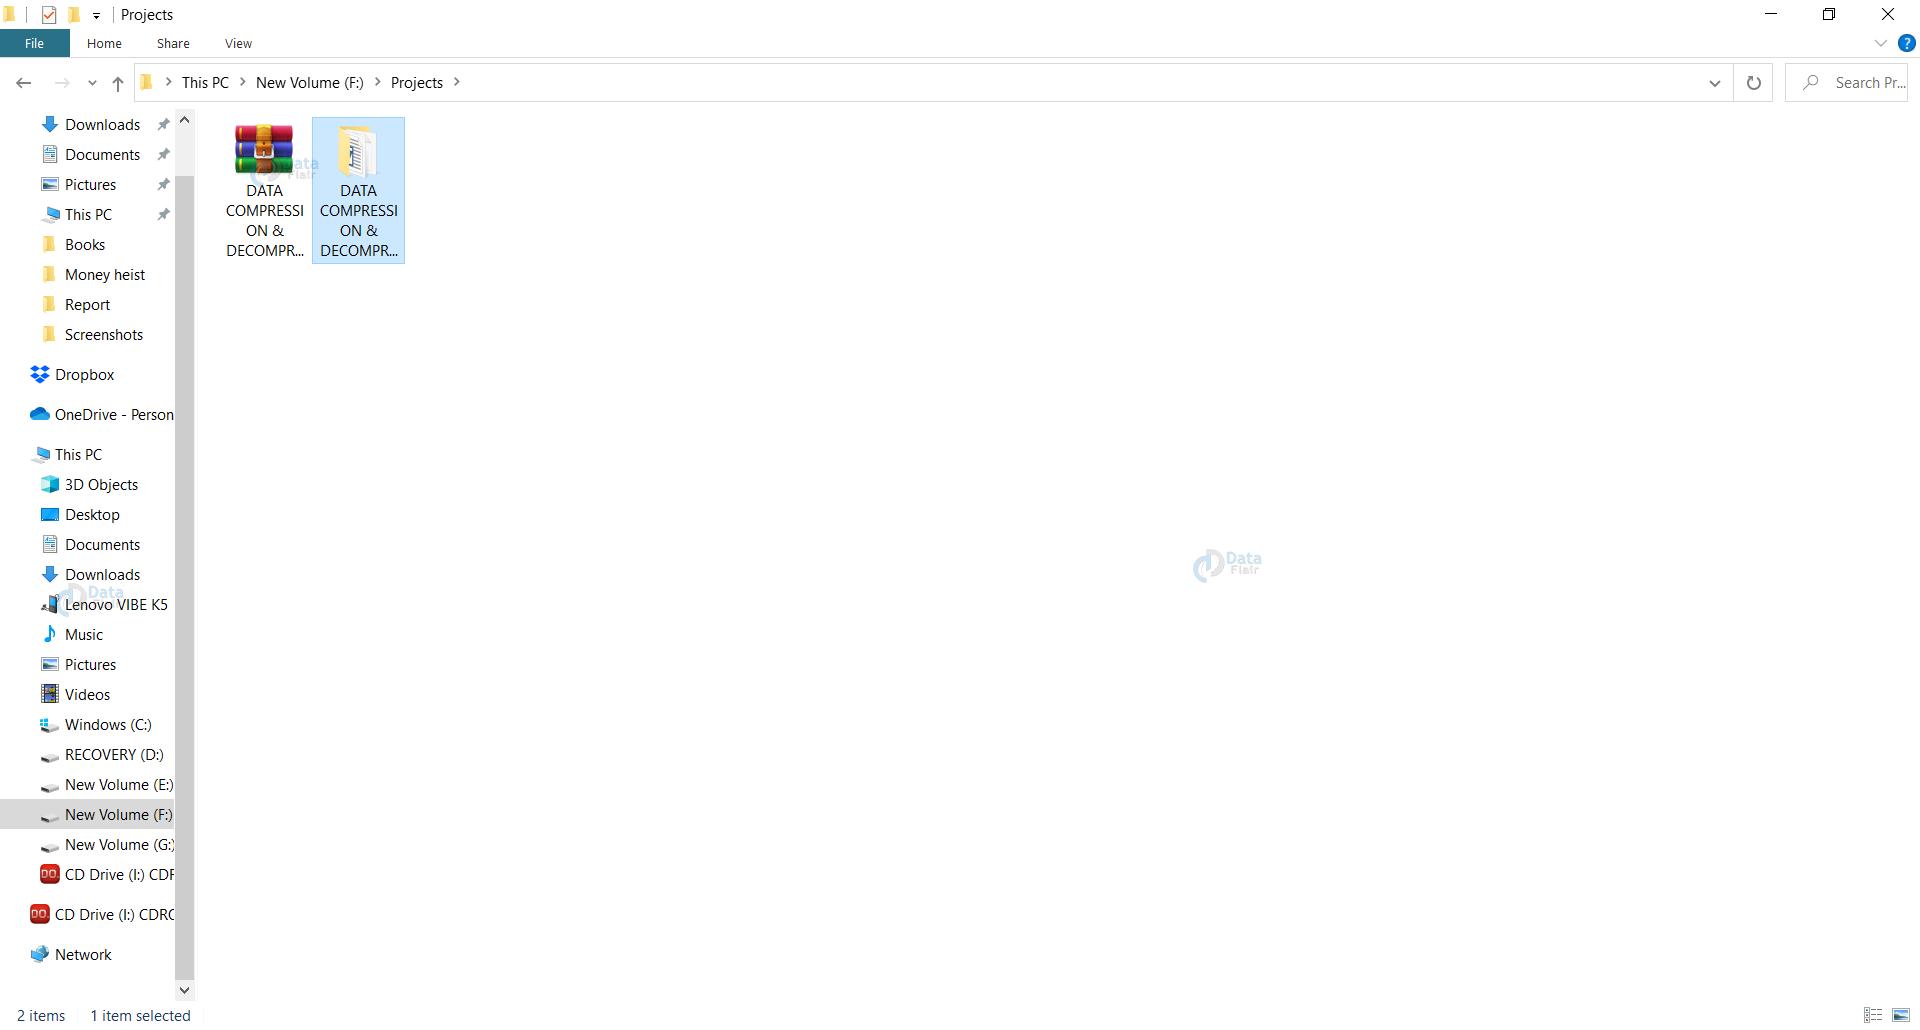
Download the project source code:
Please download the source code of project: Compression & decompression project code
Now, we have a .rar file. Please save this folder into a project folder. Now right click on this file and select “Extract here” option:
Import and execute the project
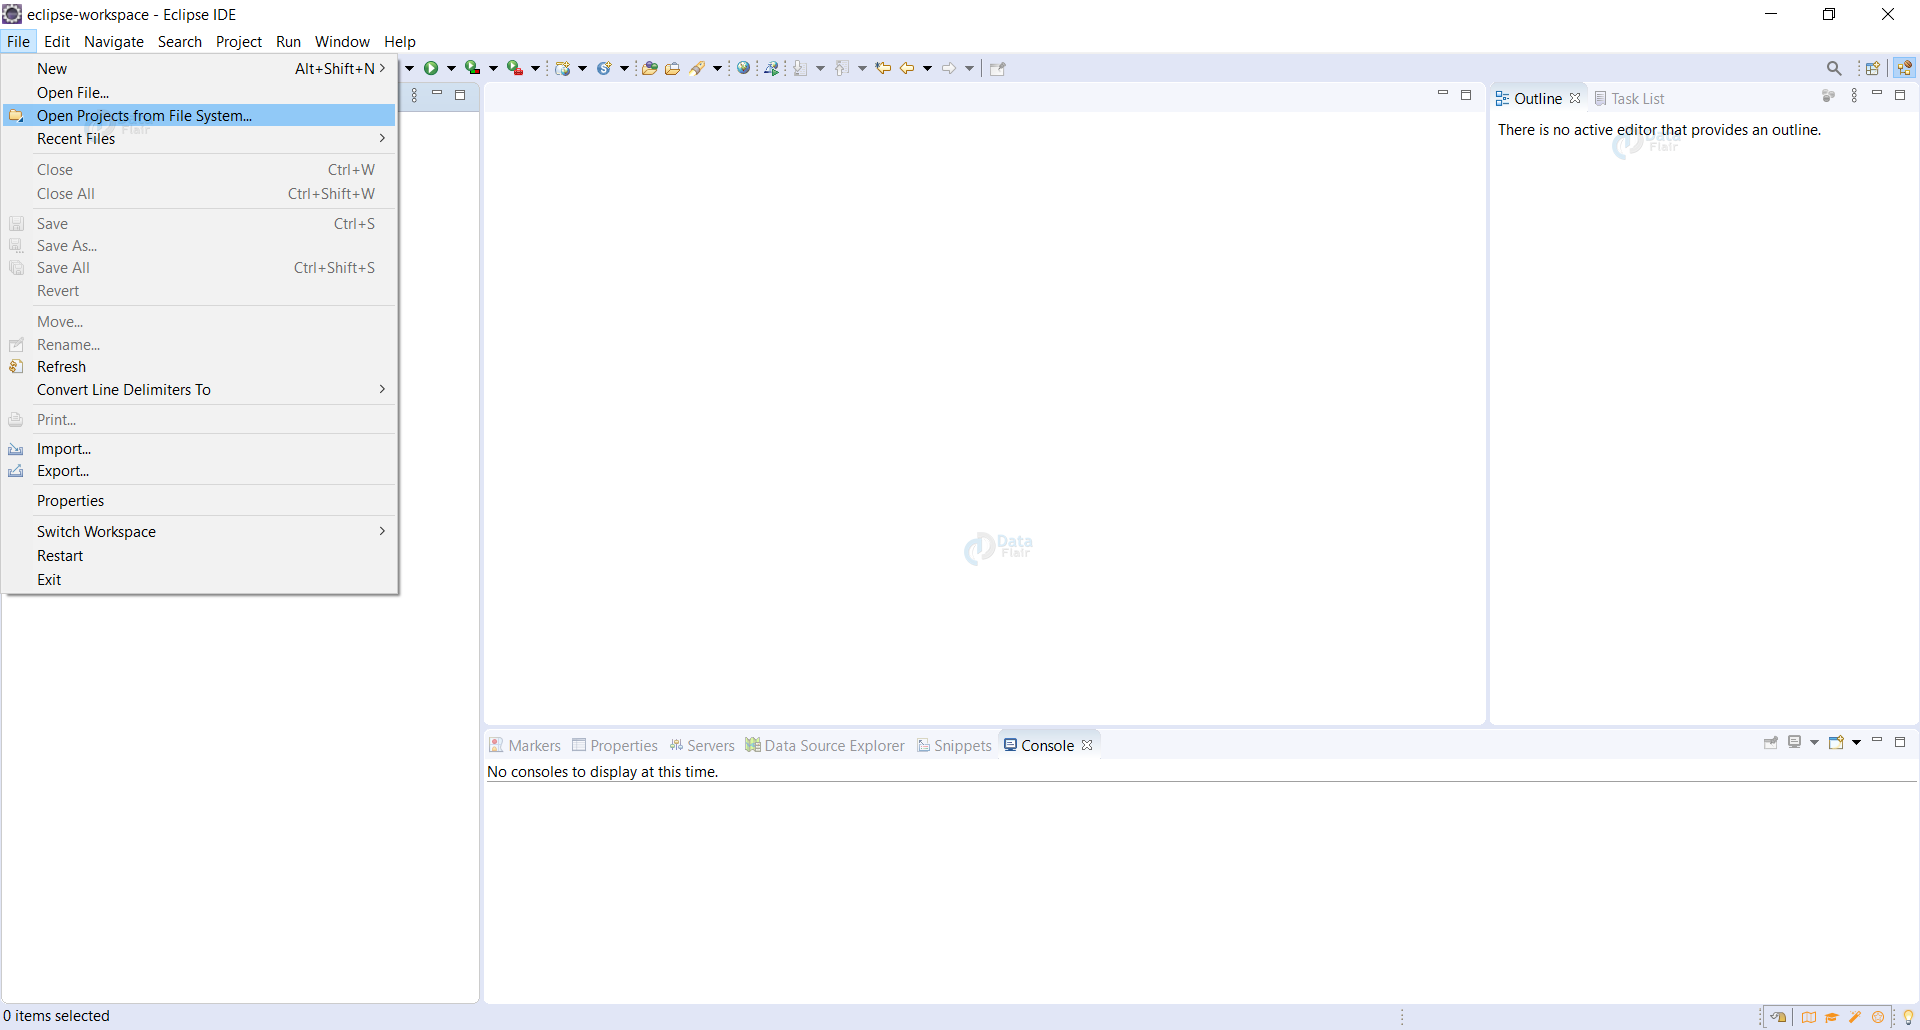
Now, we need to import this project in our Eclipse IDE. Let’s start:
1. Open Eclipse
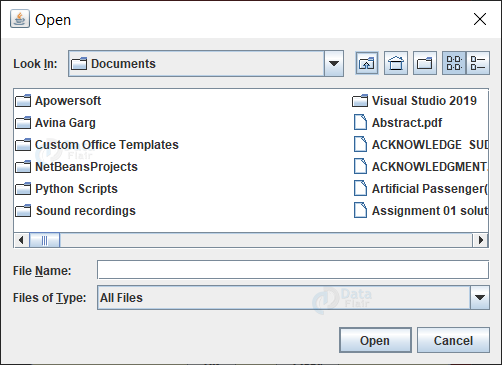
2. Click the file menu button and choose open project from file system option:
3. Click the Directory Button:

4. Now, select the folder that we extracted previously.
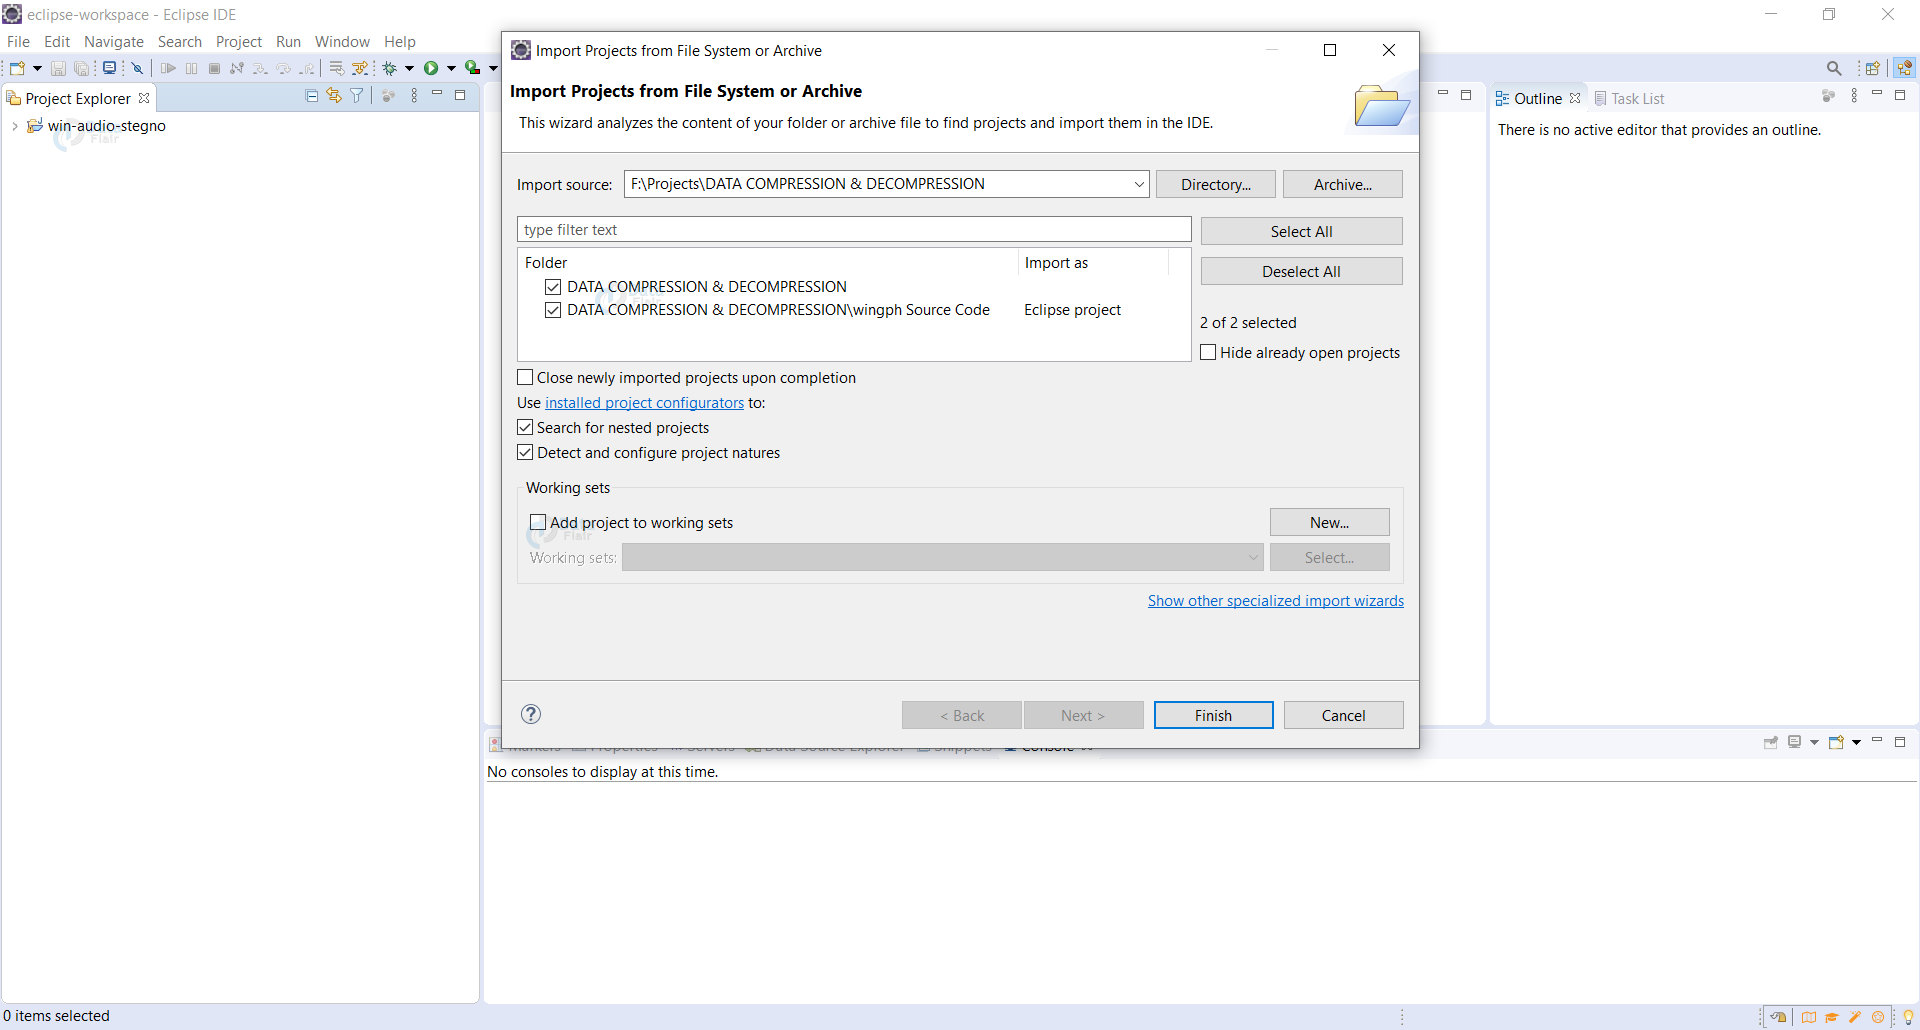
5. The project is now imported in the eclipse:
Classes and Interfaces used in the project
We have used Swing and AWT to create the layout of the project.
In CGZipCompressor folder, there are two java classes:
CGZipEncoder.java
In this class, we have imported the java.io package for using the file operations and util.zip.GZIPOutputStream class . This class implements a stream filter for writing compressed data in the GZIP file format. We also define a loadFile() method overloaded with different number of parameters. The boolean encodeFile() method returns true on the successful encoding of the file.
CGZipDecoder.java
In this class, we have imported the java.io package for using the file operations and util.zip.GZIPInputStream class . This class implements a stream filter for reading compressed data in the GZIP file format. We also define a loadFile() method overloaded with different number of parameters. The boolean decodeFile() method returns true on the successful decoding of the file.
In CHuffmanCompressor folder, there are four java classes and an interface
CHuffmanEncoder.java
The class CHuffmanEncoder implements the HuffmanSignature interface which is defined in the HuffmanSignature.java in another file. It has three constructors that call the loadFile() method with different arguments. The encodeFie() method returns true if the file is encoded successfully. There are methods to build and get the Huffman codes.
CHuffmanDecoder.java
This class also implements the HuffmanSignature interface. It is used to decode the Hiffman codes to get the original file. There are three constructors in which we have called the loadFile() method with different arguments. The decodeFile() method is of boolean type and returns true on successful decoding of the file. There is an int findCodeword() method that finds the codeword for the Huffman code.
HuffmanNode.java
This class stores all the nodes of the Huffman tree.
CPriorityQueue.java
The CPriorityQueue class is used to find the Huffman codes for every character of the file. There are several functions like enqueue(), dequeue(), isFull(), totalNodes() in this class.
Interface:
HuffmanSignature.java
This is an interface that declares final variables with a value.
In CLZWCompressor, there are two classes and one interface
CLZWEncoder.java
This class implements the LZWInterface and creates instances using different constructors. There is a boolean method called encodeFile() that returns true on successful encoding of the file.
CLZWDecoder.java
This class implements the LZWInterface and creates new instances by defining constructors with different parameters. We also use hashtable as this algorithm is table-based and stores values in a table. There is a boolean method called decodeFile() that returns true on the successful decoding of the file.
LZWInterface.java
This interface defines the final variables.
In CRLECompressor, there are two classes and one interface
CRLEEncoder
This class implements the RLEInterface. The method encodeFile() creates two instances, one of input files and another of output file, and then copies the single byte from input source file to output source file. In the output, it adds the extension provided by the user at the runtime(I.e., rle extension).
CRLEDecoder
This class also implements RLEInterface. In this also, there are two file sources, one is of RLE signature and destination file. Then we read file character-wise until we get an escape character. Finally, we get the original file at a particular location with the file size.
RLEInterface
In this interface, we have defined some final variables with some initial values.
In the FileBitIO folder, there are 3 classes and one Form file
CFileBitReader.java
This class imports the java.io package to use the classes and methods related to input File. This class mainly deals with reading from the input file. There is a loadFile() method that is used to load the file. There is a getBit() method that converts the file into the form of bits. The getByte() method returns the file in the form of bytes or 8-bit sequence. There is eof method that checks whether the file has reached to end or not. The closeFile() method closes the file object. We have used these methods in other classes directly to perform the file operations.
CFileBitWriter.java
This class also uses the java.io package and deals with writing to the file. There are methods like putBit(), putBits(), and putString() to write into the file in different formats-either bitwise or bytewise. It also has closeFile() method to close the file after writing.
GfhWorkingDlg.form
This is an xml file that defines all the components and dimensions of the components.
In wingph folder, there are four java files and one form file:
Main.java
In the Main class, we call the invokeLater() method of java.awt.EventQueue class and inside the run() method we create the object of Gph class and call its setVisible() method and pass true in it.
GfhWorkingDlg.java
This class extends the predefined class javax.swing.JDialog and implements the interface GphGuiConstants.There are two parameterized constructors. We create a thread to compress or decompress. This class basically performs the actions after clicking the button and shows the progress bar of processing.
GphGuiConstants.java
This interface has two String arrays – one for algorithms names and other for extensions. We have also defined some final variables with an initial value.
Gph.form
This is an xml file that defines all the properties of the components with their dimensions.
Gph.java
This class imports the java.awt.Color class and creates the layout of the application interface. We call the initComponents() methods in which we have created the whole frame using different components of javax.swing package.
Executing the project
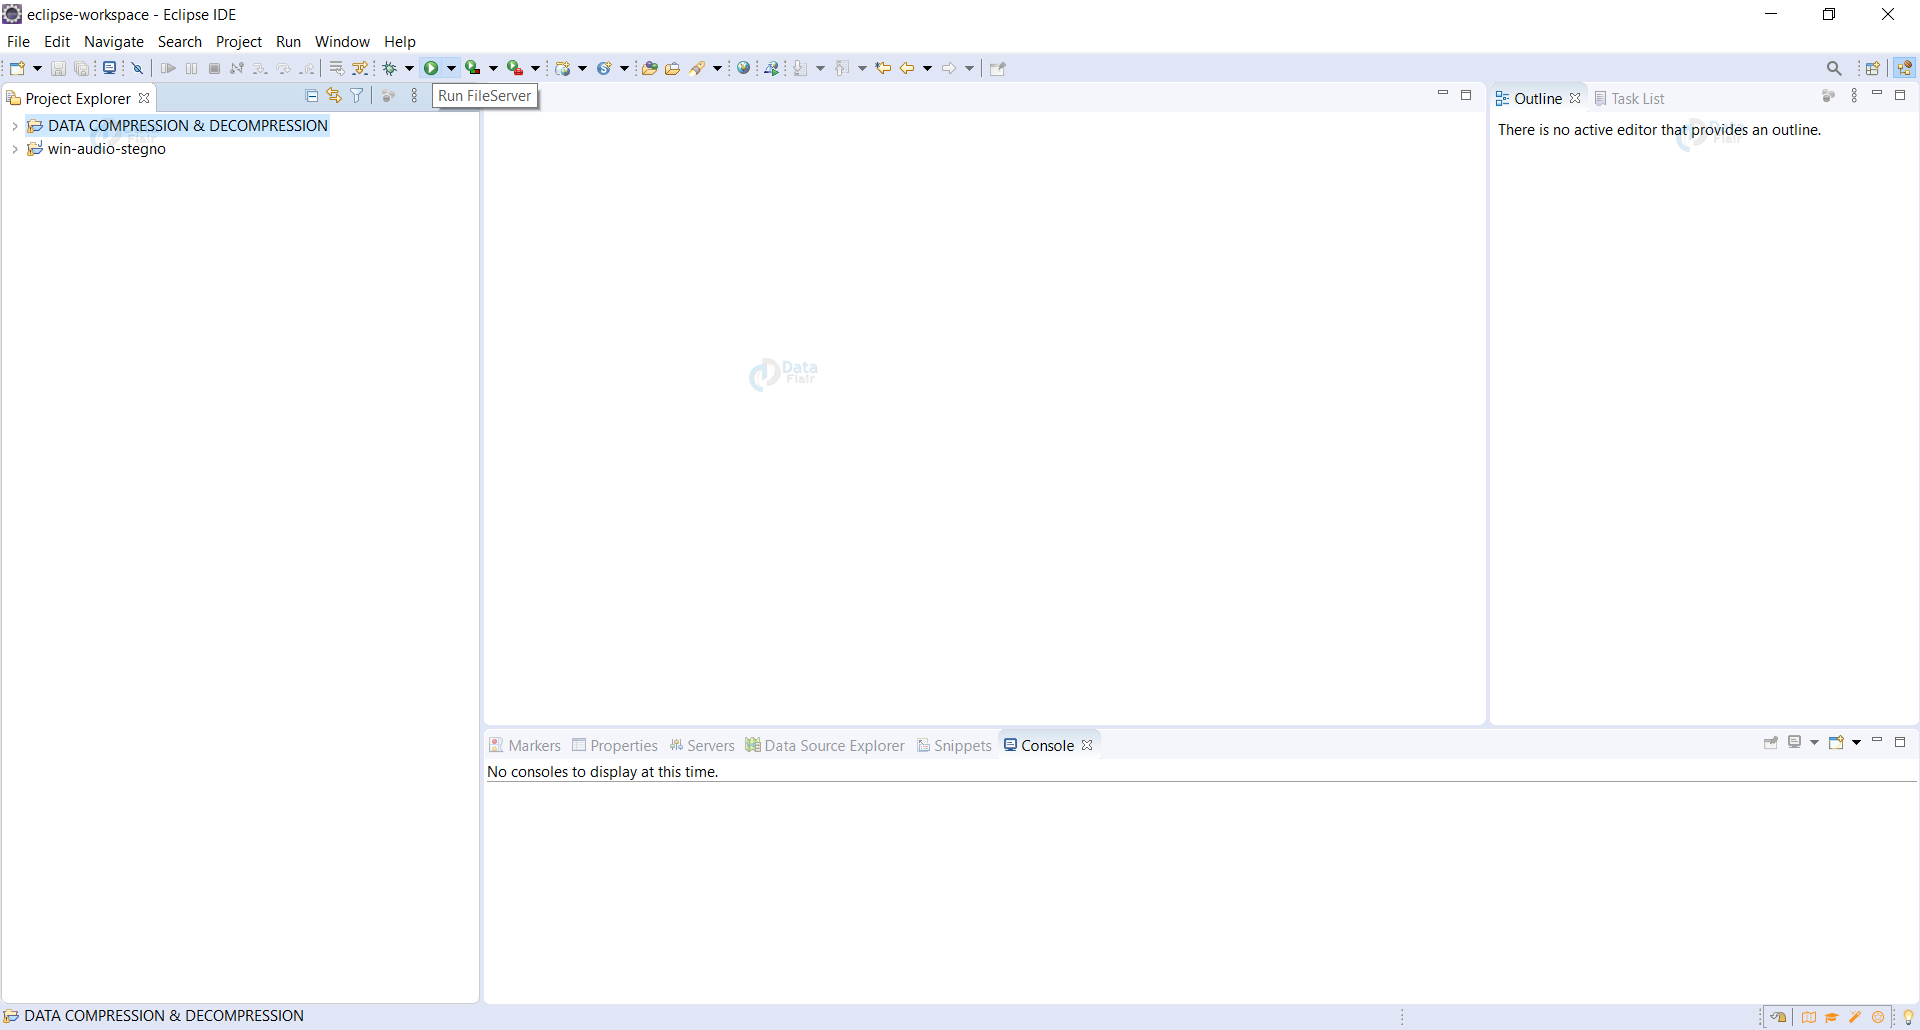
To run this project in your system you need to import the wingph Source Code folder, then run the Main.java file, then the output window will appear.
Steps to run the project
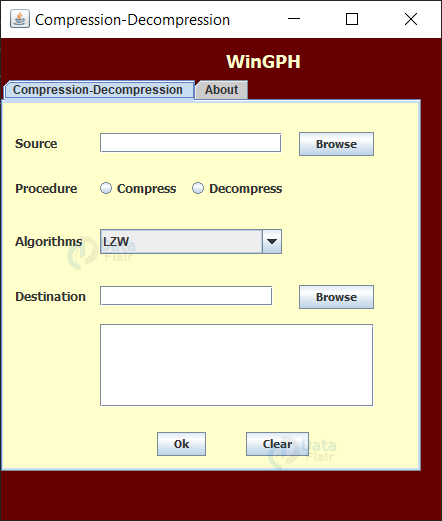
1. When you run the Main.java file, you will see following window:
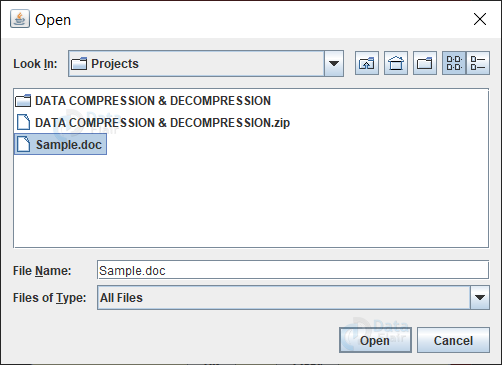
2. Click the Browse button:

3. Select the file you want to compress
4. Now, select the compression algorithm:
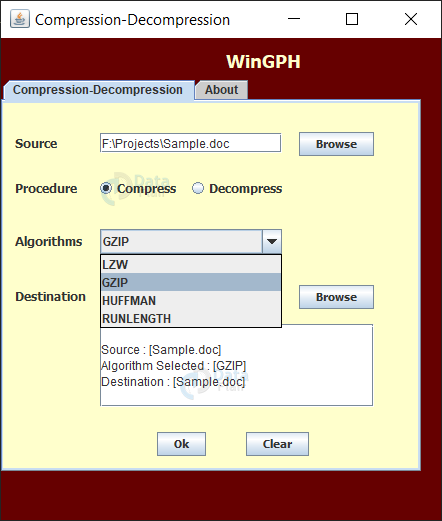
5. Choose the destination folder:
6. Click the Ok button:

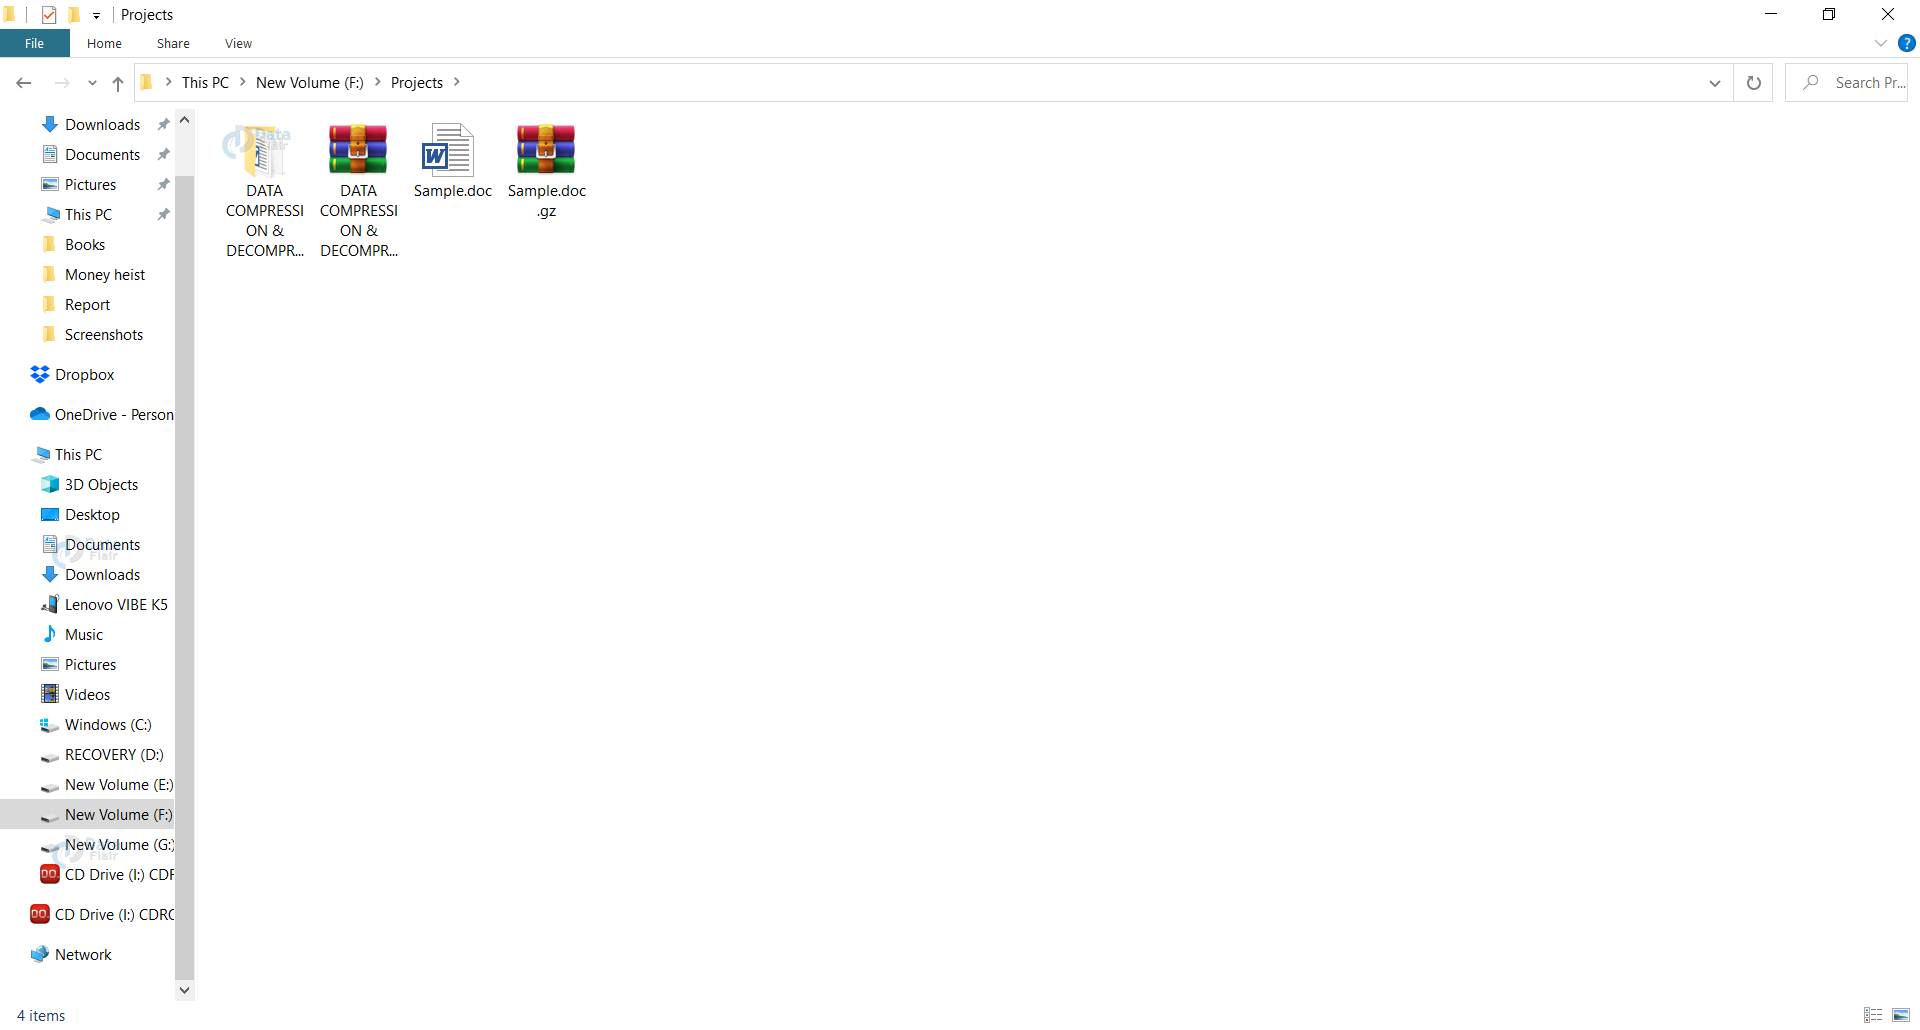
7. Now, we can see that in our folder, the zip file has been saved:
Conclusion
From this project, you can easily reduce the large size file into a file of smaller size using compression and send them easily over the network. We can also decompress the compressed file to get the original file and the receiver’s end. There are four algorithms used in this process. And various interfaces and classes of Swing and AWT packages are used to create the layout.
What Next?
It’s time to prepare for the interview: Top interview question and answers to crack your next interview
Your 15 seconds will encourage us to work even harder
Please share your happy experience on Google


Hello, when I open the output screen, I can see only half part of the output screen, I can’t scroll down to the end, is there any solution for that. Please back me up with solution or any other, it’s my external examination
hello if you got the solution please ping mee as i am having same pronblem
only getting half screen please help
i can’t run Main.java, this errror, how i fix this??
Error: Could not find or load main class wingph.Main
Caused by: java.lang.ClassNotFoundException: wingph.Main
adjust GroupLayout for Jpanel1. here is how you can do it
// Setup for jPanel1
javax.swing.GroupLayout jPanel1Layout = new javax.swing.GroupLayout(jPanel1);
jPanel1.setLayout(jPanel1Layout);
jPanel1Layout.setAutoCreateGaps(true);
jPanel1Layout.setAutoCreateContainerGaps(true);
jPanel1Layout.setHorizontalGroup(
jPanel1Layout.createParallelGroup(javax.swing.GroupLayout.Alignment.LEADING)
.addGroup(jPanel1Layout.createSequentialGroup()
.addGroup(jPanel1Layout.createParallelGroup(javax.swing.GroupLayout.Alignment.LEADING)
.addComponent(jLabel2)
.addComponent(jLabel4)
.addComponent(jLabel5)
.addComponent(jLabel3))
.addGroup(jPanel1Layout.createParallelGroup(javax.swing.GroupLayout.Alignment.LEADING)
.addComponent(jTextField1)
.addComponent(jComboBox1)
.addGroup(jPanel1Layout.createSequentialGroup()
.addComponent(jRadioButton1)
.addComponent(jRadioButton2))
.addComponent(jTextField2))
.addGroup(jPanel1Layout.createSequentialGroup()
.addComponent(jButton1)
.addComponent(jButton2))
)
.addGroup(jPanel1Layout.createSequentialGroup()
.addComponent(jScrollPane1)
)
.addGroup(jPanel1Layout.createSequentialGroup()
.addComponent(jButton3)
.addComponent(jButton4)
)
);
jPanel1Layout.setVerticalGroup(
jPanel1Layout.createSequentialGroup()
.addGroup(jPanel1Layout.createParallelGroup(javax.swing.GroupLayout.Alignment.BASELINE)
.addComponent(jLabel2)
.addComponent(jTextField1)
.addComponent(jButton1))
.addGroup(jPanel1Layout.createParallelGroup(javax.swing.GroupLayout.Alignment.BASELINE)
.addComponent(jRadioButton1)
.addComponent(jRadioButton2)
.addComponent(jLabel5))
.addGroup(jPanel1Layout.createParallelGroup(javax.swing.GroupLayout.Alignment.BASELINE)
.addComponent(jLabel4)
.addComponent(jComboBox1))
.addGroup(jPanel1Layout.createParallelGroup(javax.swing.GroupLayout.Alignment.BASELINE)
.addComponent(jTextField2)
.addComponent(jLabel3)
.addComponent(jButton2))
.addComponent(jScrollPane1)
.addGroup(jPanel1Layout.createParallelGroup(javax.swing.GroupLayout.Alignment.BASELINE)
.addComponent(jButton3)
.addComponent(jButton4))
);