Spring Dependency Injection – Types of Spring DI & Example
Placement-ready Online Courses: Your Passport to Excellence - Start Now
1. Objective
In our last tutorial, we studied Spring Web Services. Today in this Spring tutorial, we will learn about one of the important topics of Spring Framework which is Spring Dependency Injection. Along with this, we will discuss the types of Dependency Injection in Spring Framework: Constructor-based Dependency Injection and Setter-based Dependency Injection in Spring. At last, we will also learn Spring DI Example
So, let’s start Spring Dependency Injection.
Spring Dependency Injection – Types of Spring DI & Example
2. What is Spring Dependency Injection?
As you know every Java-based applications have few objects that work as one so as to present it like a working application. While writing a very complex Java-based application, the classes of it should be made as independent as possible of the other Java classes. So, as to increase the possibility of reuse of it. Also, with that, you can test them separately while performing unit testing. Wiring or commonly known as Spring Dependency Injection guides in sticking these classes together while keeping them independent.
Do you know the Advantages of Spring Framework
Consider an application having text editor component in which you want to add a spell checker. You try to code like:
public class TextEditor {
   private SpellChecker spellChecker;
   public TextEditor() {
      spellChecker = new SpellChecker();
   }
}
So, the thing that is done in the code above is a creation of a dependency between a TextEditor and the SpellCheker. While doing IoC Container you should do something like:
public class TextEditor {
   private SpellChecker spellChecker;
     public TextEditor(SpellChecker spellChecker) {
      this.spellChecker = spellChecker;
   }
}
The TextEditor here shouldn’t worry about the implementation of the SpellChecker. Instead, the SpellChecker should be implemented separately and should be provided to the TextEditor while doing the instantiation of the TextEditor. This process is entirely controlled by the Spring Framework.
Now after removing the entire control from the TextEditor and then keeping it somewhere else and the Dependency that is SpellChecker is injected into the TextEditor class via a Class Constructor. Therefore, the flow of control is being inverted by the Spring Dependency Injection as you have delegated the dependencies to some external system.
Another method of injecting the dependency is via Setter methods of the class TextEditor where the SpellChecker instantiation is created. This will be used for calling the setter methods to initialize the TextEditor properties.
Read about Spring Bean Definition – Spring Configuration Metadata
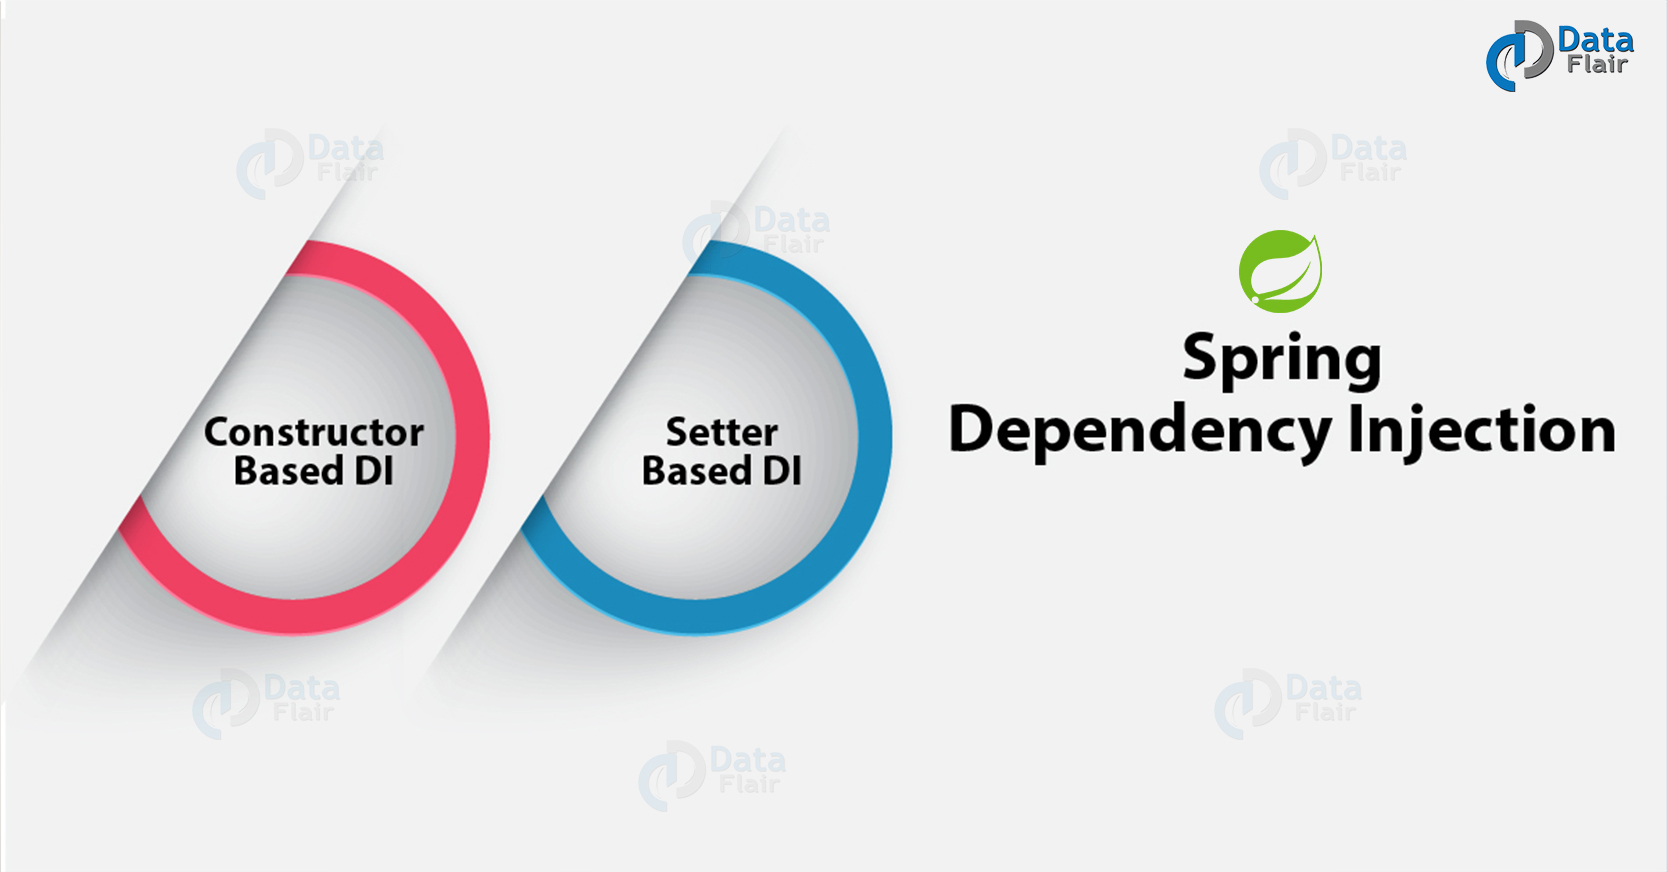
3. Types of Dependency Injection in Spring Framework
The two major types of Spring Framework Dependency Injection are:
a. Constructor-Based Dependency Injection
The Constructor-based Spring Dependency Injection is attained when the class constructor is invoked by the container with the number of arguments each having a dependency on other class.
The following is a working example having a class TextEditor in which dependency is injected using constructor injection:
- Create your project with name SpringEx and a package com.example. This should be under the src folder of your created project.
- Add the Spring Libraries that are required using the Add External JARs options.
- Define the Java files TextEditor.java, SpellChecker.java, and MainApp.java under the above-made package.
- Write the Beans.xml configuration file under the src folder.
- Finally, write code for all Java files and Bean config file and run the application as described.
Here is TextEditor.java file code:
package com.example;
public class TextEditor {
   private SpellChecker spellChecker;
   public TextEditor(SpellChecker spellChecker) {
      System.out.println("Inside TextEditor constructor." );
      this.spellChecker = spellChecker;
   }
  public void spellCheck() {
      spellChecker.checkSpelling();
  }
}
Following is the code for SpellChecker.java:
package com.example;
public class SpellChecker {
   public SpellChecker(){
      System.out.println("Inside SpellChecker constructor." );
   }
   public void checkSpelling() {
      System.out.println("Inside checkSpelling." );
   }
}
The MainApp.java is defined as:
package com.example;
import org.springframework.context.ApplicationContext;
import org.springframework.context.support.ClassPathXmlApplicationContext;
public class MainApp {
   public static void main(String[] args) {
      ApplicationContext context = new ClassPathXmlApplicationContext("Beans.xml");
      TextEditor te = (TextEditor) context.getBean("textEditor");
      te.spellCheck();
   }
}
The Bean.xml Config file is defined as:
<?xml version = "1.0" encoding = "UTF-8"?>
<beans xmlns = "http://www.springframework.org/schema/beans"
   xmlns:xsi = "http://www.w3.org/2001/XMLSchema-instance"
   xsi:schemaLocation = "http://www.springframework.org/schema/beans
   http://www.springframework.org/schema/beans/spring-beans-3.0.xsd">
   <!-- Definition for textEditor bean -->
   <bean id = "textEditor" class = "com.example.TextEditor">
      <constructor-arg ref = "spellChecker"/>
   </bean>
   <!-- Definition for spellChecker bean -->
   <bean id = "spellChecker" class = "com.example.SpellChecker"></bean>
</beans>
Once you have created the files run the application for the result. If everything is working fine the following output message is achieved:
Output –Inside SpellChecker constructor.
Inside TextEditor constructor.
Inside checkSpelling.
Have a Look Integration of MVC with Spring
b. Setter Based Dependency Injection
The Setter Based Spring Dependency Injection, is attained by calling the setter methods on the beans after invoking no-arg constructor using the Bean container.
The following is a working example having a class TextEditor in which dependency is injected using constructor injection:
- Create your project with name SpringEx and a package com.example. This should be under the src folder of your created project.
- Add the Spring Libraries that are required using the Add External JARs options.
- Define the Java files TextEditor.java, SpellChecker.java, and MainApp.java under the above-made package.
- Write the Beans.xml configuration file under the src folder.
- Finally, write code for all Java files and Bean config file and run the application as described.
Here is TextEditor.java file code:
package com.example;
public class TextEditor {
   private SpellChecker spellChecker;
   // a setter method to inject the dependency.
   public void setSpellChecker(SpellChecker spellChecker) {
      System.out.println("Inside setSpellChecker." );
      this.spellChecker = spellChecker;
   }
   // a getter method to return spellChecker
   public SpellChecker getSpellChecker() {
      return spellChecker;
  }
   public void spellCheck() {
      spellChecker.checkSpelling();
   }
}
The code for SpellChecker.java is:
package com.example;
public class SpellChecker {
   public SpellChecker(){
      System.out.println("Inside SpellChecker constructor." );
   }
   public void checkSpelling() {
      System.out.println("Inside checkSpelling." );
    }
}
Following is the code for MainApp.java:
package com.example;
import org.springframework.context.ApplicationContext;
import org.springframework.context.support.ClassPathXmlApplicationContext;
public class MainApp {
  public static void main(String[] args) {
      ApplicationContext context = new ClassPathXmlApplicationContext("Beans.xml");
      TextEditor te = (TextEditor) context.getBean("textEditor");
      te.spellCheck();
   }
}
Follow this link to know about Spring Boot CLI
The config file Beans.xml is defined as:
<?xml version = "1.0" encoding = "UTF-8"?>
<beans xmlns = "http://www.springframework.org/schema/beans"
   xmlns:xsi = "http://www.w3.org/2001/XMLSchema-instance"
   xsi:schemaLocation = "http://www.springframework.org/schema/beans
   http://www.springframework.org/schema/beans/spring-beans-3.0.xsd">
   <!-- Definition for textEditor bean -->
   <bean id = "textEditor" class = "com.example.TextEditor">
      <property name = "spellChecker" ref = "spellChecker"/>
   </bean>
   <!-- Definition for spellChecker bean -->
   <bean id = "spellChecker" class = "com.example.SpellChecker"></bean>
</beans>
Once you have created the files run the application for the result. If everything is working fine the following output message is achieved:
Output – Inside SpellChecker constructor.
Inside TextEditor constructor.
Inside checkSpelling.
So, this was all about Spring Dependency Injection. Hope you like our explanation.
4. Conclusion
Hence, in this Spring DI Tutorial, we studied the Spring Dependency Injection. Along with that, we discussed the types of Dependency Injections in Spring Framework. Also, working examples of both the types of Spring dependency injection was explained with the help of working example using Eclipse IDE. Furthermore, if you have any query, feel free to ask in the comment box.
Related Topic- Spring Bean Life Cycle
For reference
We work very hard to provide you quality material
Could you take 15 seconds and share your happy experience on Google


