Learn Java Image Processing – Face Detection, Watermarking
Get Job-ready: Java Course with 45+ Real-time Projects! - Learn Java
The last article, Java Image Processing is not over yet. In the last article, we learned about what image processing is and how to convert a colored image using Java. Now let’s deep dive into the advanced functioning of Image Processing in Java.
Explore the features of Image Processing in Java to recognise facial detection, generating the pixels of an image, reading and writing on the image using Java, How to change the orientation of an image, creating a mirror image, and many more.
Let’s study Java Image Processing Tutorial.
Java Image Processing – A Complete Guide 2018
What is Java Image Processing?
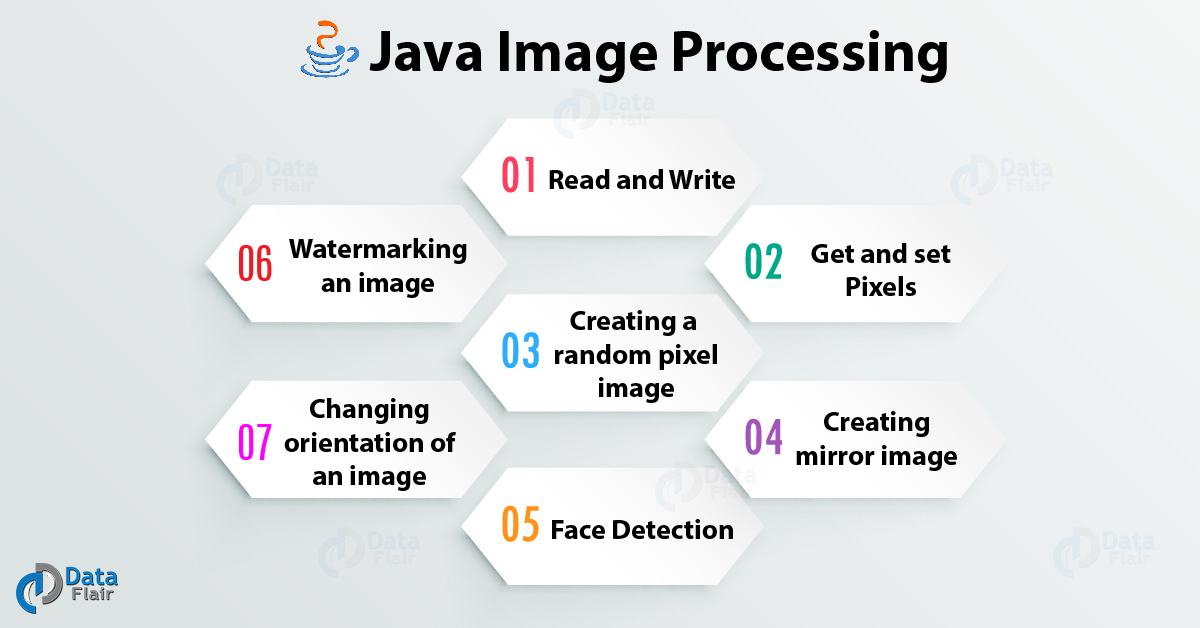
The various parts that we are going to study in Java Image Processing are –
- Read and Write
- Get and set Pixels
- How to Create a random pixel image in Java?
- Creating a mirror image
- Face Detection
- Watermarking an image
- How to Change orientation of an image in Java
- How to Convert Colored image to greyscale image conversion?
- Converting Colored image to Negative image conversion?
- Coloured to Red Green Blue Image Conversion
- Coloured image to Sepia image conversion
Last Four image conversions are a study here
Read and Write Java Image
Several classes required to play/ complete the processing of Java Image:
- For reading and writing picture document we need to import the File class [import java.io.File;]. This class speaks to record and catalog way names when all is said in done.
- To deal with errors we utilize the IOException class [ import java.io.IOException; ]
- To hold the picture we make the BufferedImage protest for that we utilize BufferedImage class [ import java.awt.image.BufferedImage; ]. This question utilize to store a picture in RAM.
- To play out the picture read compose activity we will import the ImageIO class [import javax.imageio.ImageIO;]. This class has static strategies to peruse and compose a picture.
Let’s revise Java String, Methods, and Constructor – Syntax and Example
i. Java Image Processing Example-
import java.io.File;
import java.io.IOException;
import java.awt.image.BufferedImage;
import javax.imageio.ImageIO;
public class MyImage
  {
      public static void main(String args[])throws IOException
        {
           int width = 963;    //width of the image
           int height = 640;   //height of the image
           BufferedImage image = null;
           try
             {
                File input_file = new File("G:\\Inp.jpg"); //image file path
                image = new BufferedImage(width, height,
                                     BufferedImage.TYPE_INT_ARGB);
                image = ImageIO.read(input_file);
                System.out.println("Reading complete.");
             }
        catch(IOException e)
          {
              System.out.println("Error: "+e);
          }
// WRITE IMAGE
        try
          {
              File output_file = new File("G:\\Out.jpg");
              ImageIO.write(image, "jpg", output_file);
              System.out.println("Writing complete.");
          }
        catch(IOException e)
         {
             System.out.println("Error: "+e);
         }
     }
 }
Getting Pixel Value and Set of a Pixel Value
This is important Part of Java Image Processing because pixels are the smallest unit of a picture which comprises of four parts Alpha (straightforwardness measure), Red, Green, and Blue and in short (ARGB). The estimation of the considerable number of segments lies in the vicinity of 0 and 255 both comprehensive. Zero means the part is missing and 255 means the segment is completely present.
Let’s Look at Java Number Methods with Syntax and Examples
Note:
Since 2^8 = 256 and the estimation of the pixel parts lie in the vicinity of 0 and 255, so we require just 8-bits to store the qualities. In this way, add up to a number of bits required to store the ARGB esteems is 8*4=32 bits or 4 bytes. As the request connotes Alpha procures furthest left 8 bits, Blue secures furthest right 8 bits.
i. The bit position-
Blue segment being 7-0,
Green segment being 15-8,
Red segment being 23-16,
Alpha segment being 31-24,
ii. Program to Work with a Pixel Value
Here, we require a program to work with a pixel value in Java Image Processing.
import java.io.File;
import java.io.IOException;
import java.awt.image.BufferedImage;
import javax.imageio.ImageIO;
public class GetSetPixels
 {
     public static void main(String args[])throws IOException
        {
           BufferedImage img = null;
           File f = null;
//read image
           try
             {
                f = new File("G:\\Inp.jpg");
                img = ImageIO.read(f);
             }
         catch(IOException e)
         {
            System.out.println(e);
         }
        int width = img.getWidth();
        int height = img.getHeight();
        int p = img.getRGB(0,0);
        int a = (p>>24) & 0xff;
        int r = (p>>16) & 0xff;
        int g = (p>>8) & 0xff;
        int a = p & 0xff;
        a = 255;
        r = 100;
        g = 150;
        b = 200;
        p = (a<<24) | (r<<16) | (g<<8) | b;
        img.setRGB(0, 0, p);
        try
         {
            f = new File("G:\\Out.jpg");
            ImageIO.write(img, "jpg", f);
         }
        catch(IOException e)
         {
            System.out.println(e);
         }
      }
  }
Do You Know Polymorphism in Java with Example
Creating a Random Pixel Java Image
In this Java Image Processing tutorial, we will learn about the creation of a random pixel image, for this, we don’t need an input image, we will create oneself.
i. An algorithm to create random pixel image –
- The first step is to set the dimension of the desired image.
- We need to create a BufferedImage object which will hold the image.
- Now we need to generate random numbers of red, blue, green and Alfa components.
- We need to set the randomly generate ARGB.
- Repeat the step 3 and 4 for each pixel.
ii. Implementation of an algorithm –
import java.io.File;
import java.io.IOException;
import java.awt.image.BufferedImage;
import javax.imageio.ImageIO;
public class RandomImage
{
    public static void main(String args[])throws IOException
    {
        int width = 640, height = 320;
        BufferedImage img = null;
        img = new BufferedImage(width, height, BufferedImage.TYPE_INT_ARGB);
        // file object
        File f = null;
       // create random values pixel by pixel
        for (int y = 0; y < height; y++)
        {
            for (int x = 0; x < width; x++)
            {
                int a = (int)(Math.random()*256); //generating
                int r = (int)(Math.random()*256); //values
                int g = (int)(Math.random()*256); //less than
                int b = (int)(Math.random()*256); //256
                int p = (a<<24) | (r<<16) | (g<<8) | b; //pixel
                img.setRGB(x, y, p);
           }
        }
        // write image
        try
        {
            f = new File("G:\\Out.jpg");
            ImageIO.write(img, "jpg", f);
        }
        catch(IOException e)
        {
            System.out.println("Error: " + e);
        }
    }
}
Let’s explore Encapsulation in Java with Advantages and Example
Creating Mirror Image in Java
The primary logic is to simply get the source pixel esteems from left to right and set the same in the outcome picture from appropriate to left.
i. An algorithm to create mirror image in Java–
- Read the source picture in a BufferedImage to peruse the given picture.
- Get the measurements of the given picture.
- Make another BufferedImage question of the same measurement to hold the identical representation.
- Get ARGB (Alpha, Red, Green, and Blue) values from source picture [in left to right fashion].
- Set ARGB (Alpha, Red, Green, and Blue) to recently made picture [in ideal to left fashion].
- Rehash the means 4 and 5 for every pixel of picture
ii. Implementation of an algorithm-
import java.io.File;
import java.io.IOException;
import java.awt.image.BufferedImage;
import javax.imageio.ImageIO;
public class MirrorImage
{
    public static void main(String args[])throws IOException
    {
        BufferedImage simg = null;
        File f = null;
        try
        {
            f = new File("G:\\Inp.jpg");
            simg = ImageIO.read(f);
        }
        catch(IOException e)
        {
            System.out.println("Error: " + e);
        }
        int width = simg.getWidth();
        int height = simg.getHeight();
        BufferedImage mimg = new BufferedImage(width, height,
                                        BufferedImage.TYPE_INT_ARGB);
        for (int y = 0; y < height; y++)
       {
            for (int lx = 0, rx = width - 1; lx < width; lx++, rx--)
            {
                int p = simg.getRGB(lx, y);
                mimg.setRGB(rx, y, p);
            }
        }
        // save mirror image
        try
        {
            f = new File("G:\\Out.jpg");
            ImageIO.write(mimg, "jpg", f);
        }
        catch(IOException e)
        {
            System.out.println("Error: " + e);
        }
    }
}
Read About Hierarchical Data Structure in Java – Binary Tree, Binary Search Tree, and Heap
Face Detection in Java
In the basic set on Java Image Processing, BufferedImage class of Java was utilized for preparing pictures the uses of BufferedImage class is restricted to a few activities just, i.e, we can adjust the R, G, B estimations of given info picture and create the changed picture. For complex picture handling, for example, confront/protest recognition OpenCV library is utilized which we will use in this article.
At first we have to setup OpenCV for Java, we prescribe to utilize obscure for the same since it is anything but difficult to utilize and setup.
Presently lets see a portion of the strategies required for face detection.
- CascadeClassifier(): This class is utilized to stack the prepared fell arrangement of faces which we will use to distinguish look for any info picture.
- imread()/Imcodecs.imwrite(): These techniques are utilized to peruse and compose pictures as Mat items which are rendered by OpenCV.
- rectangle(): Used to produce rectangle box sketching out appearances distinguished, it takes four contentions – input_image, top_left_point, bottom_right_point, color_of_border.
i. Implementation
package ocv;
import org.opencv.core.Core;
import org.opencv.core.Mat;
import org.opencv.core.MatOfRect;
import org.opencv.core.Point;
import org.opencv.core.Rect;
import org.opencv.core.Scalar;
import org.opencv.imgcodecs.Imgcodecs;
import org.opencv.imgproc.Imgproc;
import org.opencv.objdetect.CascadeClassifier;
public class FaceDetector
{
    public static void main(String[] args)
    {
        System.loadLibrary(Core.NATIVE_LIBRARY_NAME);
        CascadeClassifier faceDetector = new CascadeClassifier();
        faceDetector.load("haarcascade_frontalface_alt.xml");
        Mat image = Imgcodecs.imread("E:\\input.jpg");
        MatOfRect faceDetections = new MatOfRect();
        faceDetector.detectMultiScale(image, faceDetections);
        for (Rect rect : faceDetections.toArray())
        {
            Imgproc.rectangle(image, new Point(rect.x, rect.y),
             new Point(rect.x + rect.width, rect.y + rect.height),
                                           new Scalar(0, 255, 0));
        }
        String filename = "Ouput.jpg";
        Imgcodecs.imwrite("E:\\"+filename, image);
    }
}
Related Topic – How to Install Java on Windows & Linux
Watermarking a Java Image
In this Part of Java Image Processing, we will create a watermark and apply it to an info pictures.
For creating content and applying it to a picture we will utilize java.awt.Graphics Bundle. Textual style and shade of content is connected by utilizing java.awt.Color and java.awt.Font classes.
The techniques utilized as a part of the code:
- getGraphics() – This technique is found in BufferedImage class, and it restores a 2DGraphics protest out of picture record.
- drawImage(Image img, int x, int y, ImageObserver onlooker) – The x,y area indicates the situation for the upper left of the picture. The eyewitness parameter advises the utilization of updates to a picture that is stacked concurrently. The onlooker parameter isn’t as often as possible utilized specifically and isn’t required for the BufferedImage class, so it more often than not is invalid.
- setFont(Font f) – This technique is found in Font class of awt bundle and the constructor takes (FONT_TYPE, FONT_STYLE, FONT_SIZE) as contentions.
- setColor(Color c) – This strategy is found in Color class of awt bundle and the constructor takes (R, G, B, An) as contentions.
- drawString(String str, int x, int y) – Fond in Graphics class takes the string content and the area coordinates as x and y as contentions.
Let’s look at A Quick Guide with Java For Loop Example
i. Implementation
import java.awt.Color;
import java.awt.Font;
import java.awt.Graphics;
import java.awt.image.BufferedImage;
import java.io.File;
import java.io.IOException;
import javax.imageio.ImageIO;
public class WaterMark
{
    public static void main(String[] args)
    {
        BufferedImage img = null;
        File f = null;
        try
        {
            f = new File("input.png");
            img = ImageIO.read(f);
        }
        catch(IOException e)
        {
            System.out.println(e);
        }
        BufferedImage temp = new BufferedImage(img.getWidth(),
                    img.getHeight(), BufferedImage.TYPE_INT_RGB);
        Graphics graphics = temp.getGraphics();
        graphics.drawImage(img, 0, 0, null);
        graphics.setFont(new Font("Arial", Font.PLAIN, 80));
        graphics.setColor(new Color(255, 0, 0, 40));
        String watermark = "WaterMark generated";
        graphics.drawString(watermark, img.getWidth()/5,
                                   img.getHeight()/3);
        graphics.dispose();
        f = new File("output.png");
        try
        {
            ImageIO.write(temp, "png", f);
        }
        catch (IOException e)
        {
            System.out.println(e);
        }
    }
}
Let’s Discuss Java Generics- Class, Functions of Generics in Java
Changing Orientation of Image in Java
In this Java Image Processing, we will utilize opencv to change the introduction of any info picture, by utilizing the CORE.flip() strategy for OpenCV library.
The primary thought is that an info orientation of picture will change over to a tangle protest and afterward another tangle protest will make in which the first tangle protest esteems are put after introduction alteration.
For accomplishing the above outcome, we will require a portion of the OpenCV strategies:
- getRaster() – The strategy restores a writable raster which thus utilize to get the crude information from input picture.
- put(int push, int section, byte[] information)/get(int push, int segment, byte[] information) – used to peruse/compose the crude information into a tangle question.
- flip(mat mat1, tangle mat2, int flip_value) – mat1 and mat2 compares to info and yield tangle objects and the flip_value chooses the introduction type.flip_value can be either 0 (flipping along x-hub), 1 (flipping along y-hub), – 1 (flipping along both the hub).
i. Implementation
import java.awt.image.BufferedImage;
import java.awt.image.DataBufferByte;
import java.io.File;
import java.io.IOException;
import javax.imageio.ImageIO;
import org.opencv.core.Core;
import org.opencv.core.CvType;
import org.opencv.core.Mat;
public class OrientingImage
{
  public static void main( String[] args ) throws IOException
  {
    System.loadLibrary( Core.NATIVE_LIBRARY_NAME );
    File input = new File("E:\\test.jpg");
    BufferedImage image = ImageIO.read(input);
    byte[] data = ((DataBufferByte) image.getRaster().getDataBuffer()).getData();
    Mat mat = new Mat(image.getHeight(),image.getWidth(),CvType.CV_8UC3);
    mat.put(0, 0, data);
    Mat newMat = new Mat(image.getHeight(),image.getWidth(),CvType.CV_8UC3);
    Core.flip(mat, newMat, -1);  //flipping the image about both axis
    byte[] newData = new byte[newMat.rows()*newMat.cols()*(int)(newMat.elemSize())];
    newMat.get(0, 0, newData);
    BufferedImage image1 = new BufferedImage(newMat.cols(), newMat.rows(), 5);
    image1.getRaster().setDataElements(0,0,newMat.cols(),newMat.rows(),newData);
    File ouptut = new File("E:\\result.jpg");
    ImageIO.write(image1, "jpg", ouptut);
  }
}
See Also – Java Regular Expression (Java Regex) with Examples
This was all about Java Image Processing Tutorial. Hope you like our explanation.
Conclusion
Hence, in this Java Image Processing Tutorial, we study what is Processing of Java image and it’s various variations like Reading and Writing Java Images, Get and set Pixels, Creating a random pixel image, Creating mirror image, Face Detection, Watermarking an image, and Changing orientation of an image. Furthermore, if you have any query feel free to ask in a comment section.
Related Topic- Features of Java Programming Language
If you are Happy with DataFlair, do not forget to make us happy with your positive feedback on Google


