Spring Annotation Based Configuration – Types with Example
Placement-ready Online Courses: Your Passport to Excellence - Start Now
1. Objective
In our last tutorial, we discussed Spring Dependency Injection. Here in this Spring Annotation tutorial, we will learn about annotation-based configuration in Spring framework and how Spring Annotation is implemented. It was Spring 2.5 after which the configuring of DI using annotations as possible. Atlast, we will discuss Spring Annotation Example using Eclipse IDE in place.
So, let’s start the Spring Annotation Tutorial.
Spring Annotation Based Configuration – Types with Example
2. What is Spring Annotation Based Configuration?
In Spring Framework annotation-based configuration instead of using XML for describing the bean wiring, you have the choice to move the bean configuration into component class. It is done by using annotations on the relevant class, method or the field declaration. Before performing XML, injection annotation injection is performed. Therefore, the latter one will override the former configuration for the properties.
Read More about Spring Beans Autowiring Eclipse IDE Example
By default, Spring annotation wiring is not turned on in Spring Framework. Therefore, you need to enable it before you can use the Spring annotation-based wiring in the Spring Configuration file. Below is the configuration file in case you want to use annotation in your application:
<?xml version = "1.0" encoding = "UTF-8"?>
<beans xmlns = "http://www.springframework.org/schema/beans"
      xmlns:xsi = "http://www.w3.org/2001/XMLSchema-instance"
      xmlns:context = "http://www.springframework.org/schema/context"
      xsi:schemaLocation = "http://www.springframework.org/schema/beans
      http://www.springframework.org/schema/beans/spring-beans-3.0.xsd
      http://www.springframework.org/schema/context
      http://www.springframework.org/schema/context/spring-context-3.0.xsd">
      <context:annotation-config/>
      <!-- bean definitions go here -->
</beans>
Once the tag <context:annotation-config/> is configured you have the authority to start annotating your code. It will indicate that the Spring should automatically wire the values into properties methods and constructors.
3. Spring Annotation List
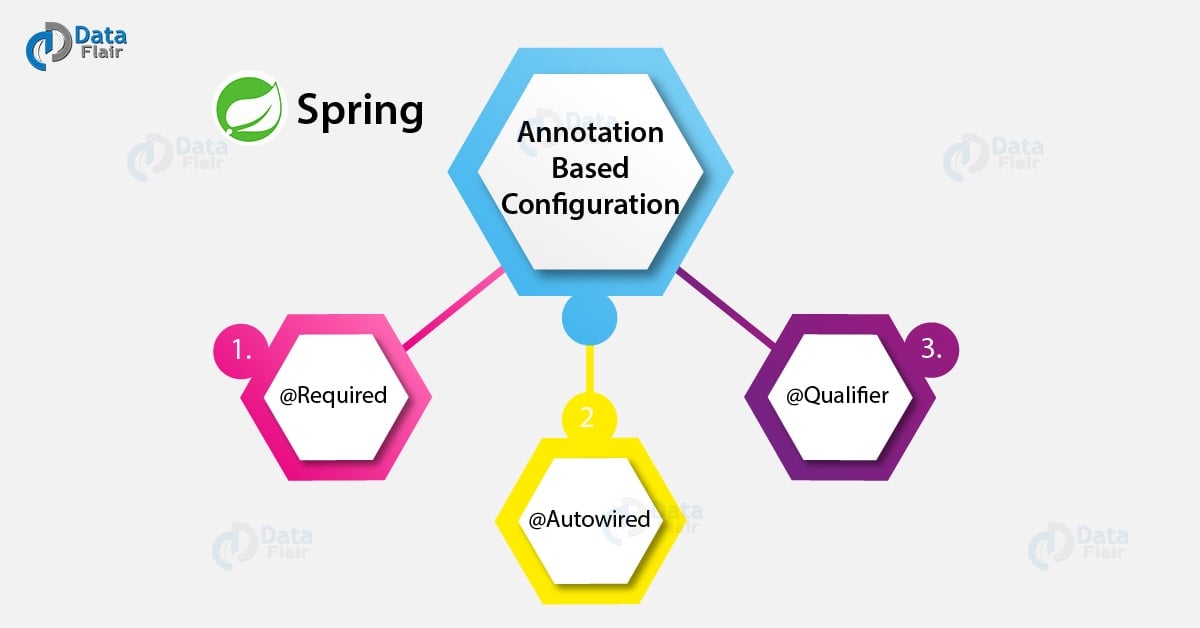
Here, we discussed some of the important Spring annotations:
- @Required: It is applicable to bean property setter methods.
- @Autowired: It is only applied to the bean property setter methods, constructors, non-setter methods and properties.
- @Qualifier: This Spring Framework annotation along with the @Autowired is used for removing the confusion by specifying the exact bean to wire.
- JSR-250 Annotations: These Spring annotations are supported by Spring Framework including @Resource, @PreDestroy and @PostConstruct annotations. These annotations are not really required as you already have the alternatives.
a. @Required Annotation in Spring
Spring @Required annotation is applicable to bean property setter methods. It indicates that the affected bean property must be populated in the XML config file at the time of configuration.
Let’s define a working example of @Required Spring annotation using Eclipse IDE having the following steps:
Create your project with name SpringEx and a package com.example. This should be under the src folder of your created project.
- Add the Spring Libraries that are required using the Add External JARs options.
- Create Student.java and MainApp.java under the above-made package.
- Write the Beans.xml configuration file under the src folder.
- Finally, write code for all Java files and Bean config file and run the application as described.
Let’s discuss Spring BeanPostProcessors – Latest Tutorial 2018
The code for Student.java file:
package com.example;
import org.springframework.beans.factory.annotation.Required;
public class Student {
     private Integer age;
     private String name;
@Required
public void setAge(Integer age) {
     this.age = age;
}
public Integer getAge() {
     return age;
}
@Required
public void setName(String name) {
     this.name = name;
}
public String getName() {
      return name;
  }
}
Following is the code for MainApp.java file:
package com.example;
import org.springframework.context.ApplicationContext;
import org.springframework.context.support.ClassPathXmlApplicationContext;
public class MainApp {
    public static void main(String[] args) {
       ApplicationContext context = new
ClassPathXmlApplicationContext("Beans.xml");
       Student student = (Student) context.getBean("student");
       System.out.println("Name : " + student.getName() );
       System.out.println("Age : " + student.getAge() );
   }
}
The content for the configuration file Beans.xml is as defined:
<?xml version = "1.0" encoding = "UTF-8"?>
<beans xmlns = "http://www.springframework.org/schema/beans"
     xmlns:xsi = "http://www.w3.org/2001/XMLSchema-instance"
     xmlns:context = "http://www.springframework.org/schema/context"
     xsi:schemaLocation = "http://www.springframework.org/schema/beans
     http://www.springframework.org/schema/beans/spring-beans-3.0.xsd
     http://www.springframework.org/schema/context
     http://www.springframework.org/schema/context/spring-context-3.0.xsd">
<context:annotation-config/>
<!-- Definition for student bean -->
<bean id = "student" class = "com.example.Student">
       <property name = "name" value = "Hari" />
       <property name = "age" value = "11"/>
     </bean>
 </beans>
The above example will produce the following message as output:
Name: Hari
Age: 11
b. @Autowired Annotation in Spring
The Spring @Autowired annotation gives you more fine-grained control over how and where the autowiring of it should be accomplished. Similar to the @Required annotation this Spring annotation can also be used for autowiring the bean on the setter method. You have the power of using the @Autowired annotation on setter methods to get rid of the <property> in the XML.
Read about Spring Bean Life Cycle – Initialization and Destruction
Let’s define a working example of@Autowired Spring annotation using Eclipse IDE having the following steps:
- Create your project with name SpringEx and a package com.example. This should be under the src folder of your created project.
- Add the Spring Libraries that are required using the Add External JARs options.
- Create TextEditor.java, MainApp.java, and SpellChecker.java under the above-made package.
- Write the Beans.xml configuration file under the src folder.
- Finally, write code for all Java files and Bean config file and run the application as described.
The code for the java file TextEditor:
package com.example;
import org.springframework.beans.factory.annotation.Autowired;
public class TextEditor {
    private SpellChecker spellChecker;
    @Autowired
public void setSpellChecker( SpellChecker spellChecker ){
       this.spellChecker = spellChecker;
 }
public SpellChecker getSpellChecker( ) {
   return spellChecker;
}
public void spellCheck() {
      spellChecker.checkSpelling();
   }
}
The content of SpellChecker.java:
package com.example;
public class SpellChecker {
   public SpellChecker(){
     System.out.println("Inside SpellChecker constructor." );
}
public void checkSpelling(){
    System.out.println("Inside checkSpelling." );
  }
}
The java file MainApp.java is as defined:
package com.example;
import org.springframework.context.ApplicationContext;
import org.springframework.context.support.ClassPathXmlApplicationContext;
public class MainApp {
public static void main(String[] args) {
ApplicationContext context = new ClassPathXmlApplicationContext("Beans.xml");
TextEditor te = (TextEditor) context.getBean("textEditor");
te.spellCheck();
}
}
The Bean.xml configuration file is as follows:
<?xml version="1.0" encoding="UTF-8"?>
<beans xmlns="http://www.springframework.org/schema/beans"
       xmlns:xsi="http://www.w3.org/2001/XMLSchema-instance"
       xmlns:context="http://www.springframework.org/schema/context"
       xsi:schemaLocation="http://www.springframework.org/schema/beans
       http://www.springframework.org/schema/beans/spring-beans.xsd
       http://www.springframework.org/schema/context
       http://www.springframework.org/schema/context/spring-context.xsd">
       <context:annotation-config/>
       <!-- Definition for textEditor bean without constructor-arg -->
       <bean id="textEditor" class="com.example.TextEditor"></bean>
       <!-- Definition for spellChecker bean -->
       <bean id="spellChecker" class="com.example.SpellChecker"></bean>
</beans>
Do you know Spring Java Based Configuration – How to Configure Spring Beans
Once you are done with these then run the application. You will see the following as the message as output:
Inside SpellChecker constructor.
Inside checkSpelling.
c. @Qualifier Annotation in Spring
There will be a situation where you will create more than one bean of the same type. But you will want to wire only one of them with the property. For those cases, you have to use @Qualifier annotation in Spring with @Autowired so as to remove the confusion by specifying the bean for wiring.
Let’s define a working example of @Qualifier Spring annotation using Eclipse IDE having the following steps:
- Create your project with name SpringEx and a package com.example. This should be under the src folder of your created project.
- Add the Spring Libraries that are required using the Add External JARs options.
- Create Student.java, MainApp.java, and Profile.java under the above-made package.
- Write the Beans.xml configuration file under the src folder.
- Finally, write code for all Java files and Bean config file and run the application as described.
The code for Student.java:
package com.example;
public class Student {
     private Integer age;
     private String name;
public void setAge(Integer age) {
     this.age = age;
}
public Integer getAge() {
     return age;
}
public void setName(String name) {
     this.name = name;
}
public String getName() {
     return name;
   }
}
The content for java file Profile:
package com.example;
import org.springframework.beans.factory.annotation.Autowired;
import org.springframework.beans.factory.annotation.Qualifier;
public class Profile {
      @Autowired
      @Qualifier("student1")
      private Student student;
      public Profile(){
            System.out.println("Inside Profile constructor." );
}
public void printAge() {
      System.out.println("Age : " + student.getAge() );
}
public void printName() {
      System.out.println("Name : " + student.getName() );
   }
}
The MainApp.java is as defined:
package com.example;
import org.springframework.context.ApplicationContext;
import org.springframework.context.support.ClassPathXmlApplicationContext;
public class MainApp {
     public static void main(String[] args) {
          ApplicationContext context = new ClassPathXmlApplicationContext("Beans.xml");
          Profile profile = (Profile) context.getBean("profile");
          profile.printAge();
          profile.printName();
        }
  }
Let’s see Spring MVC Framework – Integration of MVC with Spring
The Beans.xml is as follows:
<?xml version = "1.0" encoding = "UTF-8"?>
<beans xmlns = "http://www.springframework.org/schema/beans"
      xmlns:xsi = "http://www.w3.org/2001/XMLSchema-instance"
      xmlns:context = "http://www.springframework.org/schema/context"
      xsi:schemaLocation = "http://www.springframework.org/schema/beans
      http://www.springframework.org/schema/beans/spring-beans-3.0.xsd
      http://www.springframework.org/schema/context
      http://www.springframework.org/schema/context/spring-context-3.0.xsd">
      <context:annotation-config/>
      <!-- Definition for profile bean -->
      <bean id = "profile" class = "com.example.Profile"></bean>
      <!-- Definition for student1 bean -->
      <bean id = "student1" class = "com.example.Student">
            <property name = "name" value = "Hari" />
            <property name = "age" value = "11"/>
       </bean>
<!-- Definition for student2 bean -->
<bean id = "student2" class = "com.example.Student">
            <property name = "name" value = "Nuha" />
            <property name = "age" value = "2"/>
      </bean>
</beans>
Once you are done creating the above files run the application. The following message will be displayed as output:
Inside Profile constructor.
Age: 11
Name: Hari
So, this was all about Spring Annotation Tutorial. Hope you like our explanation.
4. Conclusion
Hence, in this Spring Annotation Tutorial, we discussed what is an annotation in Spring Framework. In addition, we saw the types of Spring annotation configurations and how to configure them. Along with that you saw the working examples with Eclipse IDE in place for each of the annotations. Furthermore, if you have any query regarding Spring Annotation, feel free to ask in the comment section.
See Also – Spring Boot CLI
You give me 15 seconds I promise you best tutorials
Please share your happy experience on Google


