Install Java 8 on Ubuntu – Step by Step Guide for Beginners
Get Job-ready: Java Course with 45+ Real-time Projects! - Learn Java
In this article, we will learn how to install Java 8 on Ubuntu OS. We will install JDK in Ubuntu. Java is a programming language which is actually developed by Sun Microsystems. Java is free to download and use for commercial purposes.
So, let’s start with how to install Java 8 on Ubuntu.

Install Java 8 on Ubuntu – Step-by-Step Guide for Beginners
How to Install Java 8 on Ubuntu?
Here is the process of installing Java 8 on Ubuntu. Follow these steps one by one and start your journey as a programmer.
Follow these steps to install Java 8:
Step.1 Install Java on Ubuntu

Step 2: Install Java on Ubuntu
Do you want to install Java in Windows & Linux?
Step.3 Install Java on Ubuntu
Step.4 Install Java on Ubuntu
Step.5 Install Java on Ubuntu
Step.6 Install Java 8 on Ubuntu
Let’s explore the Career Opportunities in Java

Step.7 Install Java 8 on Ubuntu

Step 8: Install Java 8 on Ubuntu
Here we will discuss the steps to install Java 8 on Ubuntu-
i) At first, we will download the package file from the official website.
http://www.oracle.com/technetwork/java/javase/downloads/jdk8-downloads-2133151.html
The download package is different for 64-bit and 32-bit versions.
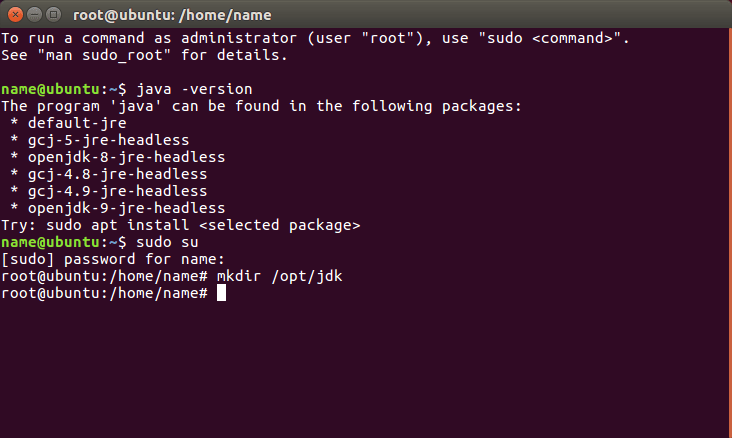
ii) We will need some superuser privileges to install JDK. So we will use the following command-
sudo su
iii) The /opt directory is actually reserved for all the software and add-on packages. This software is not part of the default installation. The command for creating a directory for JDK installation is-
mkdir /opt/jdk
Follow this link to know about Java Frameworks
iv) Then we will extract Java into the /opt/jdk directory:
tar -zxf jdk-8u5-linux-x64.tar.gz -C /opt/jdk
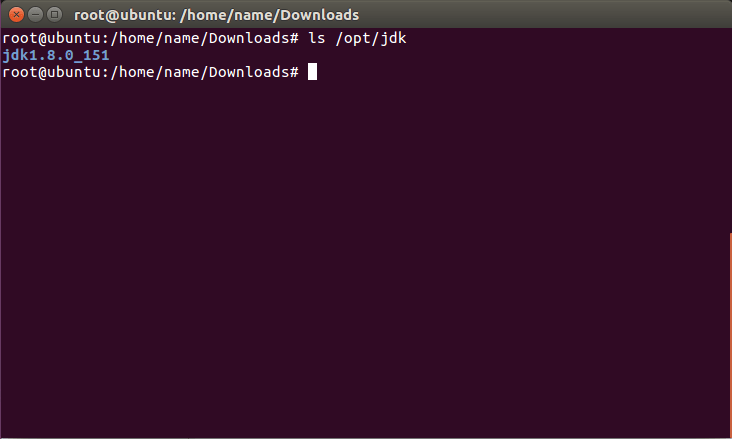
v) Then we use the following command. This command verifies the file extraction into the /opt/jdk directory.
ls /opt/jdk
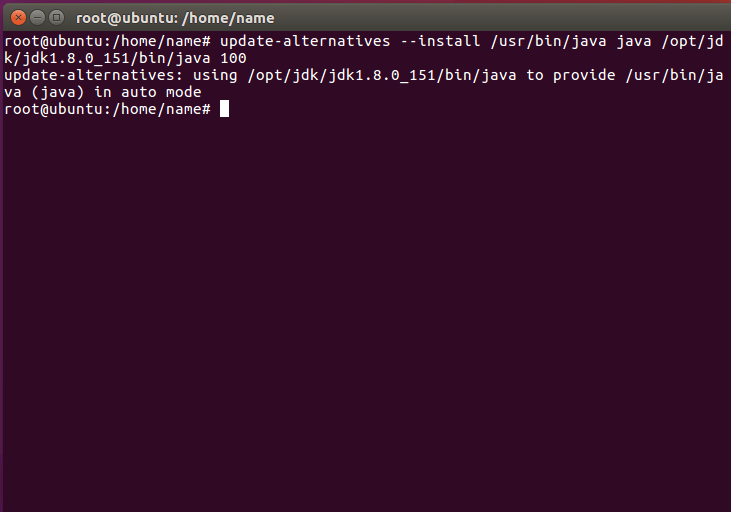
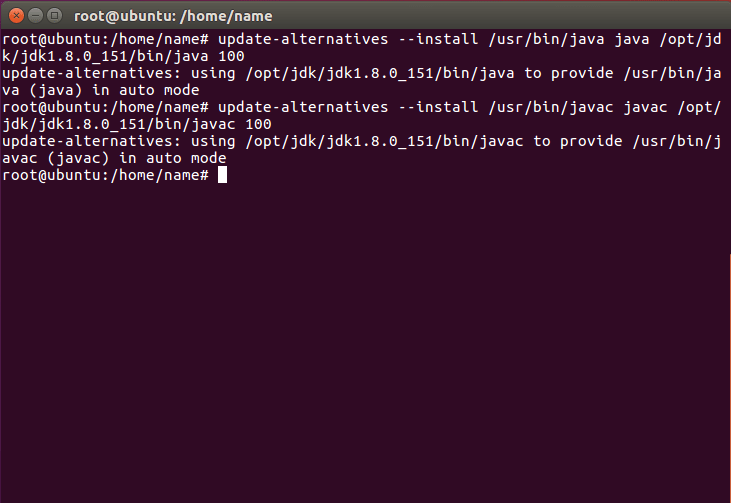
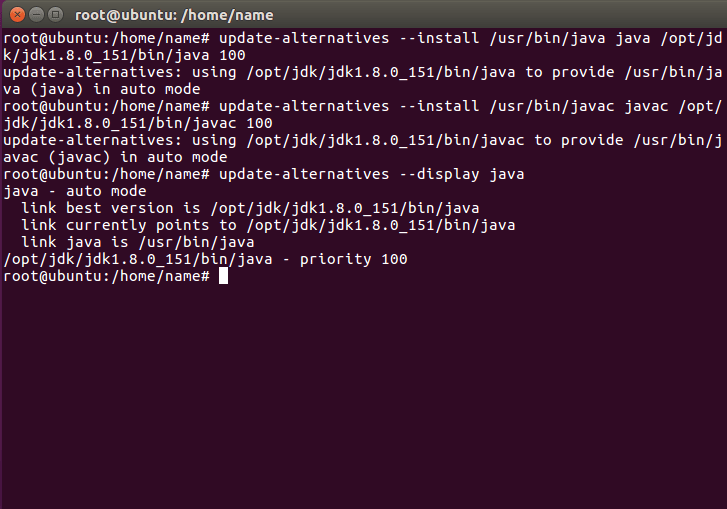
vi) By default, we can find the Java executable in /opt/jdk/jdk1.8.0_05/bin/java directory. To set it as the default JVM we will use:
update-alternatives --install /usr/bin/java java /opt/jdk/jdk1.8.0_05/bin/java 100
update-alternatives --install /usr/bin/javac javac /opt/jdk/jdk1.8.0_05/bin/javac 100
vii) Then verify that Java has been successfully configured. Run the following command-
update-alternatives --display java
update-alternatives --display javac
We can check the installation by-
java -version
viii) We can also update Java. Hence, download an updated version of Oracle’s website and extract to the /opt/jdk directory. After that, set it as the default JVM with a higher priority number:
update-alternatives --install /usr/bin/java java /opt/jdk/jdk.new.version/bin/java 110
update-alternatives --install /usr/bin/javac javac /opt/jdk/jdk.new.version/bin/javac 110
So, this was all about installing Java 8 in Ubuntu. Hope you like our explanation.
Conclusion
Hence, we studied the steps to install Java 8 on Ubuntu. Furthermore, if you have any queries, feel free to ask in the comment box. Now, it’s time to deep dive into the Java language.
We work very hard to provide you quality material
Could you take 15 seconds and share your happy experience on Google


