JavaScript Loops – Learn to Implement Various Types of Loop Statements
Free Web development courses with real-time projects Start Now!!
Have you ever been punished in school and asked to write the sentence “I will not be late for the class again.” fifty times? It’s so boring, right? Well, JavaScript saves us from this trouble. When we ask JavaScript to execute the same task repeatedly, it’s a lot more efficient than us. How so? Simple, JavaScript uses loops! This tutorial is all about what JavaScript loops are and how we can use them. In this article, we will learn about different types of loops available in JavaScript. These include for, while and do…while loops. There are also some loops that are special in JavaScript, like for…in and for…of loops. Let’s learn about all the loops with their syntax and examples.
But before we start our tutorial I recommend you to have a brief look at JavaScript Conditional Statements
What is a JavaScript Loop?
JavaScript Loop provides a quick and easy way to do repetitive tasks. They offer to perform iterations with only a few lines of code. Iteration is the number of times you want to repeat the task (that number can even be zero). Be sure you understand all of them, so you can implement the best loop statement for a given situation.
There are primarily two types of loops in any programming language, and JavaScript is no exception. These are:
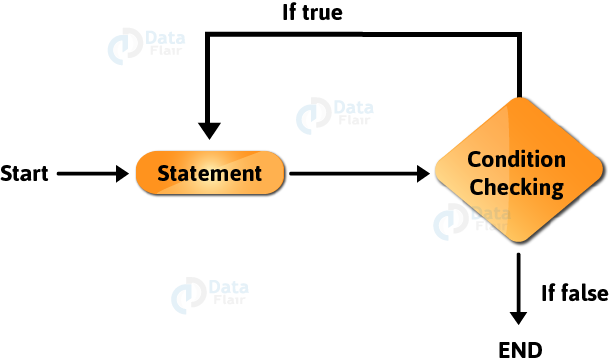
- Entry Controlled Loops: Any loop where we check the test condition before entering the loop is an entry controlled loop. In these loops, the test condition determines whether the program will enter the loop or not. These include for, while, etc.
- Exit Controlled Loops: Any loop where we check the test condition after the statements are executed once is an exit controlled loop. In these loops, the test condition determines whether or not the program will exit the loop. This category includes do…while loop.
We repeat the sequence of instructions until the test condition is true. JavaScript provides the following loop statements to achieve this:
- while statement
- for statement
- do..while statement
- for…in statement
- for…of statement
- labeled statement
- break statement
- continue statement
We will study the labeled, break and continue statement in our next tutorial on JavaScript Loop Control.
Let’s understand JavaScript Loop with the help of an example, my first job is to print “DataFlair Tutorial for JavaScript” 5 times for the posters that I want to create. Instead of typing them 5 times, I’m going to use loops to lighten my workload. The first loop statement I can use is a while statement.
(I’ve added the “Loop end” statement just so I know when my loop ended.)
1. while Statement
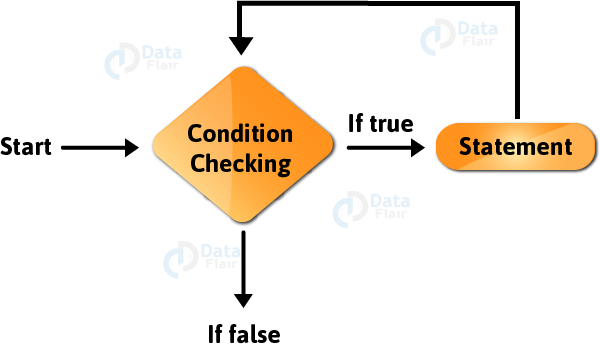
A while statement in JavaScript executes until our boolean condition evaluates to true. This loop is an entry controlled loop.
- If the test condition returns false, then control passes to the statement just after the loop.
- If the test condition returns true, the loop body is executed and the condition is tested again.
The syntax for a while statement is as follows:
while ( boolean condition)
  statement
For multiple statements, group them with a block statement ({…}).
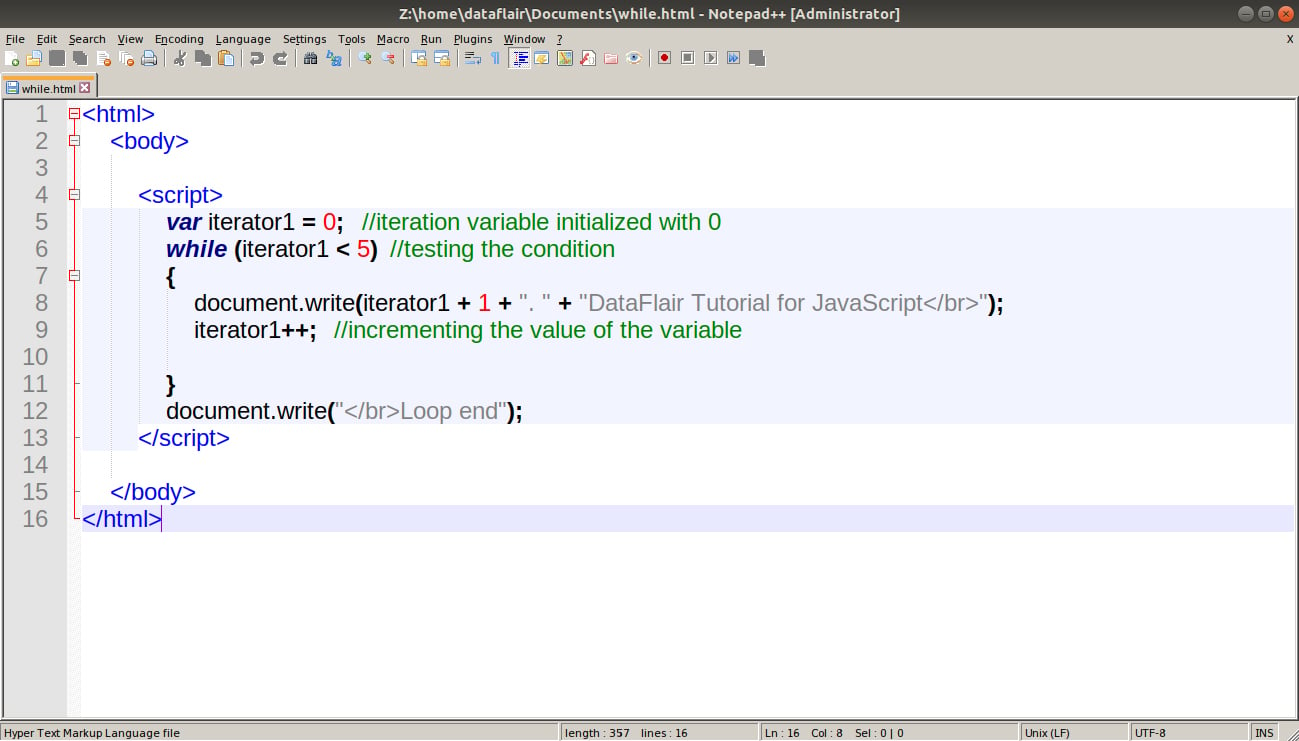
Code:
<html>
  <body>

    <script>
      var iterator1 = 0; //iteration variable initialized with 0
      while (iterator1 < 5) //testing the condition
      {
        document.write(iterator1 + 1 + ". " + "DataFlair Tutorial for JavaScript</br>");
        iterator1++; //incrementing the value of the variable

      }
      document.write("</br>Loop end");
    </script>

  </body>
</html>
Screenshot:
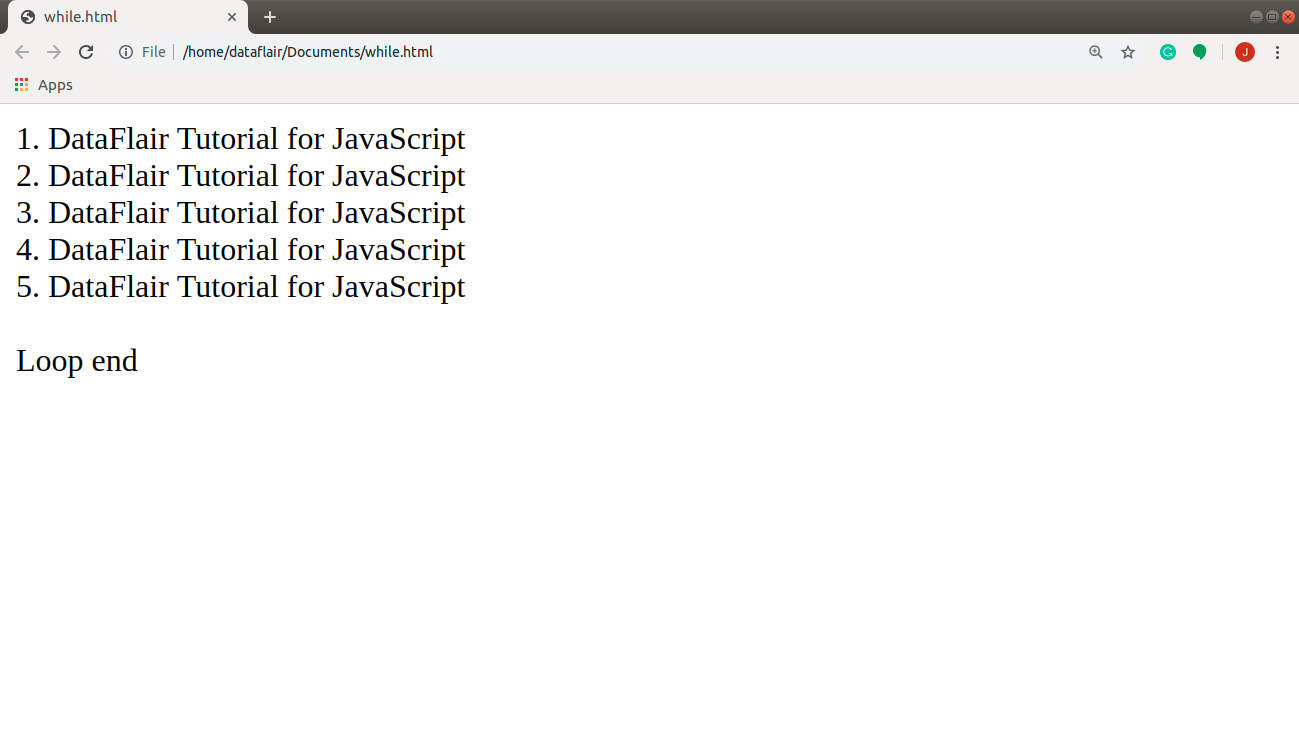
Output:
This loop statement is helpful when you don’t always know the number of iterations you need. It provides you with the facility to execute your code as long as the condition holds true.
2. for Statement
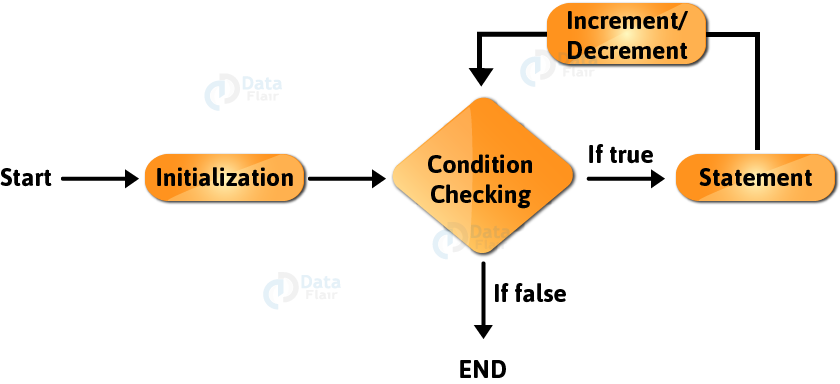
JavaScript for loops are similar to Java and C language for loops. It’s an entry controlled loop. It consists of three parts, separated with a semicolon:
- Initialization: It initializes the loop with an iteration variable and executes once at the beginning of the loop.
- Condition: It specifies a certain condition in the loop that determines whether the loop body will execute or not. If the condition returns true, the code inside the for loop will execute. If it returns false, the control moves onto the statement after the loop.
- Increment/ Decrement: This section increments or decrements the value of our iteration variable by 1.
These three sections are not compulsory, but make sure you remember the semicolons. The syntax of for statement looks like this:
for ([initialization]; [condition]; [increment/decrement]) {
//loop body
}
This loop is useful when you know how many times you want the loop to execute. This loop also reduces the total lines in your code to achieve the same task.
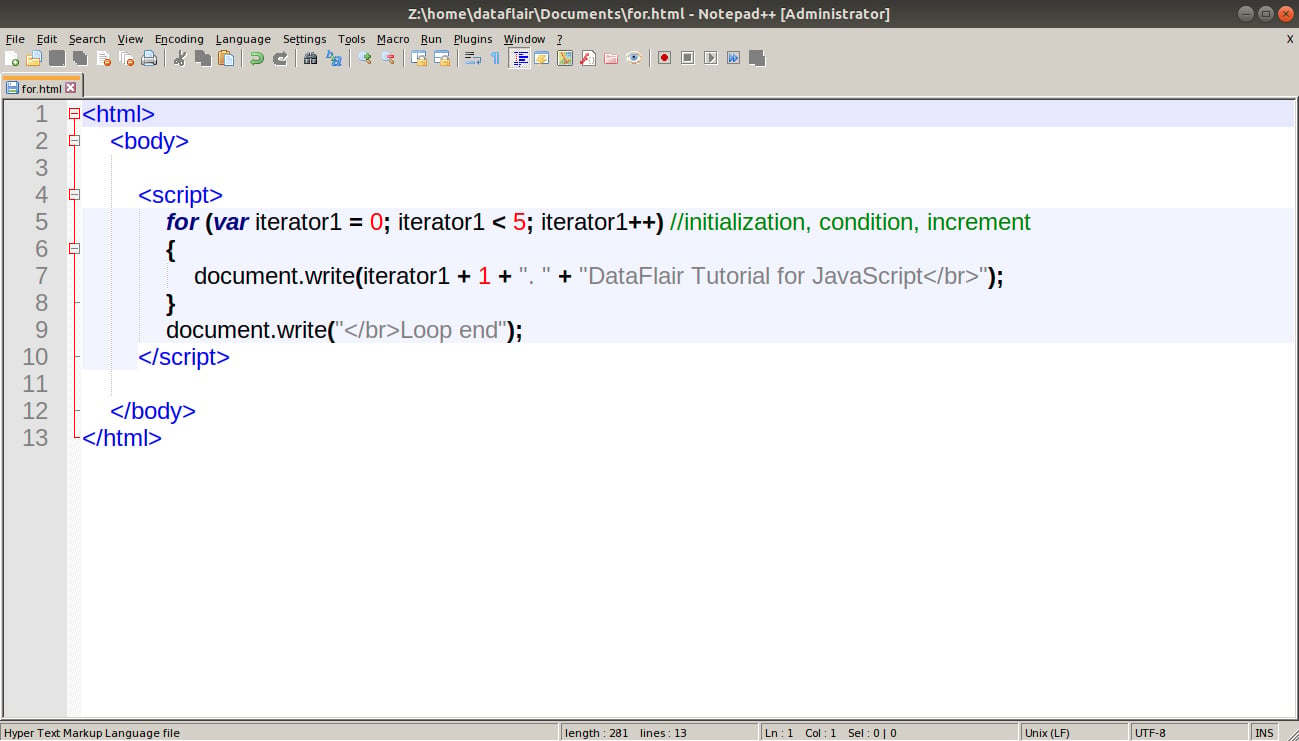
Code:
<html>
  <body>

    <script>
      for (var iterator1 = 0; iterator1 < 5; iterator1++) //initialization, condition, increment
      {
        document.write(iterator1 + 1 + ". " + "DataFlair Tutorial for JavaScript</br>");
      }
      document.write("</br>Loop end");
    </script>

  </body>
</html>
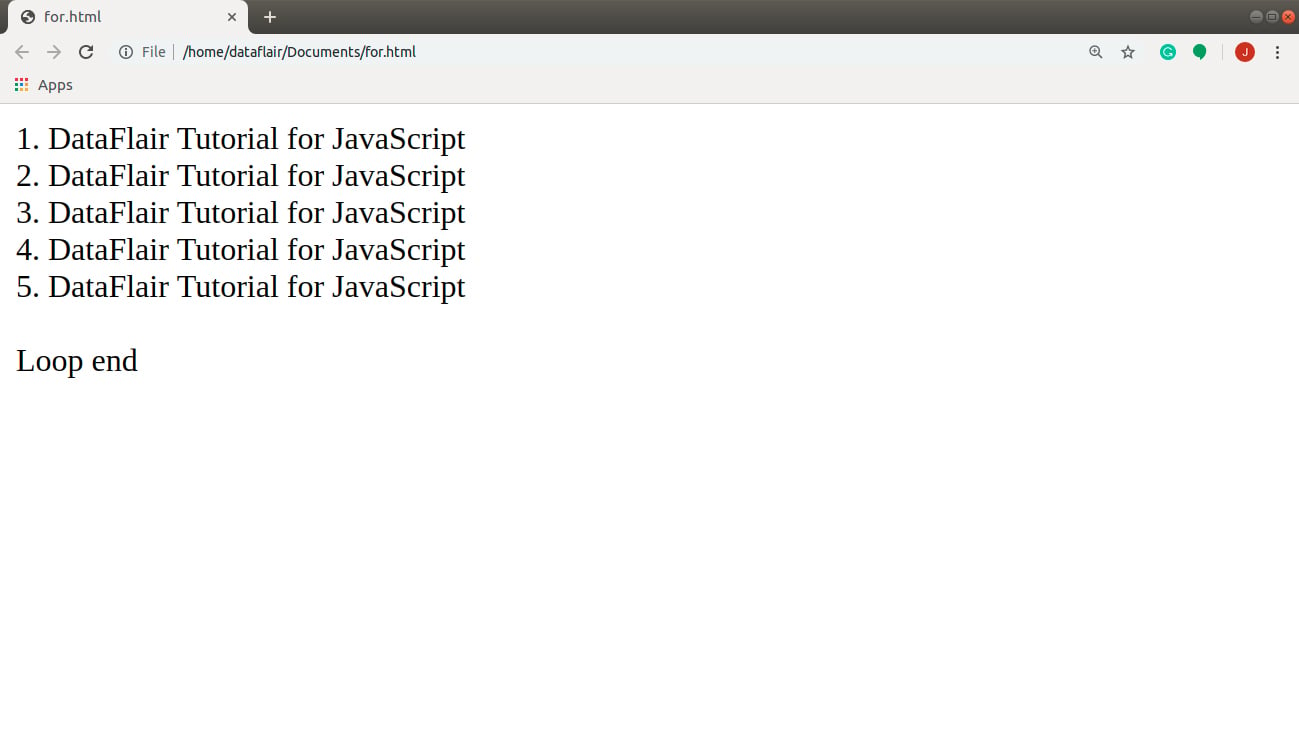
Screenshot:
Output:
3. do..while Statement
This is an exit controlled loop; the loop body executes at least once, even if the condition is not true. This is because the condition is tested when the loop body ends. If the condition returns true, the code inside the loop executes again. If it returns false, the JavaScript interpreter exits the loop.
The syntax of a do…while statement is as follows:
do
{
  //code executed at least once
}while (condition);
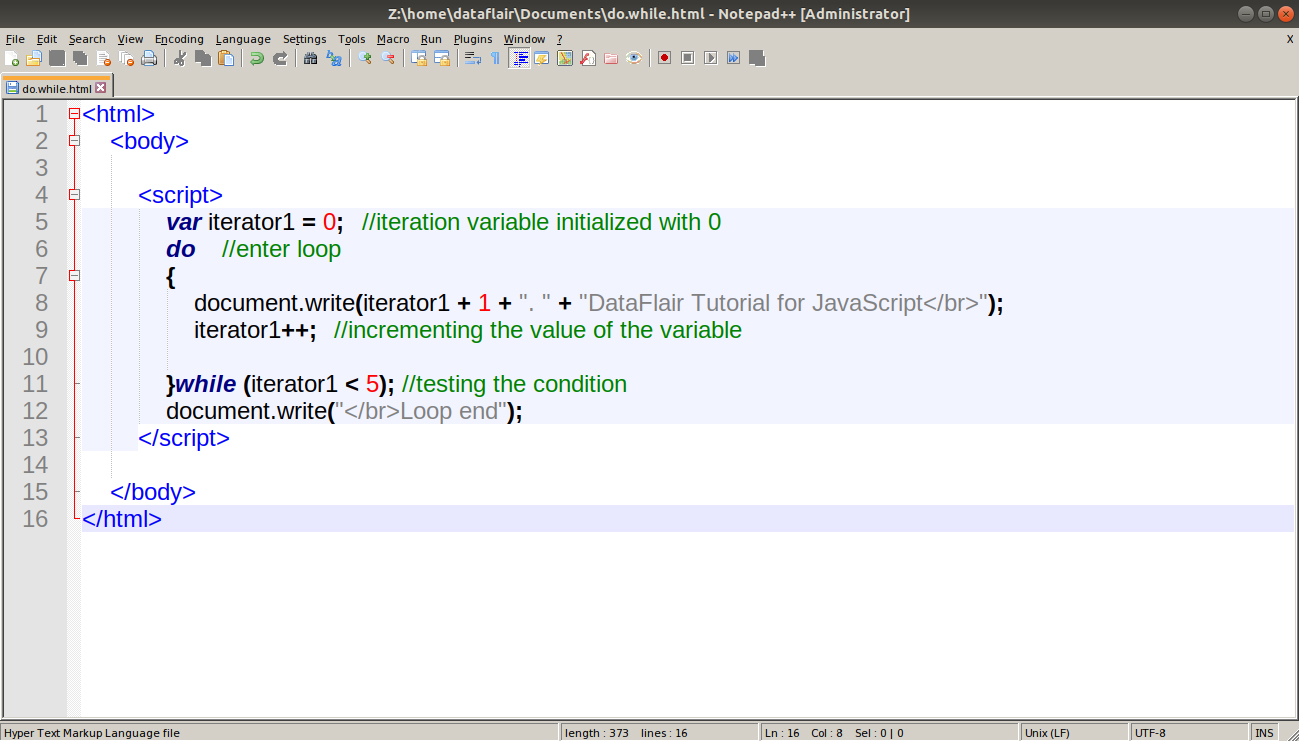
Code:
<html>
  <body>

    <script>
      var iterator1 = 0; //iteration variable initialized with 0
      do //enter loop
      {
        document.write(iterator1 + 1 + ". " + "DataFlair Tutorial for JavaScript</br>");
        iterator1++; //incrementing the value of the variable

      }while (iterator1 < 5); //testing the condition
      document.write("</br>Loop end");
    </script>

  </body>
</html>
Screenshot:
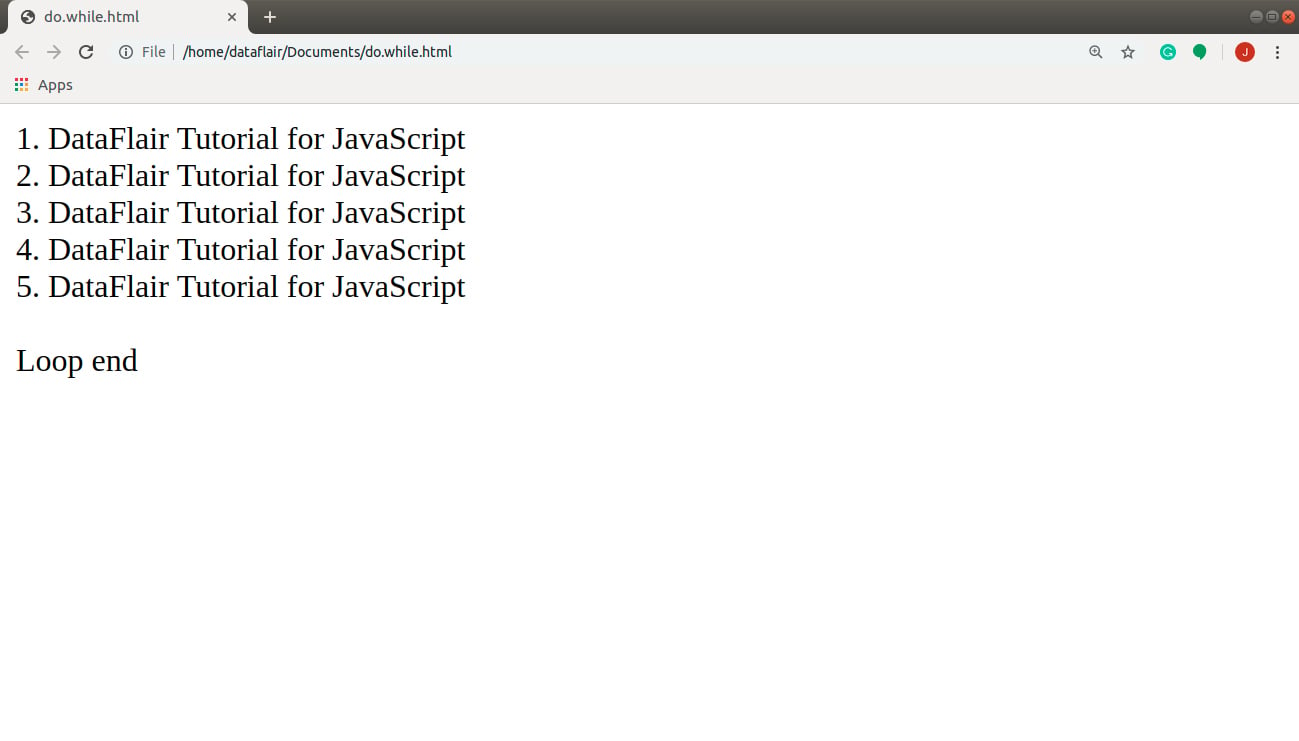
Output:
4. for…in Statement
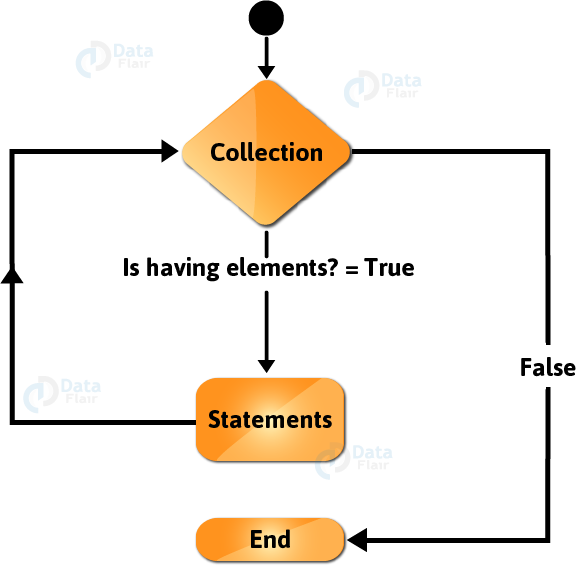
This is a modified for loop that doesn’t require the programmer to know the number of iterations the loop needs to perform. It creates a loop iterating over all the enumerable properties of an object. The keys store the key of the current property and we access the property’s value with it. This means that the loop executes a specific set of statements for each distinct property in a JavaScript Object. The working of a for…in statement in JavaScript is similar to for-each loop in Java.
The syntax of a for…in statement in JavaScript looks like this:
for (keys in objProperties)
{
  statements
}
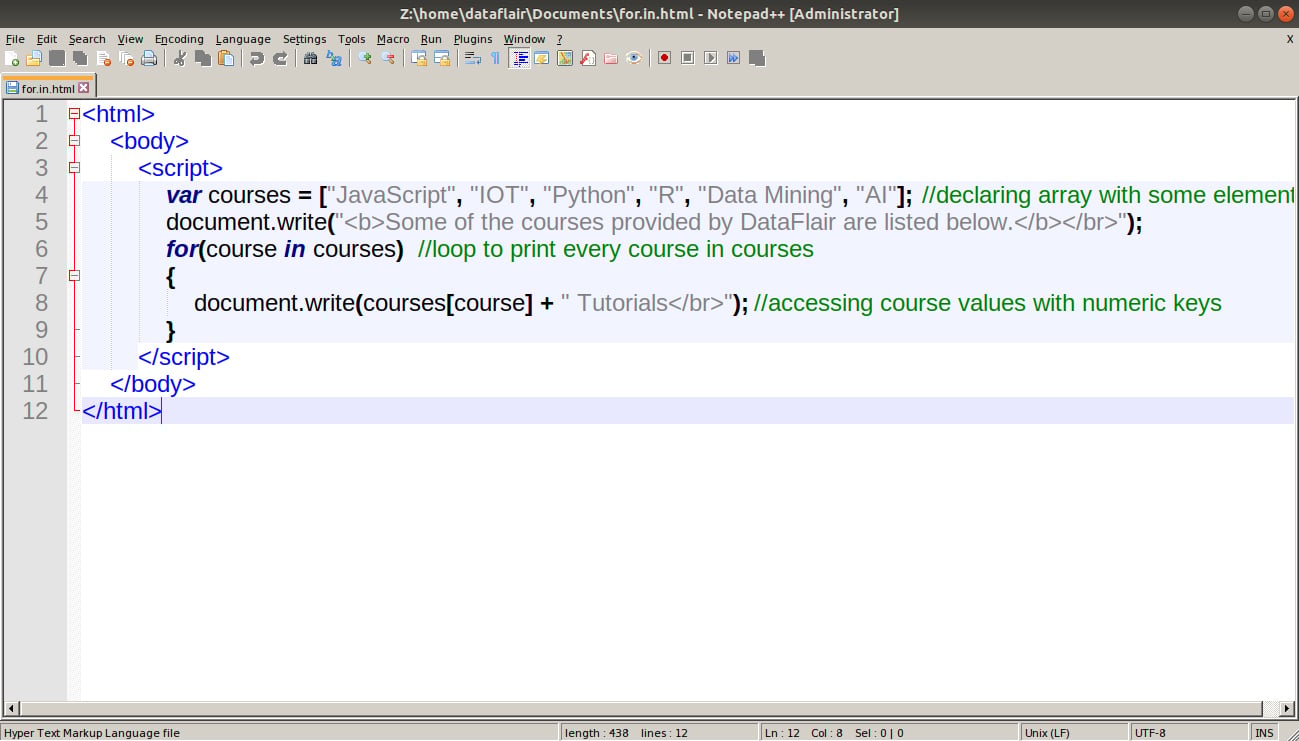
The reason why the developers created the for…in loop is to work with user-defined properties in an object. It is better to use a traditional for loop over Array elements with numeric indexes. But, for this example, we are using a numeric array so you can understand how the loop works.
Code:
<html>
  <body>
    <script>
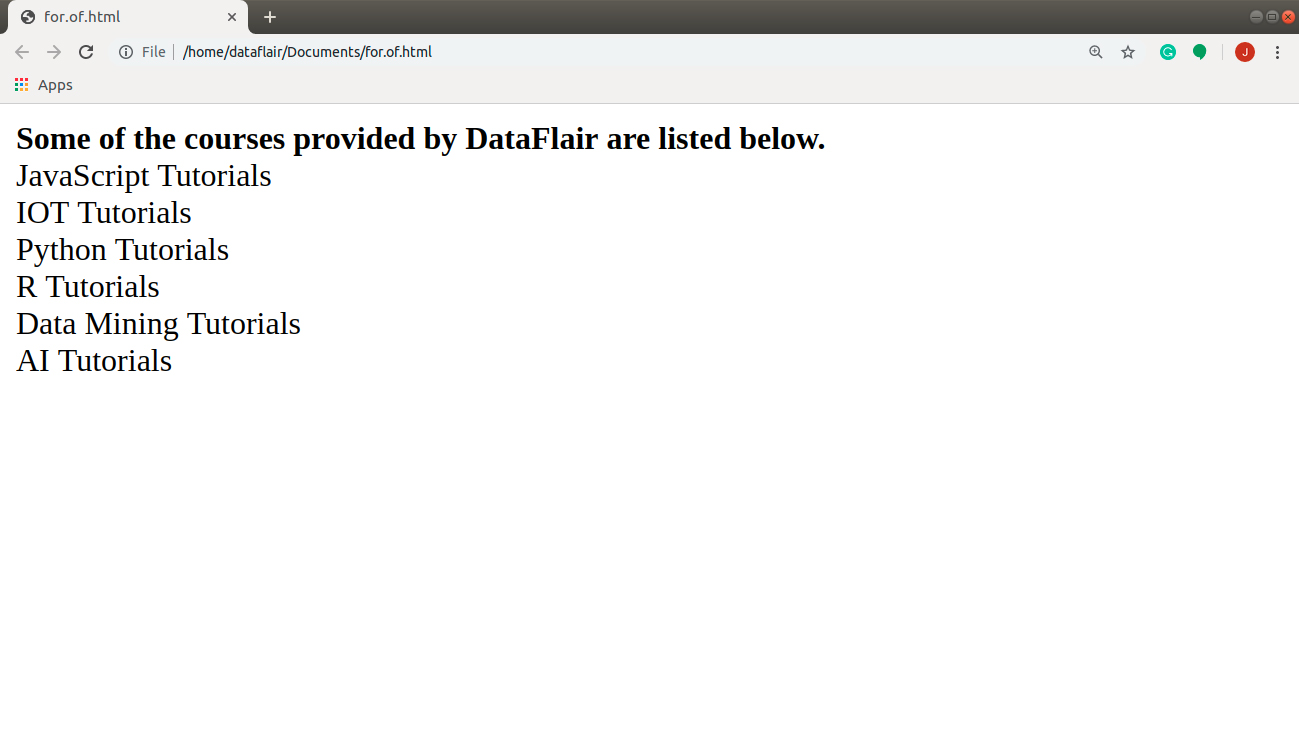
      var courses = ["JavaScript", "IOT", "Python", "R", "Data Mining", "AI"];
  //declaring array with some elements
      document.write("<b>Some of the courses provided by DataFlair are listed below.</b></br>");
      for(course in courses) //loop to print every course in courses
      {
        document.write(courses[course] + " Tutorials</br>"); //accessing course values with numeric keys
      }
    </script>
  </body>
</html>
Screenshot:
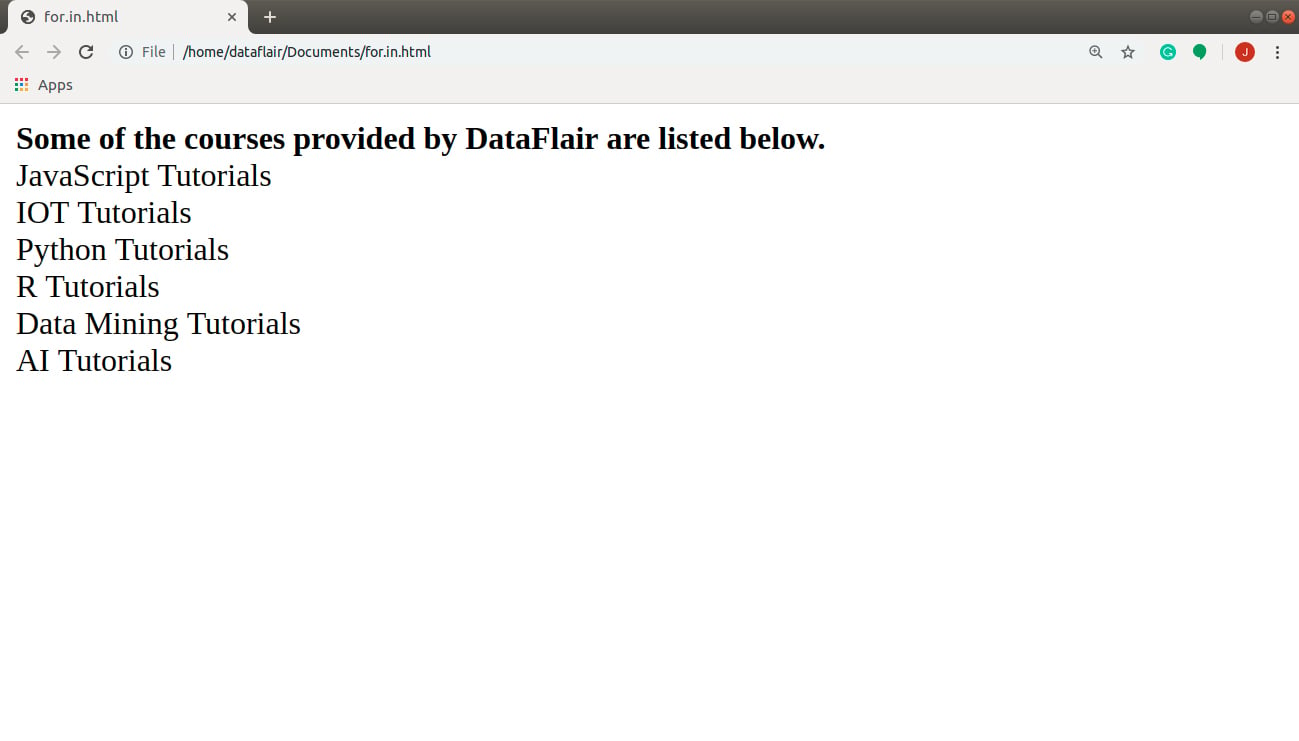
Output:
5. for…of Statement
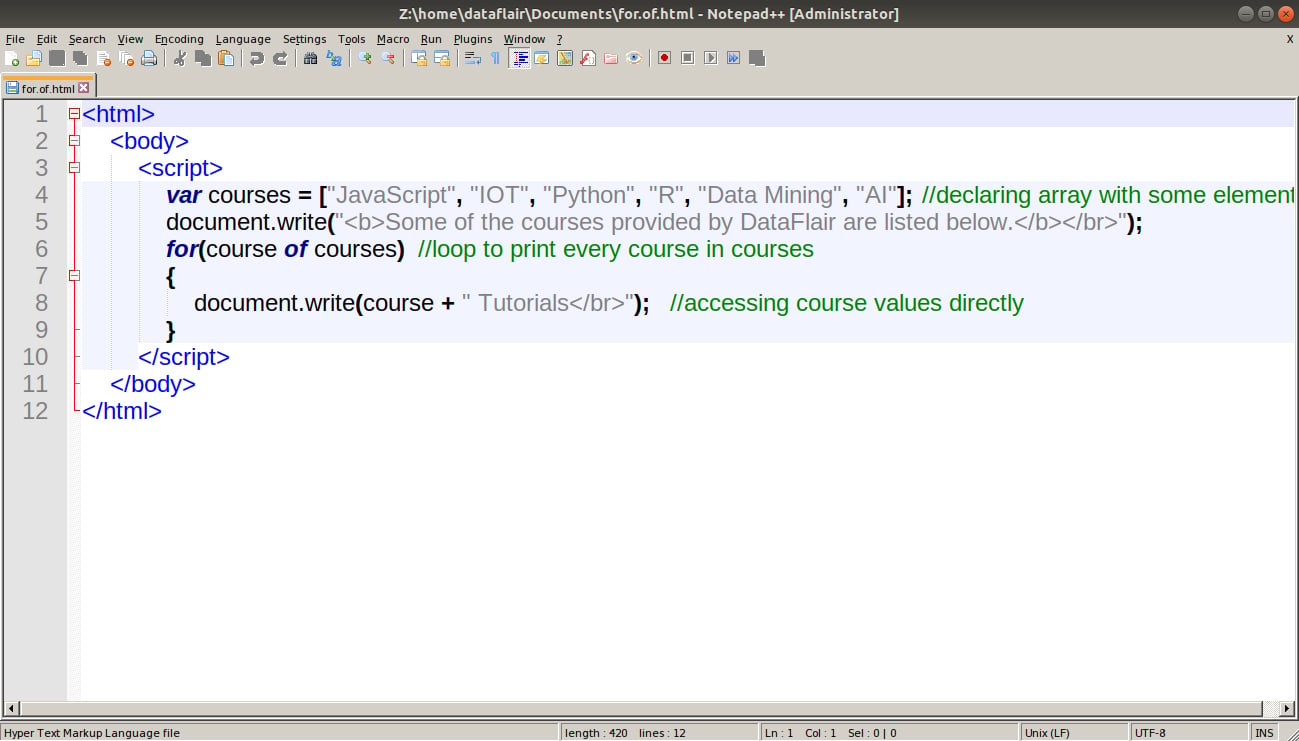
In the last JavaScript statement, we had to access the array’s values with the help of square brackets [ ]. We couldn’t access them directly and it makes your program more error-prone. So the JavaScript developers got us a new way to access these values directly. This makes our code a lot more efficient than before because the values store the property’s value, not the key.
A for…of statement looks as follows:
for (values of objProperties)
{
  statements
}
Code:
<html>
  <body>
    <script>
      var courses = ["JavaScript", "IOT", "Python", "R", "Data Mining", "AI"];
  //declaring array with some elements
      document.write("<b>Some of the courses provided by DataFlair are listed below.</b></br>");
      for(course of courses) //loop to print every course in courses
      {
        document.write(course + " Tutorials</br>"); //accessing course values directly
      }
    </script>
  </body>
</html>
Screenshot:
Output:
Did you check the DataFlair’s guide on JavaScript Array
6. Infinite Loop
One of the most common mistakes programmers make while using loops is creating an infinite loop. This happens when we accidentally add a condition that always returns true. It is very important that you avoid them in your code, but I still want you to practice these loops. Try thinking of some situations where the condition is always true. Let me give you an example:
while(1){
  //statements
}
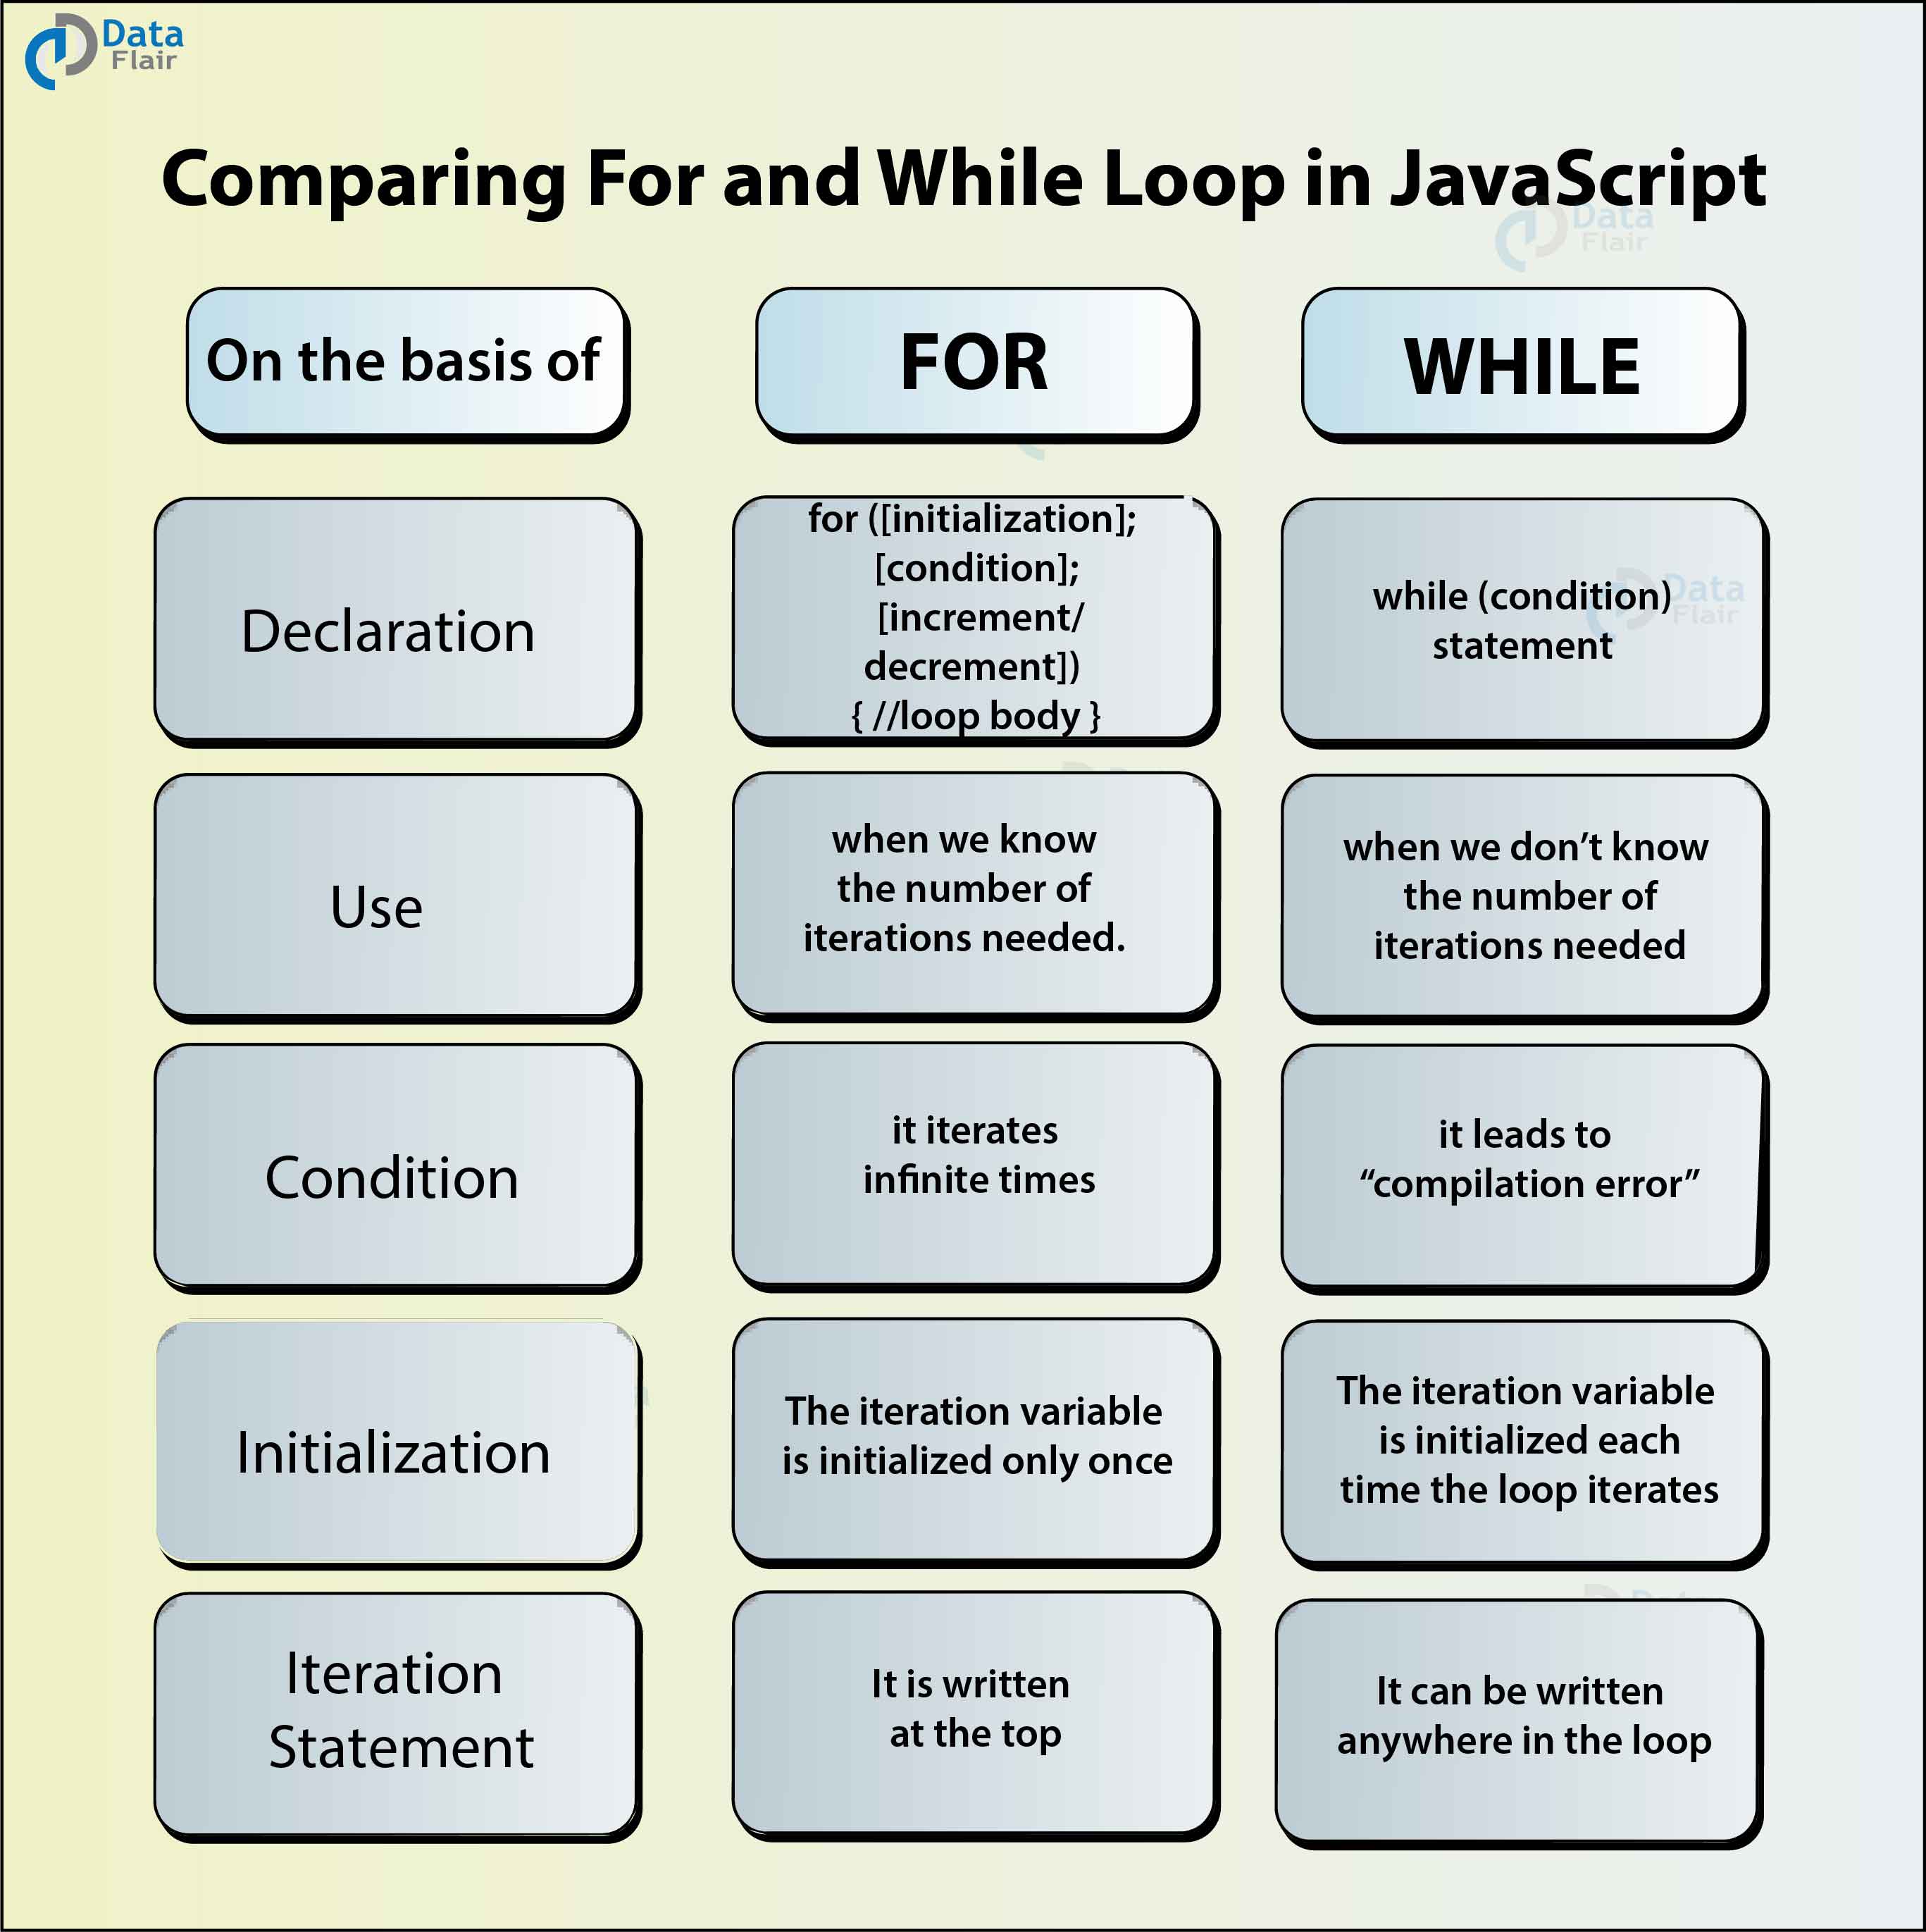
Difference between for and while loop in JavaScript
Though the for and while loops work the same, there are some key differences you need to remember while deciding which one to use.
Summary
Here we come to the end of our tutorial on JavaScript Loops. In this article, we took a brief look at the different loop statements available in JavaScript like while, do…while, for, etc. We discussed infinite loops and compared for and while loops. In the end, I would personally suggest you practice these loops as much as you can to master them.
Time to check out the next tutorial on JavaScript Loop Control
Express your views regarding the JavaScript Loops article in the comment section below. We will be glad to hear from you.
Your 15 seconds will encourage us to work even harder
Please share your happy experience on Google
