JavaScript Style Attribute – How to Implement CSS Styles in JavaScript
Full Stack Web Development Courses with Real-time projects Start Now!!
While working on a project, we want our webpage to look attractive. Thus, we use different styles and styling techniques to make our website look beautiful and unique. This JavaScript style tutorial will focus on how you can work with JavaScript to add, modify, and remove the various style properties to and from an element. You must understand the basics of CSS to grasp the concept entirely. You can continue with this tutorial even if you just know the syntax used in CSS. We will start this tutorial by understanding the various ways to add style to our webpage.
The previous tutorial on JavaScript Errors was interesting, you must check it.
JavaScript Style and Classes
Styles are relevant in learning JavaScript because you cannot create a webpage without making it more attractive. You want your website to look in a specific manner and styling your page is the way to go. The styling of the page is necessary if you want to control where and how an element displays itself on the browser.
There are two ways you can add JavaScript style to an element as a programmer:
- With the help of style attribute
One of the ways to add style to your element is by directly defining the properties in a style attribute. The syntax to add a style to an element is as follows:
<element style = “...”></element>
- With the help of class attribute
Another way you can add styles to an HTML file is by creating a class in CSS, defining its properties, and then adding it to the element. We prefer this approach while adding style to the page because it helps us separate CSS from HTML. The syntax to add a class to an element is as follows:
<element class = “...”></element>
Let’s revise the Working of JavaScript Classes
className and classList
Initially, defining the “class” keyword as an object’s property was not possible. But changing a class is one of the most common actions in the script. To overcome this limitation, the developers introduced a similar-looking property “className” that corresponds to the “class” attribute. This property returns the whole string of classes.
But we often want to add/remove only a single class. For this purpose, a special object “classList” with add/ remove/ toggle/contains methods came in the market. The role of these methods are as follows:
- The add(“className”) method adds a class to the element.
- The remove(“className”) method deletes a class from the element.
- The toggle(“className”) method checks if the class exists for the element. If not, it adds the class; if it does, it removes it.
- The contains(“className”) method checks for a particular class and returns true/false accordingly.
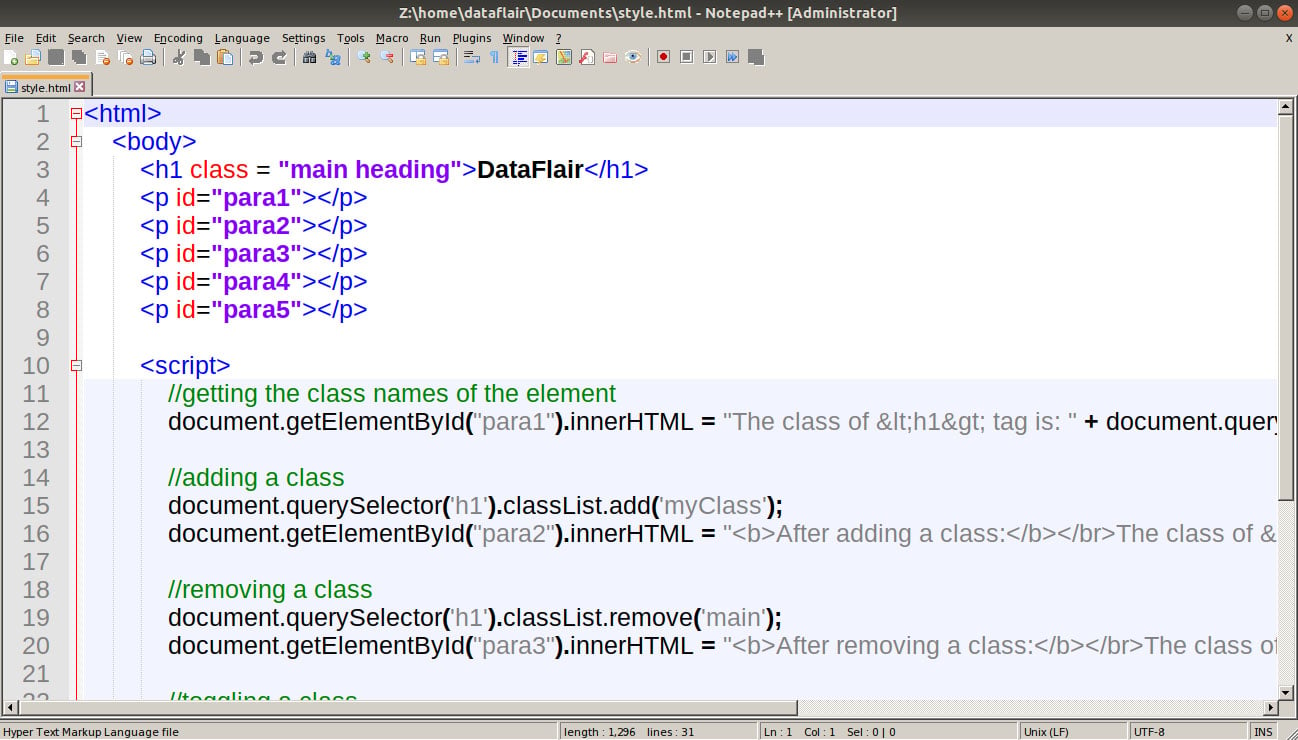
The following JavaScript program uses the className property and all the classList methods to explain all of them better.
Code:
<html>
<body>
<h1 class = "main heading">DataFlair</h1>
<p id="para1"></p>
<p id="para2"></p>
<p id="para3"></p>
<p id="para4"></p>
<p id="para5"></p>
<script>
//getting the class names of the element
document.getElementById("para1").innerHTML = "The class of <h1> tag is: " + document.querySelector('h1').className;
//adding a class
document.querySelector('h1').classList.add('myClass');
document.getElementById("para2").innerHTML = "<b>After adding a class:</b></br>The class of <h1> tag is: " + document.querySelector('h1').className;
//removing a class
document.querySelector('h1').classList.remove('main');
document.getElementById("para3").innerHTML = "<b>After removing a class:</b></br>The class of <h1> tag is: " + document.querySelector('h1').className;
//toggling a class
document.querySelector('h1').classList.toggle('myClass');
document.getElementById("para4").innerHTML = "<b>After toggling a class:</b></br>The class of <h1> tag is: " + document.querySelector('h1').className;
//checking for a class name
var text = document.querySelector('h1').classList.contains('main');
document.getElementById("para5").innerHTML = "<b>Is the class 'main' present?</b> " + text;
</script>
</body>
</html>Screenshot:
Output:

Note: classList is iterable, i.e., we can list all the class names with a single loop as we do for an array.
Time to master the concept of JavaScript Array
JavaScript Element Style
The property element.style corresponds to the JavaScript style attribute in HTML, meaning that the following two statements work in the same way.
h1.style.color = “green”;
<h1 style = “color: green”></h1>
Both the statements above change the font-color of the heading to green. With multi-word properties, like background-color, we use camelCase (backgroundColor).
Playing with JavaScript Styles
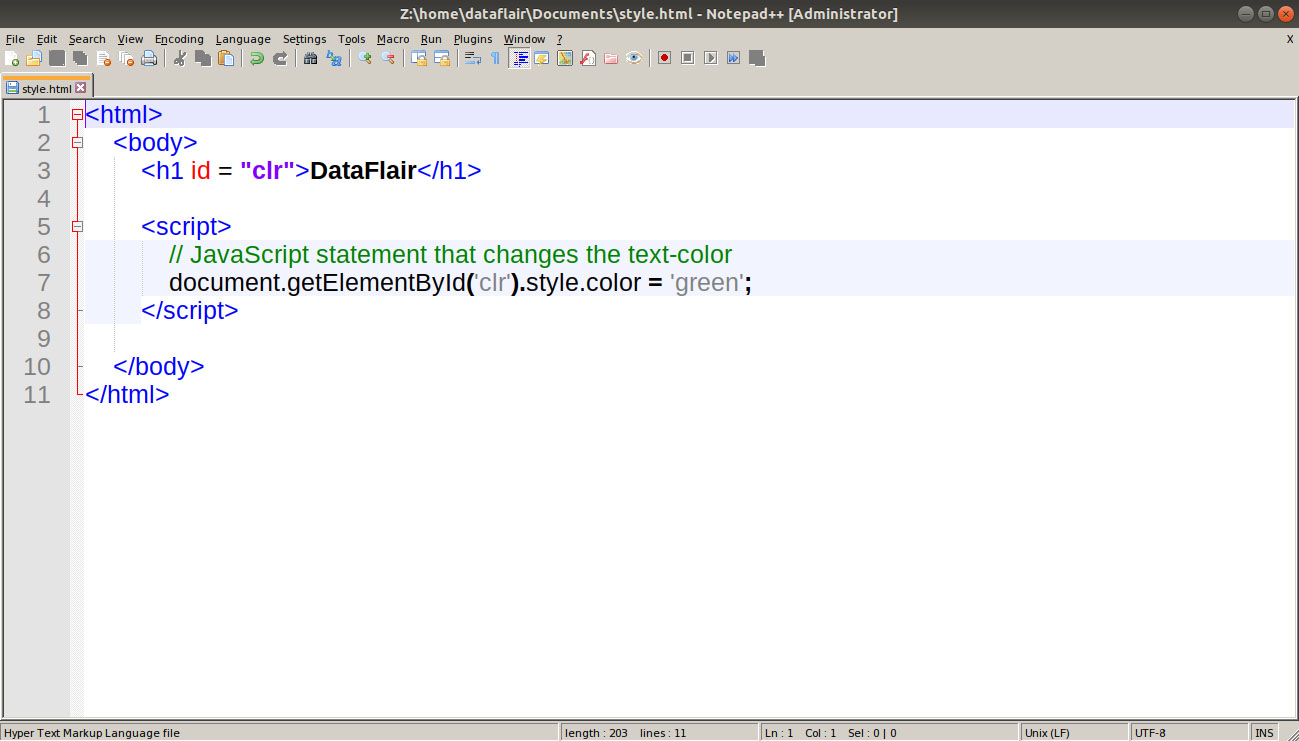
In many cases, we want to change the style of an HTML element. In a project, we may need to change an element property after an event occurs. JavaScript is fully capable of modifying both the class and style properties. The code below shows us how to alter the text-color with a JavaScript statement.
Code:
<html>
    <body>
        <h1 id = "clr">DataFlair</h1>

        <script>
            // JavaScript statement that changes the text-color
            document.getElementById('clr').style.color = 'green';
        </script>

    </body>
</html>
Screenshot:
Output:

It is often much more comfortable to describe these ids and classes in a CSS file and then add them to the HTML element.
Wait! Explore the important JavaScript Event Types thoroughly
Don’t forget about the Units
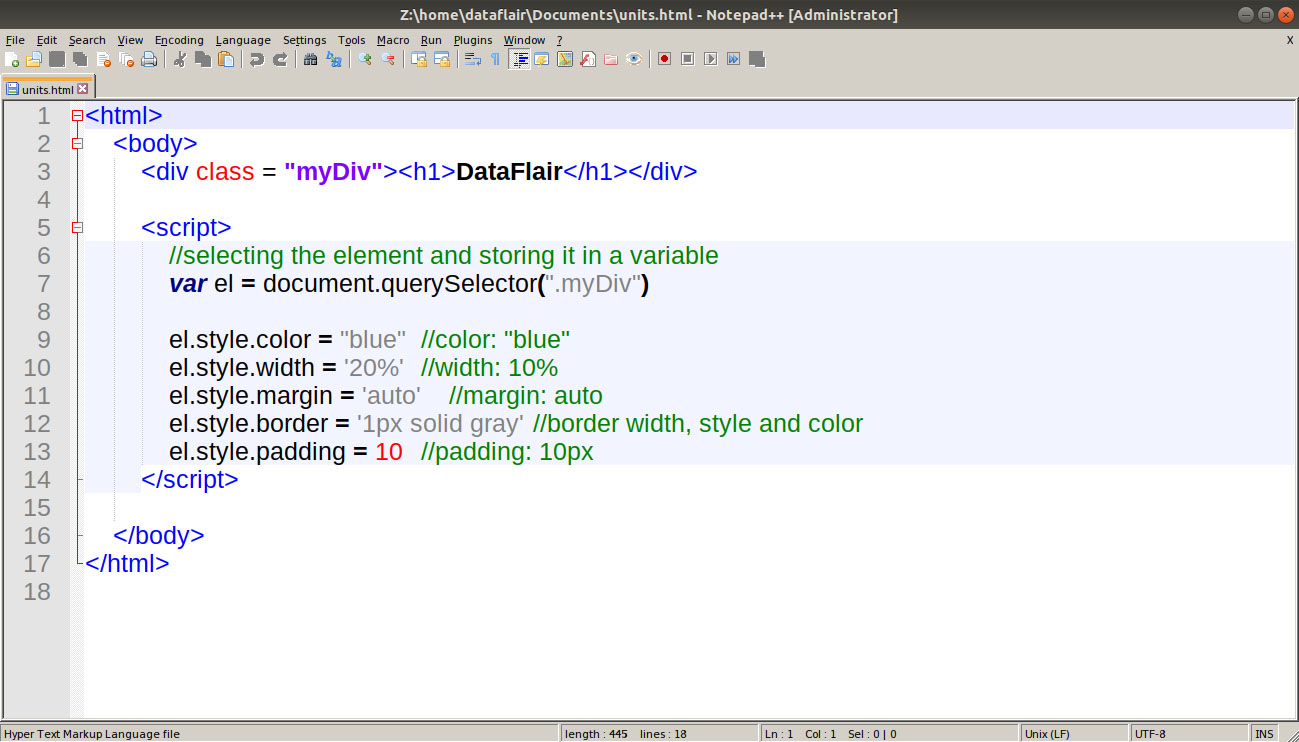
While working with CSS values, always remember to add the appropriate units after them. In modern browsers, the property works, but the browser always interprets it in px. It means that padding: 10 is the same as padding: 10px. If you mistakenly skip them, the property won’t work in older browsers. The following code illustrates the different values available in JavaScript.
Code:
<html>
<body>
<div class = "myDiv"><h1>DataFlair</h1></div>
<script>
//selecting the element and storing it in a variable
var el = document.querySelector(".myDiv")
el.style.color = "blue" //color: "blue"
el.style.width = '20%' //width: 10%
el.style.margin = 'auto' //margin: auto
el.style.border = '1px solid gray' //border width, style and color
el.style.padding = 10 //padding: 10px
</script>
</body>
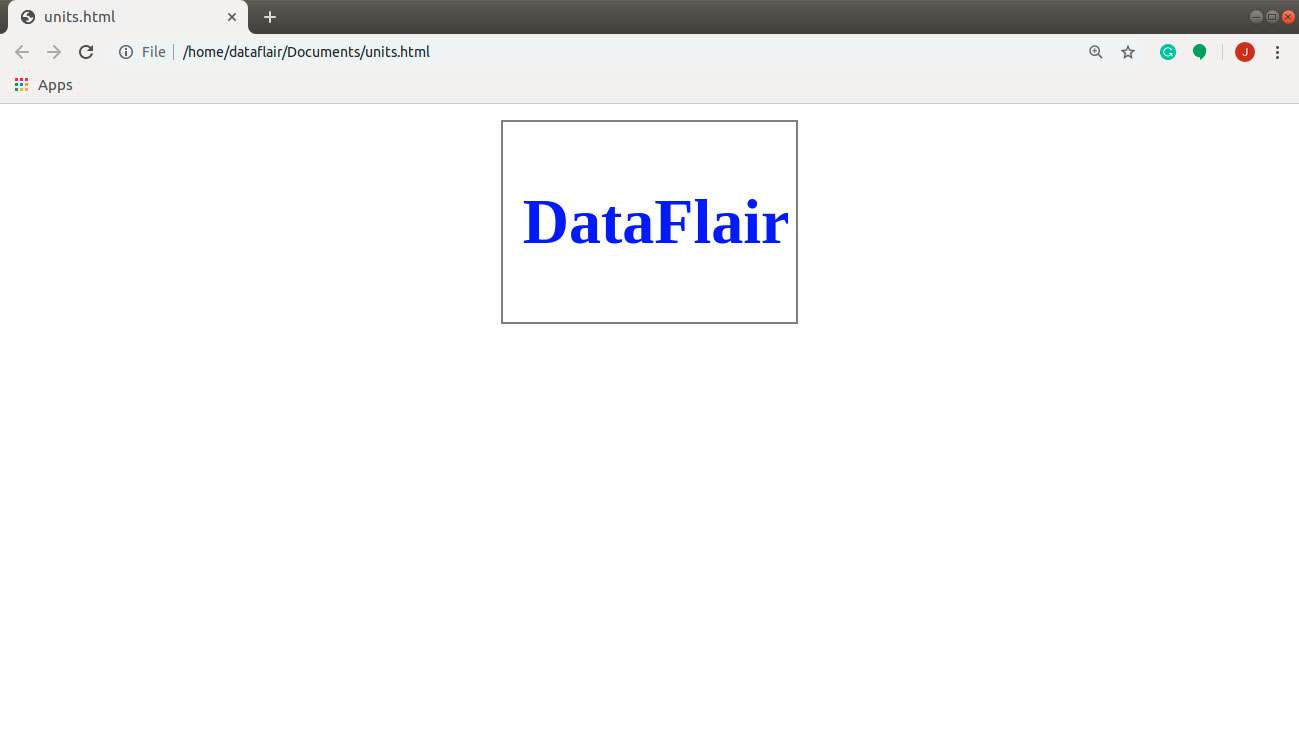
</html>Screenshot:
Output:
The getComputedStyle method
The above approach is useful when we want to add, remove, or replace a property from the elements. But is there a way to read them? How do we get the values from a CSS file if we want to modify them?
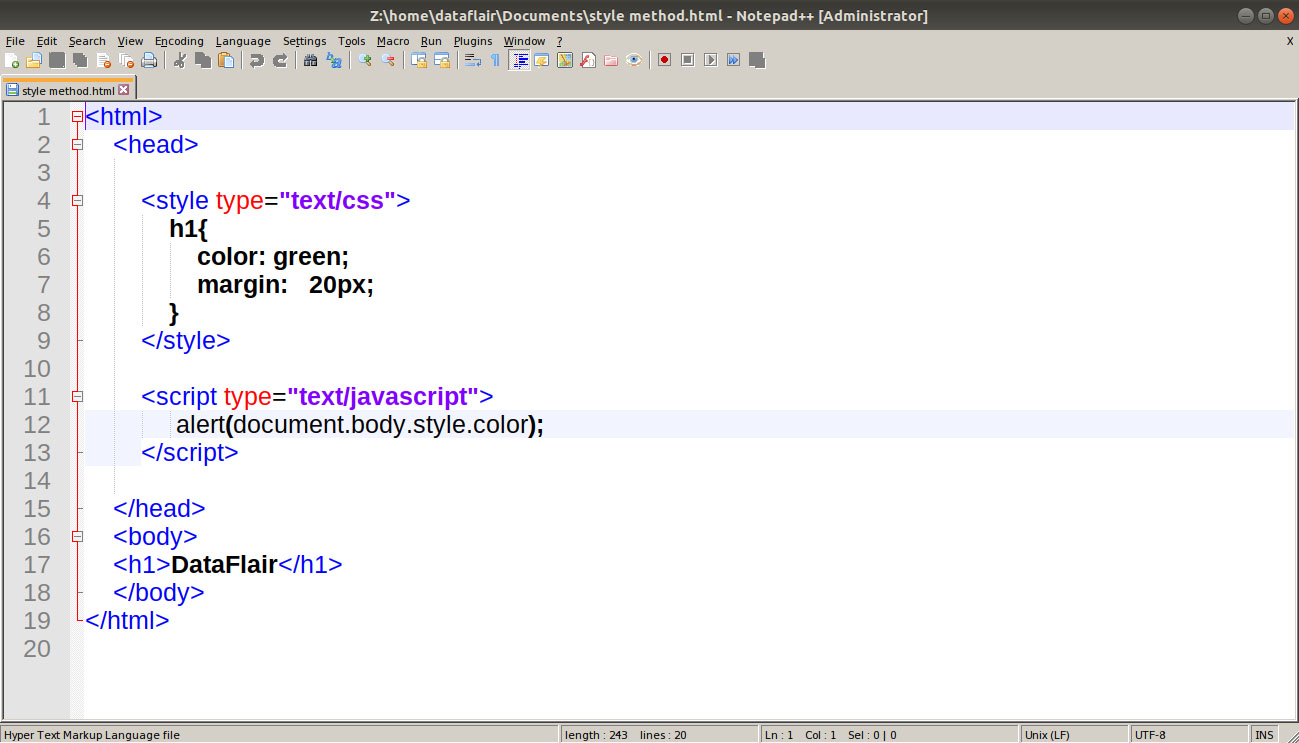
Let’s see the results when we try to access a property defined inside the <style> tag with the help of a JavaScript code and the browser console.
Code:
<html>
    <head>

        <style type="text/css">
            h1{
                color: green;
                margin: 20px;
            }
        </style>

        <script type="text/javascript">
                alert(document.body.style.color);
        </script>

    </head>
    <body>
    <h1>DataFlair</h1>
    </body>
</html>
Screenshot:
Output: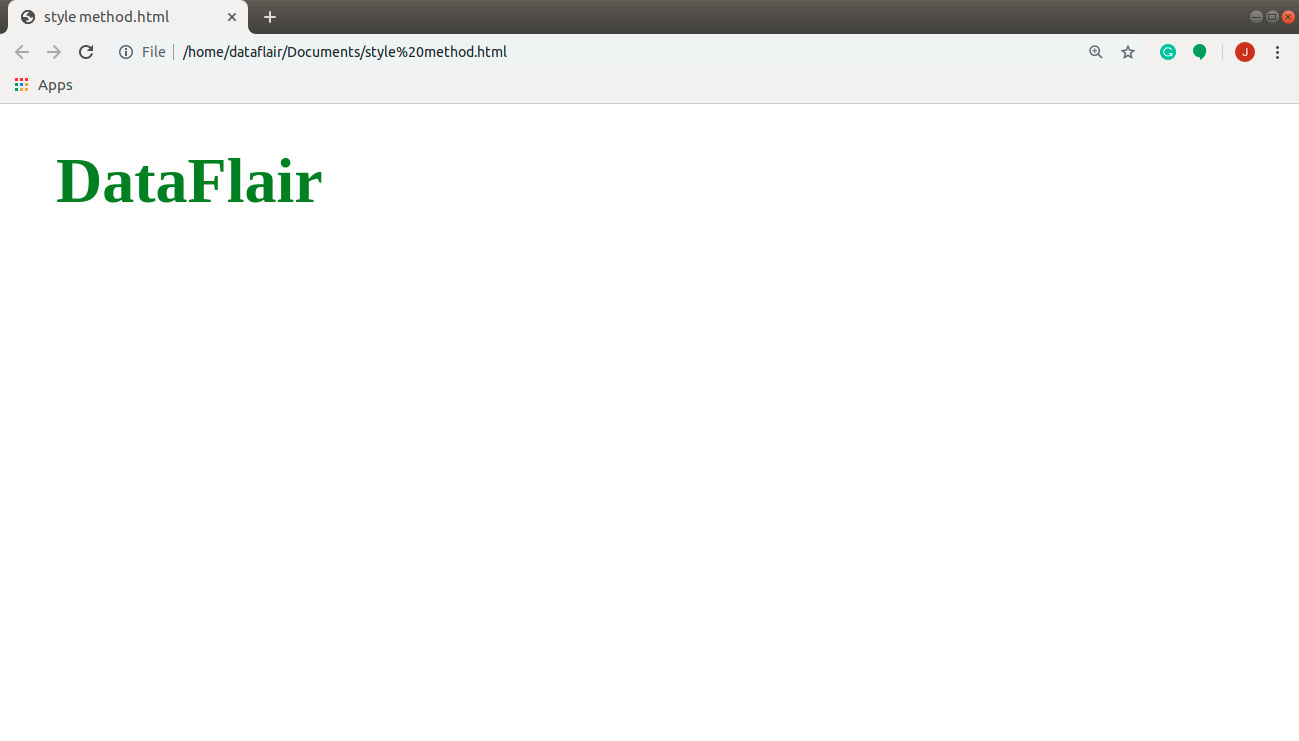
To resolve this issue, we have another JavaScript method available to us: getComputedStyle. The syntax for this methods looks something like this:
getComputedStyle(element, [pseudo])
The element parameter determines the element you want to read the value for. The optional parameter pseudo, like ::after is a CSS pseudo-element. An empty string or no argument indicates the element itself.
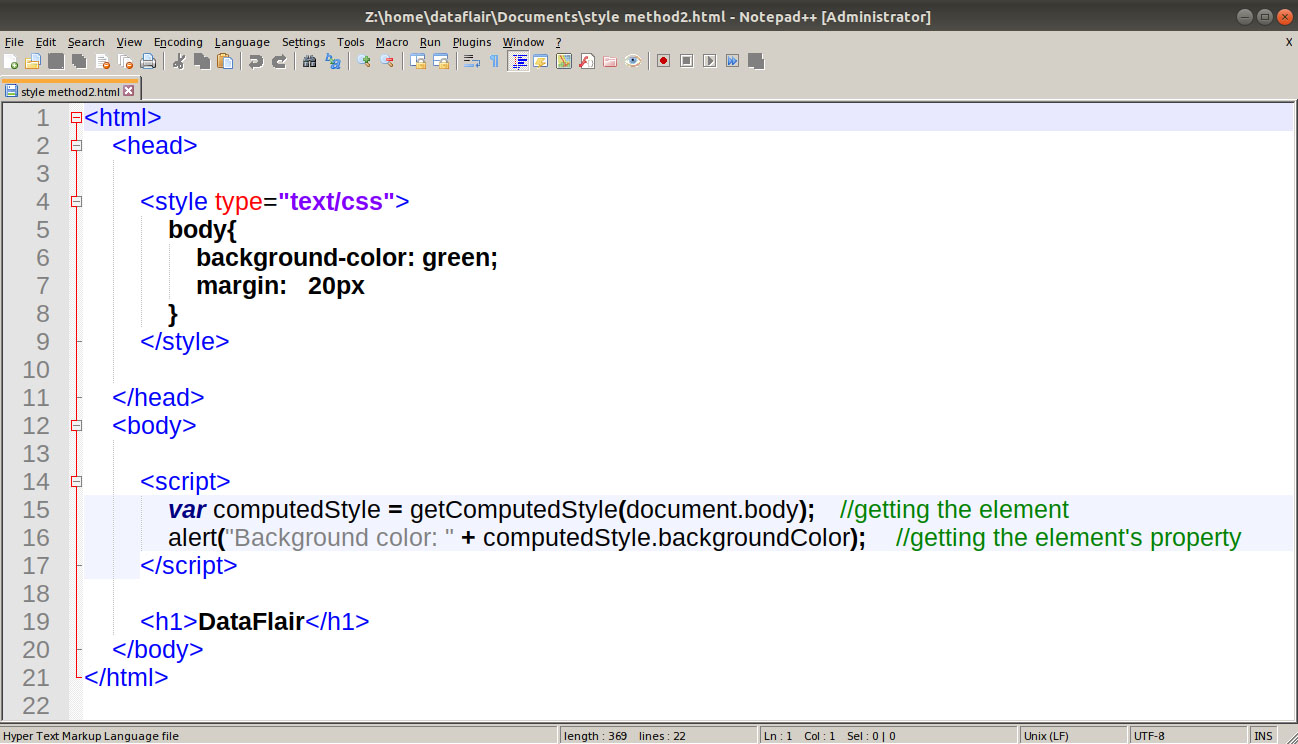
Let’s see how the above method works with the help of a simple JavaScript program.
Code:
<html>
    <head>

        <style type="text/css">
            body{
                background-color: green;
                margin: 20px
            }
        </style>

    </head>
    <body>

        <script>
            var computedStyle = getComputedStyle(document.body); //getting the element
            alert("Background color: " + computedStyle.backgroundColor); //getting the element's property
        </script>

        <h1>DataFlair</h1>
    </body>
</html>
Screenshot:
Output:
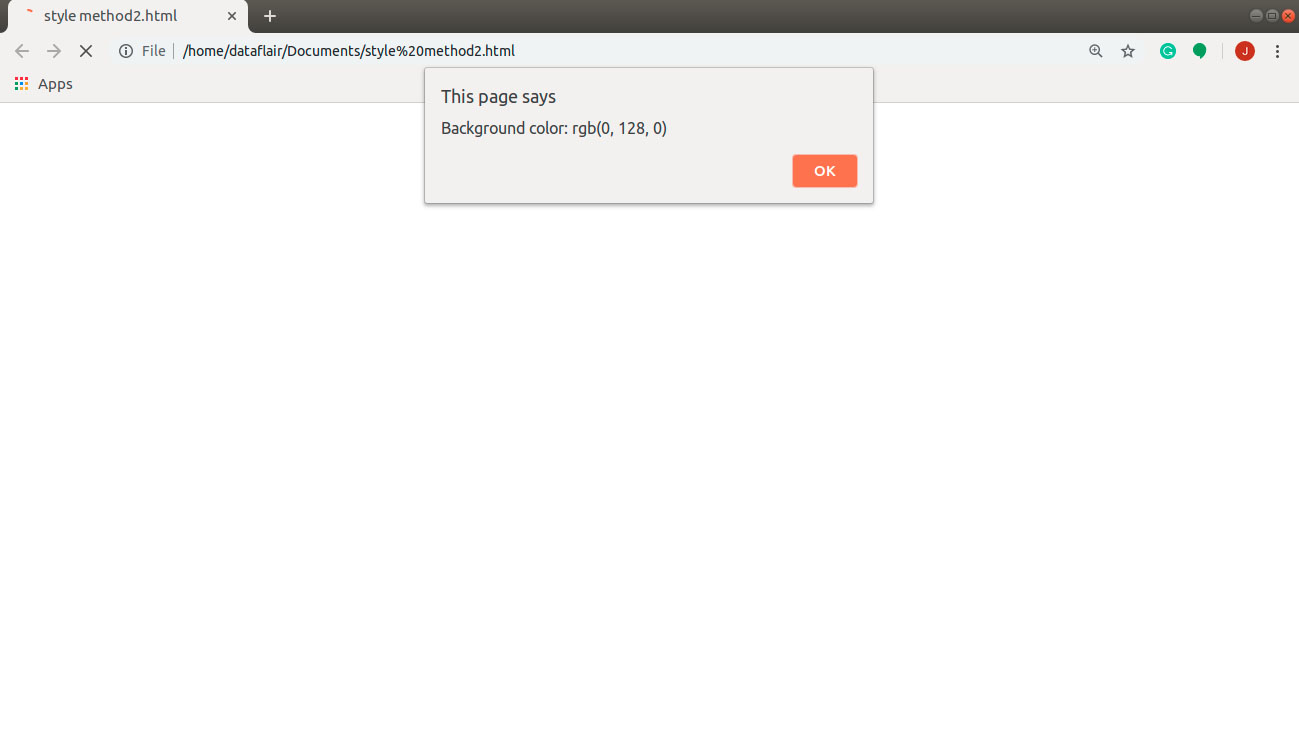
After you click OK, the browser will show the following screen.
You must definitely check the JavaScript Strings Tutorial
Summary
In this tutorial, we learned about JavaScript styles in great depth. The concept is vital for us to understand because we always use different styles while working on a JavaScript project. You must remember the idea while programming. It will ease your workload and provide you with additional functionality.
The next article lined up in JavaScript DataFlair Tutorial Series – JavaScript CSS
Now, are you clear with the concept of JavaScript Styles? If you have any queries, share them in the comment section. We will definitely help you.
Did you like this article? If Yes, please give DataFlair 5 Stars on Google


