Create Flip Card Memory Game in JavaScript
Full Stack Web Development Courses with Real-time projects Start Now!!
Learn how to develop flip card memory game in JavaScript. It is a simple and fun game. In this game project, you need to match the pair of images by flipping them.
You all might have played the game because it is a super old and popular game. Now let’s see how we can create this.
Project Prerequisites
To implement this project you need to know the following :
- Basic concepts of JavaScript
- HTML
- CSS
Download JavaScript Memory Game Source Code
Please download the source code of flip card memory game project: Flip Card Memory Game Code
Steps to Build the JavaScript Project
1. Creating Html File – index.html
HTML provides the basic structure. So it is the very first step of this project. The Following code contains some basic HTML tags like div, h1, title, etc.
We’ve used some bootstrap buttons and classes to keep the designing part simple.
Code:
<!DOCTYPE html>
<html lang="en">
<head>
    <meta charset="UTF-8">
    <meta name="viewport" content="width=device-width, initial-scale=1.0">
    <link rel="stylesheet" href="https://stackpath.bootstrapcdn.com/bootstrap/4.5.0/css/bootstrap.min.css" integrity="sha384-9aIt2nRpC12Uk9gS9baDl411NQApFmC26EwAOH8WgZl5MYYxFfc+NcPb1dKGj7Sk" crossorigin="anonymous" 0="">
    <title>DataFlair Memory game</title>

    <script src="static/script.js"></script>
    <style>
        .imgdiv{
            position: relative;
            display: inline-block;
            width:150px;
            height: 150px;
            line-height: 150px;
            font-size: 20px;
            padding: 10px;
            text-align: center;
            border: 2px solid black;
            cursor: pointer;
        }

        img{
            width:120px;
            height: 120px;
            padding: 10px;;
        }

        .hide{
            padding: 10px;
            visibility: hidden;
        }

        .match, .showimg{
            visibility: visible !important;
        }

    </style>
</head>
<body>
    <div class="container">
        <h1 class ="jumbotron">DataFlair Memory game</h1>
        <button class="btn btn-success" onclick="start()">Start game</button><br><br>
  <div id="score"></div>

        <div id="boardgame"></div>
    </div>

</body>
</html>
We have used very simple HTML tags and for styling we have used very basic CSS and some bootstrap classes.
CSS
The important classes in CSS are ‘.match’, ‘.hide’ and ‘.showimg’. Here .hide class is added to all the images initially so that all the images are hidden and it hides the images using a simple CSS property ‘visibility: hidden;’.
.showimg and .match just override the hidden property and change it to visible with !importnant so that both the classes always override the hidden property, irrespective of their priority.
2. Creating JavaScript File – script.js
It is a good programming practice to create separate folders for different files therefore, our JS files will be in a static folder, so make sure you make one in your project folder.
Code:
availableImages=['Images/bean.jpg','Images/doraemon.jpg','Images/minion.jpg','Images/mouse.jpg','Images/noddy.jpg','Images/popeye.jpg','Images/scooby.jpg','Images/shinchan.jpg','Images/bean.jpg','Images/doraemon.jpg','Images/minion.jpg','Images/mouse.jpg','Images/noddy.jpg','Images/popeye.jpg','Images/scooby.jpg','Images/shinchan.jpg']

function start(){
    let moves =0;
    while (maindiv.firstChild) {
        maindiv.removeChild(maindiv.lastChild);
    }
    const scorediv = document.getElementById("score");
    while (scorediv.firstChild) {
       scorediv.removeChild(scorediv.lastChild);
    }

    var row = document.createElement('div')
    ImagesCopy= JSON.parse(JSON.stringify( availableImages))
    for(let j=1;j<=16;j++){
        var div = document.createElement('div');
        div.setAttribute('class','imgdiv')
        var image = document.createElement('img')
        randomImg = ImagesCopy.splice(Math.floor(Math.random() * ImagesCopy.length),1);
        image.setAttribute('src',randomImg);
        image.setAttribute('class','hide')
        div.appendChild(image)
        row.appendChild(div);

        if(j%4==0){
            document.getElementById('boardgame').append(row)
            row = document.createElement('div')
        }

        div.addEventListener('click',function(event){
            moves++;
            let curr = event.currentTarget.children
            let currImg = curr[0]
           var currentlyshowing = document.getElementsByClassName('showimg');
            currentlyshowing = document.getElementsByClassName('showimg');
            let flag=0;
            if(currentlyshowing.length >= 1){
                for(let i=0;i<currentlyshowing.length;i++)
                {
                    if(currentlyshowing[i].src != currImg.src)
                    currentlyshowing[i].classList.remove('showimg');
                    else{
                        currentlyshowing[i].classList.add('match');
                        currImg.classList.add('match')
                        flag=1;
                    }
                }
            }

            if(document.getElementsByClassName('match').length==16){
                alert("You won !!! ")
                let button = document.createElement('button');
                button.setAttribute('class' , 'btn btn-warning');
                let node= document.createTextNode("You won!!! Moves "+moves);
                button.appendChild(node)
                document.getElementById('score').appendChild(button)
            }

            if(flag==0)
            currImg.classList.add('showimg');
        })
    }
}
Let’s understand the code line by line
- In this file, we have first created a list that stores the path of all images.
- Then we have a function named ‘start’ which performs all major tasks, the first among them is creating a copy of availableImages, it is essential because if we perform all operations on the actual array then for the next game it would be already modified and won’t function properly.
- Then we run a loop for all 16 images, and for each image, we create a new div in which we append the image with a class ‘hide’ so that all the images will be hidden initially.
- Now we need to assign one image per div, which we will pick randomly using Math.floor and Math.random from the ImagesCopy array.
- And after picking a particular image, we need to delete that particular image from the array (which is done using splice method) so that we don’t pick the same image again.
- We just want four images in a row so when j%4==0 means when j is divisible by 4 we append row in the boardgame.
- As div is a block element it automatically changes the line.
- Now we need to show the image when it is clicked, so we will add an event Listener ‘click’ to the created div element.
- In the event listener, we count the number of ‘showimg’ and then we check whether the previously shown image matches the current image and if it does, we add a class ‘match’ to both the matched images and if it doesn’t match, we add ‘showimg’ class and remove the showimg class from previously shown images.
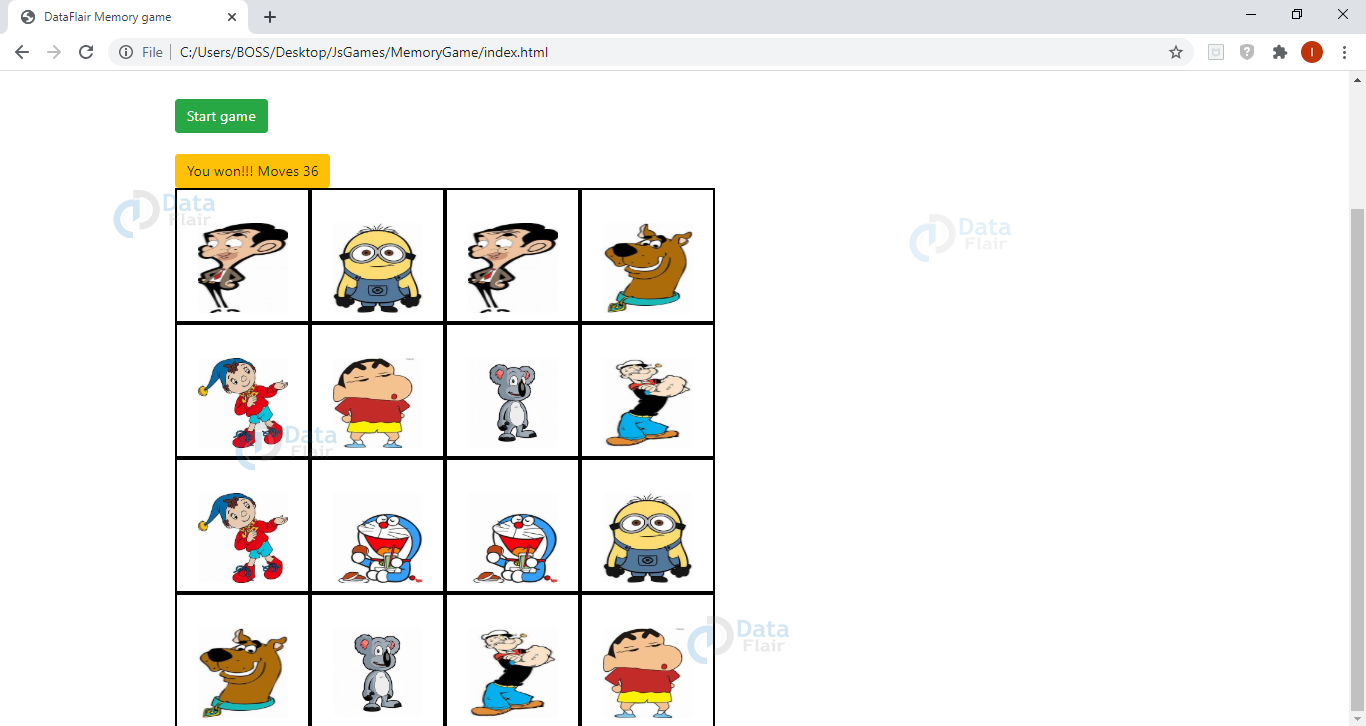
- Now the only thing left is the ‘game won’ message, when all images are matched i.e. document.getElementsByClassName(‘match’).length==16 , the user wins and to show it on the screen we will create a new element button in div.score which will display the message.
- Also we have added an alert message for the same.
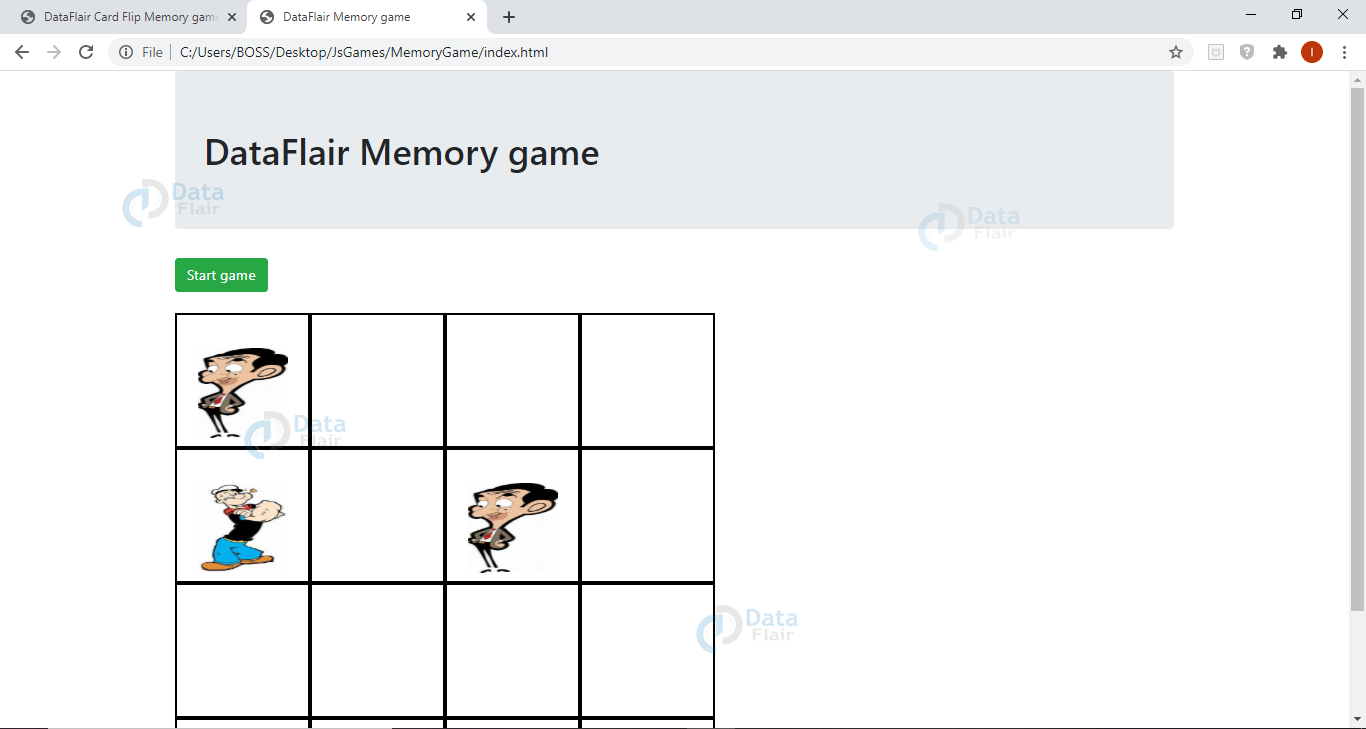
Flip Card Memory Game in JavaScript – Output
Summary
We have successfully developed Flip Card Memory Game in JavaScript. This is a fairly simple tutorial so it should be easy to follow. If you face any issues you can comment it down.
Your opinion matters
Please write your valuable feedback about DataFlair on Google


