JavaScript Loop Control – Top 3 Statements with Real Life Examples!
Full Stack Web Development Courses with Real-time projects Start Now!!
After understanding JavaScript loops in our previous tutorial, we are now going to look at the basic JavaScript loop control statements. If you haven’t read the JavaScript Loops article yet, I strongly recommend you to do that. You cannot fully grasp the concept of loop controls if you are unfamiliar with what loops are and how they work.
After knowing what JavaScript loops are…let’s start with our tutorial on JavaScript Loop Control.
What is a JavaScript Loop Control Statement?
Loop control statements are certain JavaScript statements that interrupt the normal flow of the program. They direct the program control to a specific location in the code. Therefore, sometimes, we also call them “Jump Statements”. JavaScript provides us with three loop control statements:
- continue
- break
- label
Let’s understand them all with the help of examples.
1. continue Statement
The continue statement in a JavaScript loop skips the rest of the loop in the current iteration and directs it to the end of the loop. We use this statement to restart a while, a do…while, a for or a labeled statement. It is not compulsory to mention a label or loop name after continue. The statement, by default, sends the program control to the starting of the loop.
The syntax of the continue statement is as follows:
continue [label];
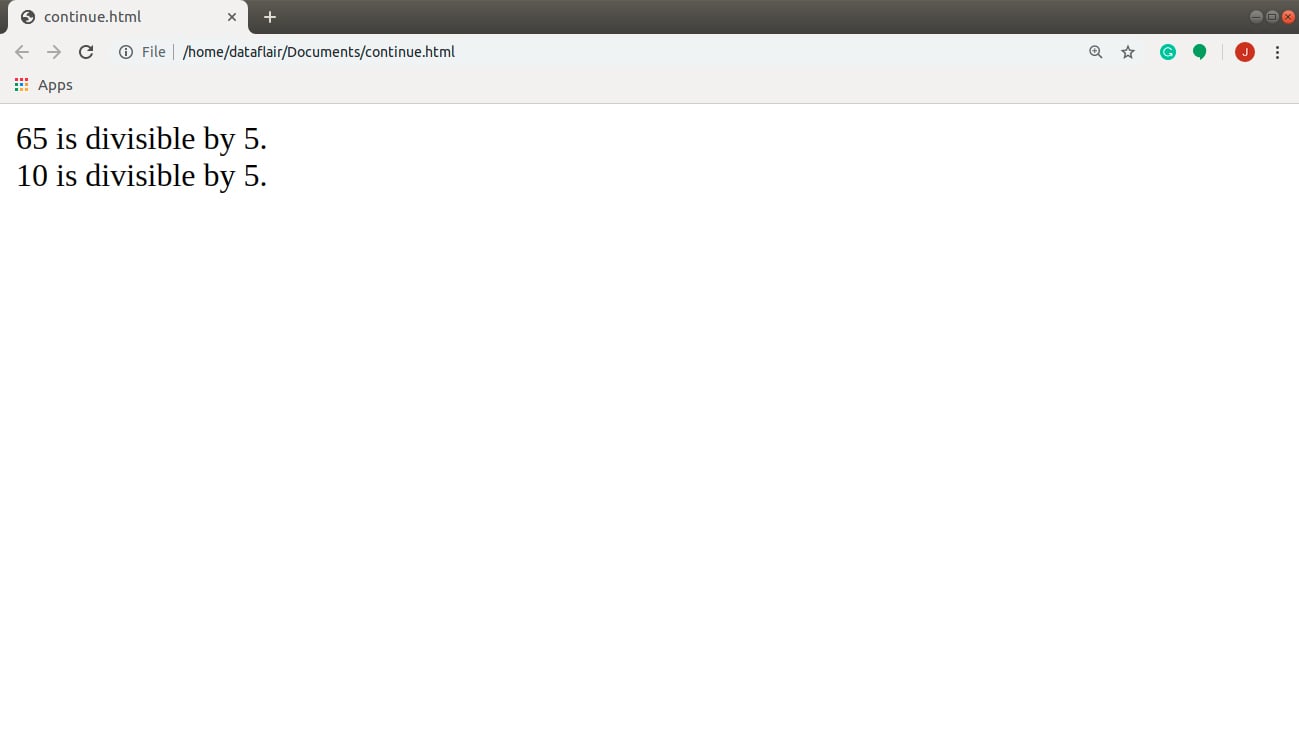
In this task, I have a list of numbers, stored in an array. I only want to print out the numbers that are divisible by 5. I’m going to skip the rest of them. I am going to achieve this with the help of a continue statement. Be sure you run the code with me so you understand the concept clearly.
Code:
<html>
  <body>
  <!-- DataFlair tutorial: continue statement -->

    <script>
      var numbers = [65, 99, 34, 12, 10, 77]; //array of numbers
      for(number of numbers){ //iterating through the values of numbers
        if(number % 5 == 0){ //chhecking if the number is divisible by 5
          document.write(number + " is divisible by 5.</br>")
        }else{
          continue; //restarts the loop
          document.write(number + " is not divisible by 5.</br>") //skipped statement
        }
      }
    </script>

  </body>
</html>
2. break Statement
These are used to terminate a loop immediately, even if the condition is not yet fulfilled. These are most often used with switch statements, as discussed in DataFlair’s previous tutorial on Conditional Statements in JavaScript. But we can also use them with other loop statements if we need to. Adding a label with a break statement is optional. But you need to remember that this statement skips the rest of the loop and jumps out to execute the code just after the loop. The syntax for this loop control statement looks like this:
break [label];
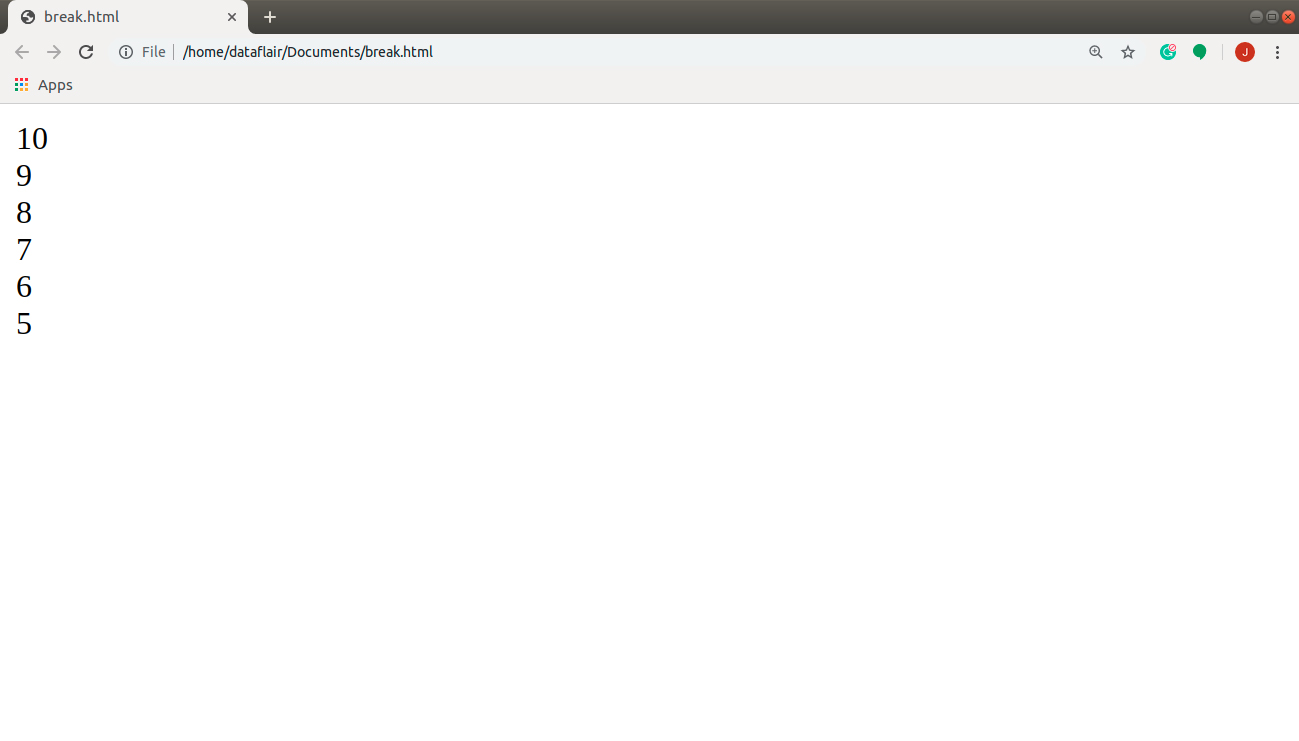
This time, I started a loop for printing numbers in descending order from 10 to 0. But I decided that I don’t actually want it to continue its execution after I print the number 5. You and I are going to do this with the help of a break statement in our code.
Code:
<html>
  <body>
  <!-- DataFlair tutorial: break statement -->

    <script>
      for (var num = 10; num >=0 ; num--){ //loop to print 10 to 0
        if (num == 4){
          break; //break out of the loop
        }else{
          document.write(num + "</br>");
        }
      }
    </script>

  </body>
</html>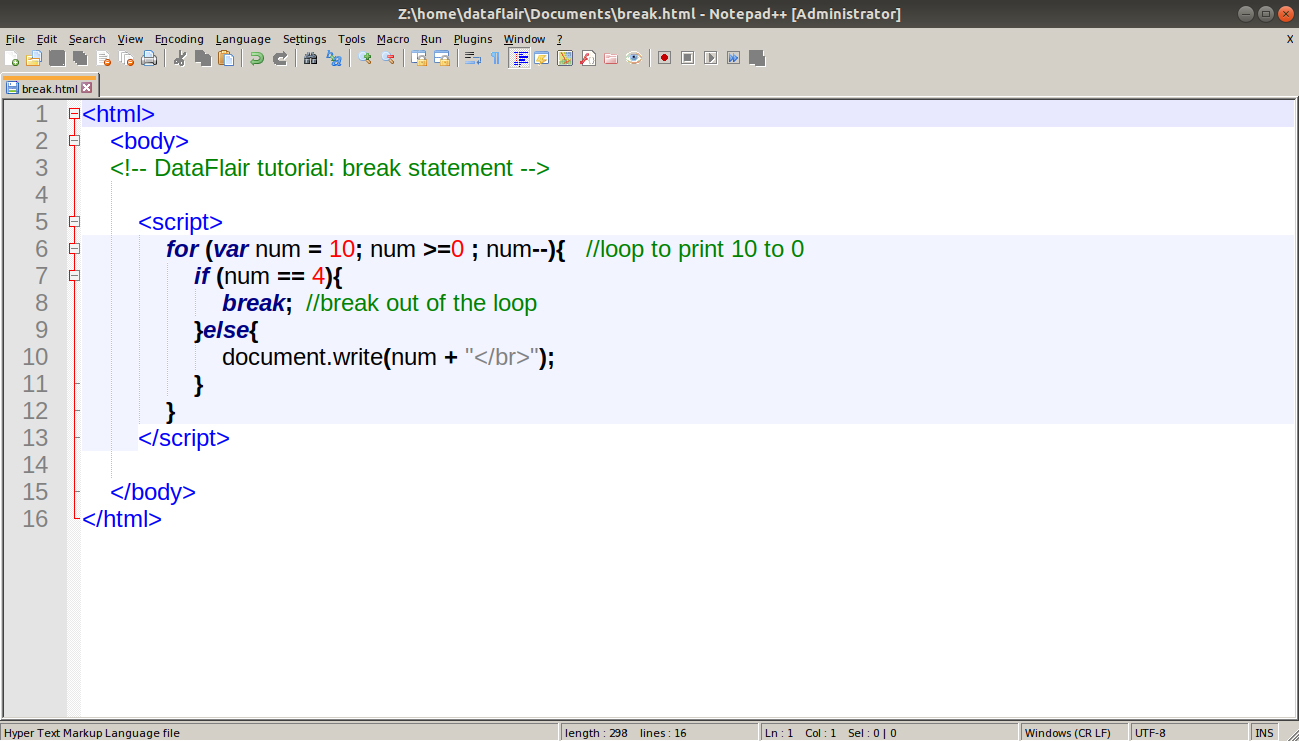
3. labeled Statement
A label offers an identifier to a statement that allows you to refer to it elsewhere in your program. The labeled statement can be used with the break or continue statements.
The value of labelName may be any JavaScript identifier and the statement may be any instruction you want the label to follow. These statements break the normal flow of the program.
The syntax of a labeled statement is as follows:
labelName:
  statement
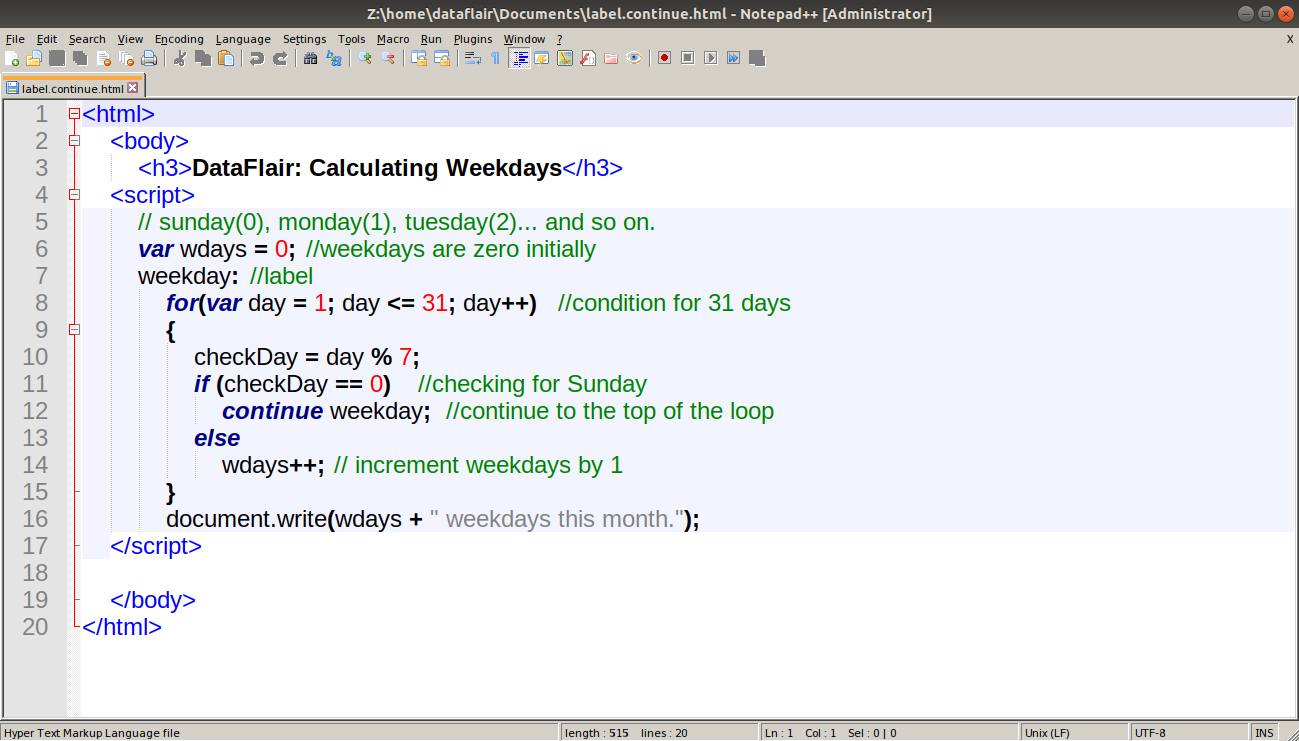
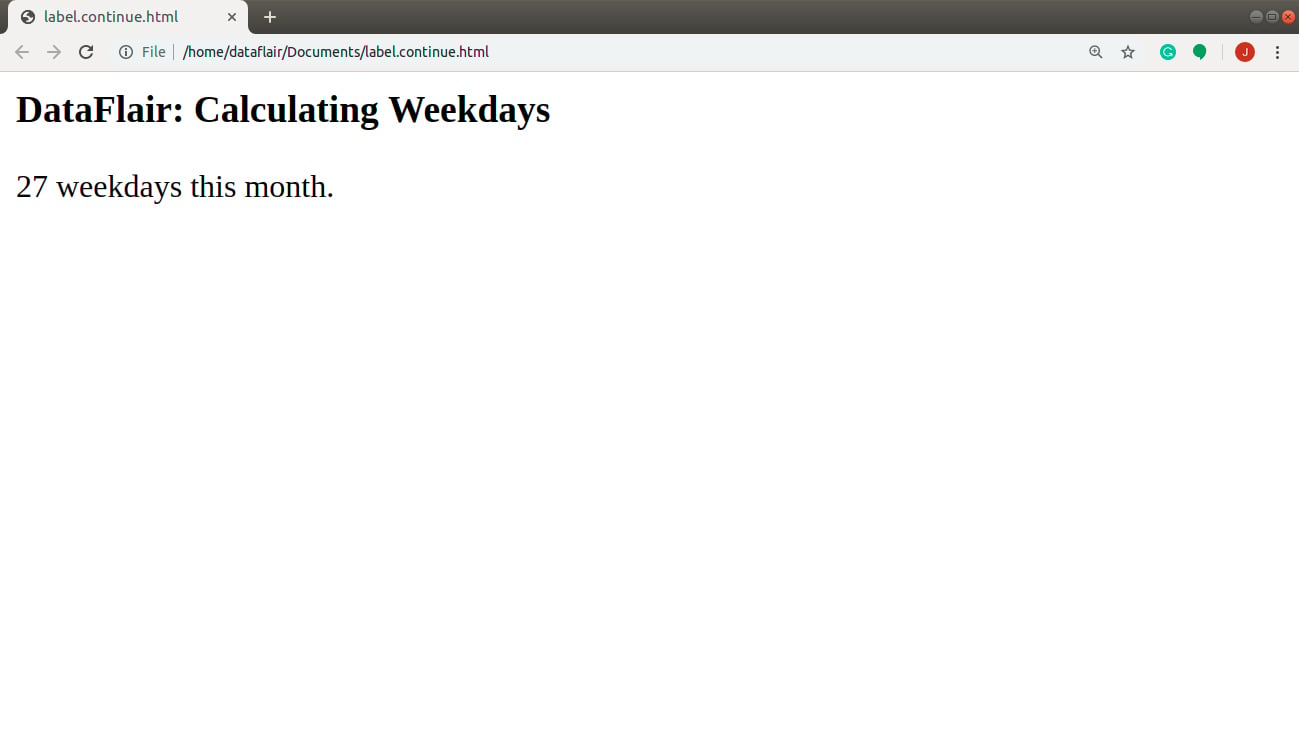
Let’s understand this statement with a real-life example. Suppose I have to calculate the number of weekdays this month. In this case, the month is starting with a Sunday; the total days in this month are 31. I will do this with the help of a labeled statement and a continue statement.
label with continue:
Code:
<html>
  <body>
    <h3>DataFlair: Calculating Weekdays</h3>
  <script>
    // sunday(0), monday(1), tuesday(2)... and so on.
    var wdays = 0; //weekdays are zero initially
    weekday: //label
      for(var day = 1; day <= 31; day++) //condition for 31 days
      {
        checkDay = day % 7;
        if (checkDay == 0) //checking for Sunday
          continue weekday; //continue to the top of the loop
        else
          wdays++; // increment weekdays by 1
      }
      document.write(wdays + " weekdays this month.");
  </script>

  </body>
</html>
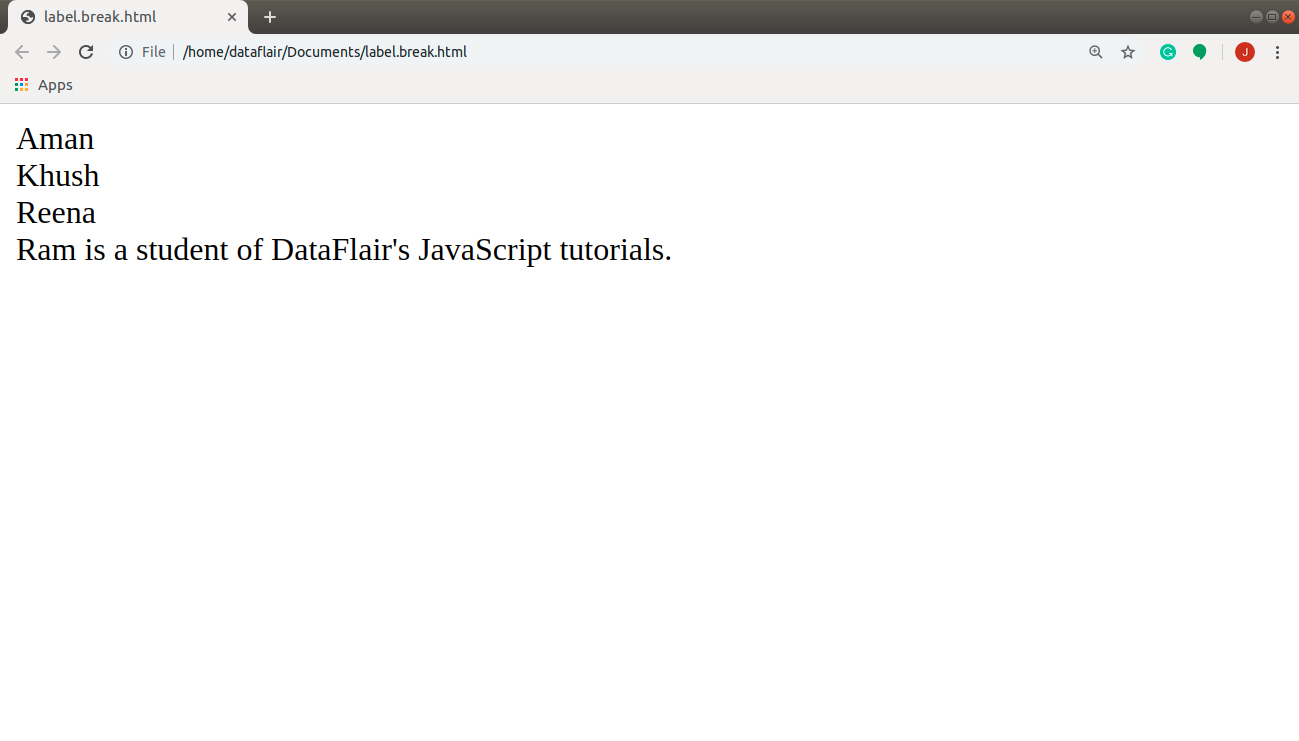
I had a problem when I was working through the list of all the students enrolled in the JavaScript tutorials. I wanted to know if a student named Ram was enrolled. Instead of searching for Ram manually, I decided I want JavaScript to do that for me with the help of label and break statements. I want you to solve this problem alongside me so you can understand how JavaScript works with them.
label with break:
Code:
<html>
  <body>

    <script>
      var students = ["Aman", "Khush", "Reena", "Ram", "Ankita", "Anamika"]; //student names in an array
      checkName: //label
        for(var std = 0; std < students.length; std++) //checking each student in the list
        {
          if (students[std] == "Ram"){ //if student is Ram
            document.write("Ram is a student of DataFlair's JavaScript tutorials.");
            break checkName;
          }else{ //if student is not Ram
            document.write(students[std] + "</br>");
          }
        }

    </script>

  </body>
</html>

Summary
Here we come to the end of our tutorial on JavaScript Loop Control. In this article, we took a brief look at JavaScript Loop Control Statements, and the main 3 loop control statements i.e. break, continue and labeled that helps in controlling loop, also we solved some real-life situations to help you with the concept. After this tutorial, I hope you are very clear on what loops and loop controls are, and how they work. We solved some real-life situations to help you with the concept. Furthermore, you may go through our next tutorial on JavaScript Functions.
Hope the information provided was useful to you.
Don’t forget to drop your comment and feedback below in the comment box.
We work very hard to provide you quality material
Could you take 15 seconds and share your happy experience on Google


