JavaScript Project – How to design Countdown Timer in JavaScript Easily
Full Stack Web Development Courses with Real-time projects Start Now!!
The previous DataFlair’s JavaScript project on photo gallery was interesting, wasn’t it? This time, we will create a JavaScript project on countdown timer. We will learn how to use basic HTML, CSS, and pure JavaScript to build a countdown timer. We will not focus on the designing of the page (HTML and CSS). Our main objective will be to learn how to create a timer as per your liking. This project is very basic, but you can modify it and add complex features as you like.
You can download the clock image used in this JavaScript Project from – Clock
JavaScript Project – Countdown Timer
1. How to Create the HTML file
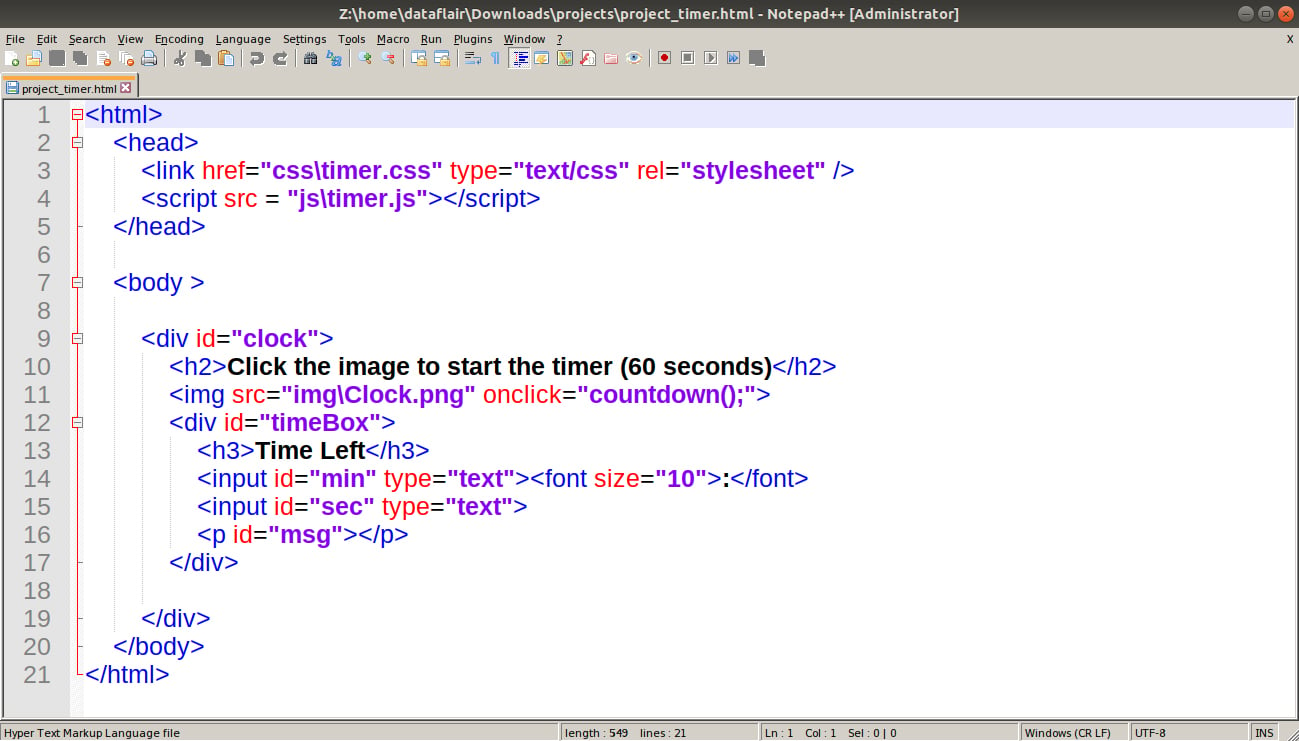
The first task to creating any webpage is adding its HTML content. In your text editor, save the new file with the name timer.html and start coding. Now, you can either use custom code or the following code to do so.
Code:
<html>
<head>
<link href="css\timer.css" type="text/css" rel="stylesheet" />
<script src = "js\timer.js"></script>
</head>
<body >
<div id="clock">
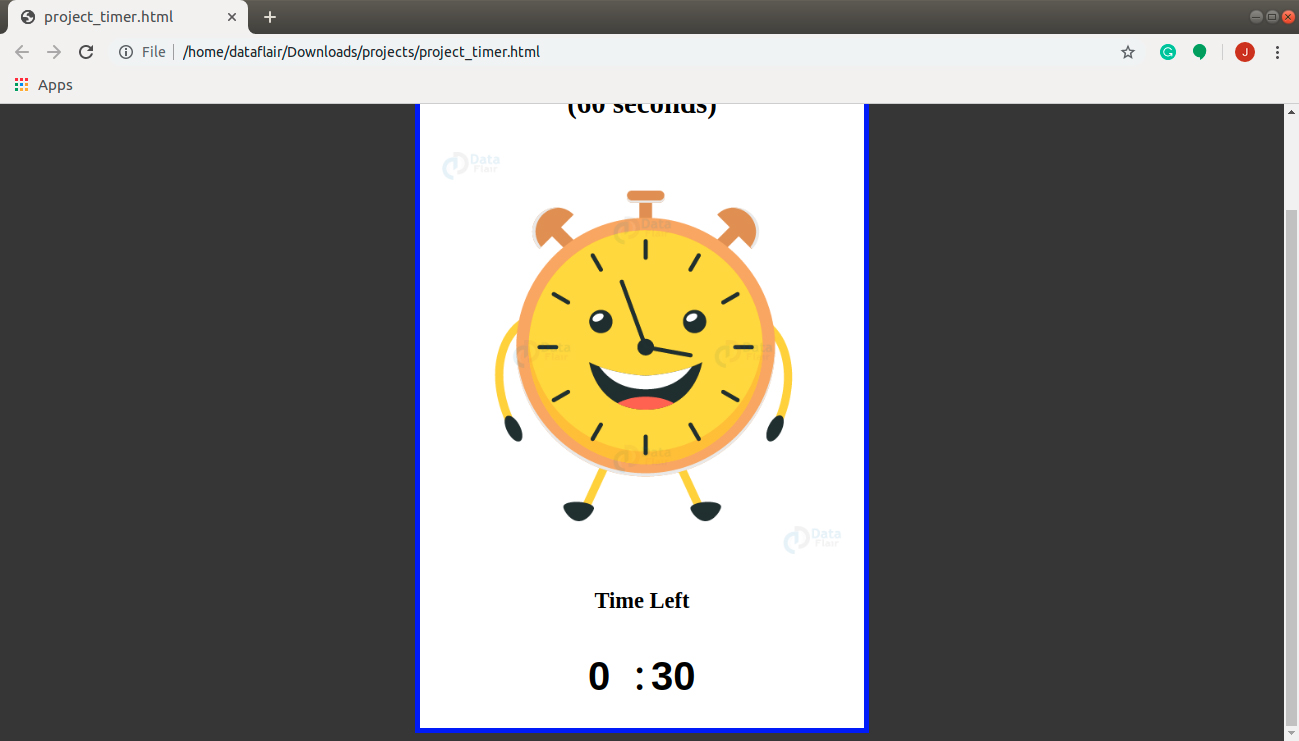
<h2>Click the image to start the timer (60 seconds)</h2>
<img src="img\Clock.png" onclick="countdown();">
<div id="timeBox">
<h3>Time Left</h3>
<input id="min" type="text"><font size="10">:</font>
<input id="sec" type="text">
<p id="msg"></p>
</div>
</div>
</body>
</html>Screenshot:
This is the only code you need to understand the working of a timer. Remember, you can add HTML and CSS as you wish to make the webpage more attractive. There are no obligations while doing so. All you need is to be careful while combining these files. Don’t forget to cross-check all the classes and ids you define in the files.
After adding HTML, the webpage will look something like this.
Output:
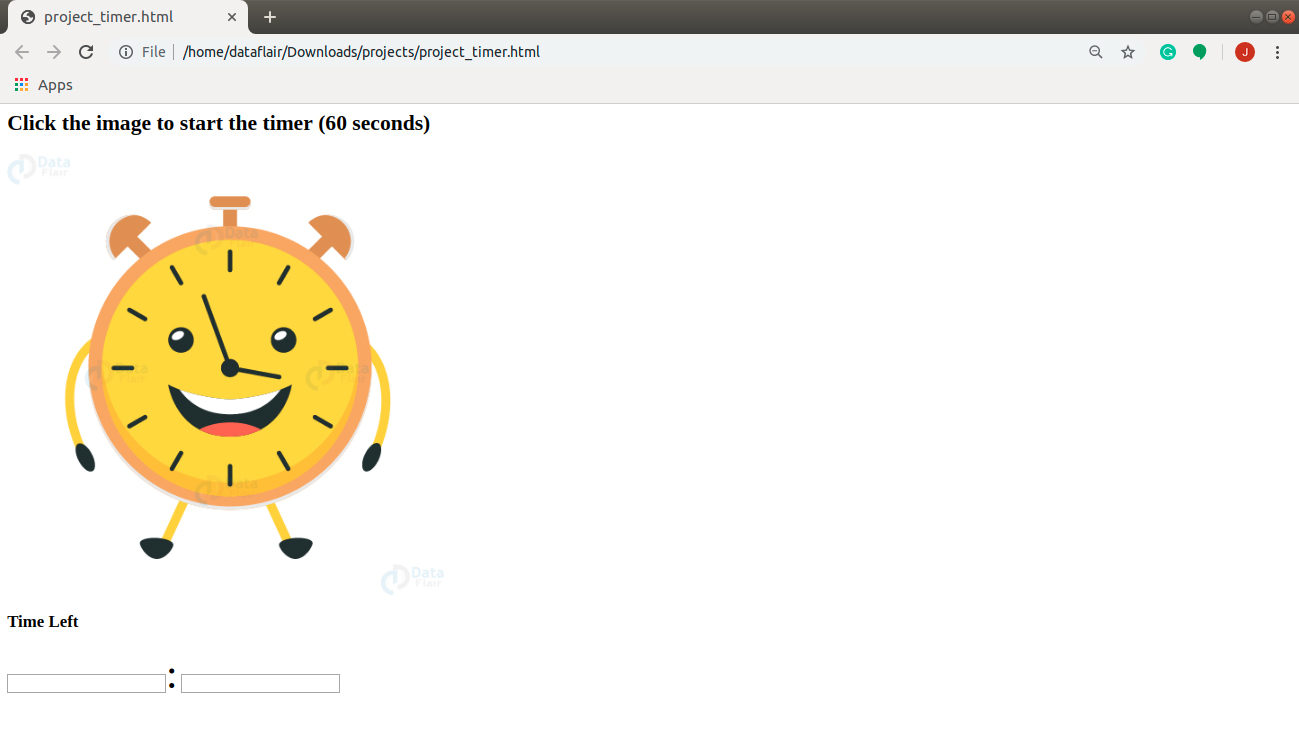
Now it’s time to add some styling to our page with the help of CSS.
2. Add CSS to the Page
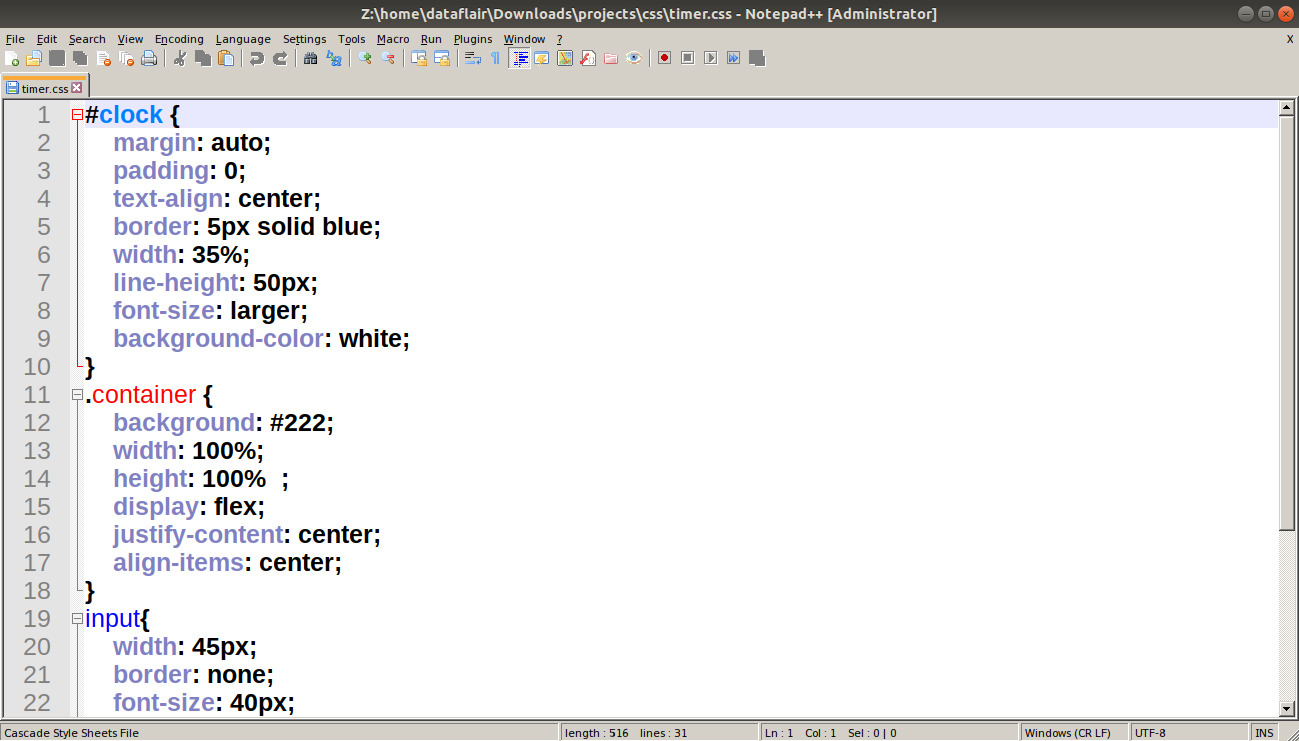
The second step in website creation is designing. The code below contains a specific style, but I would ask you to play with it as much as you can. Hopefully, you are all familiar with CSS since you’re trying the projects. If not, I would recommend you to do that first because we will not discuss the HTML and CSS content in this JavaScript tutorial. So, here’s the code to the CSS file. Name this file as timer.css and save it in the ‘css’ folder that resides in the current folder.
Code:
#clock {
    margin: auto;
    padding: 0;
    text-align: center;
    border: 5px solid blue;
    width: 35%;
    line-height: 50px;
    font-size: larger;
    background-color: white;
}
.container {
    background: #222;
    width: 100%;
    height: 100% ;
    display: flex;
    justify-content: center;
    align-items: center;
}
input{
    width: 45px;
    border: none;
    font-size: 40px;
    font-weight: bold;
    color: black;
}
img{
    width: 90%;
}
body{
    background-color: #333;
}
Screenshot:
After adding CSS, our page looks something like this.
Output:

But the thing is, we only created a static website with HTML and CSS. This means that the timer will not actually work. All it will do is show the page as above forever. But that isn’t what we want, now, right? Okay, so our countdown timer will work when we add JavaScript to our webpage.
3. Splitting the JavaScript code
It’s amazing how many times we use JavaScript, isn’t it? We can achieve so much with just a few lines of code! So, let’s continue to the next step: adding JavaScript. But before going to the complete code, I have split the content of the JavaScript file in sections. This will help you easily understand what is happening.
Starting with an Easy Code
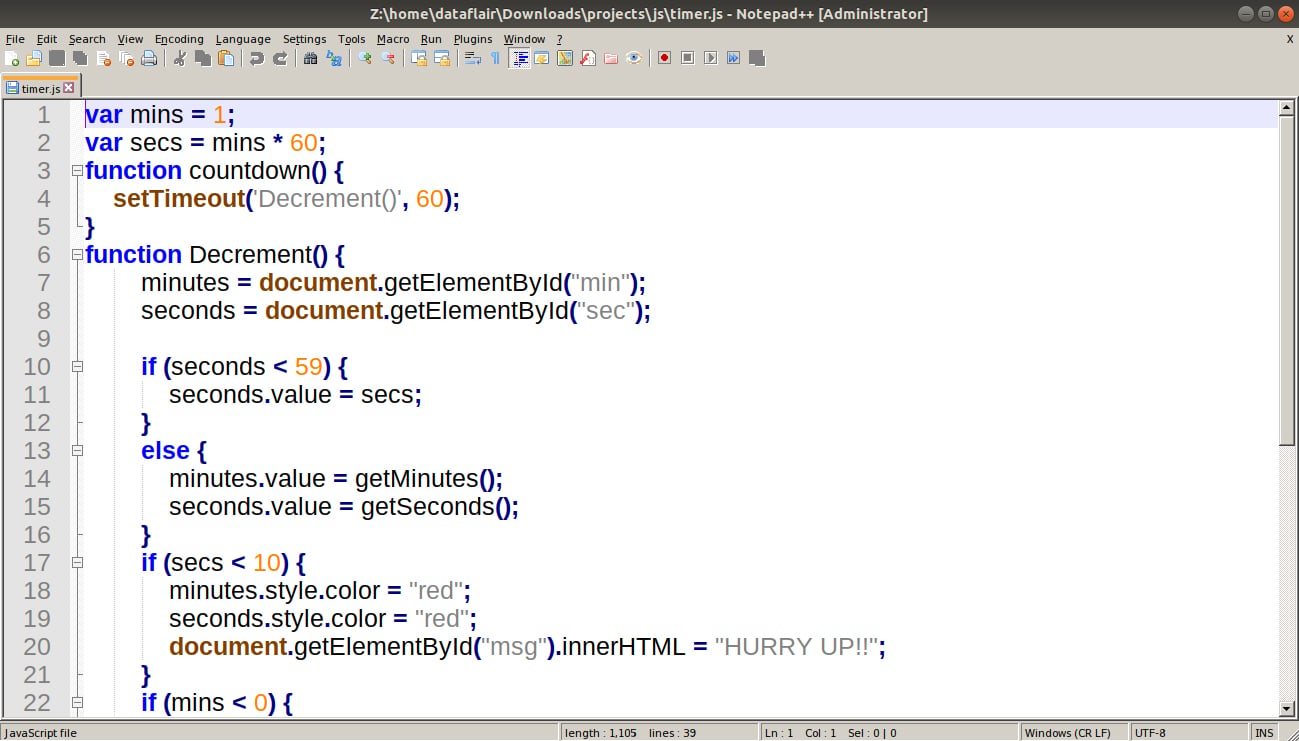
The first thing we need to do is to define the variables and the countdown() function that executes as soon as the user clicks the image. The setTimeout() method in JavaScript calls a function or evaluates an expression after the specified number of milliseconds. In this program, the method calls the Decrement() function after 60 milliseconds.
Code:
var mins = 1;
var secs = mins * 60;
function countdown() {
    setTimeout('Decrement()', 60);
}
Time to revise the concept of JavaScript Functions
The Decrement() function
Next, we will define the Decrement() function in the program that gets the location where we want to display the time in minutes and seconds. The function acts differently when the time remaining is less than 10 seconds. We’ve introduced various conditional statements that execute as the conditions change. We change the colour of the text, get an alert box and change the time displayed on the page. You can alter the code and execute it, noticing what happens when you do so. The function, as defined in the JavaScript file is as follows:
Code:
function Decrement() {
        minutes = document.getElementById("min");
        seconds = document.getElementById("sec");

        if (seconds < 59) {
        seconds.value = secs;
}
else {
        minutes.value = getMinutes();
        seconds.value = getSeconds();
}
        if (secs < 10) {
            minutes.style.color = "red";
            seconds.style.color = "red";
            document.getElementById("msg").innerHTML = "HURRY UP!!";
}
        if (mins < 0) {
            alert('Timeout');
            minutes.value = '00';
            seconds.value = '00';
            document.getElementById("timeBox").innerHTML = "<b>Time's up.</b>";
}
        else {
            secs--;
            setTimeout('Decrement()', 1000);
        }
}
A few more Functions
If you have any trouble understanding any of the concepts, you must check out our JavaScript Tutorial Series. They will equip you with all the knowledge you will need to grasp the concepts of this project. Anyways, the last step is to add two more functions we used in the above function: getMinutes() and getSeconds(). The task of these functions is to get the values of mins and secs from the page and return the equivalent integer value.
The code for them is as follows:
function getMinutes() {
    mins = Math.floor(secs / 60);
    return mins;
}
function getSeconds() {
    return secs - Math.round(mins * 60);
}
Okay, I hope you are clear with all the functions we defined above. If you understand all of them, move onto the complete code. If not, try to understand what is happening before you proceed. This is because it will be easier for you to experiment with the code if you understand what the code actually means.
4. Our favorite part – using JavaScript!
Let’s combine all the code from the previous section and watch how it all turns out. Save this file with the name timer.js in the js folder. The js folder must be located in the current folder containing the HTML file. This is the standard procedure to save all the external files while creating a webpage. But, if you decide to save it in a different folder, it’s alright as long as you remember to mention the correct location in the HTML file. The complete JavaScript code to create the webpage with a countdown timer is as follows.
Code:
var mins = 1;
var secs = mins * 60;
function countdown() {
    setTimeout('Decrement()', 60);
}
function Decrement() {
        minutes = document.getElementById("min");
        seconds = document.getElementById("sec");

        if (seconds < 59) {
            seconds.value = secs;
        }
        else {
            minutes.value = getMinutes();
            seconds.value = getSeconds();
        }
        if (secs < 10) {
            minutes.style.color = "red";
            seconds.style.color = "red";
            document.getElementById("msg").innerHTML = "HURRY UP!!";
        }
        if (mins < 0) {
            alert('Timeout');
            minutes.value = '00';
            seconds.value = '00';
            document.getElementById("msg").innerHTML = "Time's up.";
        }
        else {
            secs--;
            setTimeout('Decrement()', 1000);
        }
}
function getMinutes() {
    mins = Math.floor(secs / 60);
    return mins;
}
function getSeconds() {
    return secs - Math.round(mins * 60);
}
Screenshot:
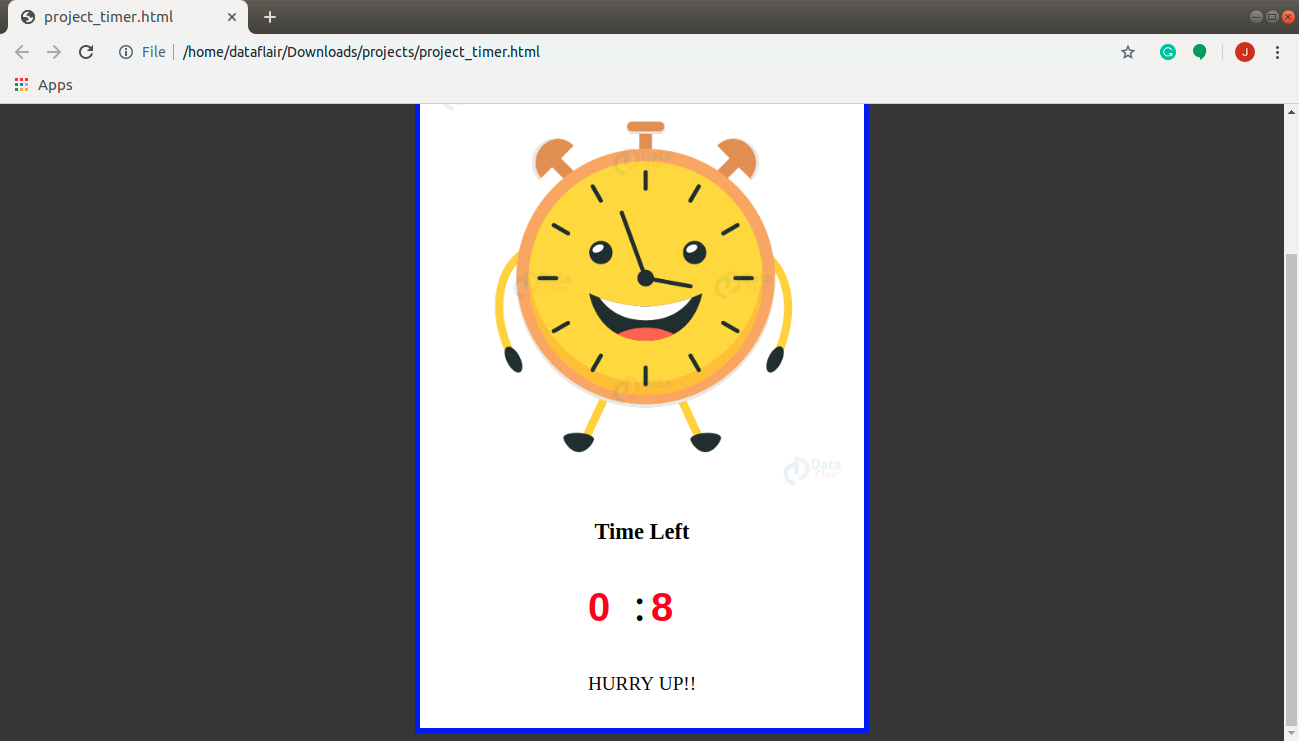
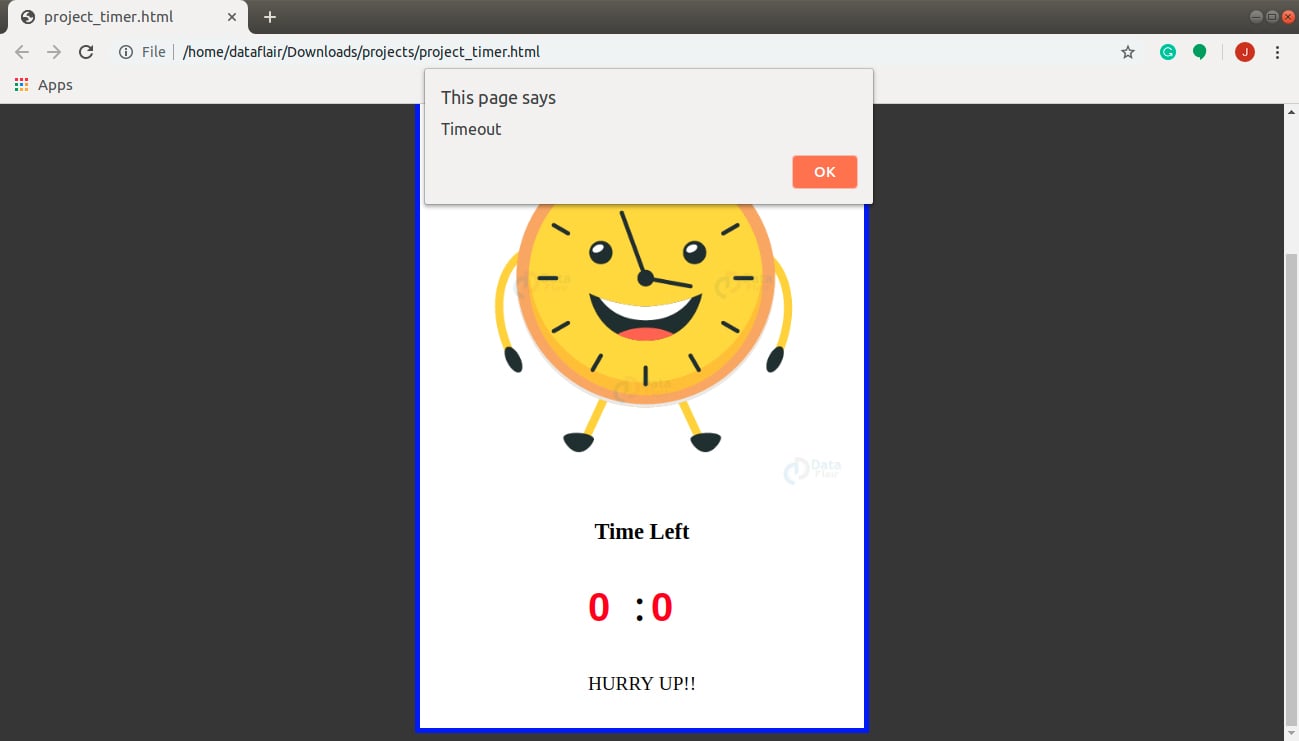
This will get your clock into motion as soon as you click the clock image. It will also change its color as soon as you cross the 10-second mark of your clock. The text also changes when the session expires (after the alert box appears). Before clicking the clock, the page will look the same as it did when we added the CSS.
Output (just after clicking the clock):

Output (after a few seconds):
Output (when less than 10 seconds are left):
Output (after time finishes):
In this project, we predefined the time we wanted the timer to have. You can easily alter that time to manually set the time. If you get stuck, go back to the JavaScript DataFlair Tutorials and revise the concepts. See where your code failed. You can use the browser console to debug your code. With practice, you will be able to customize the countdown timer as you need.
Summary
In this JavaScript tutorial, we worked on the project of creating a countdown timer. Since now you understand the steps to create a countdown timer in JavaScript, you can use the other concepts you learned in JS and modify the code. See if that works or not; if not, then try to find the reason behind it.
“The best way to master any programming language is to practice as much as you can and there is no better way to do so than building a project”
One more project to become the master of JavaScript Language – JavaScript Project on To-do List
Your opinion matters
Please write your valuable feedback about DataFlair on Google


