How to Create Universe in SAP HANA using Information Design Tool in 10 Mins
Job-ready Online Courses: Knowledge Awaits – Click to Access!
Now, we are going to learn about the universes in SAP HANA. In previous tutorials of reporting in SAP HANA, we have come across the term “Universe” many times.
You must be wondering, what exactly is Universe? And why is it needed by reporting tools? We will answer all the questions and guide you to create a universe in SAP HANA using the Information Design Tool (IDT).
What is BusinessObjects Universe?
From earlier tutorials, we know that there are two ways in which the reporting tools can connect to SAP HANA. One way is a direct OLAP connection and another is an indirect relational connection.
In the relational connection type, reporting tools fetch data from a universe layer instead of connecting directly to SAP HANA. Thus, SAP BusinessObjects Universe acts like a middle layer between reporting tools and SAP HANA.
A universe contains data foundation layer which holds data tables with joins and conditions applied to them (much like information views). Business Reporting tools such as WebI, Crystal Reports for Enterprise and Dashboard designer use Universe as an intermediate layer to connect to SAP HANA.
Although, in the current versions of Web Intelligence (WebI), the provision of connecting directly to SAP HANA has been introduced.
Benefits of Creating a Universe in SAP HANA
By using the universe layer to use data from SAP HANA, the user benefits in many ways:
- Offers higher output customization for business users.
- Can use query time prompts and variables.
- Data integration of data from HANA with data from other data sources by the virtue of embedded multisource technology.
- Enables data modeling in the Information Design Tool.
Steps to Create a Universe in SAP HANA using IDT
Follow the steps given in this section to learn how to create a universe in the Information Design Tool (IDT) of SAP HANA.
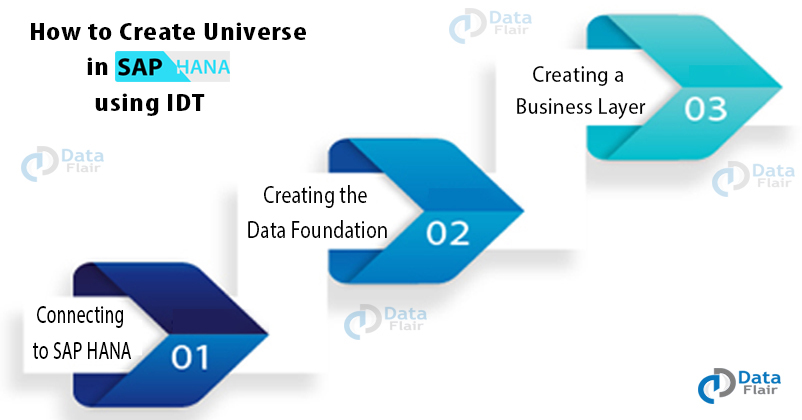
1. Connecting to SAP HANA
We’ll have to create a new project before we start with making a universe.
Step 1. On the Information Design Tool page, go to File and click on New and then click on Project.
Step 2. Name the project (Project Name), suppose we name it Dtf_Demo_Connection. Then, click on Finish. All the resources required for universe development will store under this project. You can also change the location of this file from the Project Location column.
Next, we need to establish a connection with SAP HANA. You can either make a relational connection (connecting to tables) or an OLAP connection (connecting to views). We have selected a relational connection.
Step 3. To create a relational connection, right-click on the name of your project > New > Relational Connection.
Step 4. Name the connection (Resource Name) and add a Description if you like. Click on Next>.
Step 5. Select the HANA specific driver from the Database Middleware Driver Selection dialog box. Click on Next> to continue.
Parameters for SAP HANA Database Connection
Step 6. Enter the connection details like Authentication Mode, User Name, Password, Host Name, Instance Number, etc. Click on Next.
Step 7. You can manipulate more connection settings in the next window such as Connection Pool Mode, Pool Timeout, Array Fetch Size, Array Bind Size, Login Timeout, JDBC Driver Properties. Then, click on Finish.
Thus, the connection to SAP HANA will be successfully made. You can click on Test Connection to confirm the connection.
2. Creating the Data Foundation
To create a universe, we need to start with making a data foundation. The main universe is created here as we get to define tables, create joins and associations between tables, apply filter conditions, etc.
Step 8. In the Information Design Tool, right-click on the name of your connection (Dtf_Demo_Connection) and select New Data Foundation.
Step 9. Name the data foundation (Resource Name). For the sake of understanding, we will name the data foundation “Dtf_Demo_DF”. Then click Finish.
Step 10. Now, you get to see all the tables that exist in the HANA database under the Connection tab on IDT. You can select a node and expand it to see the tables within it.
To add tables into the universe, drag and drop the tables in the Master area on the right.
Join two tables by pulling the cursor between two fields of the tables that you wish to join.
Step 11. You can edit the join properties by double-clicking on the join. You can set the join condition, create a shortcut join, outer join for the left or right table, view the expression and cardinality of the join.
Step 12. Click on the save icons on the bar (on IDT main page) to save the newly created data foundation.
3. Creating a Business Layer
Next step is to create a business layer on top of the data foundation we built.
Step 13. Right-click on the name of the data foundation (Dtf_Demo_DF in our case) and select New Business Layer.
Step 14. Then enter the name of the business layer. For instance, we give the name “Dtf_Demo_BL”. Click on Finish.
This will fetch all the classes and objects based upon the tables we selected in the data foundation (in the Business Layer section). You can select an object and view the Name, Description, Field Type, Data Type, SQL Definition, Keys, Advanced Operations, Source Information, etc and edit them.
You can also manipulate the SQL script using SQL assistant.
This way our business layer is ready.
Step 15. Now, before we save our business layer to BO repository, we need to secure our connection by publishing it on the repository.
To publish the connection, right-click on the connection name (Dtf_Demo_Connection.cnx) and select Publish connection to a repository.
Then, click on Finish.
This will create a secure .cns (Dtf_Demo_Connection.cns) connection.
Step 16. Next, we’ll change the connection of data foundation to the secure .cns connection.
Step 17. Now, finally, we will publish our business layer to a repository. To do this, right-click on the name of your business layer (Dtf_Demo_BL) then select Publish and then click on To a Repository.
You can check the integrity as you like. Click Next>.
Step 18. Select the folder in which you want to store it. Click on Finish and your universe is published successfully.
Summary
This concludes our lesson on SAP Business Objects Universes. Here we learned the basics of the universe and how to create a universe in IDT using data from SAP HANA.
We hope you found the explanation helpful. In case of any queries or suggestion drop your comments in the comment section below.
If you are Happy with DataFlair, do not forget to make us happy with your positive feedback on Google


