Tables in SAP HANA – Easy Steps to Create Tables Using SQL Console & Modeler
Interactive Online Courses: Elevate Skills & Succeed Enroll Now!
In this tutorial, we will learn how to create tables in SAP HANA within schemas. We will also learn about the types of tables and creating them using SQL Console and SAP HANA Information Modeler. So, let’s start by discussing the types of tables.
Types of Tables in SAP HANA
Tables can be created in SAP HANA to store data from different data sources connected to SAP HANA. Every schema has a table folder under which tables get creates. In SAP HANA, there two ways to create a table and there are three types of tables which you can create:
A user can create three types of tables in SAP HANA.
- Column Table: The column tables stores data in a columnar (vertical) fashion. The column tables are the most suitable objects and are set as the default table type in SAP HANA. That is all the tables that get replicates, save as column tables. Also, column tables are fast in accessing and occupies less storage space as they are highly compressed.
- Row Table: The row tables, as opposed to column tables, arranges in a horizontal fashion storing data in rows. We mostly use these tables to store metadata, system parameters and system statistics. In some cases, row tables are more efficient than column tables, but from a performance point of view in SAP HANA, column tables are preferred.
- Type Table: The type tables are specifically for passing parameters and used when a user creates a calculation view using SQL statements.
Ways of Creating Tables in SAP HANA
There are two ways of creating tables in SAP HANA. One method is a command line method, where you use the SQL console to write an SQL script and create a table.
The second method is a GUI based method where you use a graphical interface to create a table. Let us learn about the two methods in detail.
1. Using SQL console
Firstly, login into the SAP HANA system using the login credentials. We have shown sample usernames for the sake of understanding.
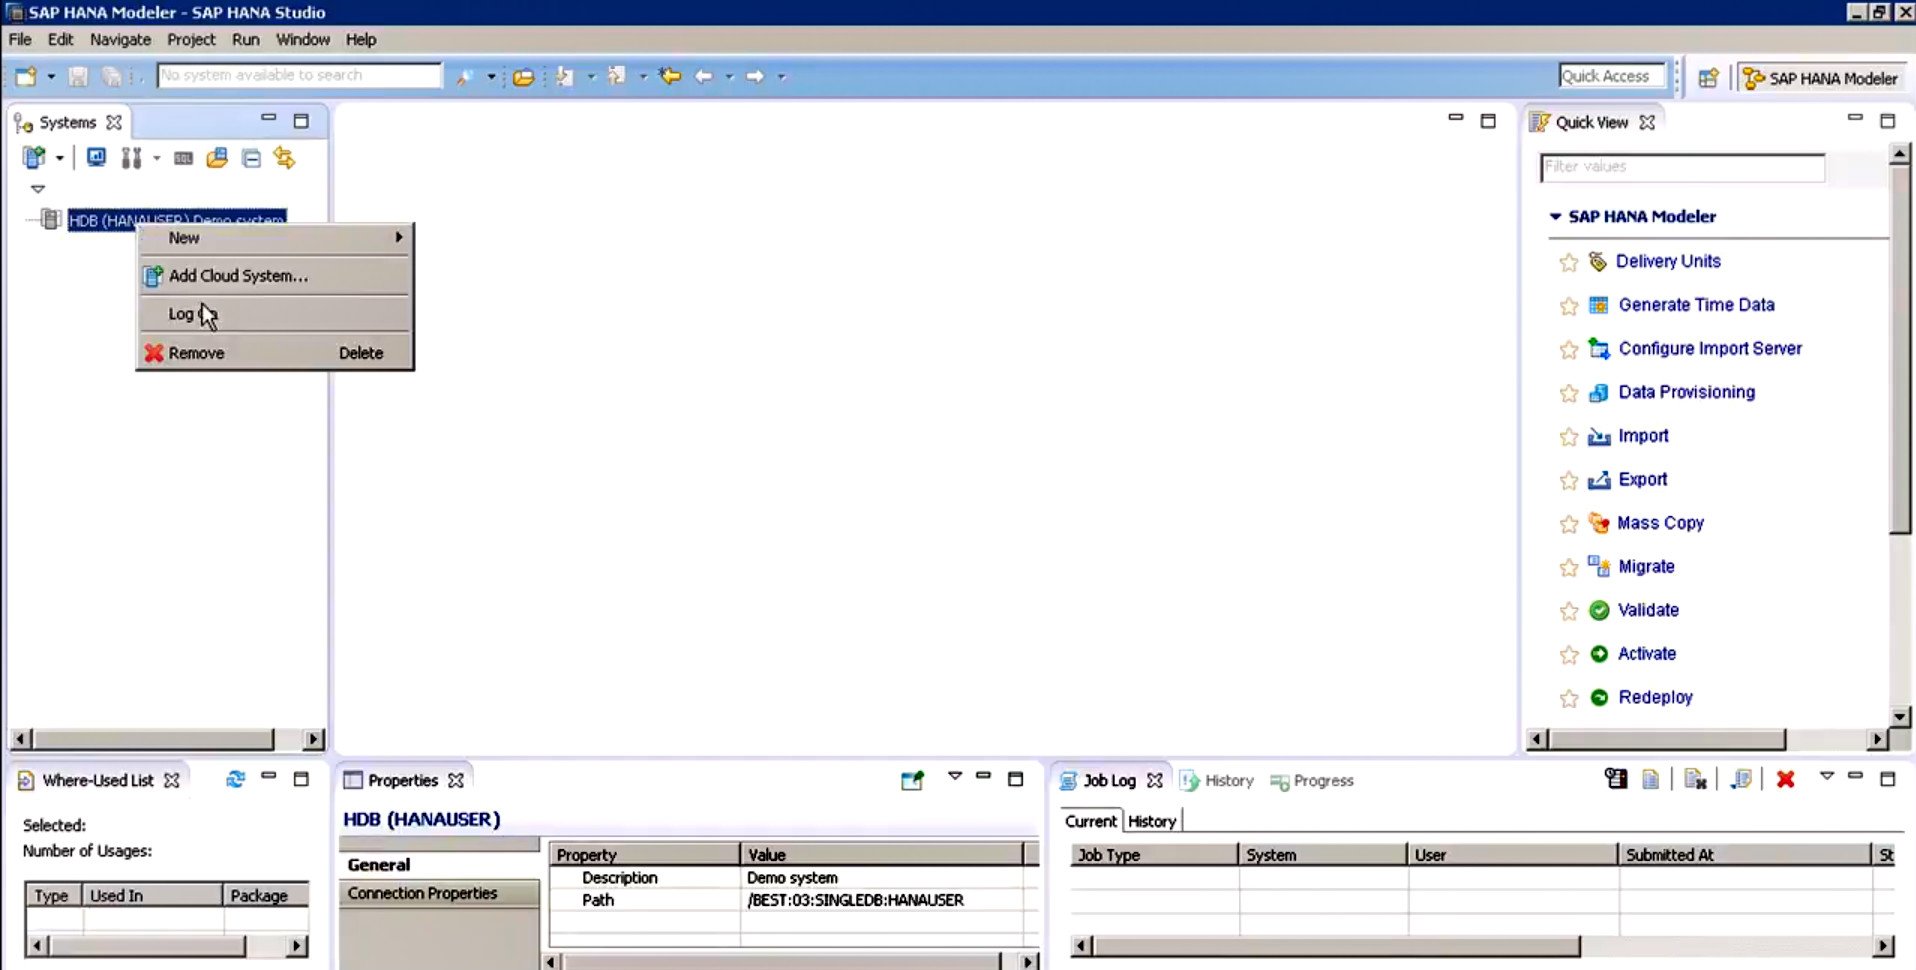
Login Option in Information Modeler
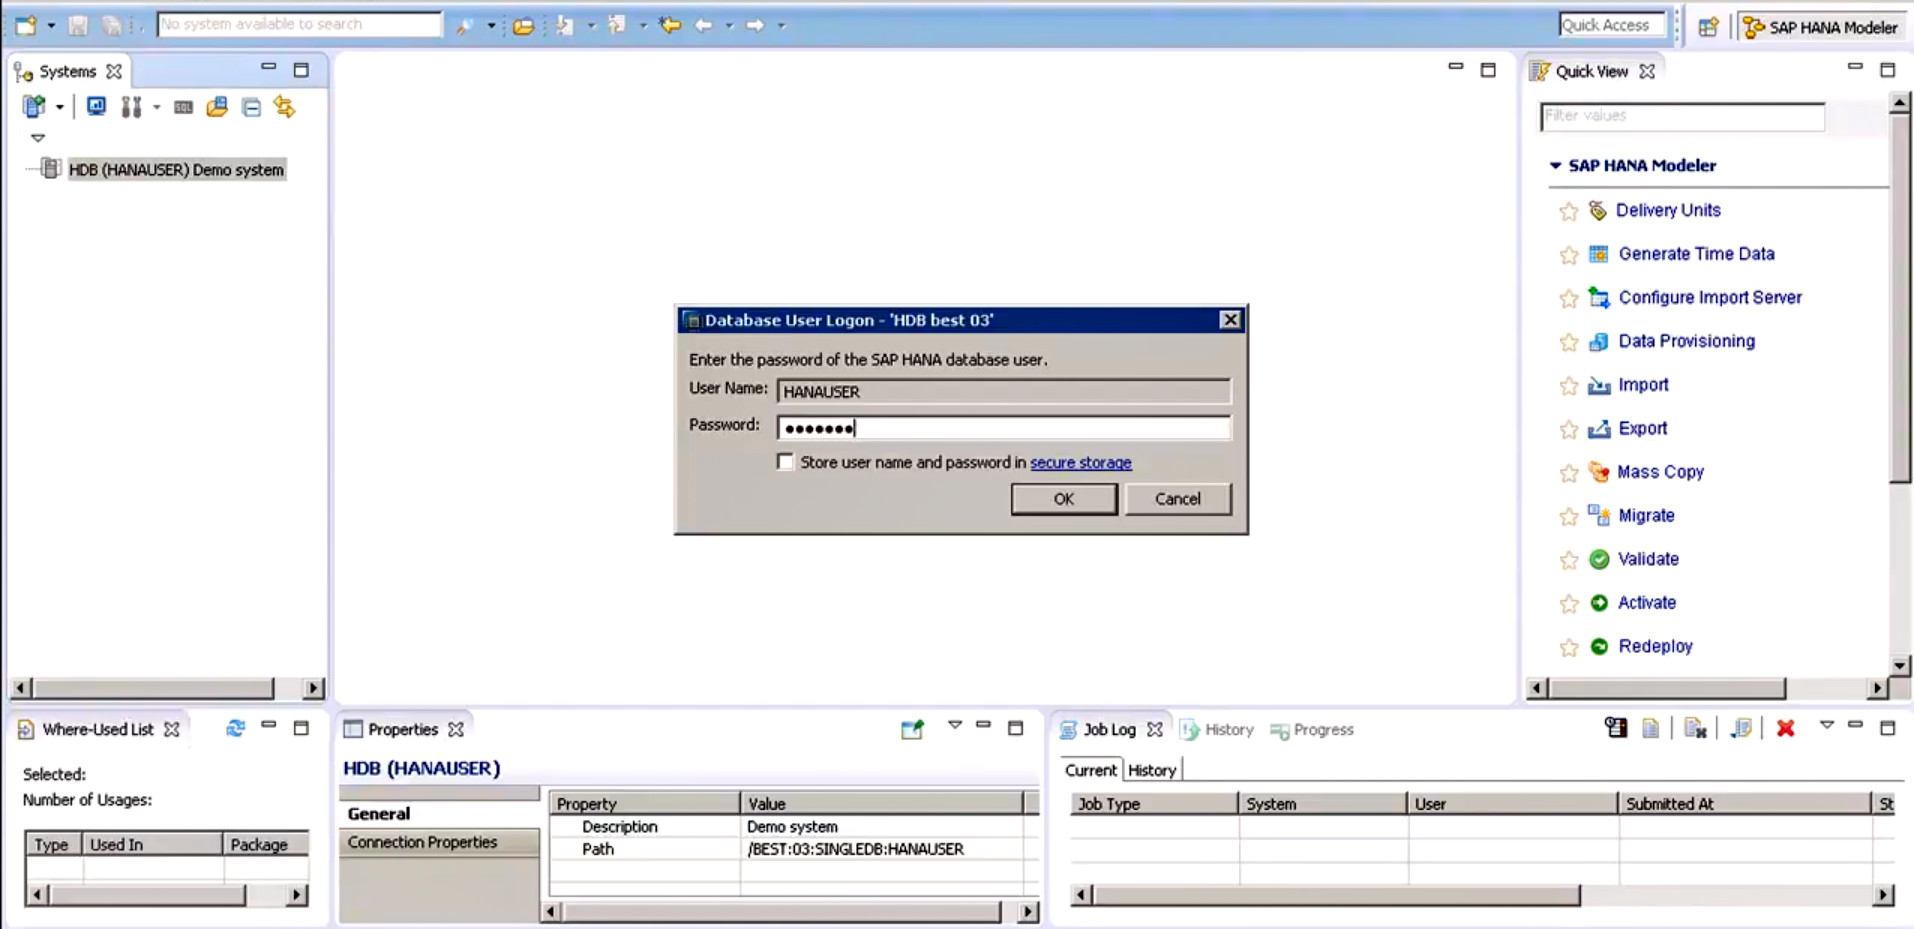
Entering User Name and Password
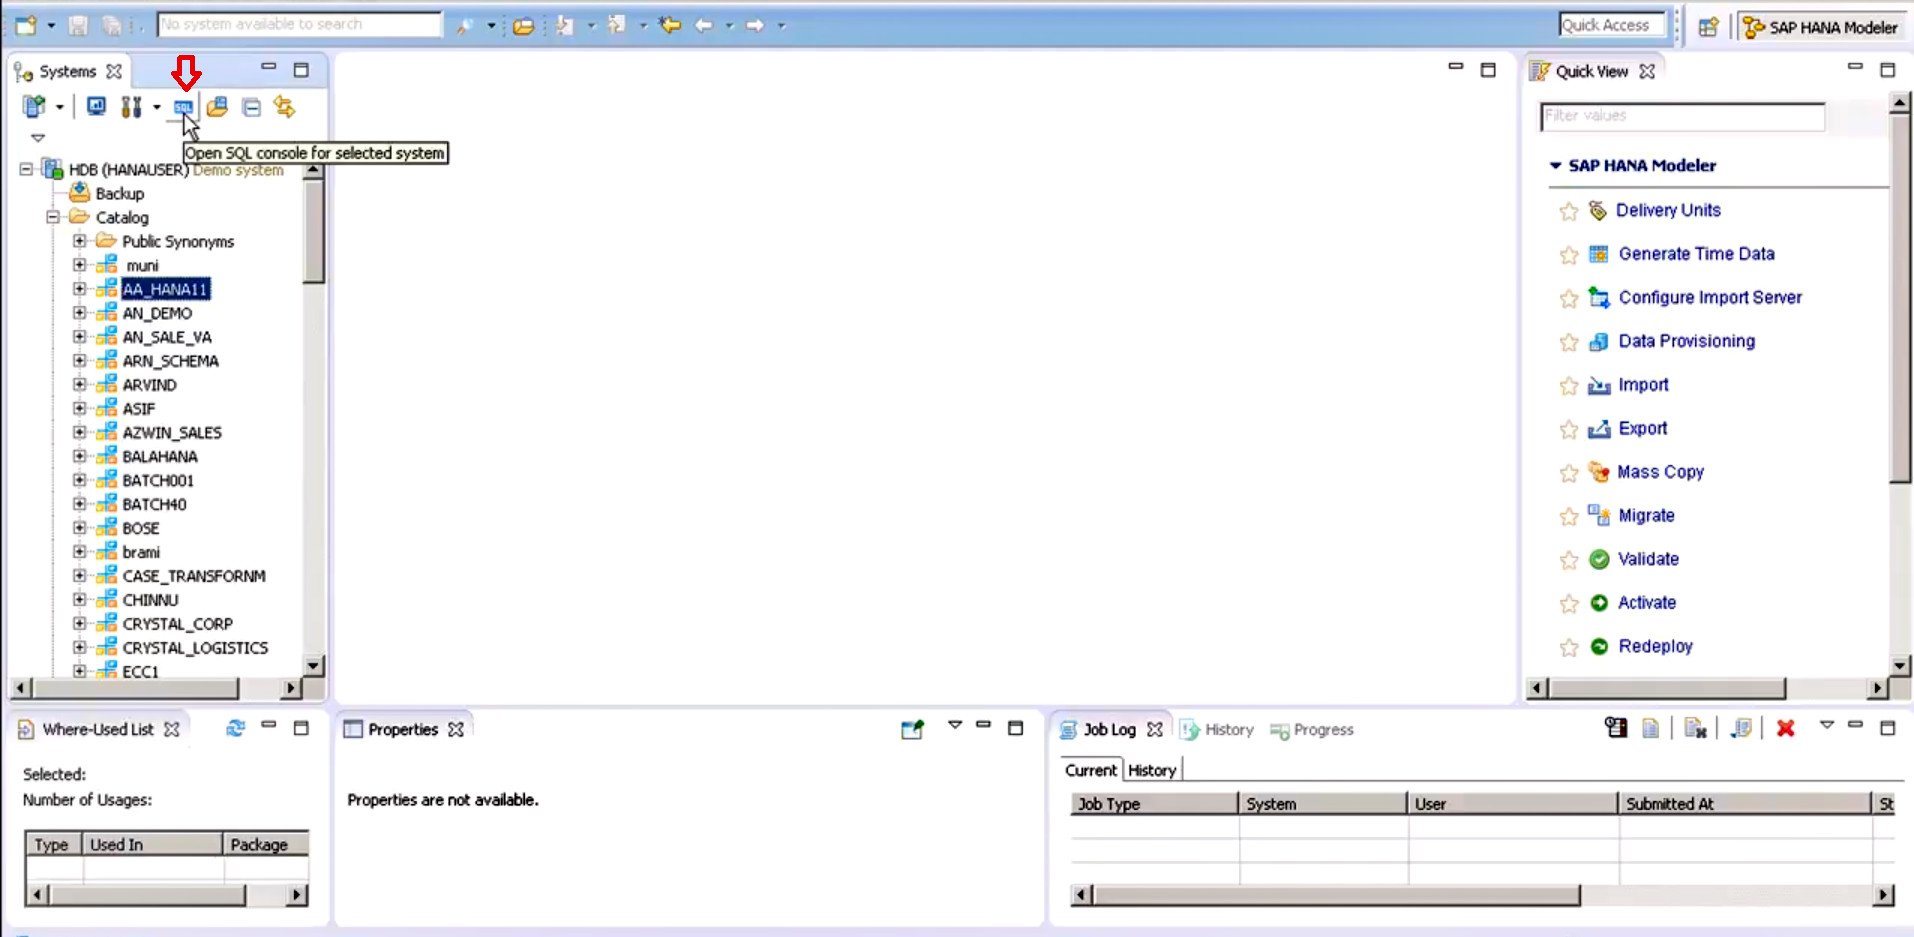
Step 1: After logging in to the system, open the SQL Console/Editor from the icon that the arrow indicates in the image. You can also open the SQL Editor by right-clicking on your system or schema and selecting SQL Editor option.
 Step 2: In the SQL console, write the SQL statement for creating a table.
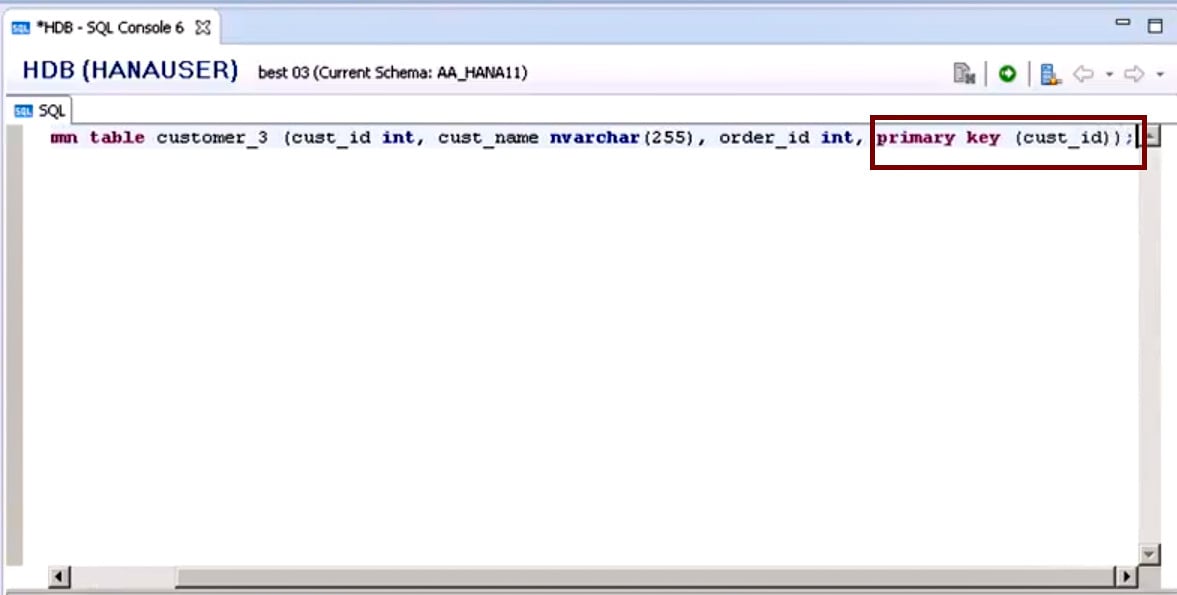
The syntax for creating a table is:
create <table type> table <table name>(<field name1> <data type>, <field name2> <data type>, …..);
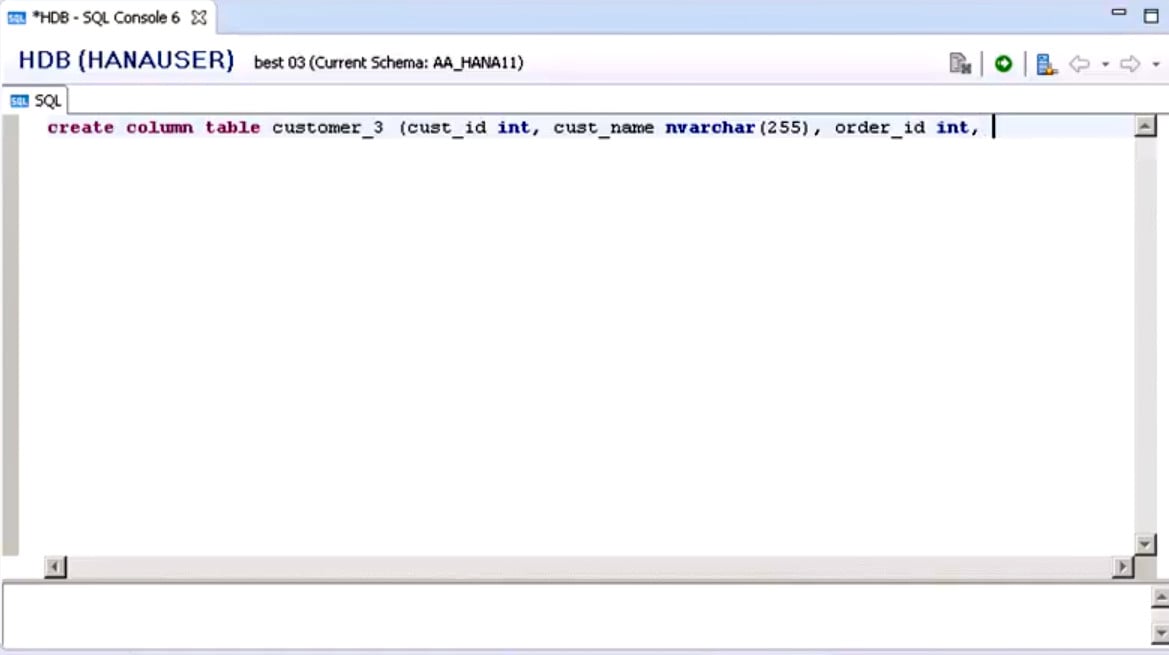
In the image shown above, it is a Column type Table naming customer_3. At the end of this statement, you must also specify the primary key.
You can also create a Row Table by mentioning the table type as Row Table in the statement.
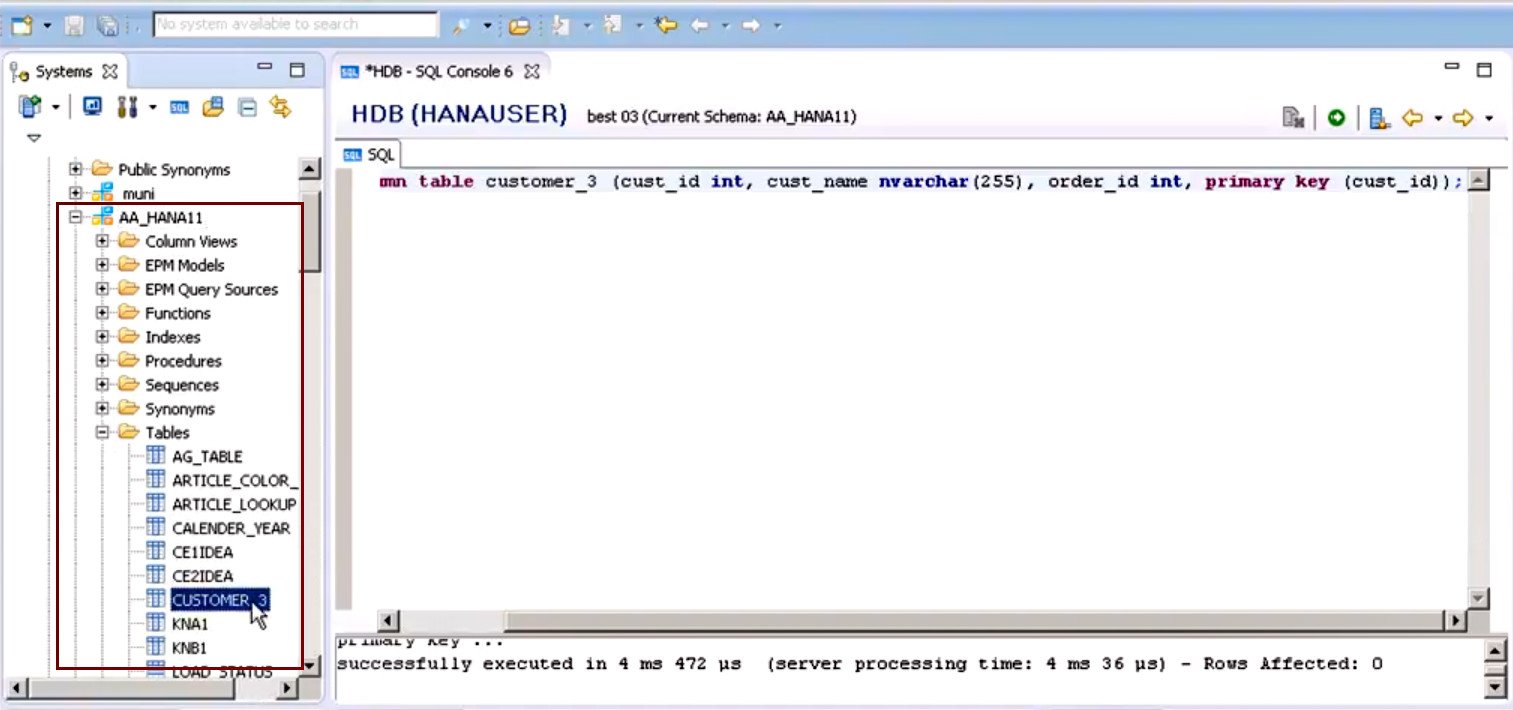
Step 3: Execute the newly created table by clicking on the execute button or pressing F8 key.
 Step 4: Once the execution carries out successfully, you can refresh the schema under which the table is made and find the name of the table in the Tables folder.
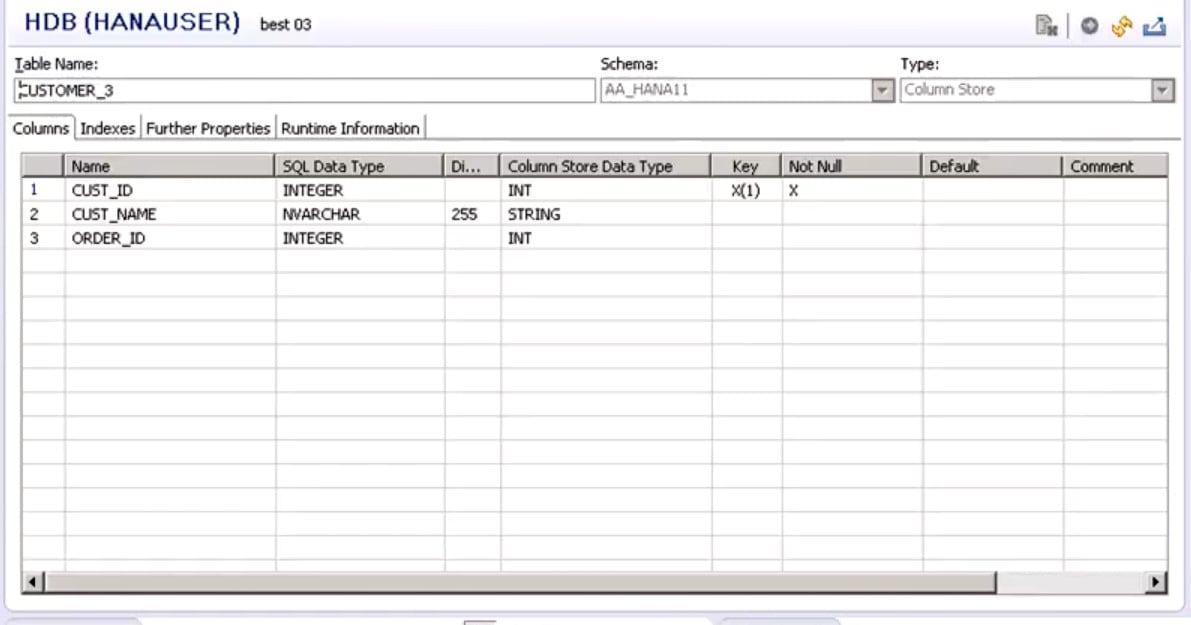
 Step 5: You can click on the table name to open the table and look into it.
 Note: To insert data in the table, write the SQL statement for which the syntax is:
INSERT INTO <table name> VALUE (‘<valueforfield1>’,’<valueforfield2>’…);
To select a data table:
SELECT*FROM <table name>;
2. Using GUI/Information modeler
In the GUI based method, you just have to enter some details in an empty tabular structure.
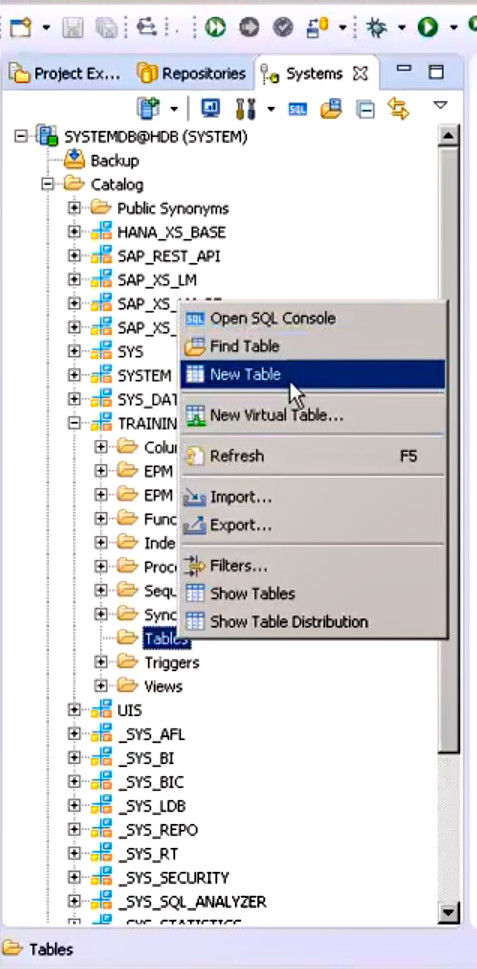
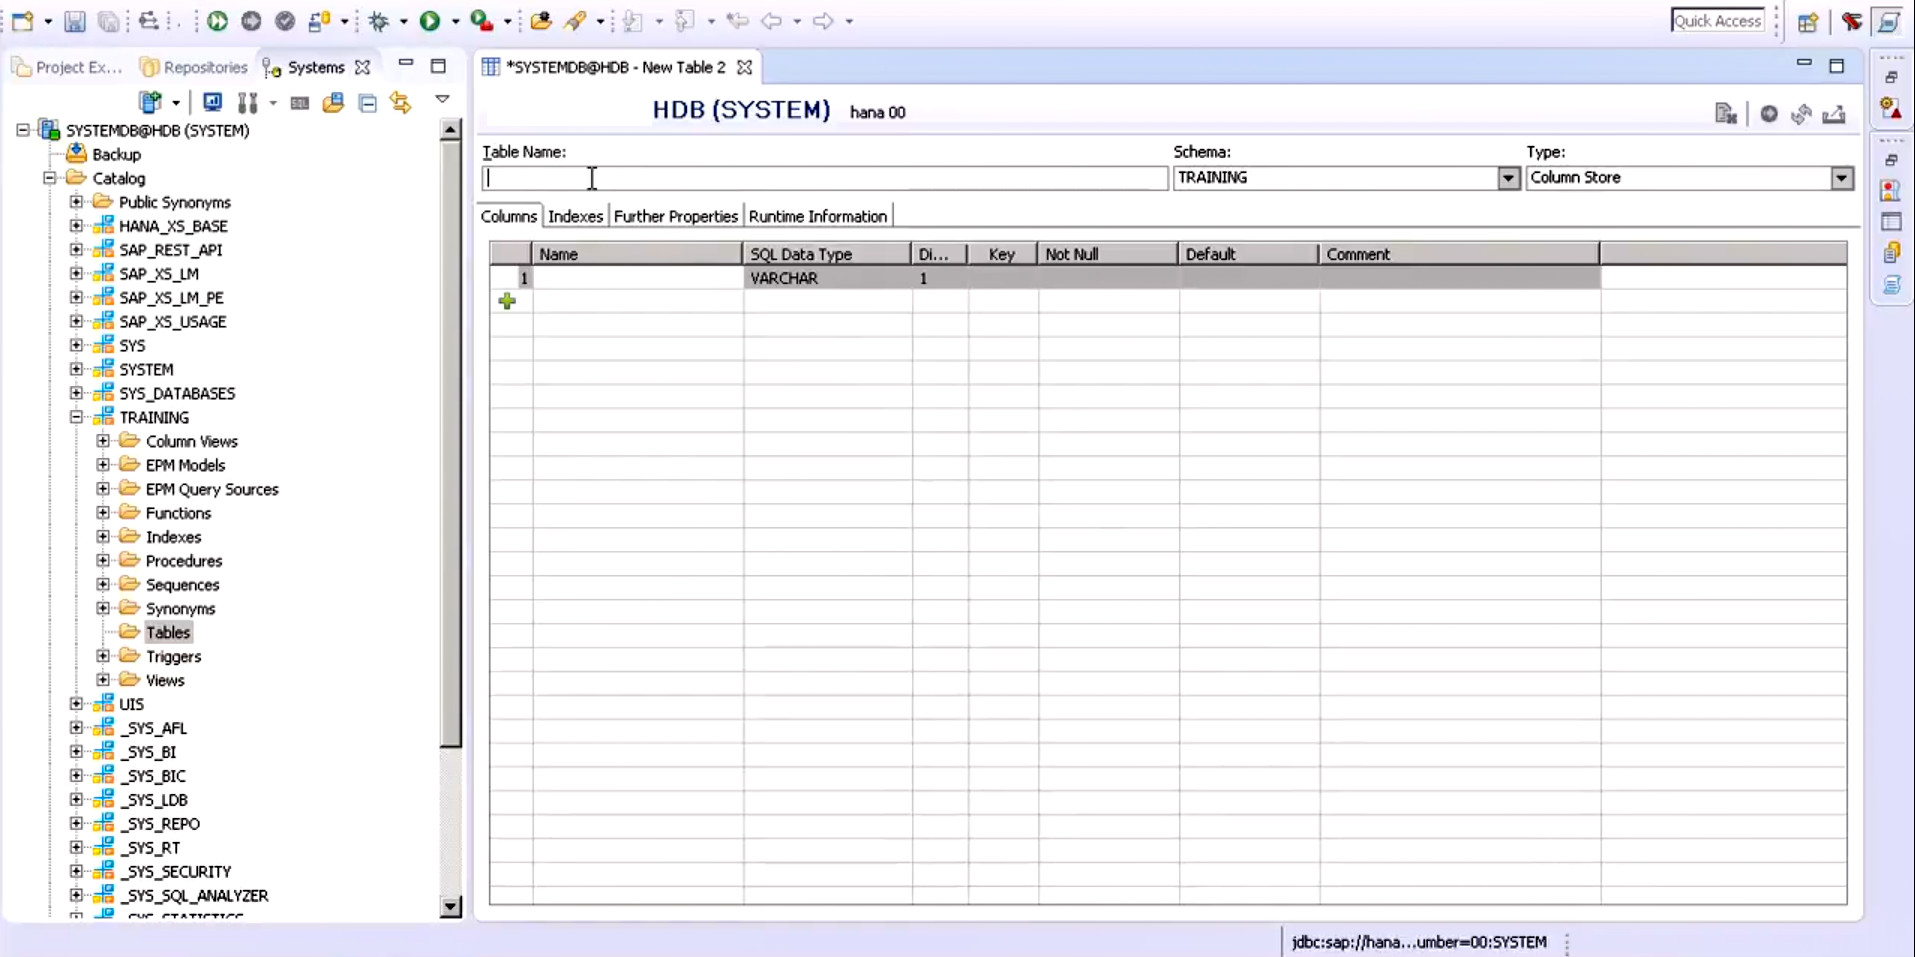
Step 1: Right-click on the Tables folder under the schema you want to create tables in. Click on New Table.
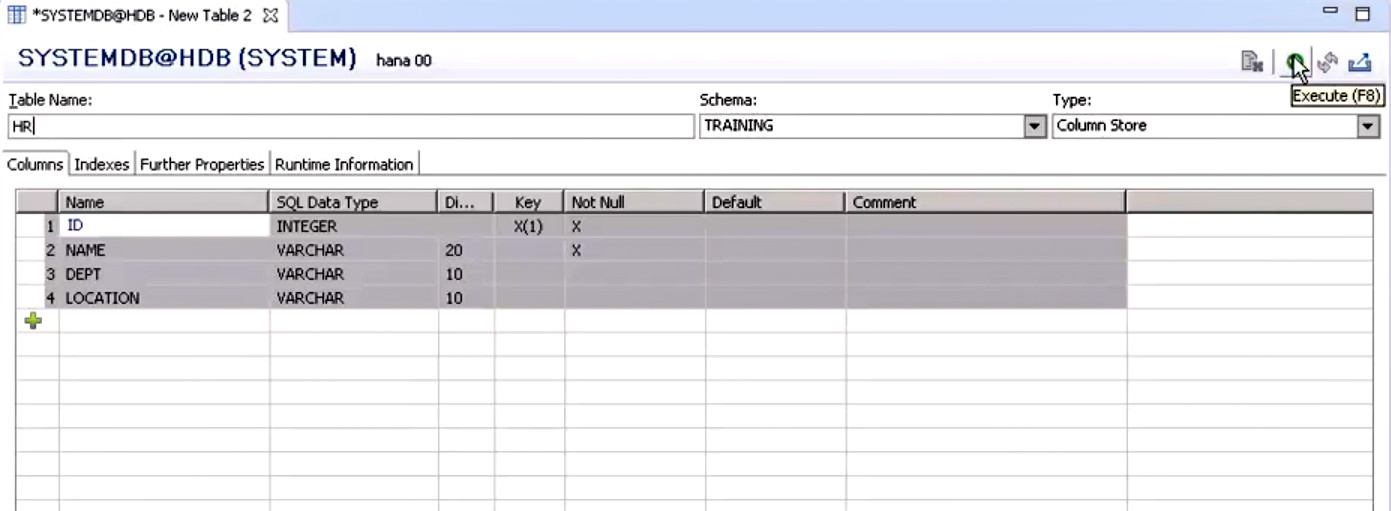
 Step 2: A table editor will open where you just need to enter relevant details like table name, table type, and schema.

Dimensions of Table
Step 3: Next is creating the main table where you enter details like column name, SQL data type, dimension, assign a primary key column, select columns as not null, add a default value, comments.
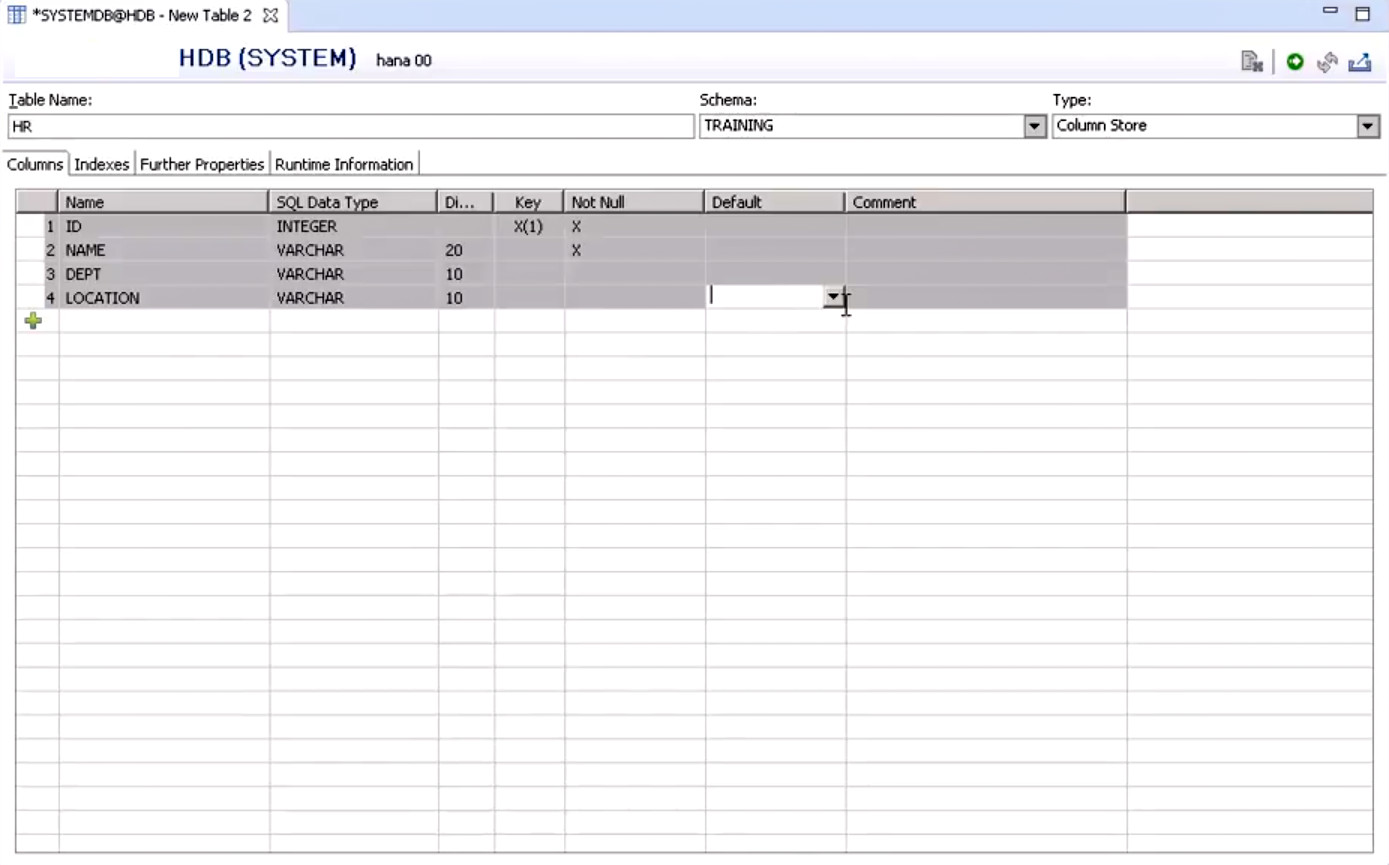
Default value of Table
Step 4: The table editor has other tabs as well, such as an Indexed column, Further properties column, Runtime Information column containing different information and details about the table created.
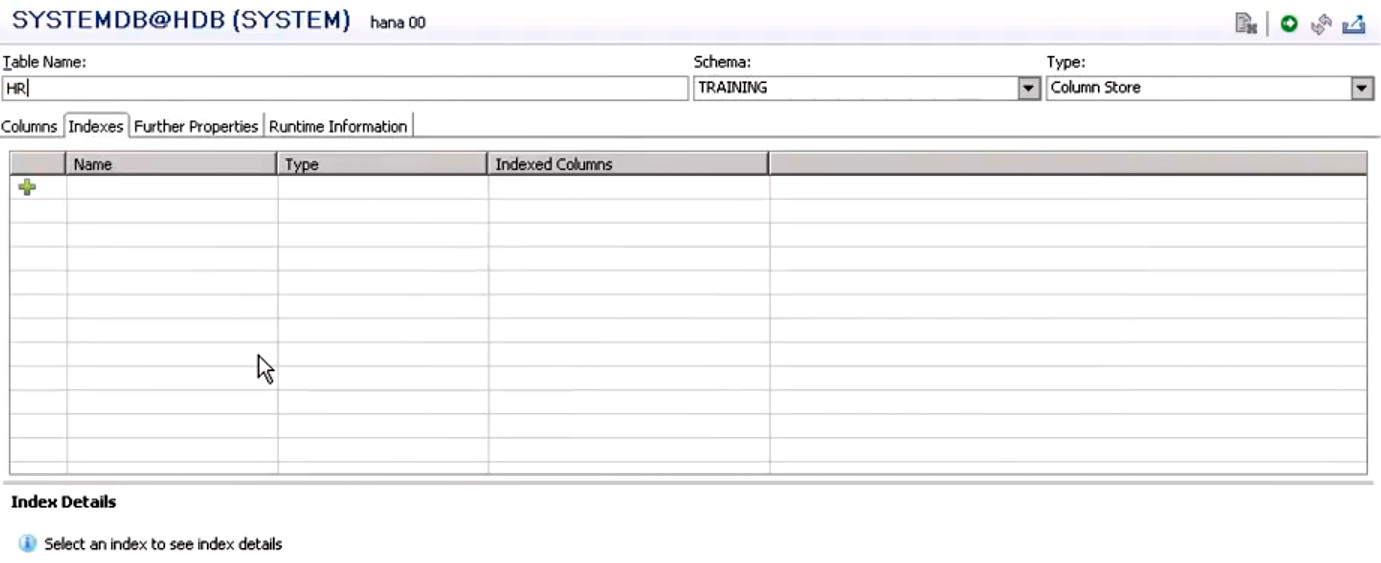
Indexes Column of Table Editor
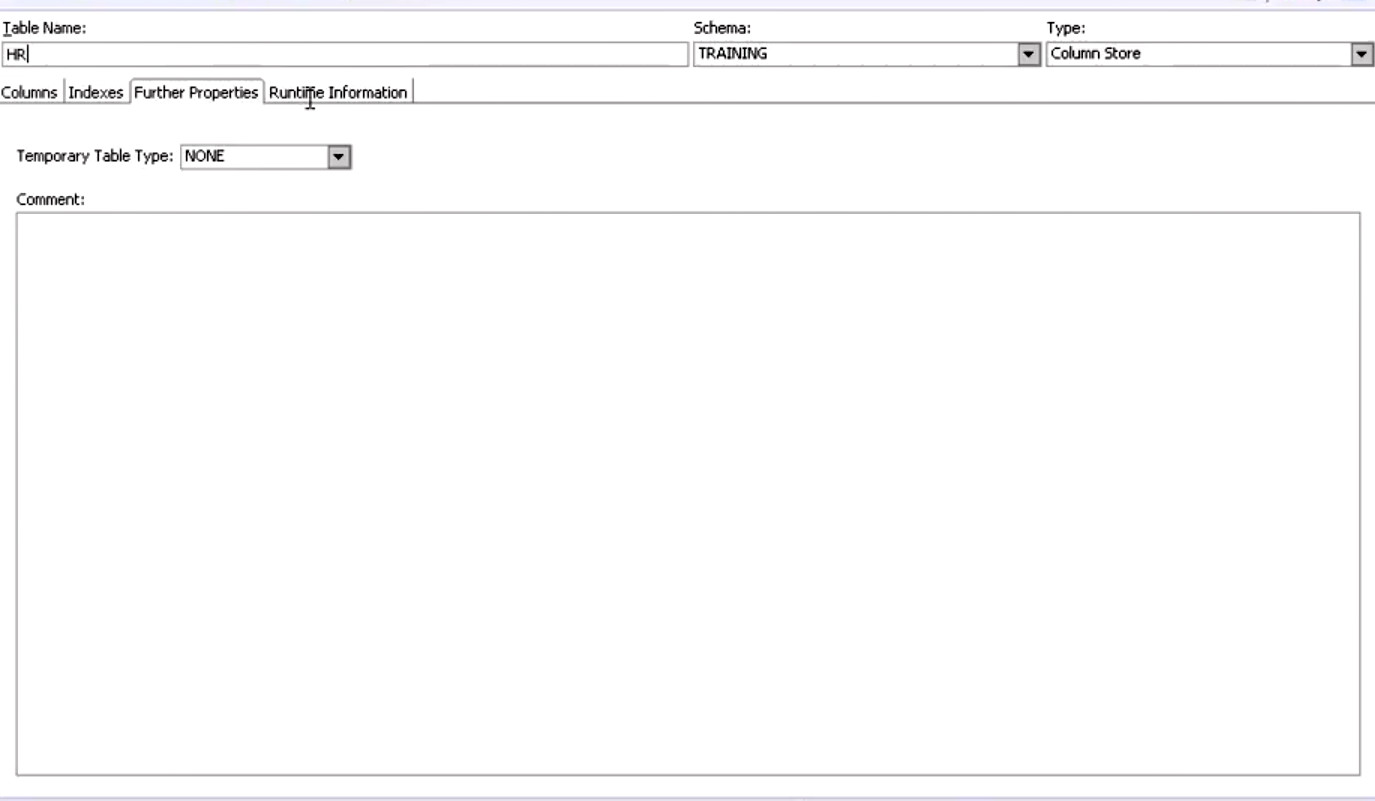
Further properties column of Table Editor
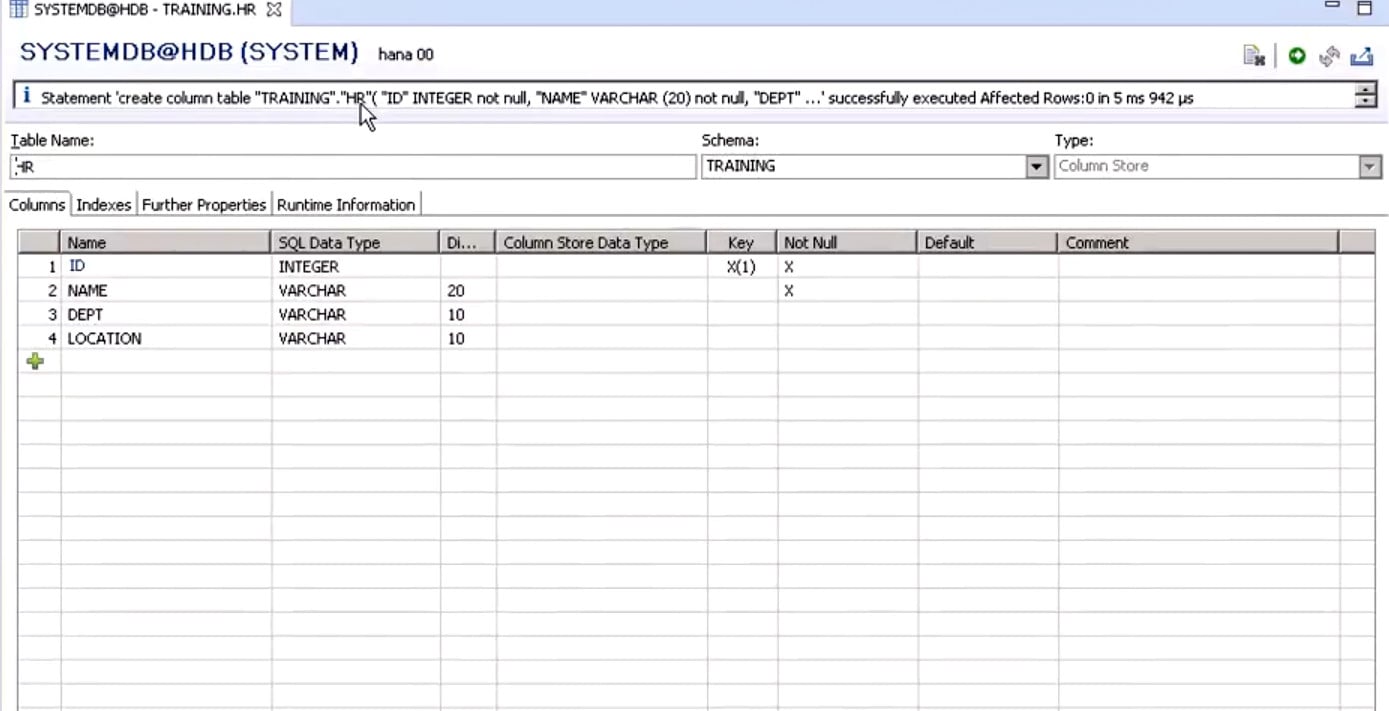
Step 5: Once you enter all the details for the table, execute it by pressing F8 or clicking on the Execute button on the bar.
 Step 6: Upon successful execution, you will see a final table.
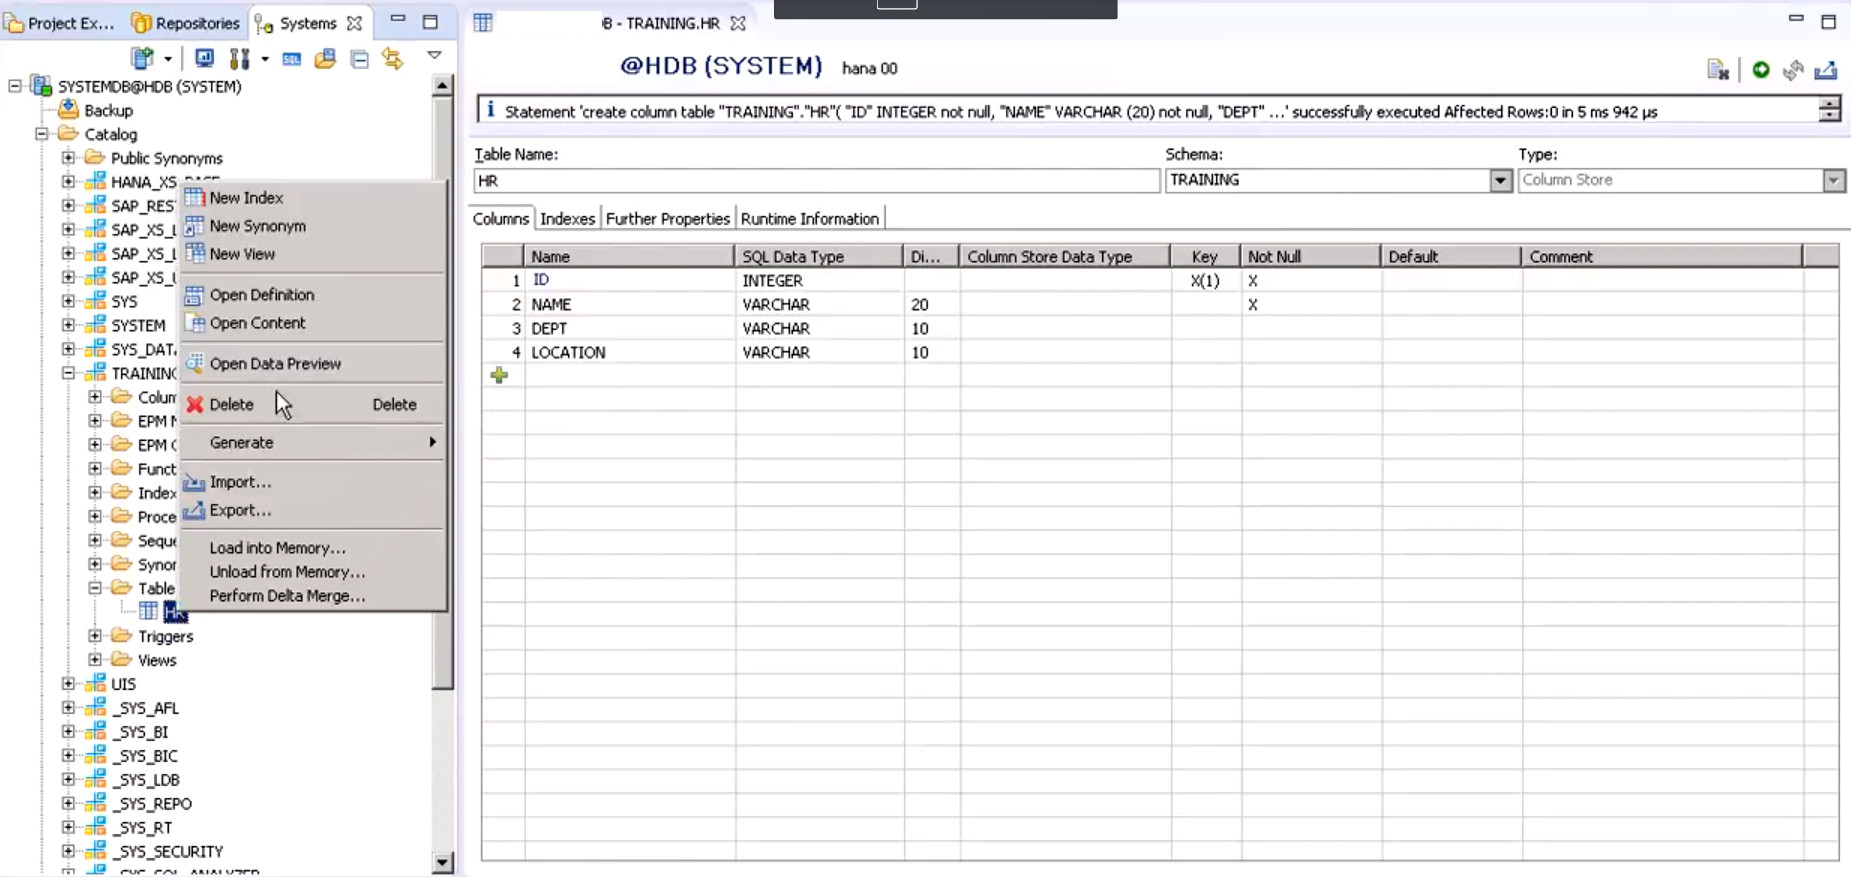
Step 7: Also, you can find the newly created table in the Tables folder.
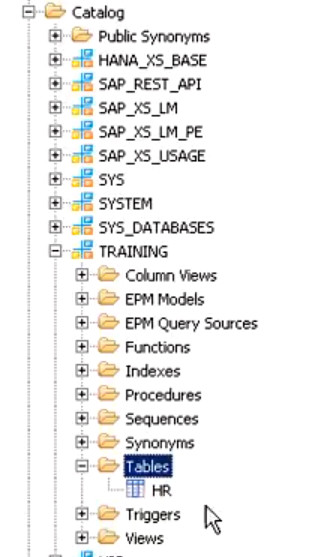
You can right-click on the table name to get different options for the table.
Summary
So, this is how we create tables in SAP HANA. It is a crucial skill to learn because you will get to deal extensively with databases and data tables and require it for creating information models and organizing data.
Do let us know if you have any queries or suggestions in the comment box below.
If you are Happy with DataFlair, do not forget to make us happy with your positive feedback on Google


I see that naming tables does not need to have a naming convention like we have in AS ABAP(Z/y)?
Good info but screenshot is not clear.