HTML Computer Code Elements
Full Stack Web Development Courses with Real-time projects Start Now!!
During web-site development, there is sometimes a need to display code. This could be a tedious task if we consider styling of the text to match the code’s presentation. HTML Computer codes are displayed in a different text style and formatting in an HTML document. HTML5 provides a variety of elements to display computer codes. The <code> tag is the most widely used element. In this article, we will learn about HTML Computer Code elements.
HTML Computer Code Elements
HTML code written within the following tags has a different font-size and style, as opposed to the normal headings and paragraphs.
1. HTML <code> tag
The <code> tag displays a specific computer code, and its content is displayed in fixed text-size, font-family, and spacing.
We can style elements to match the computer’s default text format.
Syntax-
<code> Computer Code </code>
For Example:
<!DOCTYPE html>
<html>
<body>
<h2>Computer Code</h2>
<p>Programming code:</p>
<code>
x = 25;<br>
y = 36;<br>
z = x + y;
</code>
</body>
</html>
Output-
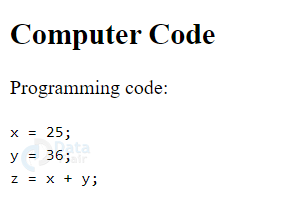
The use of the <code> tag increases the readability of the code and makes it easy for the code to set-off from the rest of the text for the reader to understand the code. Also, using the <code> tag along with the <pre> tag it is much easier to read the code as spaces and line breaks are preserved. This is useful for showing the code in as much detail as needed, most basically for programming tutorials, or guides.
Therefore, The use of <pre> tag to contain the <code> tag and preserve formatting, is also recommended.
Note- Browsers use mono-space font-family to display the code snippets.
2. HTML <kbd> Tag
The <kbd> or, keyboard input element, defines the user-input or voice input. The text that should be typed is contained within the <kbd> tags and is displayed as mono-space.
We can use CSS to obtain richer effects, but there are no tag-specific attributes related to <kbd>.
Syntax-
<kbd>Key combination</kbd>
For Example
<!DOCTYPE html>
<html>
<head>
<title>The kbd tag</title>
<style>
body {
text-align:center;
}
</style>
</head>
<body>
      <div class = "df">DataFlair</div>
      <kbd>Welcome to</kbd>
      <kbd>DataFlair</kbd>
      <p>Press
      <kbd>Ctrl+S</kbd></p>
    </body>
</html>
Output-
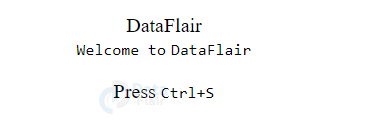
Description of output- On pressing ctrl+s, the web-page save option will be displayed.
3. HTML <pre> tag
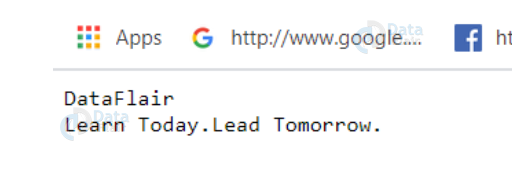
The <pre> tag of HTML allows the developers to display the text in the same format i.e., spaces, tabs, line breaks, etc as written in the code. We can style the text enclosed within the <pre> tag using CSS, yet it remains preserved in the browser.
Syntax-
<pre>Content</pre>
For Example
<html>
<head>
<title>DataFlair</title>
</head>
<body>
<pre>
DataFlair
Learn Today.Lead Tomorrow.
</pre>
Output-
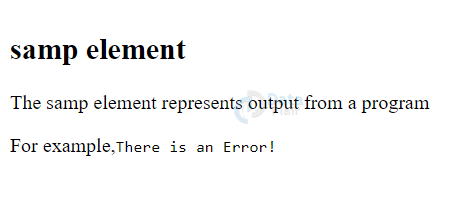
4. HTML <samp> tag
This tag defines the sample output from a specific computer program i.e., a quoted output. The surrounded text displays in a monospace font. It is to display a quoted output from another source.
Syntax-
<samp>Content</samp>
For Example
<!DOCTYPE html>
<html>
<body>
<h2>samp element</h2>
<p>The samp element represents output from a program</p>
<p>For example,<samp>There is an Error!</samp></p>
</body>
</html>
Output-
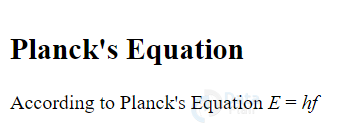
5. HTML <var> tag
The variables in a mathematical equation or computer program can be explicitly displayed using the <var> element. It is usually in italics, by most of the browsers.
Syntax-
<var>Content</var>
For Example
<!DOCTYPE html>
<html>
<body>
<h2>Planck's Equation</h2>
<p>According to Planck's Equation <var>E</var> = <var>hf</var></p>
</body>
</html>
Output-
Below is the short description of all tags that we have seen above:
| Tag | Description |
| <code> | It defines and inserts a programming code or snippet. |
| <kbd> | It is for defining an input from the keyboard. |
| <samp> | This defines the computer’s output. |
| <var> | It is to define a variable |
| <pre> | It defines preformatted text in an HTML document. |
Summary
In this article, we’ve discussed the mark-up for computer code in HTML5. HTML uses line-spacing and variable letter size, which is not desirable when code snippets are to be displayed. Computer code and mathematical instructions can be explicitly displayed in an HTML document, without styling with CSS. We’ve looked at various tags such as <code>, <kbd>, <samp>, <pre> and <var>.
Hope you enjoyed the tutorial. Do share your feedback in the comment section!!!
Did you like our efforts? If Yes, please give DataFlair 5 Stars on Google


