HTML Checkbox – How to Create Custom Check Box in HTML
Full Stack Web Development Courses with Real-time projects Start Now!!
Welcome back to DataFlair HTML Tutorial Series. In this article, we are going to learn about HTML Checkbox and various types and attributes of the same. So let’s start!!!
HTML Checkbox
HTML checkboxes are of the utmost importance when a user wants to select more than one option for a limited number of choices. For example, in a form, suppose you have to select your preferred social media handle. If checkboxes are used, you can select multiple preferences, unlike radio buttons.
Another benefit of checkboxes is that a large amount of information of different types can be obtained in a flexible manner since the users can select multiple choices on checkboxes.
The checkboxes are also defined using the <input> tag, like the radio button, as we have discussed in the previous article.
Best Practices for Checkbox Implementation:
- Related checks must be put together in the field-set and a label should be given to it with a proper context.
- The checkbox must be large enough so that users with a touch device can easily select them
- The user should recieve a feedback whenever they check a checkbox.
Syntax-
<input type= “checkbox” name= “nm” value= “val”>
Attributes of HTML CheckBox
| Name | Definition |
| type | Specifies the type of input, in this case set as ‘checkbox’. |
| value | Specifies the value that will be sent to the server, if the checkbox is checked. |
| name | Specifies the name of the control that is delivered to the server. |
| checked | Defines a by default checked checkbox. It is a boolean value. |
Adding Multiple Checkbox in HTML
We can add multiple checkboxes to an HTML document using the above syntax.
<!DOCTYPE html>
<html>
<body>
<h1>Preferred Social Media Handle</h1>
<form>
  <input type="checkbox" id="one" name="vehicle1" value="LinkedIn">
  <label for="one">LinkedIn</label><br>
  <input type="checkbox" id="two" name="vehicle2" value="Instagram">
  <label for="two">Instagram</label><br>
  <input type="checkbox" id="three" name="vehicle3" value="Facebook">
  <label for="three">Facebook</label>
  <br><br>
  <input type="submit" value="Submit">
</form>
</body>
</html>
Output
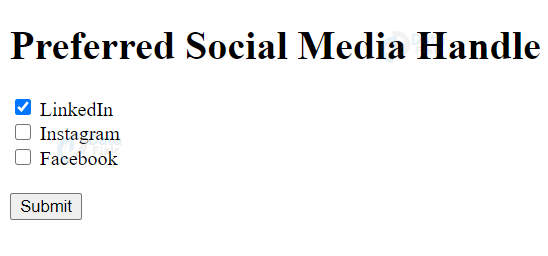
We use the <label> element to increase the accessibility of checkboxes i.e., labels make it easier to select options on a small-screen device.
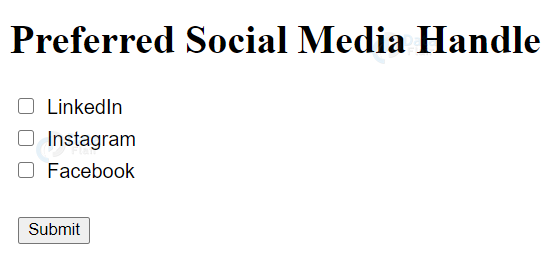
Adding CSS in CheckBox
We can style checkboxes using CSS3 and make them more aesthetic.
<!DOCTYPE html>
<html>
<head><style>
  p,
label {
    font: 1rem 'Fira Sans', sans-serif;
}

input {
    margin: .4rem;
}
</style></head>
<body>
<h1>Preferred Social Media Handle</h1>
<form>
  <input type="checkbox" id="one" name="vehicle1" value="LinkedIn">
  <label for="one">LinkedIn</label><br>
  <input type="checkbox" id="two" name="vehicle2" value="Instagram">
  <label for="two">Instagram</label><br>
  <input type="checkbox" id="three" name="vehicle3" value="Facebook">
  <label for="three">Facebook</label>
  <br><br>
  <input type="submit" value="Submit">
</form>

</body>
</html>
Output
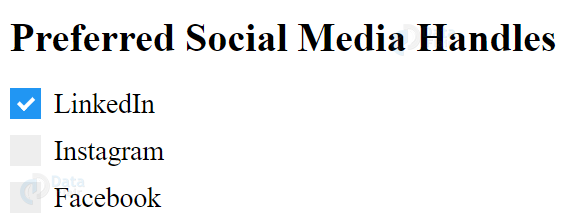
HTML Custom Checkbox
We can also customize checkboxes using CSS3 and provide a better visual appeal.
<!DOCTYPE html>
<html>
<style>
.container {
  display: block;
  position: relative;
  padding-left: 35px;
  margin-bottom: 12px;
  cursor: pointer;
  font-size: 22px;
  -webkit-user-select: none;
  -moz-user-select: none;
  -ms-user-select: none;
  user-select: none;
}
.container input {
  position: absolute;
  opacity: 0;
  cursor: pointer;
  height: 0;
  width: 0;
}

.checkmark {
  position: absolute;
  top: 0;
  left: 0;
  height: 25px;
  width: 25px;
  background-color: #eee;
}

/* On mouse-over, a grey background color */
.container:hover input ~ .checkmark {
  background-color: #ccc;
}

/* When the checkbox is checked , a blue background */
.container input:checked ~ .checkmark {
  background-color: #2196F3;
}

/* Create the checkmark/indicator (hidden when not checked) */
.checkmark:after {
  content: "";
  position: absolute;
  display: none;
}

.container input:checked ~ .checkmark:after {
  display: block;
}
.container .checkmark:after {
  left: 9px;
  top: 5px;
  width: 5px;
  height: 10px;
  border: solid white;
  border-width: 0 3px 3px 0;
  -webkit-transform: rotate(45deg);
  -ms-transform: rotate(45deg);
  transform: rotate(45deg);
}
</style>
<body>

<h1>Preferred Social Media Handles</h1>
<label class="container">LinkedIn
  <input type="checkbox" checked="checked">
  <span class="checkmark"></span>
</label>
<label class="container">Instagram
  <input type="checkbox">
  <span class="checkmark"></span>
</label>
<label class="container">Facebook
  <input type="checkbox">
  <span class="checkmark"></span>
</label>
</body>
</html>
Output
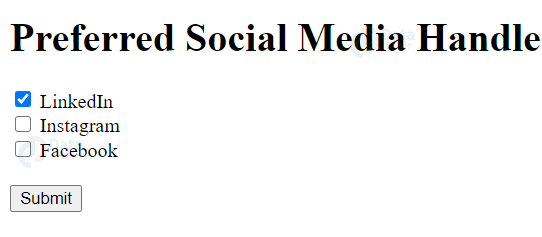
HTML Checked Attribute
To check a checkbox by default, we use the checked attribute. It can also be checked after the page has been loaded using JavaScript.
<!DOCTYPE html>
<html>
<body>
<h1>Preferred Social Media Handle</h1>
<form>
  <input type="checkbox" id="one" name="vehicle1" value="LinkedIn" checked>
  <label for="one">LinkedIn</label><br>
  <input type="checkbox" id="two" name="vehicle2" value="Instagram">
  <label for="two">Instagram</label><br>
  <input type="checkbox" id="three" name="vehicle3" value="Facebook">
  <label for="three">Facebook</label>
  <br><br>
  <input type="submit" value="Submit">
</form>
</body>
</html>
Output
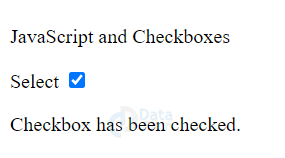
JavaScript and Checkboxes
We can display text when a particular checkbox has been checked, using JavaScript.
<!DOCTYPE html>
<html>
<body>
<p>JavaScript and Checkboxes</p>
<label for="myCheck">Select</label>
<input type="checkbox" id="myCheck" onclick="change()">
<p id="text" style="display:none">Checkbox has been checked.</p>
<script>
function change() {
  var checkBox = document.getElementById("myCheck");
  var text = document.getElementById("text");
  if (checkBox.checked == true){
    text.style.display = "block";
  } else {
     text.style.display = "none";
  }
}
</script>
</body>
</html>
Output
Summary
In this article, we’ve discussed the HTML checkbox. Checkboxes come handy when a user can choose multiple options from a limited number of choices. For example, choosing among different hobbies, it is possible to have more than one hobby. The attributes used for HTML checkboxes are type, name, value, and checked. We’ve also looked at customizing checkboxes using CSS3 and displaying text when a particular checkbox has been selected, using JavaScript.
Your 15 seconds will encourage us to work even harder
Please share your happy experience on Google


