HTML Images – HTML Img Tag
Free Web development courses with real-time projects Start Now!!
It is an essential task to make the HTML document attractive and engaging to the users. This cannot be achieved solely with text; thus, HTML comes with the feature of inserting images onto the HTML document. The image can be styled and manipulated using CSS properties, as per the developer’s necessity.
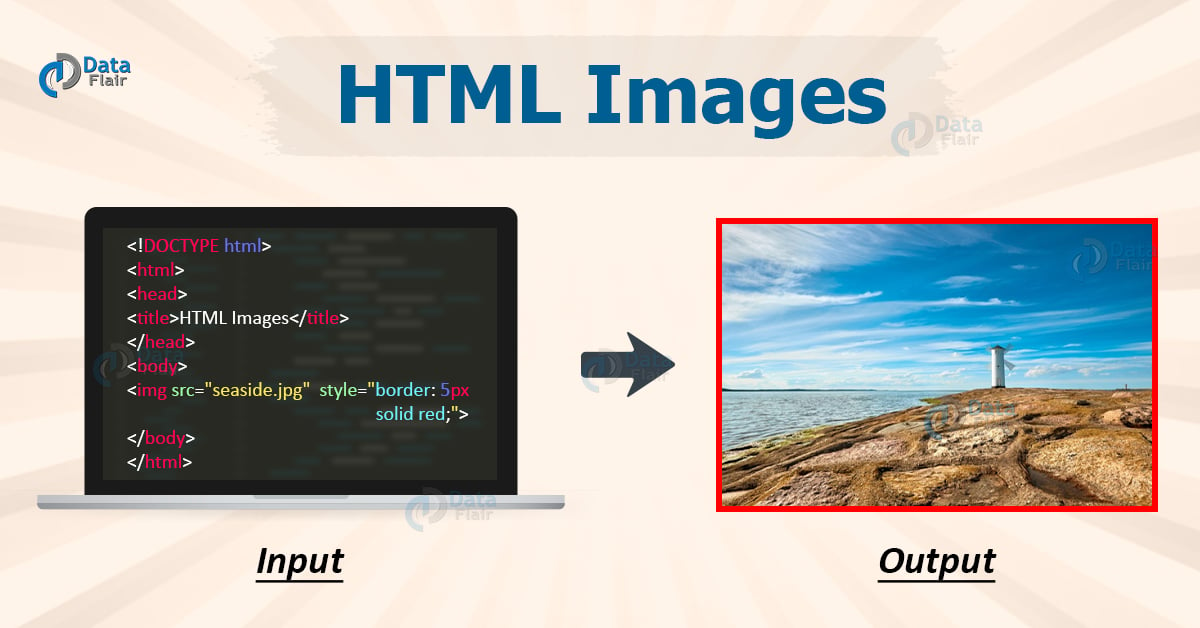
HTML Images
As discussed before, the image is inserted using the <img> element.
Syntax: <img src=”url” alt=”Alternate name to be displayed”>
For example,
<html>
<head>
<title>DataFlair</title>
</head>
<body>
<h1>Here is an image</h1>
<img src="C:\Users\shreya\Desktop\DATAFLAIR\DataFlair.png" alt="DataFlair" height="400px" width="400px" border="20" align="right">
</body>
</html>
Output:

HTML Image Attributes
- src – The src attribute is used to specify the location or URL of a particular image (defined by the <img> element).
- alt – Used to specify some alternative text related to the image, which is displayed if the user cannot view the image due to some inevitable reasons.
- height – Used to specify the height of the image in pixels.
- width – Used to specify the width of the image in pixels.
- border – The border attribute is used to add a border to an image. By default, the border is set as 0 and can be varied as per the desired thickness.
- align – By default, the image is set to the left of the web-page, it can be shifted to the right or center as per the preference, using the align attribute.
- style – The style attribute is used to manipulate and style the images using CSS.
HTML Image Styling using CSS
1. Align in HTML
Code:
<html>
<head></head>
<body>
<img src="images/rainy.gif" alt="rainy" width="100px" height="100px" style="vertical-align:bottom">
<img src="images/rainy.gif" alt="rainy" width="100px" height="100px" style="vertical-align:middle">
<img src="images/rainy.gif" alt="rainy" width="100px" height="100px" style="vertical-align:top">
<img src="images/rainy.gif" alt="rainy" width="100px" height="100px" style="float:right">
<img src="images/rainy.gif" alt="rainy" width="100px" height="100px" style="float:left">
</body>
</html>
Output:

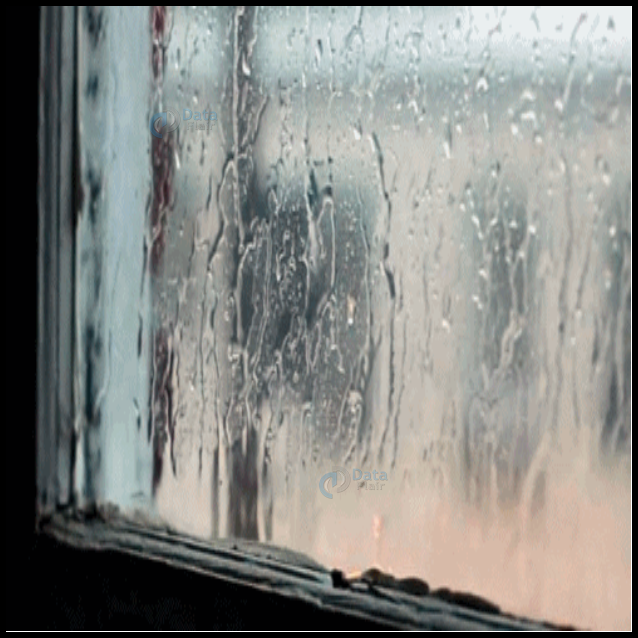
2. Border in HTML
Code:
<html>
<head></head>
<body>
<img src="images/rainy.gif" alt="rainy" width="500px" height="500px" style="border: 5px solid">
</body>
</html>
Output:
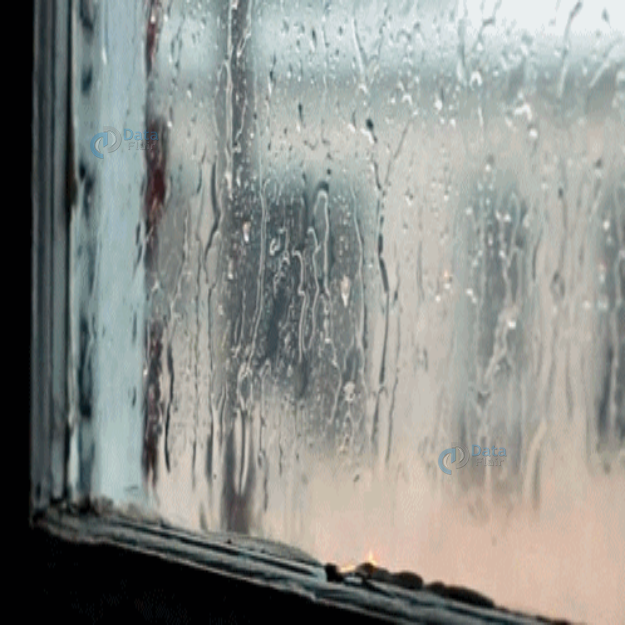
3. Left and Right Margins in HTML
Code:
<html>
<head></head>
<body>
<img src="images/rainy.gif" alt="rainy" width="500px" height="500px" style="vertical-align:middle;margin:0px 50px">
</body>
</html>
Output:
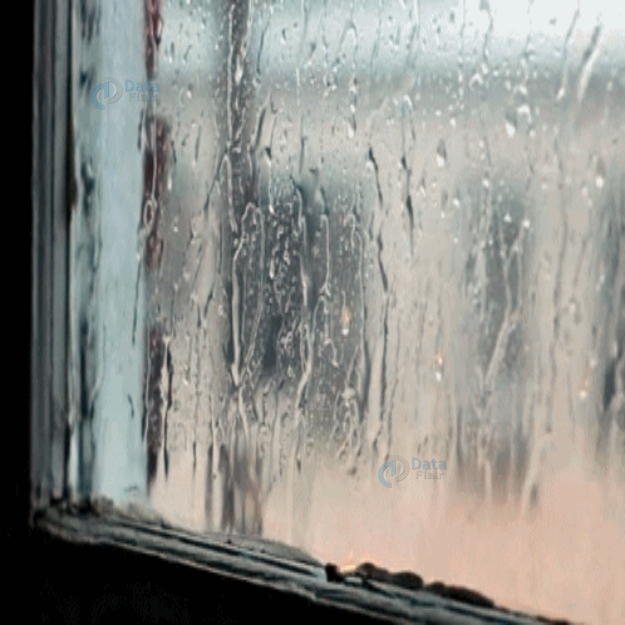
4. Top and Bottom Margins in HTML
Code:
<html>
<head></head>
<body>
<img src="images/rainy.gif" alt="rainy" width="500px" height="500px" style="vertical-align:middle;margin:50px 0px">
</body>
</html>
Output:
HTML Images in Another Folder
Usually, the browser tries to find the image in the same folder. However, it is possible to have images in a different sub-folder. It is necessary to specify the correct URL in the src attribute. For example,
Code:
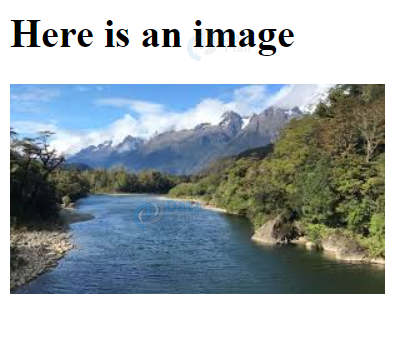
<html>
<head>
<title>DataFlair</title>
</head>
<body>
<h1>Here is an image</h1>
<img src="images/river.jpg" alt="DataFlair">
</body>
</html>
Output:
HTML Images on Server
Images can be displayed through any image server present on the world-wide-web. For example,
Code:
<html>
<head>
<title>DataFlair</title>
</head>
<body>
<h1>Here is an image</h1>
<img src="http://placehold.it/120x120&text=image1" alt="DataFlair">
</body>
</html>
Output:

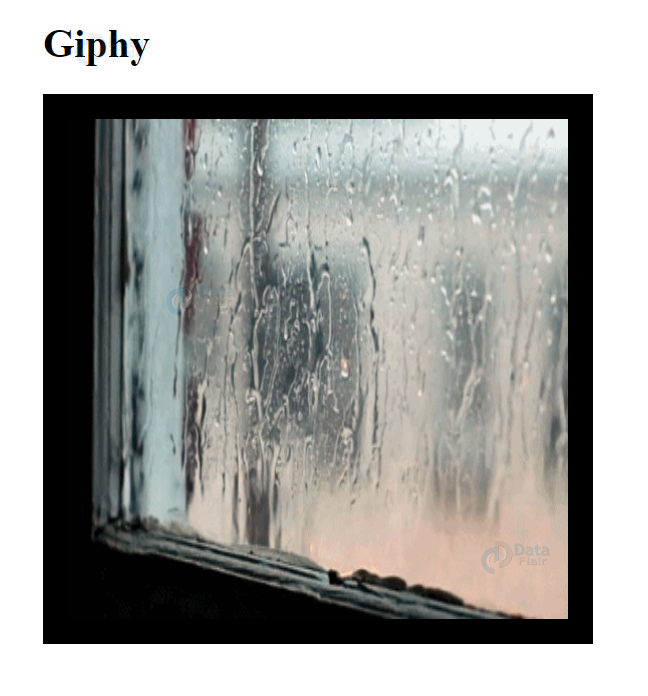
HTML Animated Images
Animated images are specified with .gif extension. These can also be added using the image element. For example,
Code:
<html>
<head>
<title>DataFlair</title>
</head>
<body>
<h1>Giphy</h1>
<img src="rainy.gif" alt="DataFlair" height="400px" width="400px" border="20">
</body>
</html>
Output:
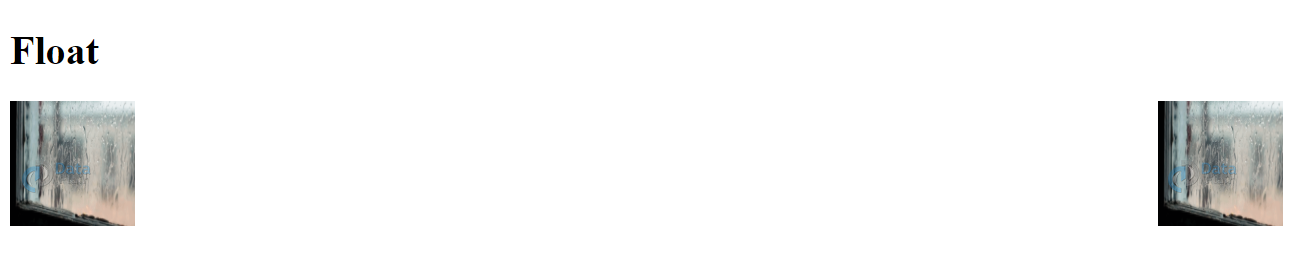
Floating Images
The CSS float can be used to let the image float to either the left or the right of the web page. For example,
Code:
<html>
<head>
<title>DataFlair</title>
</head>
<body>
<h1>Float</h1>
<img src="rainy.gif" alt="Smiley face" style="float:right;width:100px;height:100px;">
<img src="rainy.gif" alt="Smiley face" style="float:left;width:100px;height:100px;">
</body>
</html>
Output:
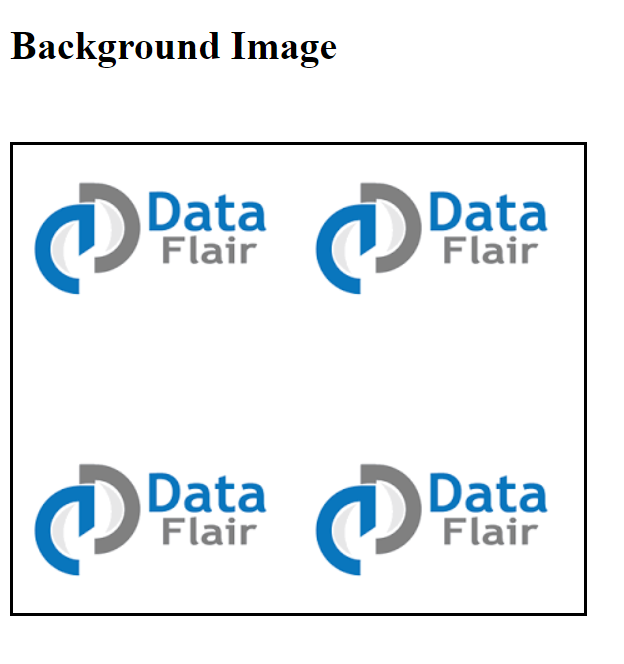
HTML Background Image
Images can be put as the background of an HTML document using the background-image property of CSS. For example,
Code:
<html>
<head>
<title>DataFlair</title>
<style>
  body{
    background-image: url('DataFlair.png');
  }
</style>
</head>
<body>
<h1>Background Image</h1>
</body>
</html>
Output:

Background-image can also be added to a particular section or division. For example,
Code:
<html>
<head>
<title>DataFlair</title>
<style>
  div{
    background-image: url('DataFlair.png');
    height: 500px;
    width: 500px;
    border: solid;
  }
</style>
</head>
<body>
<h1>Background Image</h1>
<div></div>
</body>
</html>
Output:
As seen in the examples above, the picture has been repeated to fit the web-page. To avoid this, the no-repeat property can be used.
Code:
<html>
<head>
<title>DataFlair</title>
<style>
  body{
    background-image: url('DataFlair.png');
    background-repeat: no-repeat;
  }
</style>
</head>
<body>
<h1>Background Image</h1>
</body>
</html>
Output:

If it’s preferred to insert the image in a way that it covers the entire element, the background-size property can be used. For example,
Code:
<html>
<head>
<title>DataFlair</title>
<style>
  body{
    background-image: url('DataFlair.png');
    background-repeat: no-repeat;
    background-size: cover;
  }
</style>
</head>
<body>
<h1>Background Image</h1>
</body>
</html>
Output:

The image maintains its original proportions without any stretching.
If the image is needed to be stretched over the entire screen, the background-size can be set to 100% 100%.
Code:
<html>
<head>
<title>DataFlair</title>
<style>
  div{
    background-image: url('DataFlair.png');
    background-repeat: no-repeat;
    background-size: 100% 100%;
    border: solid;
    height: 500px;
    width: 500px;
  }
</style>
</head>
<body>
<h1>Background Image</h1>
<div></div>
</body>
</html>
Output:

HTML Image as Link
An image can also be used as a link, i.e., on clicking the image, the control will be redirected.
Code:
<!DOCTYPE html>
<html>
<body>
<h1>Using Image as a link</h1>
<p>Click on the image to visit DataFlair.</p>
<a href="https://data-flair.training/">
  <img src="DataFlair.png" alt="DataFlair"
style="width:500px;height:500px; border: solid;">
</a>
</body>
</html>
Output:

HTML Image Maps
Image maps are used to create clickable regions within an image. The <map> element is used to define an image-map. Basically, for an image-map, the requirements are an image and a map that contains the information or rules related to the image’s clickable regions. The image is inserted using the HTML <img> tag, in addition to this, an attribute ‘usemap’ is specified, which acts as the link between the image and the map. The value of usemap begins with a hash ‘#’ followed by the name of the image map.
For example,
<img src=”landscape.jpg” alt=”Landscape” usemap=”#landscape”>
After this, a <map> element is defined which is used to create an image map. This image map is linked to the image using the name attribute.
<map name=”landscape”>
After this, clickable areas are created using the <area> element.The shape of the area can be rect(rectangle),circle,poly,default(defines the entire region).
After the specification of the area, the coordinates of the clickable region are defined. These coordinates are specified as x and y coordinates.
For example, 34,44 will be the region 34 pixels from the left-margin and 44 pixels from the top. Consecutively, 270,350 will be the region 270 pixels from the left margin and 350 pixels from the top. Hence, 34,44,270,350, will be the entire region spanned between these coordinates.
<area shape=”rect” coords=”34,44,270,350″ alt=”river” href=”river.html”>
For a circular region, first the origin of the circle is specified,followed by its radius.
<area shape=”circle” coords=”337,300,44″ alt=”tree” href=”tree.html”>
Here, the circle’s center is 337,300(x,y) and radius is 44. The href attribute specifies the destination once the region is clicked. It is also possible to perform some function once the area is clicked, using JavaScript.
For example,
<area shape=”circle” coords=”337,300,44″ alt=”tree” onclick=”myFunction()”>
Code:
<html>
<head>
<title>DataFlair</title>
<style>
</style>
</head>
<body>
<h1>Background Image</h1>
<img src="landscape.jpg" alt="Landscape" usemap="#landscape"
style="height: 500px; width: 500px;">

<map name="landscape">
  <area shape="rect" coords="34,44,270,350" alt="river" href="river.html">
  <area shape="rect" coords="290,172,333,250" alt="mountain" href="mountain.html">
  <area shape="circle" coords="337,300,44" alt="tree" href="tree.html">
</map>
</body>
</html>
Output:
HTML Picture Element
The picture element is used for displaying different images for different devices(of different sizes).The picture element contains <source> elements that have the attributes related to the most suitable image. The <source> element contains different sources of images, each for a particular fit of the current device. For example,
Code:
<!DOCTYPE html>
<html>
<head>
</head>
<body>
<picture>
<source media="(min-width: 650px)" srcset="mountain.jpg">
<source media="(min-width: 465px)" srcset="river.jpg">
<img src="landscape.jpg">
</picture>
</body>
</html>
Output:

The <img> element is the last child of the <picture> element. This is used for the browsers that do not support the <picture> element or if the <source> element’s definition does not meet any of the device’s specifications (serves as default).
Uses of <picture> element in HTML
1. It is not necessary for small-screen devices to load large images. For this, the <picture> element can be used, and the first <source> element matching the device’s specification is rendered, rest ignored. This saves the bandwidth.
2. Some browsers do not support all the image formats. For this, multiple sources can be defined within the <picture> tag, and the first format that matches the browser’s compatibility is rendered.
For example,
<picture>
  <source srcset="DataFlair.png">
  <source srcset="landscape.jpg">
  <img src="rainy.gif" alt="rainy" style="width:auto;">
</picture>
HTML Screen Reader
Screen reader is a software that reads the HTML content, converts it, and allows the visually impaired to listen to it.
Summary
In this article, we’ve looked at HTML images. We’ve discussed inserting images in an HTML document along with its styling. Images can also be used as a background to provide an aesthetic look to the web-page, properties of background-images have been thoroughly discussed along with the rendering of animated images in an HTML document. We’ve also looked at the creation of an image-map for clickable regions within an image and the <picture> element.
Do not forget to share your feedback in the comment section!!!!
Did we exceed your expectations?
If Yes, share your valuable feedback on Google

