Cursor in SQL – Types, Uses, and Terminologies
Interactive Online Courses: Elevate Skills & Succeed Enroll Now!
In this tutorial, we will try to learn about the Cursors in SQL. In this article, we will learn in-depth about the Cursor, its types and properties. We will also have a look at the steps we need to follow to create and use a cursor. Let us now dive into Cursors in SQL.
What are Cursors in SQL?
Cursors are user-defined iterative variables that allow us to access the query results or the results of the stored procedure.
Cursors are objects we define using a Declare statement and take a Select statement as the parameter. The Select statement returns the result, which then becomes the iterator space of the cursor.
Cursors are supported on the stored procedures.
To understand stored procedures in detail, make sure to have a look at the stored procedure tutorial. They are read-only variables and are helpful to read the data i.e., they can’t update, delete or insert the records.
Properties of SQL Cursors
Some of the major properties of SQL cursors are as follows:
1. Asensitive
We have two types of cursors available to us one is Asensitive Cursor and the other variation is the Insensitive Cursor.
An asensitive cursor points to the data, while the insensitive cursor creates and uses a temporary copy of the data.
An asensitive cursor is faster and efficient than the insensitive cursor because it avoids making a temporary copy of data.
While using asensitive cursor, we need to be careful as if we update the data when a asensitive cursor is at work, the data would update and the results could cause ambiguity. SQL cursor is asensitive.
2. Read-only
When we talk about the SQL cursor, it is read-only i.e., it is not able to update, or delete the data.
Cursors are read-only objects and thus can’t update, delete or insert data in the database.
3. Non-scrollable
The SQL cursor is non-scrollable i.e, we can traverse only in one direction. Also, we can’t skip the rows or jump to rows in the query result.
When we use a cursor, we can’t access the data in reverse order as random access is under the check of the controller. Also, we don’t have the freedom to jump to specific result sets in the query output.
Types of Cursor
1. Explicit Cursor
An explicit cursor requires a declaration by the user by the use of the SELECT statement. It goes over each record but only a single row is processed at a time. Once the reading of one row is complete it moves to another row.
2. Implicit Cursor
An implicit cursor is put internally by SQL whenever the user runs any DML query. Also, implicit cursors are made for one single row of the database.
Thus, implicit cursors are put on a trigger whenever one column is being shown by the Select statement.
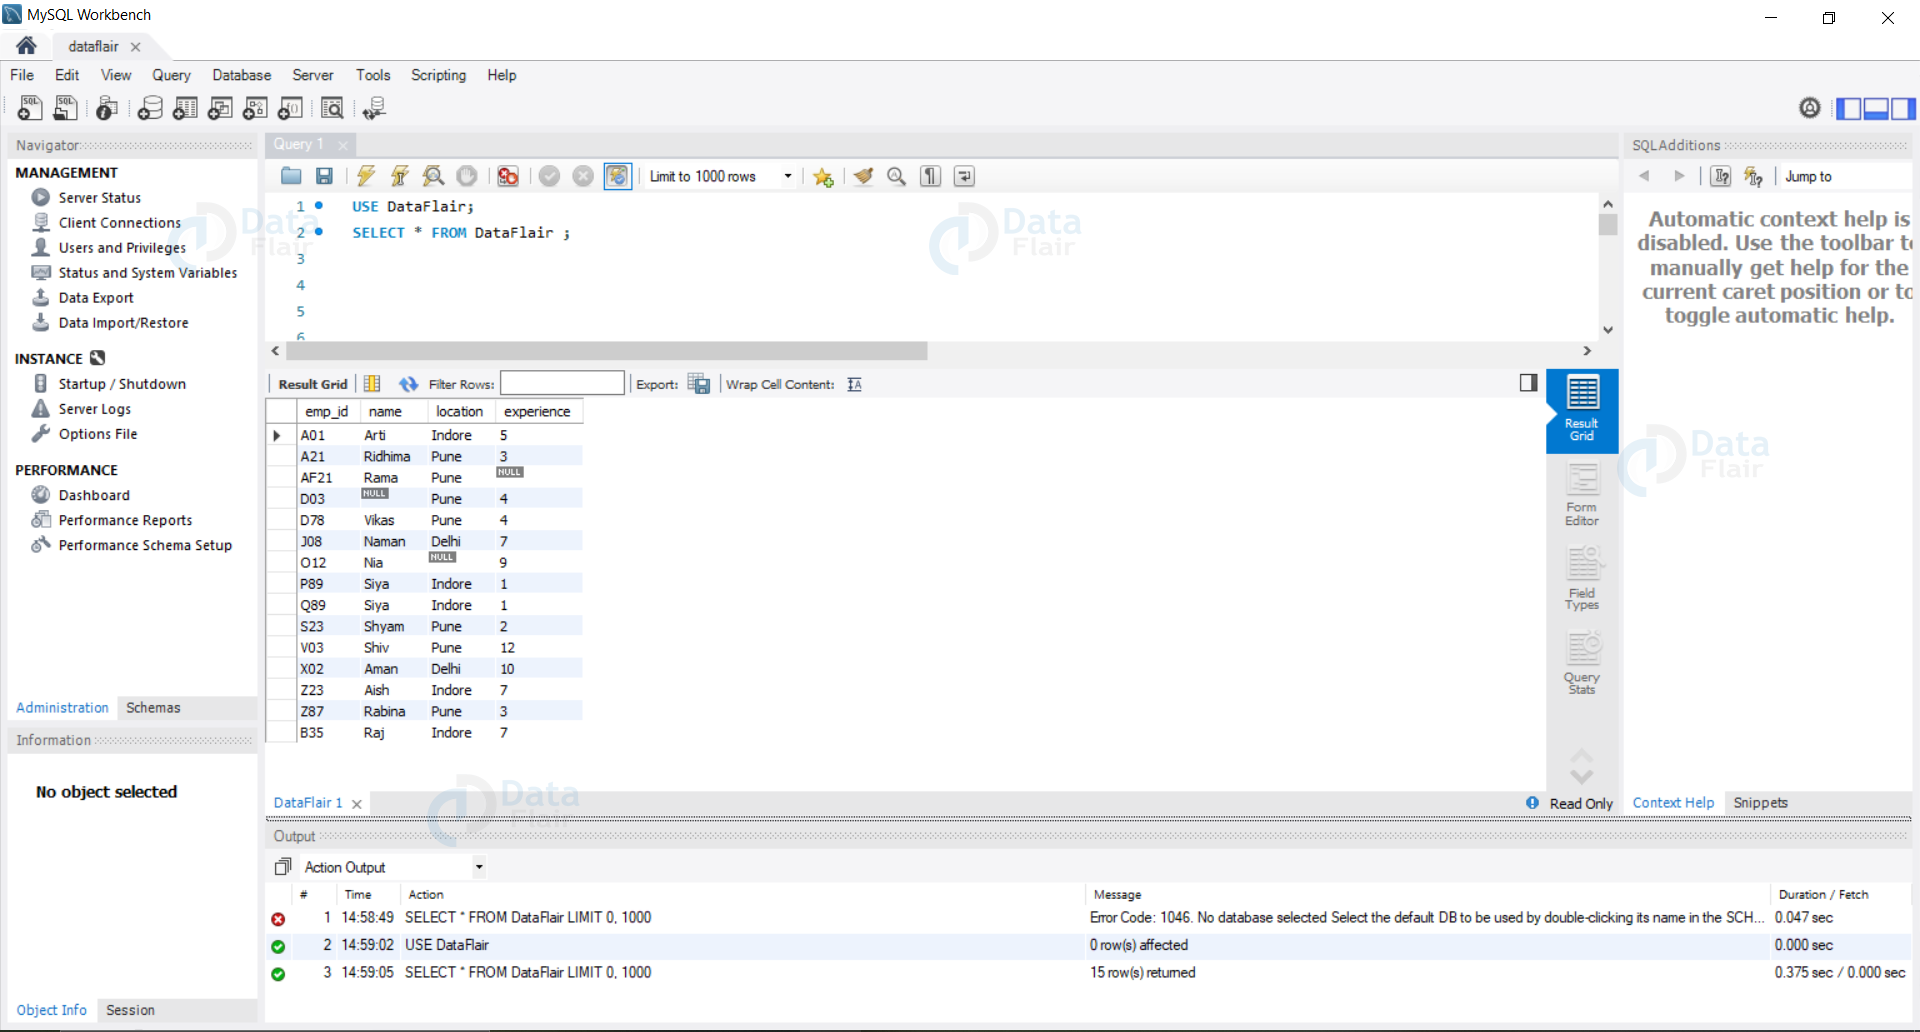
Demo Database
Let us now have a look at our demo database – DataFlair.
Query:
USE DataFlair;
SELECT * FROM DataFlair ;
Output:
Cursors in Deep
Let us now look at the steps of creating and using a cursor:
How to create a Cursor in SQL
Syntax:
DECLARE cursor_name CURSOR FOR select_statement ;
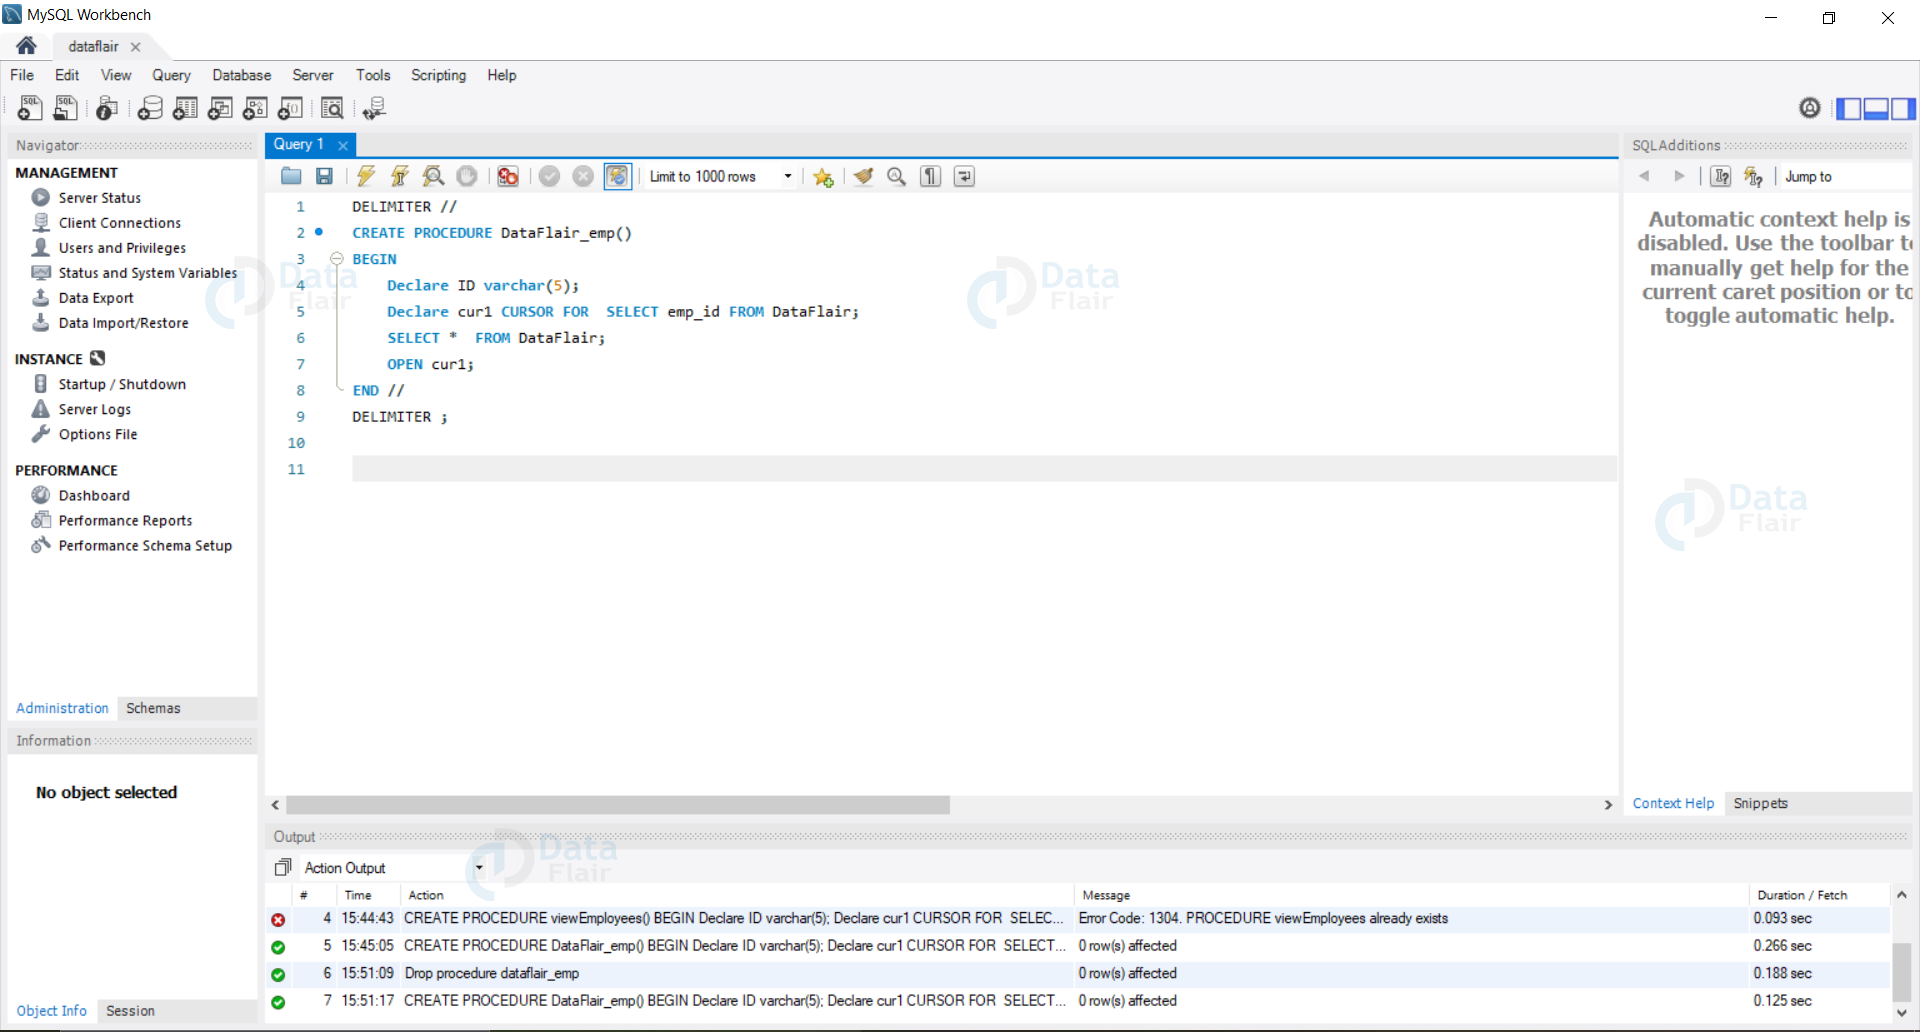
Example: Let us now create a cursor called DataFlair_emp using our DataFlair database to find the details of the employees at DataFlair.
Query:
DELIMITER //
CREATE PROCEDURE DataFlair_emp()
BEGIN
    Declare ID varchar(5);
    Declare cur1 CURSOR FOR  SELECT emp_id FROM DataFlair;
    SELECT *  FROM DataFlair;
END //
DELIMITER ;
Output:
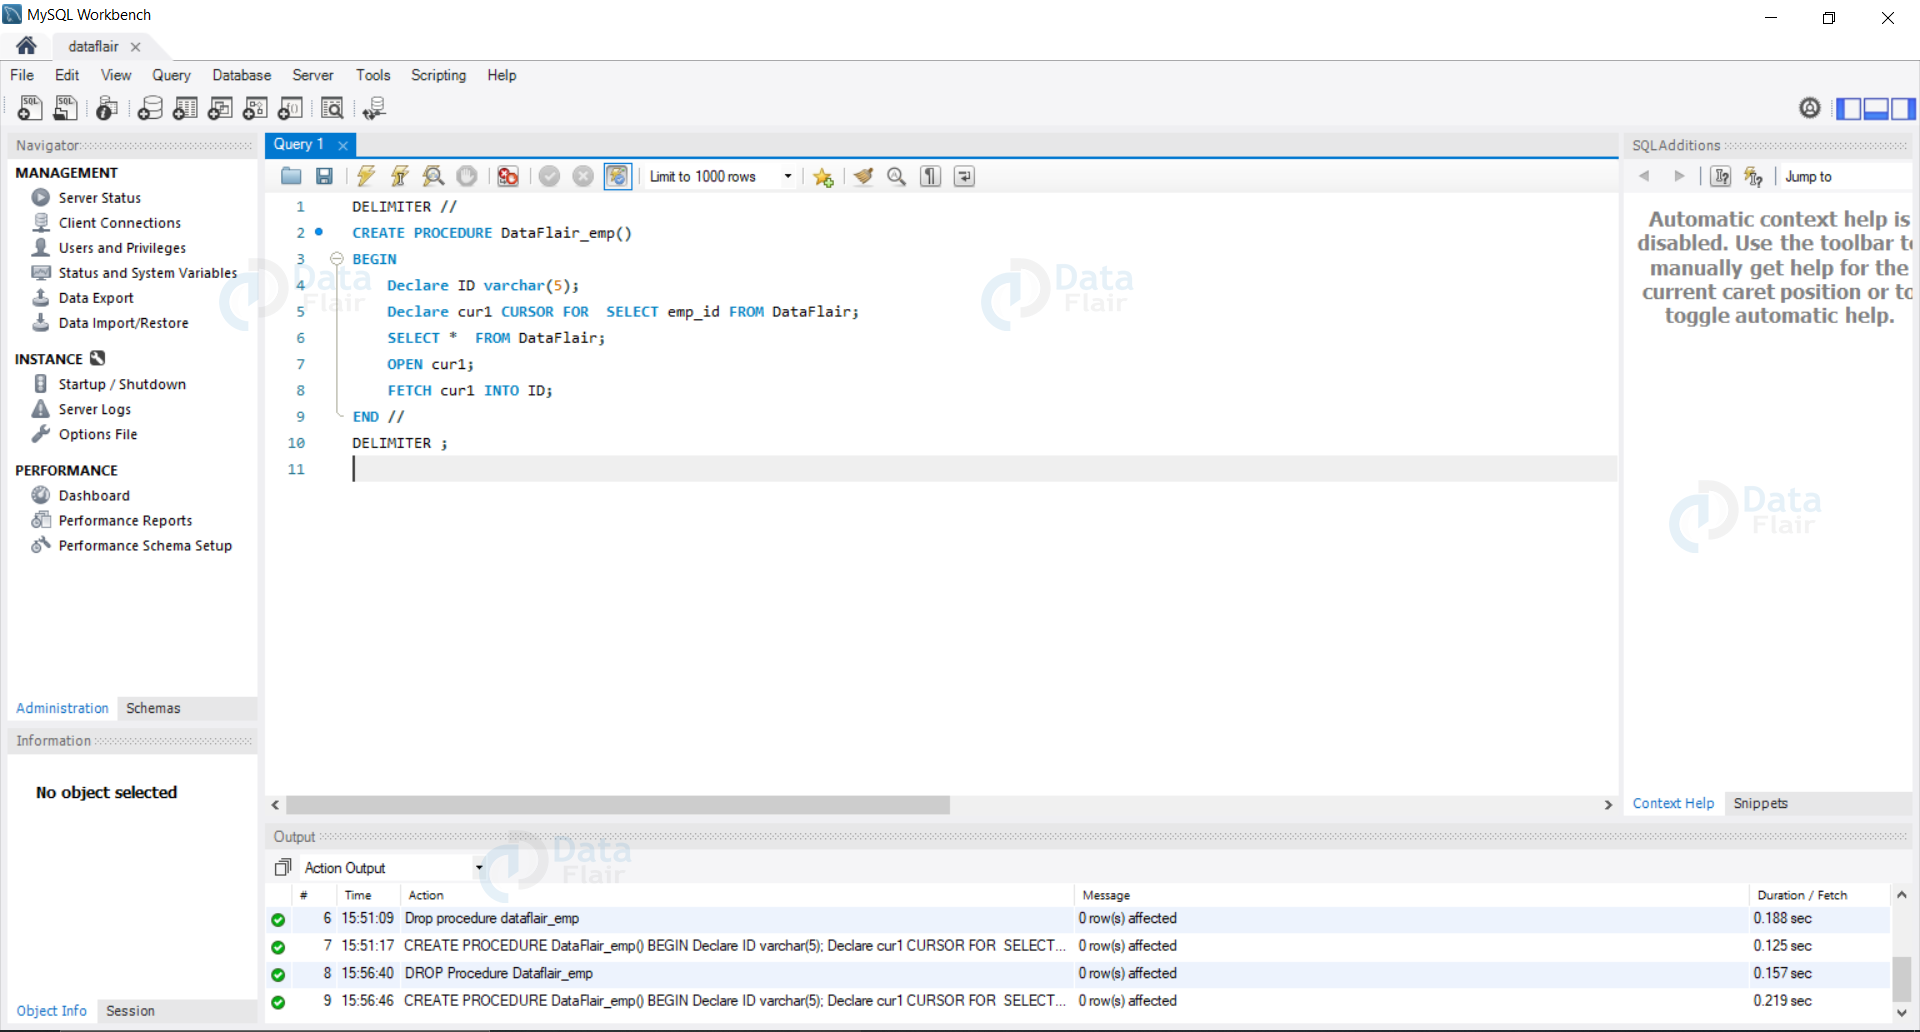
- How to fetch a Cursor in SQL
Syntax:
FETCH cursor_name INTO var_name;
Example: Let us now try to fetch the extracted data from the Select statement into the ID variable.
Query:
DELIMITER //
CREATE PROCEDURE DataFlair_emp()
BEGIN
    Declare ID varchar(5);
    Declare cur1 CURSOR FOR  SELECT emp_id FROM DataFlair;
    SELECT *  FROM DataFlair;
    OPEN cur1;
    FETCH cur1 INTO ID;
END //
DELIMITER ;
Output:
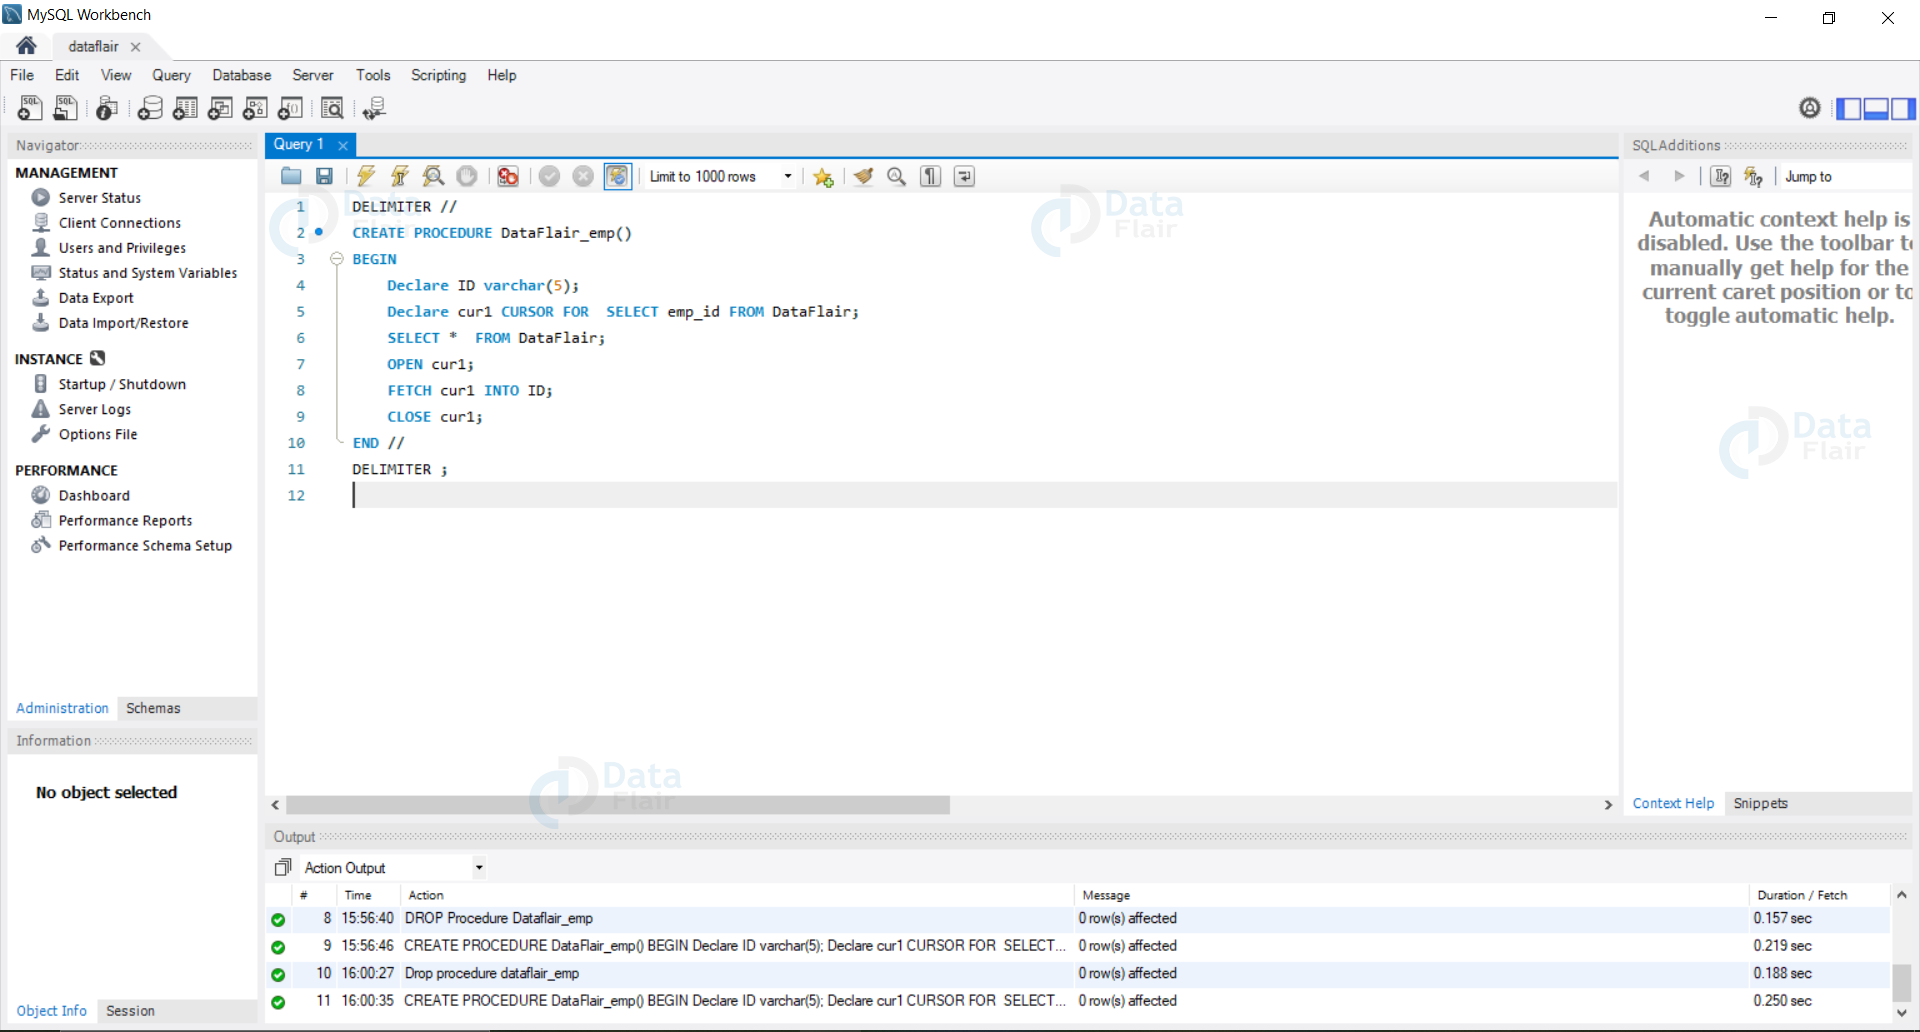
How to close a Cursor in SQL
Syntax:
CLOSE cursor_name ;
Example: Let us now create a procedure which automatically closes the existing cursor.
Query:
DELIMITER //
CREATE PROCEDURE DataFlair_emp()
BEGIN
    Declare ID varchar(5);
    Declare cur1 CURSOR FOR  SELECT emp_id FROM DataFlair;
    SELECT *  FROM DataFlair;
    OPEN cur1;
    FETCH cur1 INTO ID;
    CLOSE cur1;
END //
DELIMITER ;
Output:
How to Deallocate a Cursor in SQL
Syntax:
DEALLOCATE cursorName;
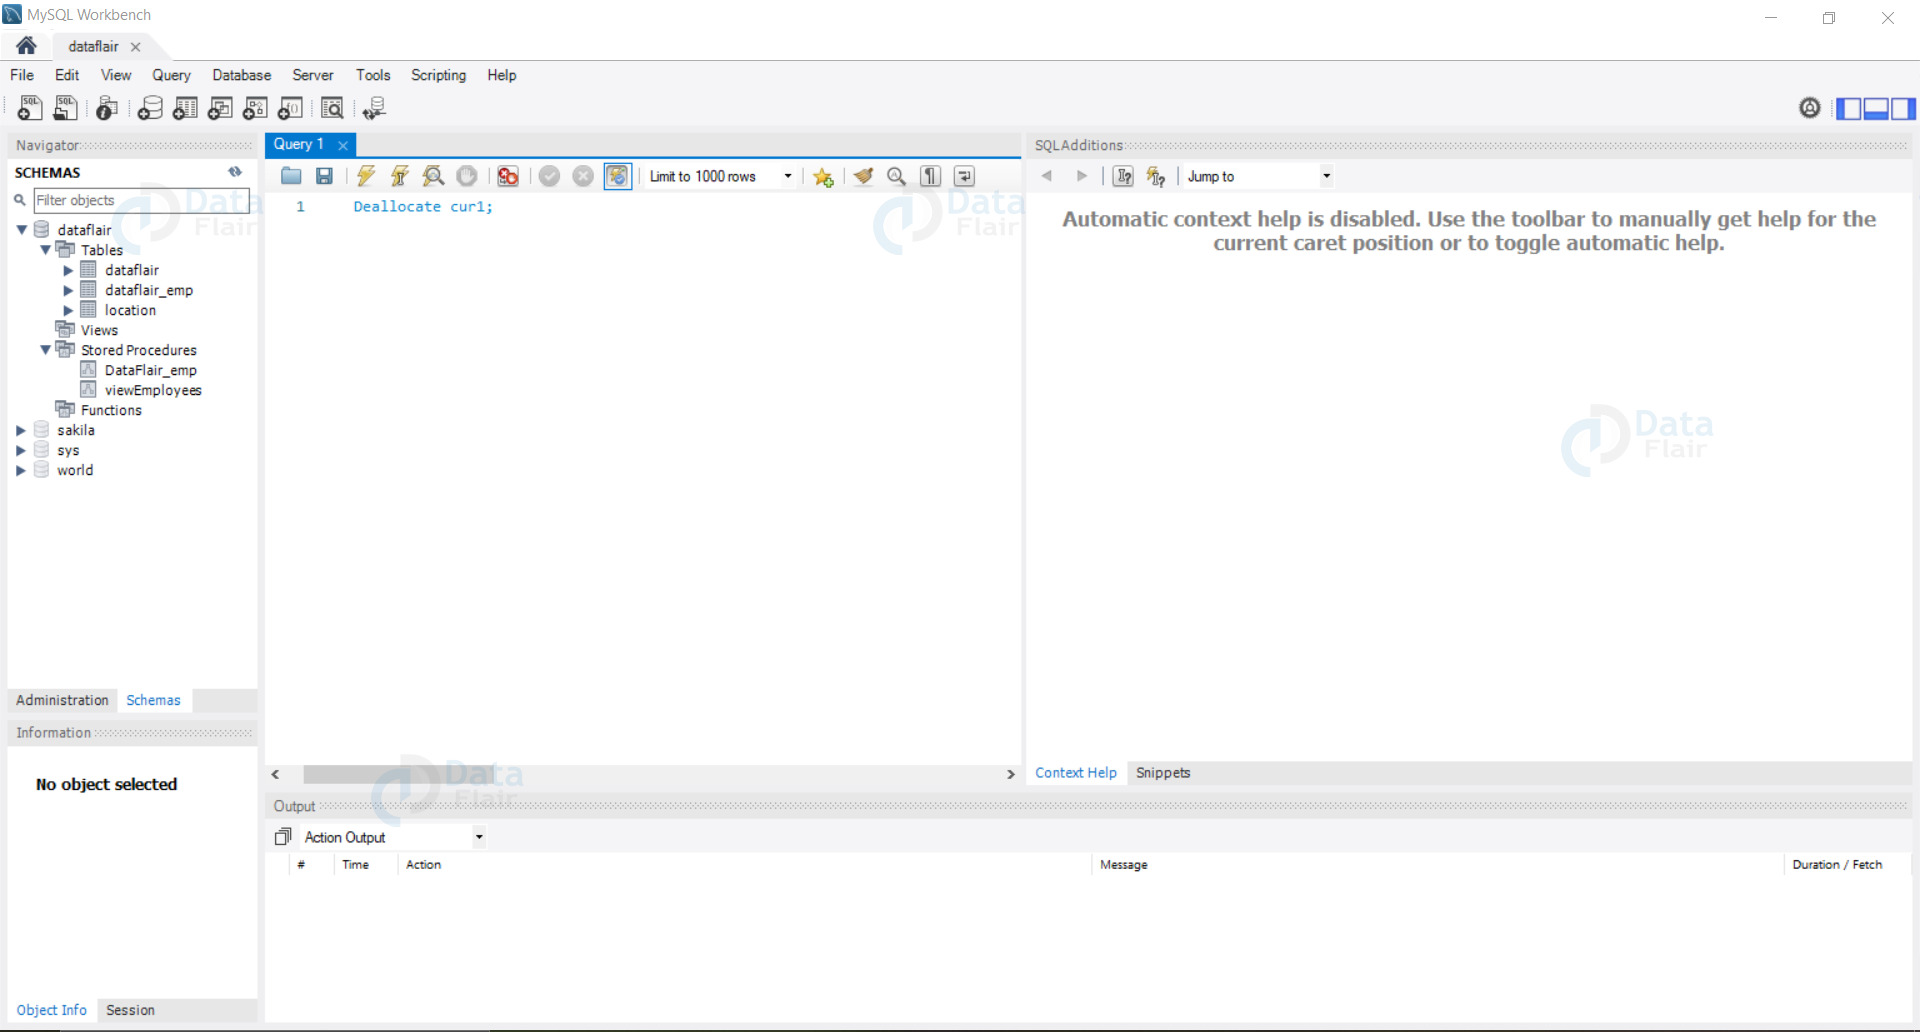
Example: Let us now deallocate the existing cursor.
Query:
DEALLOCATE cur1;
Output:
Summary
In this tutorial, we have seen how to create a cursor and utilize them. As we have seen in the tutorial, the cursor is only for read-only operations and other operations are held in a restricted mode.
We have seen the properties of cursors and also the steps to create and dispose of the cursor.
In this tutorial, we have seen every step with examples.
We need to follow four major steps for a Cursor i.e Declaration of a cursor, Opening a cursor, fetching the data from the cursor, and at last closing the cursor.
Did you like our efforts? If Yes, please give DataFlair 5 Stars on Google


