Keras Custom Layers – Lambda Layer and Custom Class Layer
Machine Learning courses with 100+ Real-time projects Start Now!!
Here we are back with another interesting Keras tutorial which will teach you about Keras Custom Layers.
A Neural Network is a stack of layers. Each layer receives some input, makes computation on this input and propagates the output to the next layer. Though there are many in-built layers in Keras for different use cases, Keras Layers like Conv2D, MaxPooling2D, Dense, Flatten have different applications and we use them according to our requirements. But sometimes we may want to perform computations other than what these Keras Layers do.
Therefore we have to build our own layer and define our own algorithm for computation on input data. Keras provides this feature to write our own Custom Layers. In this article we will study the concept of Custom Layers and we will see some examples to build our own custom layer.
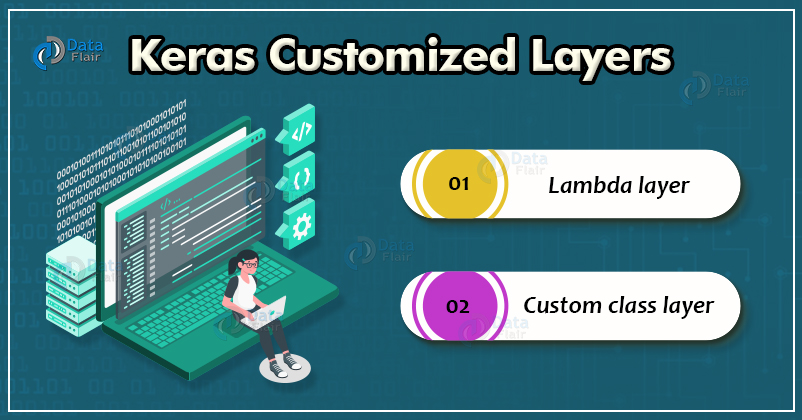
Keras Custom Layers
We add custom layers in Keras in the following two ways:
- Lambda Layer
- Custom class layer
Let us discuss each of these now.
1. Lambda layer in Keras
We use Keras lambda layers when we do not want to add trainable weights to the previous layer. Here we customize a layer for simple operations. Its implementation is similar to that of lambda functions.
First we define a function which takes the previous layer as input, apply computations to it and then return update tensors. Then we pass this function to our custom lambda layer.
Most common application of the lambda layer is to define our own activation function.
Let’s say we want to define our own RELU activation function using a lambda layer.
Then,
from keras.layer import Lambda
from keras import backend as K

def custom_function(input):
  return K.maximum(0.,input)

lambda_output= Lambda(custom_function)(input)
and that’s it, we have built our lambda layer.
After that, we will add this layer to our model the same way we add other layers.
model.add(lambda_output)
2. Custom Class Layer in keras
Here we create our own layer with trainable weights. To build the layer we need to implement the following four methods:
- __init__
Here we initialize class variable and super class variable. - build(input_shape)
Here we define our trainable weights. - call(x)
Here we define the algorithm for computation.It takes tensor as input argument. - compute_output_shape(input_shape)
Here we define the output shape of our custom layer.
Let’s see the implementation now:
from keras import backend as K
from keras.layers import Layer

class custom_layer(Layer):
  def  __init__(self,output_dim,**kwargs):
    self.output_dim=output_dim
    super(custom_layer,self).__init__(**kwargs)
  def build(self,input_shape):
    self.W=self.add_weight(name=’kernel’,
                           shape=(input_shape[1],
                           self.output_dim),
                           initializer=’uniform’,
                           trainable=True)
    self.built = True

  # this self.built is necessary .

  def call(self,x):
    return K.dot(x,self.W)

  def compute_output_shape(self,input_shape):
    return (input_shape[0], self.output_dim)
Here we are using only a single tensor, but we can pass multiple input tensor as a list.
Summary
This article explains the concept of writing our own Keras custom layers and why we need them. There are two ways to write custom layers, Lambda Layers and Custom Class Layers.
We use Lambda Layers for simple customization and we use Custom Class Layers when we want to apply trainable weights on the input.
Keep checking our further articles to get exciting Keras projects.
Your 15 seconds will encourage us to work even harder
Please share your happy experience on Google


