2 Easy Processes to Install Pandas on Windows (pip & Anaconda)
Get Job-Ready: Data Analysis using Python with 70+ Projects Start Now!!
Struggling with the installation of Pandas? Didn’t find any source to initialize the installation process? You have landed on the right page, here you will get 2 easy processes to install pandas on windows – with pip and anaconda.
1. Installing Python Pandas on Windows
Here, we are going to discuss the two processes to install pandas on Windows-
- With pip
- With anaconda

So, let’s start the first one-
1.1 How to install pandas using pip?
If you are using the latest version of Pandas, you will have pip already installed on your system. Therefore you need not follow from step 1 to 5. For users who don’t have the latest version of Python (3.7.3), they should upgrade it.
Step-1
First head over to https://www.python.org and click on Downloads on the Navigation bar as highlighted on the image below:
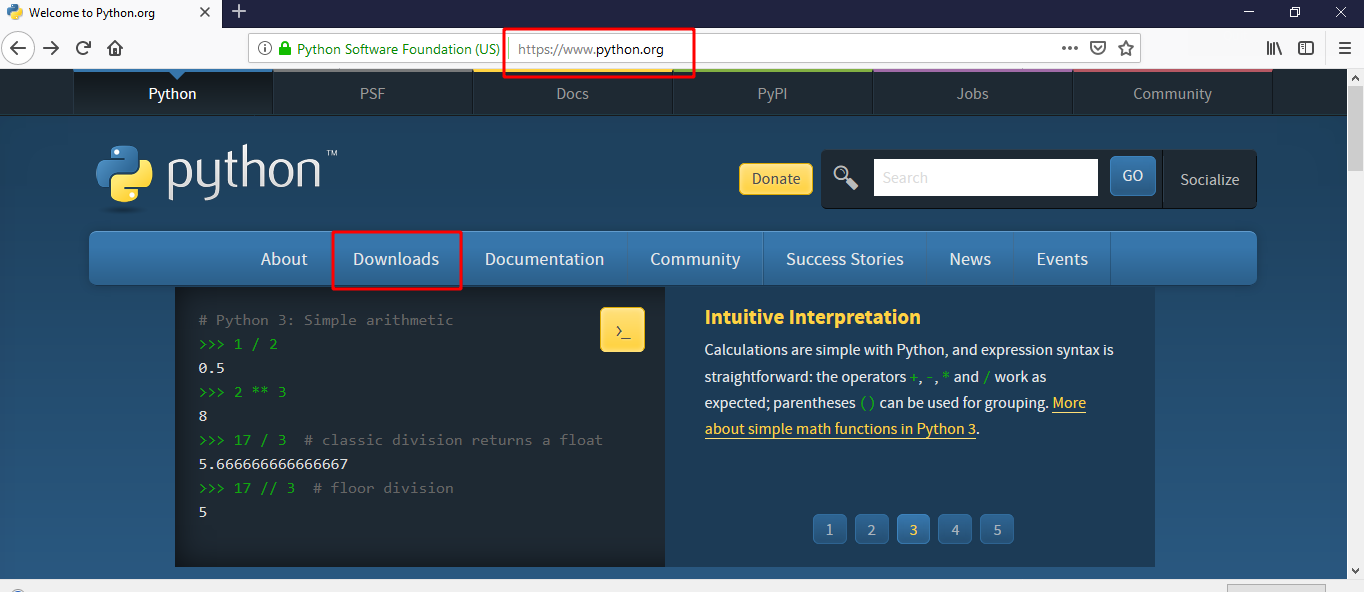
Python official website
Step-2
Be sure to download the latest version of the Python. Version 3.7.3, in this case.
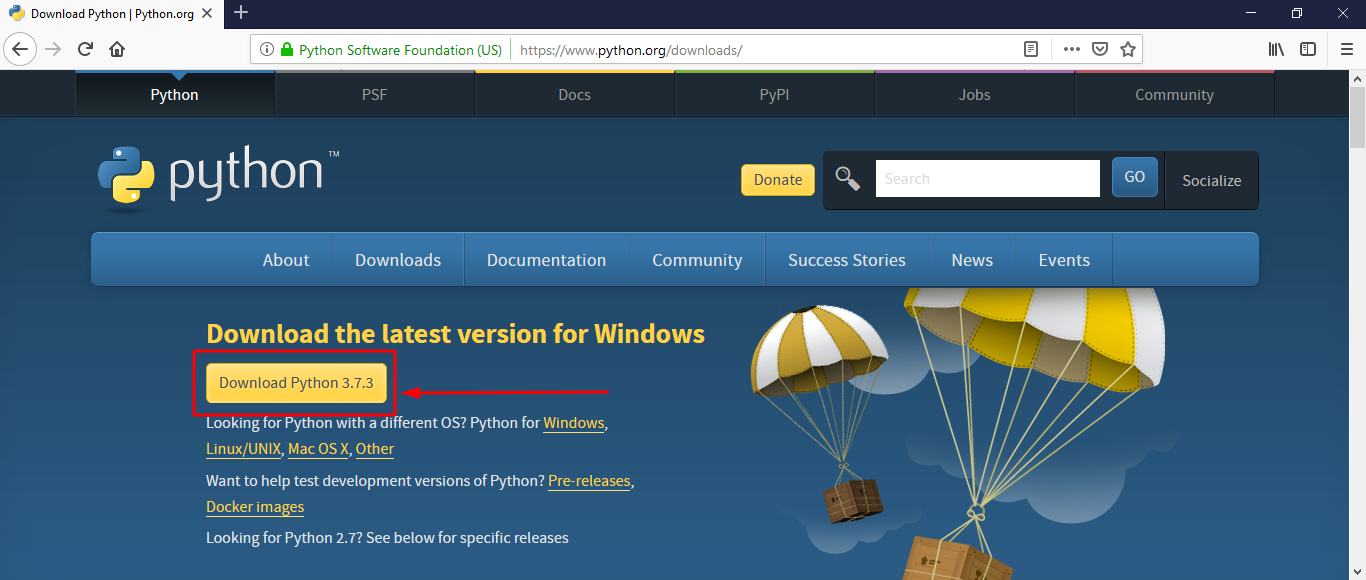
Python Website: Download Page
Don’t forget to check – Pandas Basic Functionality
Step-3
On running the downloaded installer, you will get this window. Click on ‘Install Now’.
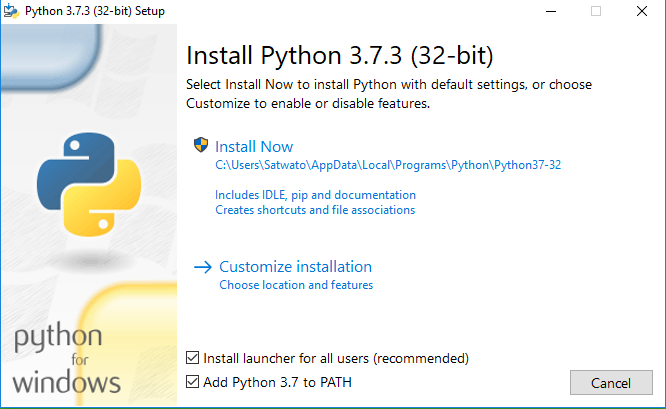
Python installer
Step-4
After finishing the installation, it is recommended to choose the option to disable path length to avoid any problems with your Python installation.
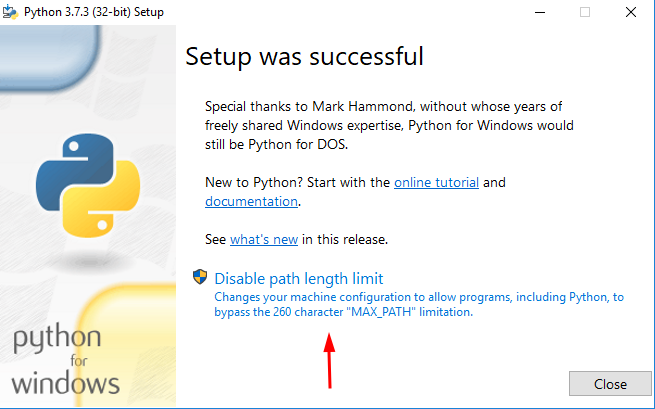
Python Installer: After installation is over
Step-5
Now that Python is installed, you should head over to our terminal or command prompt from where you can install Pandas. So go to your search bar on your desktop and search for cmd. An application called Command prompt should show up. Click to start it.
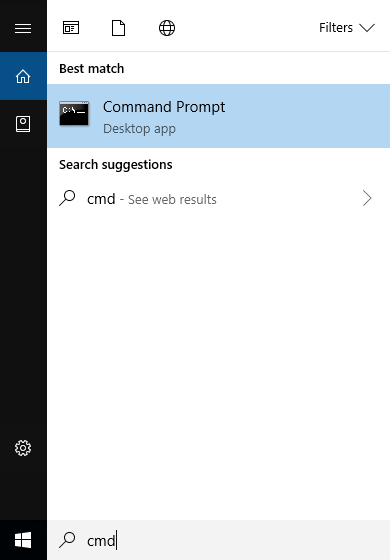
Start Menu: Search for cmd
It’s the right time to discover Pandas Library Architecture (File Hierarchy)
Step-6
Type in the command “pip install manager”. Pip is a package install manager for Python and it is installed alongside the new Python distributions.
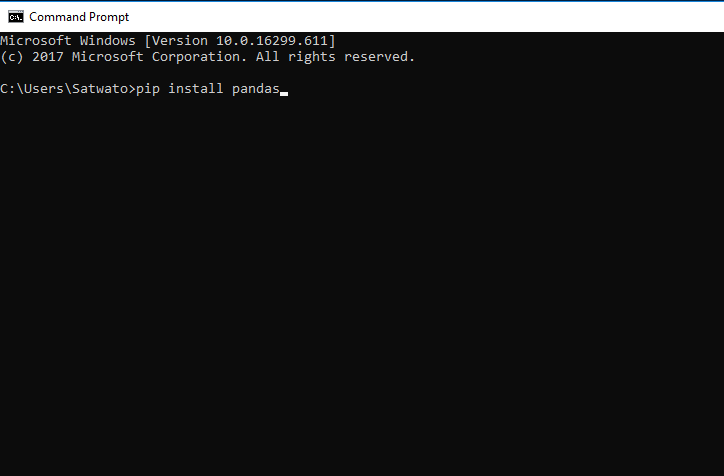
Command prompt
Step-7
Wait for the downloads to be over and once it is done you will be able to run Pandas inside your Python programs on Windows.

Command Prompt: After installation of Pandas
1.2. How to install pandas using Anaconda?
It is highly recommended that beginners should use Anaconda to install Pandas on their system. Installing Anaconda is not only very easy, but it also gives you access to various other tools.
Step-1
Head over to https://www.anaconda.com, Once you are there, click on the Download button on the top right corner of the screen.

Anaconda Official Website

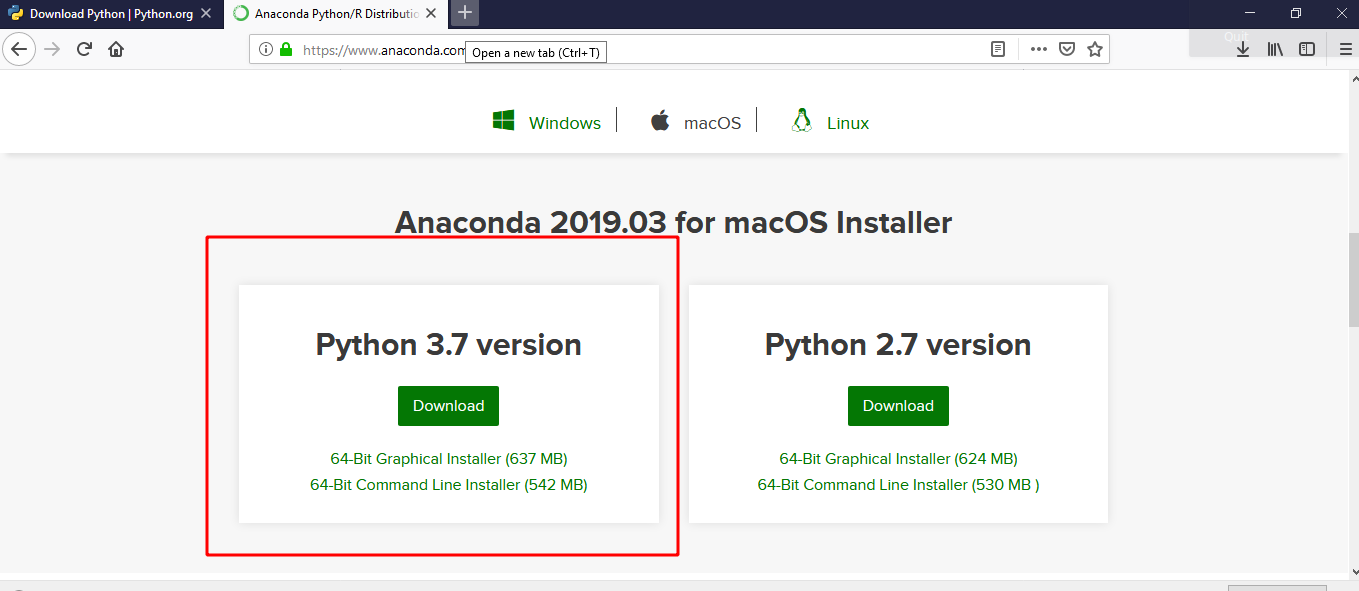
Step-2
In the downloads page, scroll down until you see the download options for windows. Click on the download button for python 3.7. This will initiate a download for the anaconda installer.
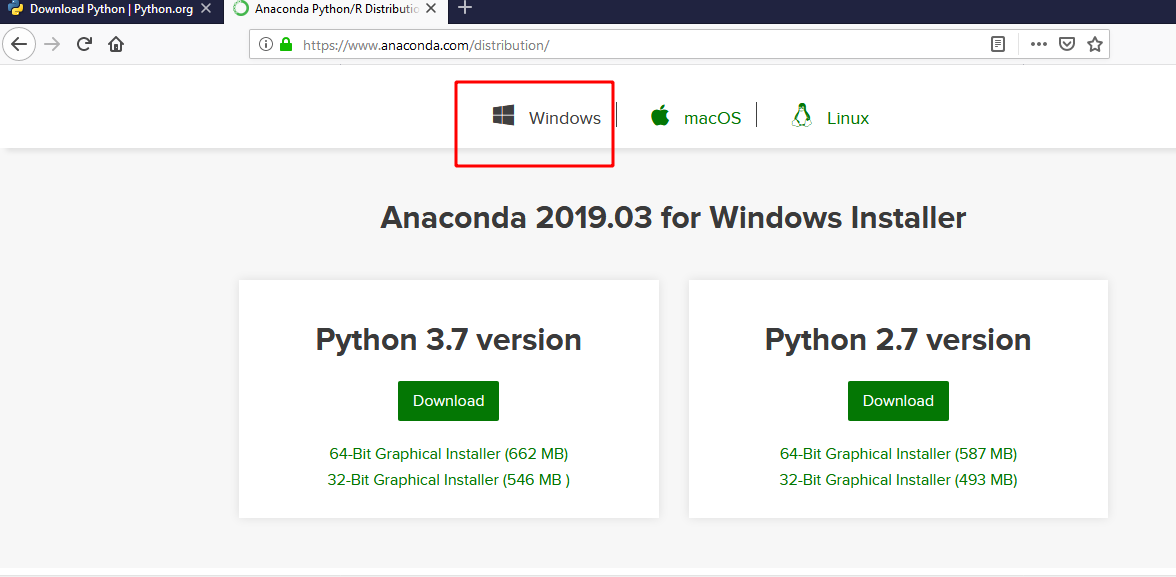
Anaconda Download Page
Do you know which industry segment is using Python Pandas?
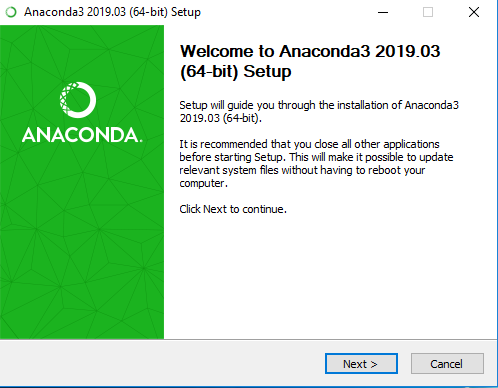
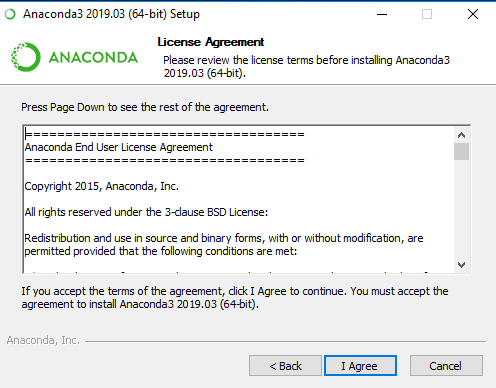
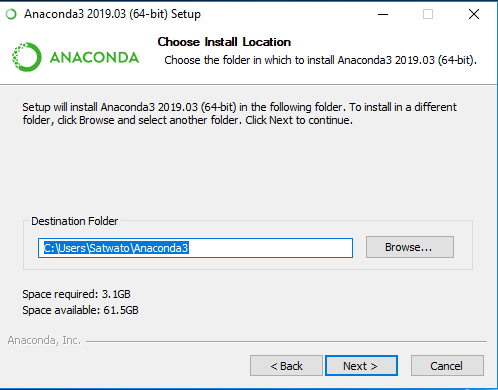
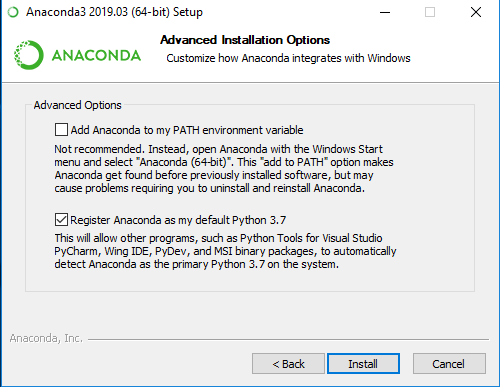
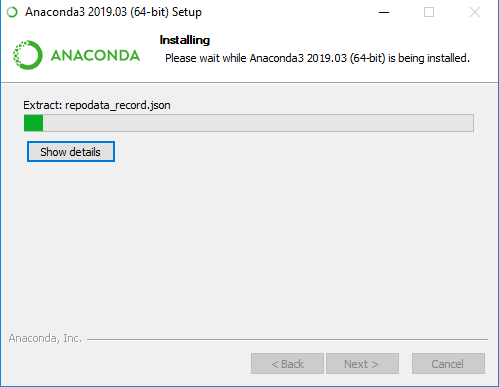
Step-3
Follow through the instructions for installing as shown in the next few images. Choose any destination folder according to your liking and uncheck “Add anaconda to my PATH environment variable.”
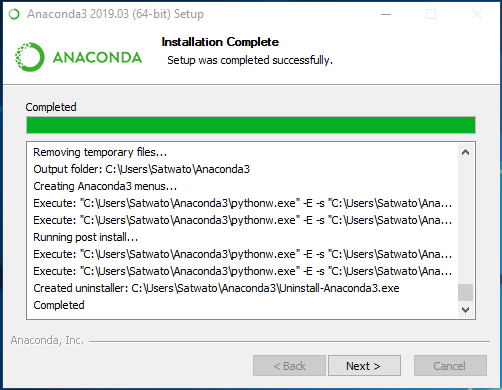
Step-4
Once the installation is finished you can have access to Pandas on your system. Anaconda installs all important libraries for you.

Take these 7 best Python Pandas Books for Data Analysis
Step-5
Jupyter Notebook(Optional): Most Machine Learning projects are covered in jupyter notebooks, therefore, it is important to know how to use it.
First, go to to your program files in the start menu and find “Anaconda Navigator”. Once you enter the program, you will be greeted with a similar screen as shown below. Launch Jupyter Notebooks.
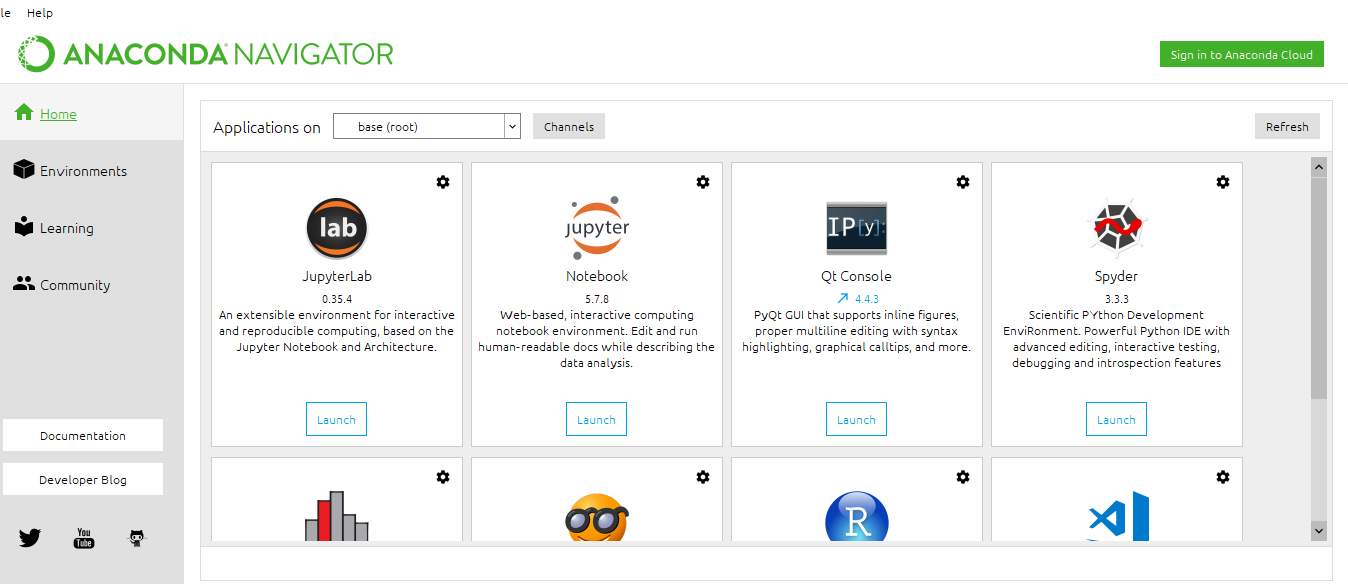
Anaconda Navigator
Step-6
Once you click on Launch for Jupyter Notebook, it will automatically open a browser window and will show the following page. Click on new and then on “Python 3”
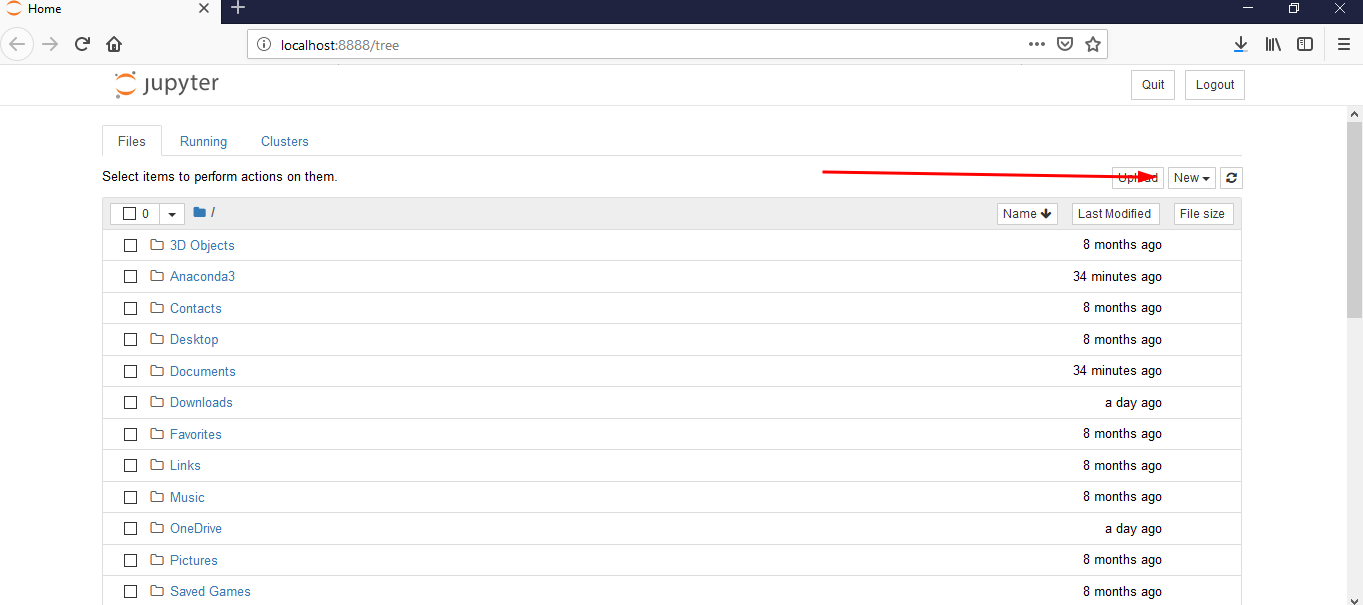
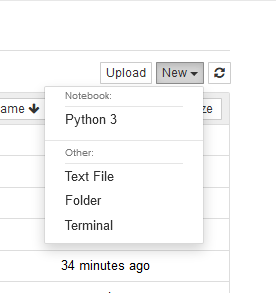
Jupyter Notebook Interface
Step-7
Once you choose “python 3”, it will take you to a new tab, where you can start coding at once.
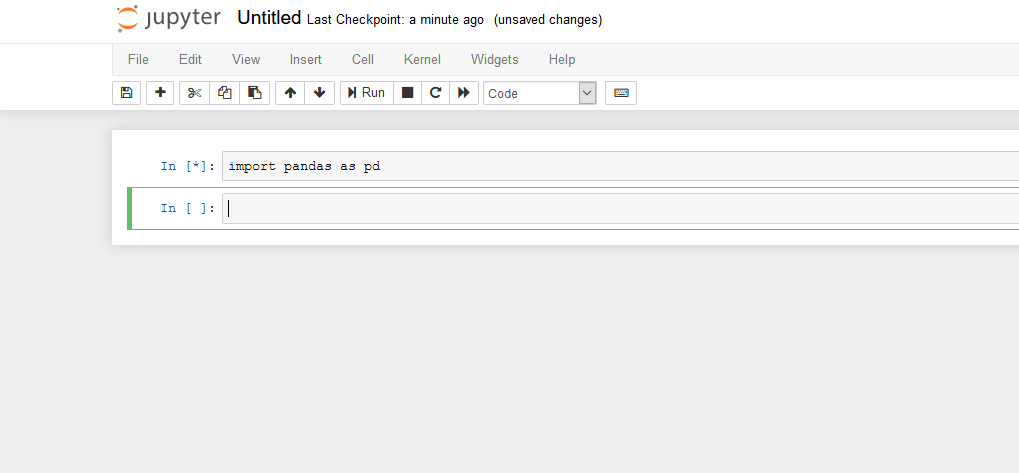
Jupyter Notebook: In Action
Summary
In this tutorial, we learned how to install pandas onto our system. All methods shared in the article were fairly simple, therefore, you should not face a problem in following the instructions. However, if you somehow face any problems, be sure to leave a comment below.
Check this out – What makes Python pandas unique?
You give me 15 seconds I promise you best tutorials
Please share your happy experience on Google


Very clear and beautiful instruction!
Doesn’t work, get a Fatal Error with pip install. You missed something in this basic instruction, makes it useless.
Try in Cmd :
Python pip intsall pandas
Hey Govind,
The right command is present in the article.
Pip install pandas shows error like not recognized as an internal or external command..So what can I do
Don’t forget to select “Add Python 3._ to PATH” in step 3
and click on “Disable path length limit” in step 4
I used to get the same error. Now I’m getting it properly.
It is not working. I am getting an error.
pip is not recognized as internal or external command.
Very helpful. Very elaborate and clear instructions